Spa treatments can add up. Especially if you want to have them done routinely. Eyelash extensions every 3 weeks, waxing every four, nails every two. It’s just not practical to go out and get all these things done and even less practical to spend the money on them.
For these three treatments, it will cost a little extra to initially invest in the materials to get it done, but once you’ve done one or two treatments, it’s paid for itself.
Shellac or gel nails
If you paint your nails, you’re going to love me for this one. My favorite thing about shellac is it doesn’t rub off, it just peels off.
What you need to do shellac or gel at home
- Shellac polish
- Top and base coat
- Light
- Alcohol
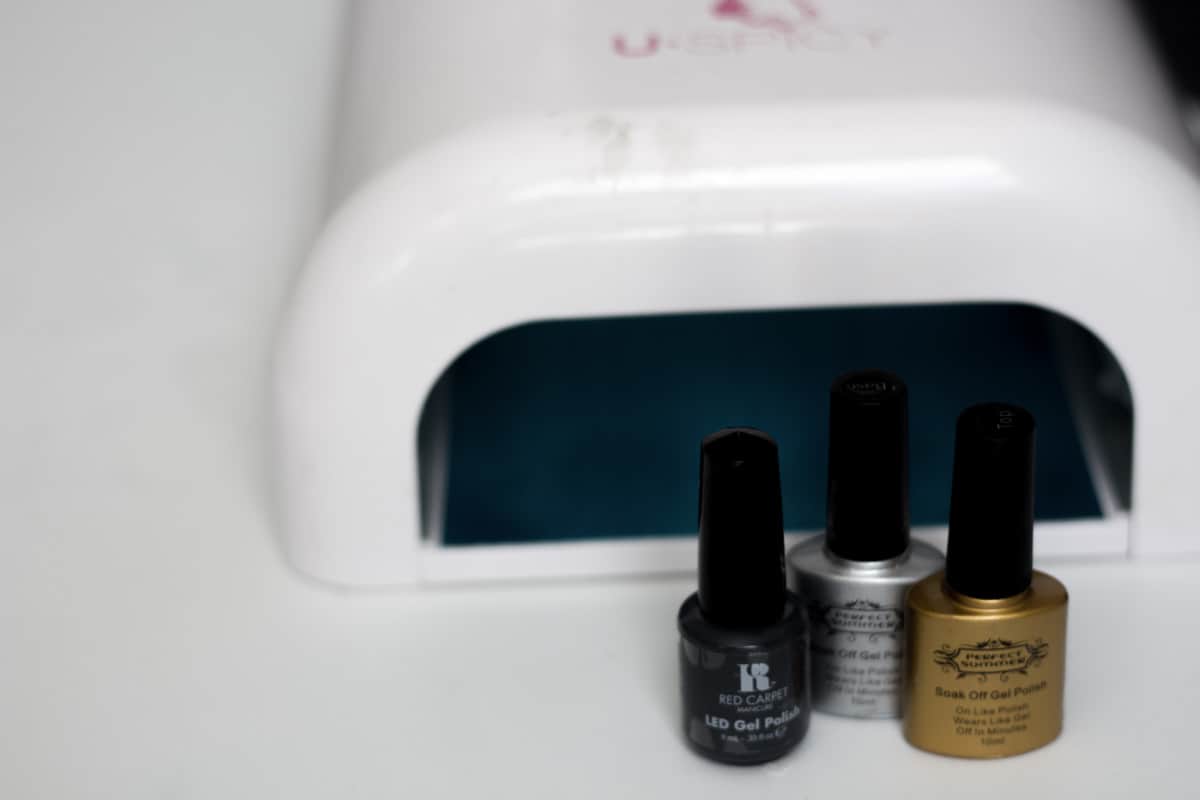
Apply your base coat and let it set under the light for about 90 seconds. Next, you will apply your first and second coat with 120 second light sessions in between. Then apply your top coat and set it under the light for 90 seconds again. It should be tacky or sticky. This is when you take your alcohol and wipe your nails off. This will remove the sticky feeling but should not take off the color. If it does, you didn’t let the color set long enough!
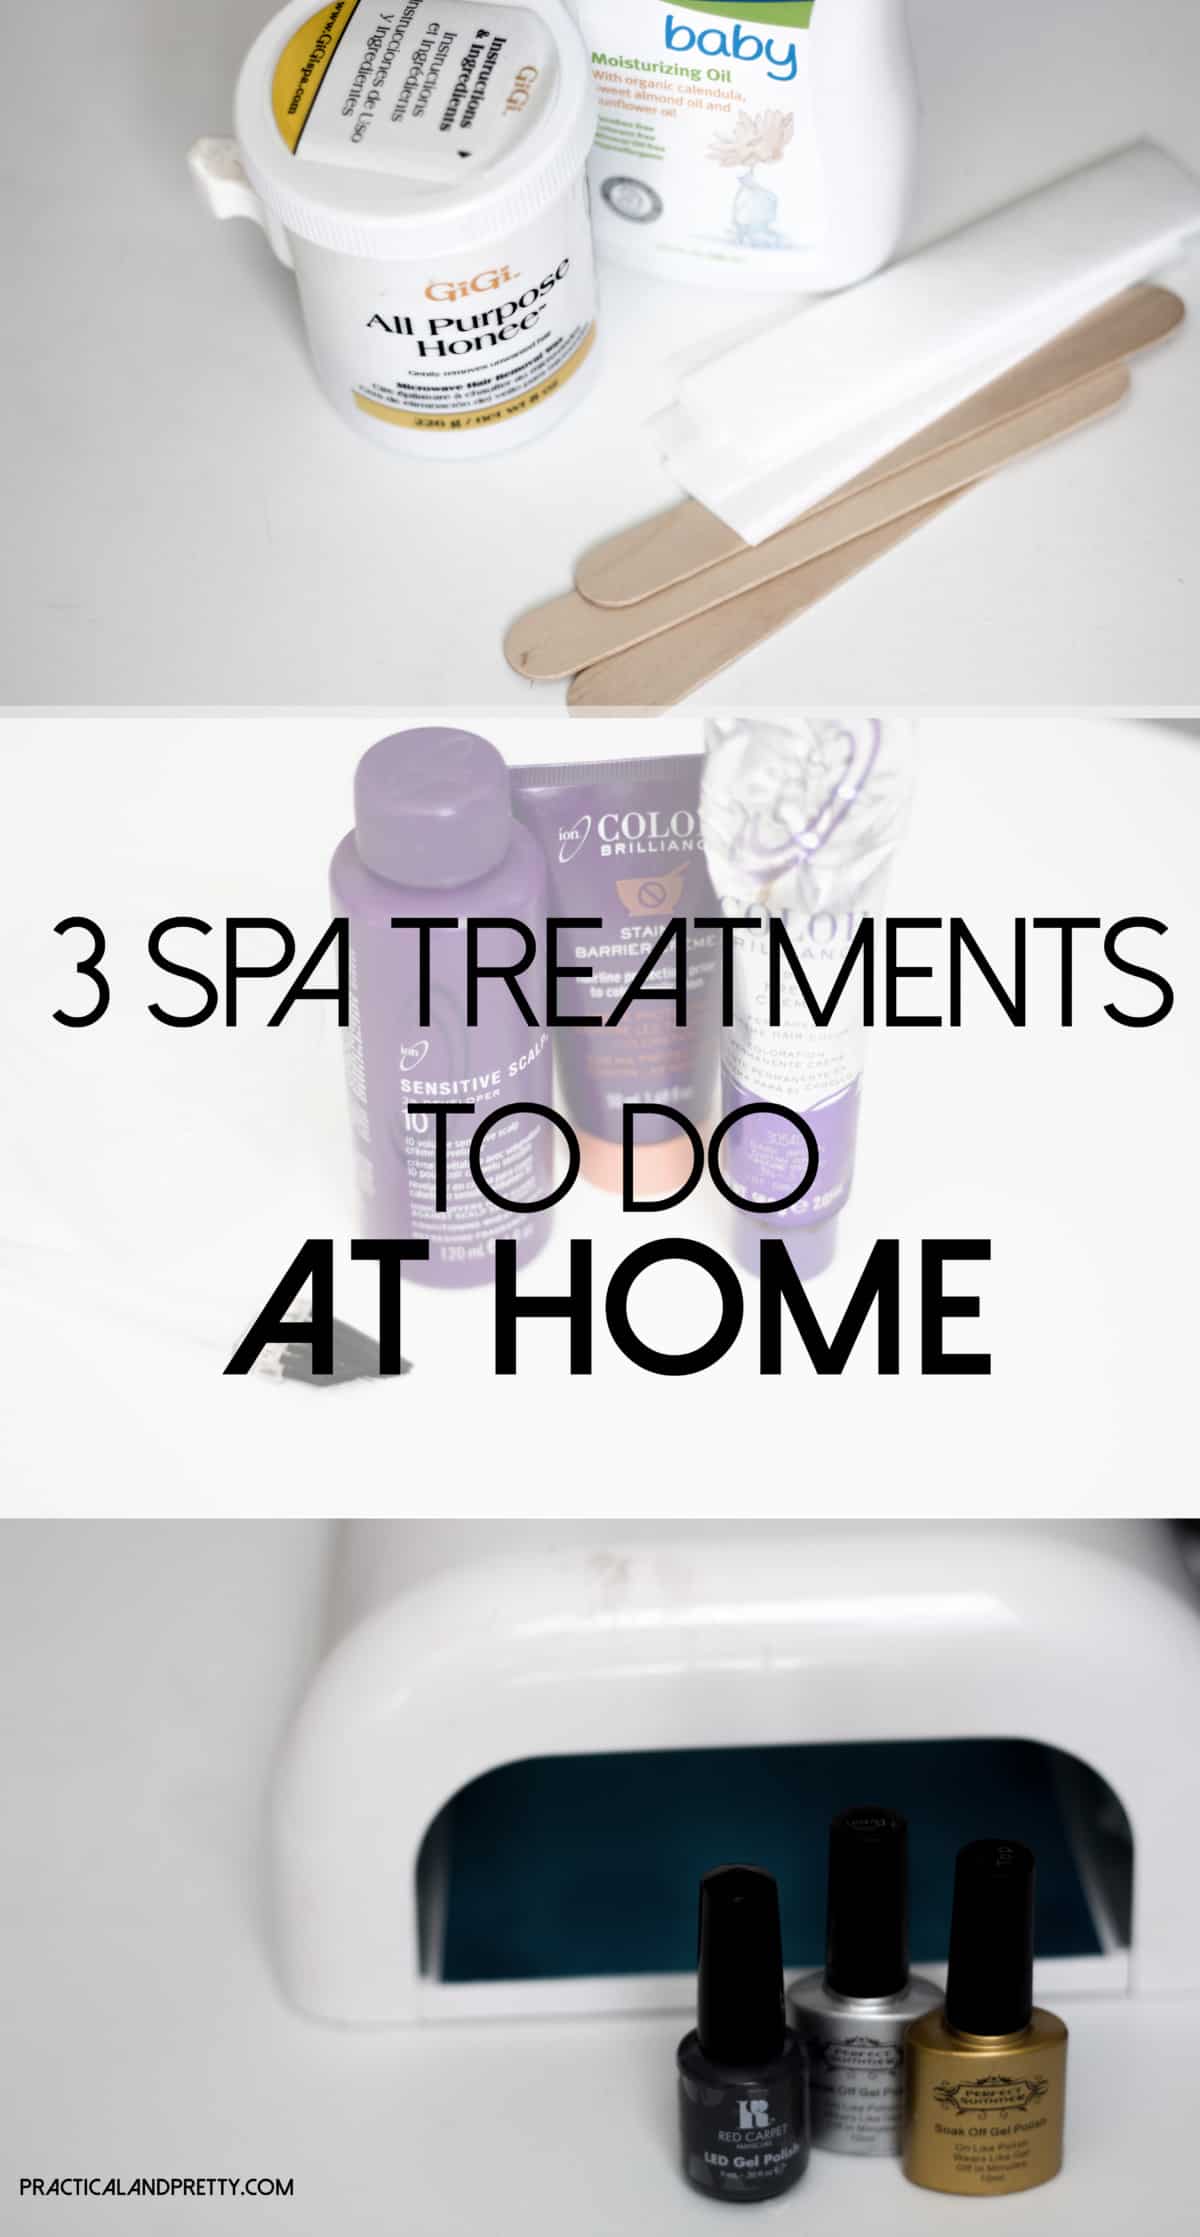
Wax
I would not advise this for every waxing treatment. Leave the eyebrow shaping up to someone else! But for arms, upper lip, and legs, doing this treatment at home will save you a lot of money.
What you need to wax at home

Heat the wax up according to the directions. Apply the wax the way your hair lays. Apply the strip and pull it off against the direction your hair grows. There are several Youtube videos that show how to do this much better than I ever could!
Eyebrow tinting
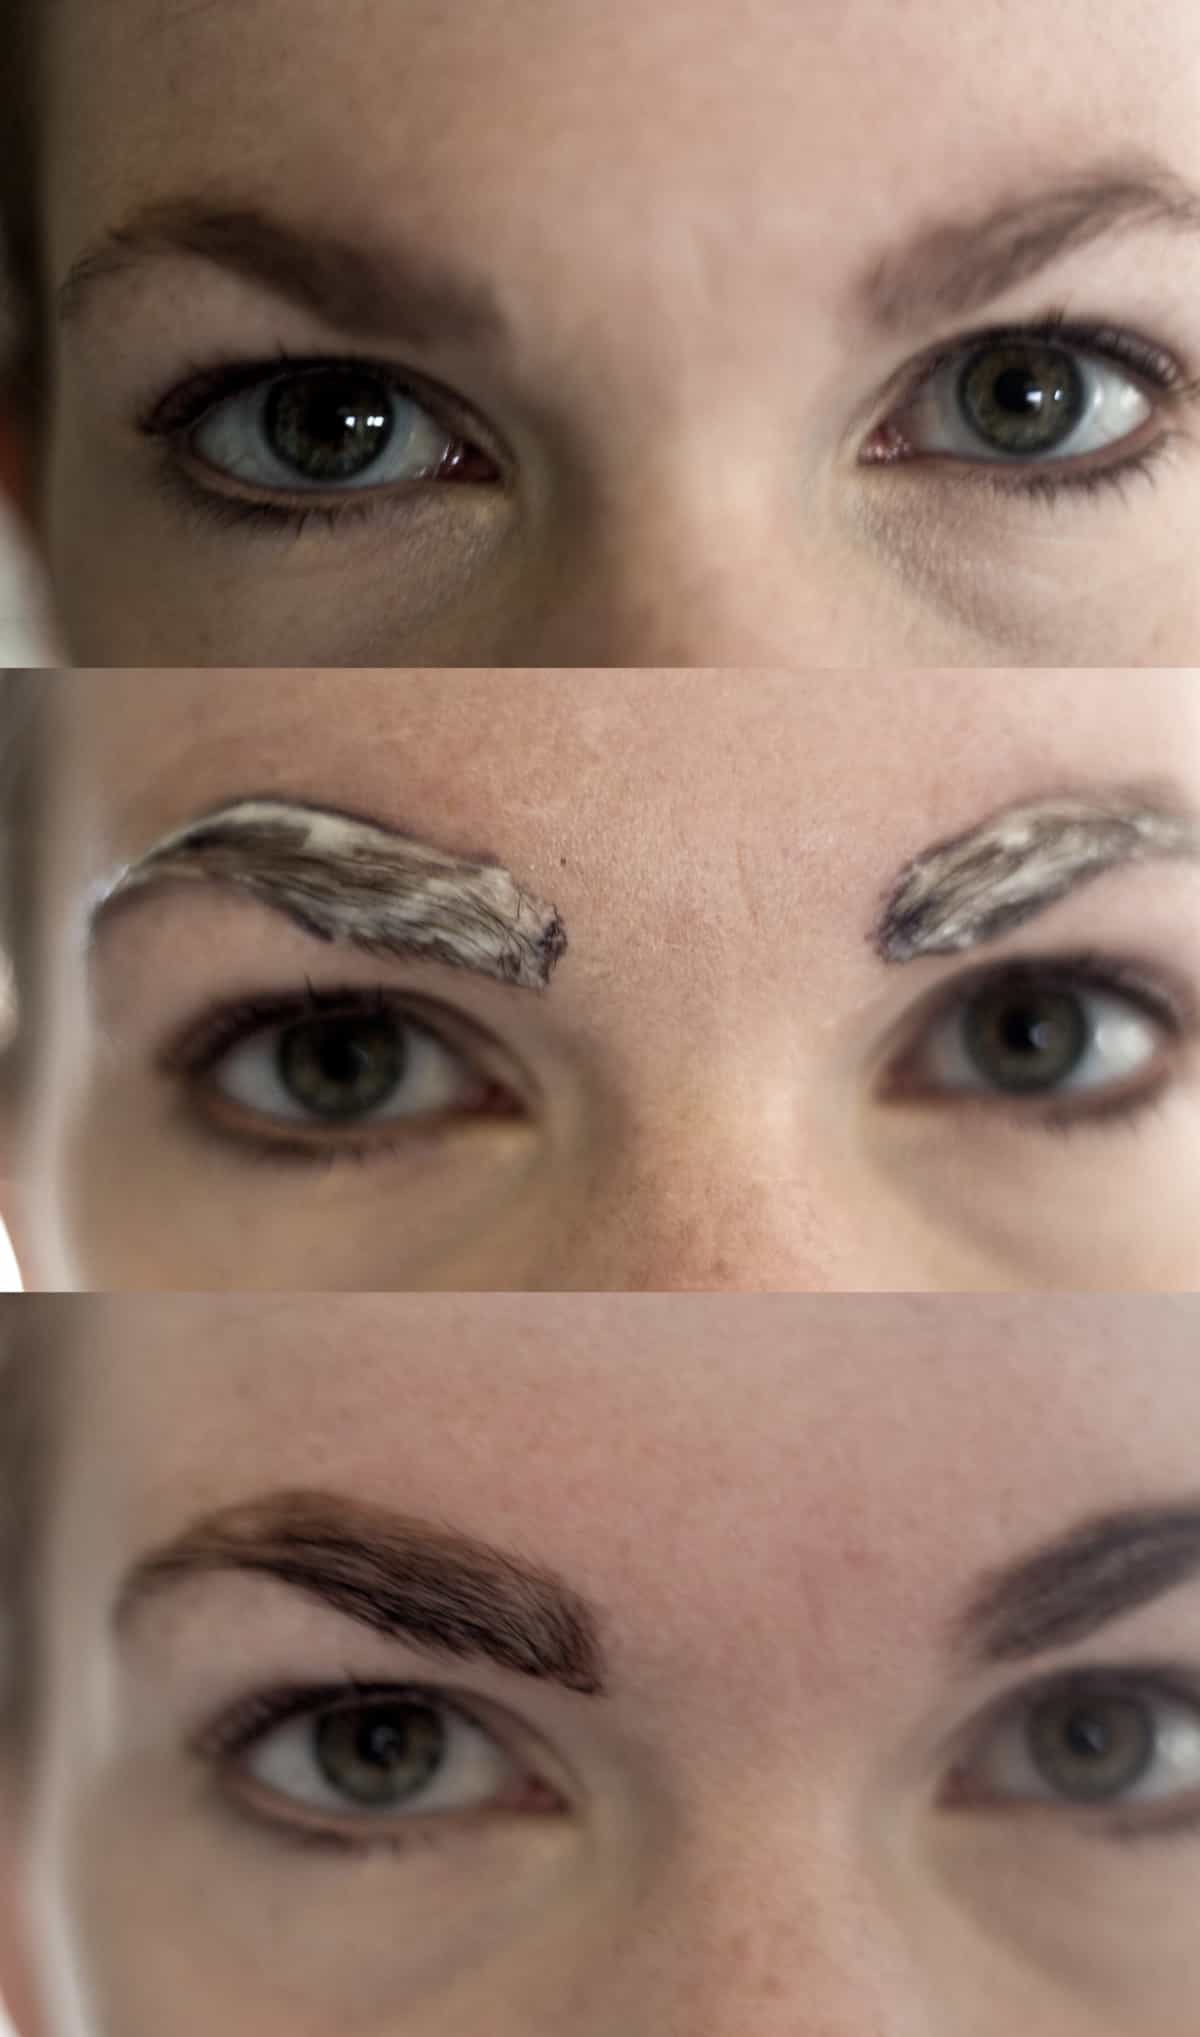
I used to pay $16 plus a tip every time I wanted my eyebrows tinted. My eyebrows aren’t THAT light, but it really defines my face better when my eyebrows are darker. The things you need to tint your eyebrows at home are less than the cost of one treatment. I wish I would have known this a long time ago!
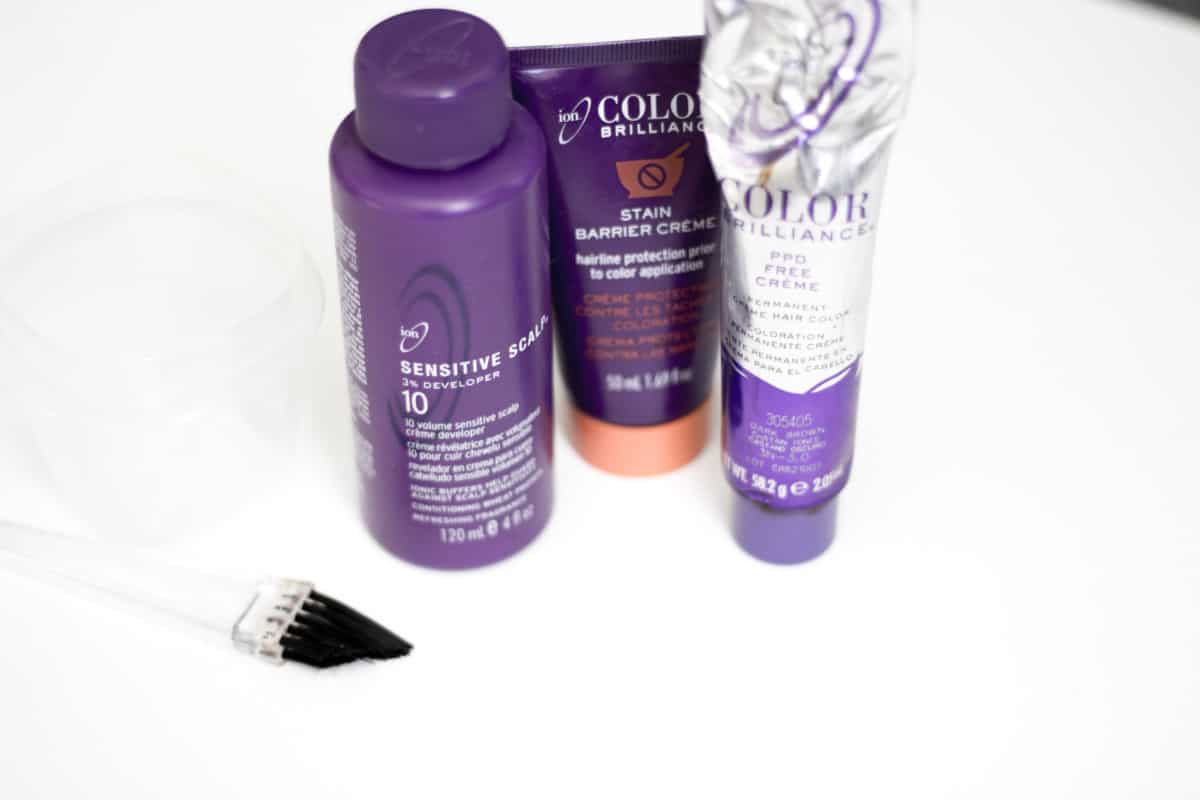
What you need to tint your eyebrows
- Dye
- Dye mix
- Scalp protect
- Brush and Small mixing bowl
- Q-tips
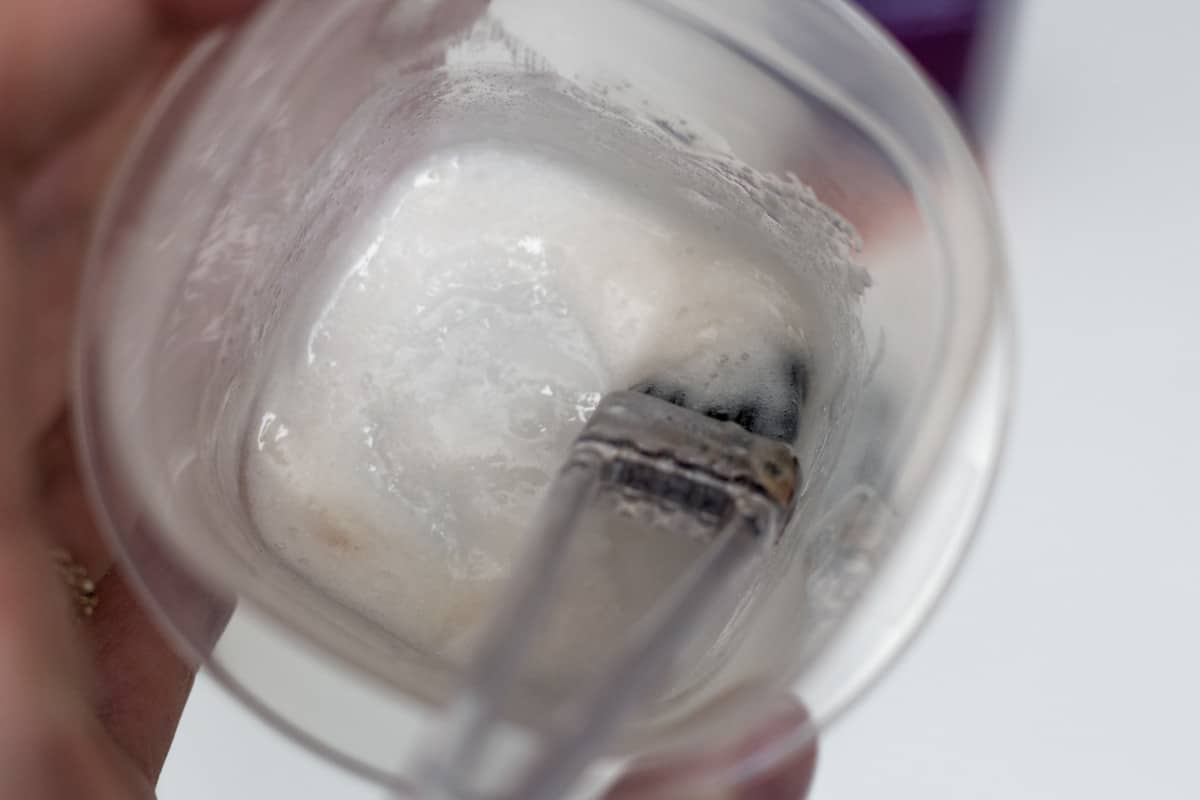
Put your scalpbarrier around your eyebrows so if (when) you make mistakes with the dye it doesn’t stain your skin! Mix your developer and dye in equal parts. Because one is a liquid and one is a solid, this is a little hard to eyeball, but it’s not an exact science!
Depending on the color of your dye, leave it on 30-45 minutes. I keep forgetting I got a darker brown than I used to have and have left it on a little too long! Luckily it fades pretty quick so I won’t look crazy for too long! After it is done processing, wipe it away with a paper towel. Get the towel moist, then wash the remainder off. From my experience it fades pretty quick in the beginning then stays at about 75% for about two weeks! I seriously love tinting my eyebrows. It makes my face so much more defined and is so simple!
So now you know just a few easy ways I save money and time by doing things myself at home! Are there things you do at home that save you money? I wish there was a way I could have my eyelashes done by myself! One day 🙂