• Skip to main content
  • Skip to primary sidebar
  • Skip to footer

Practical and Pretty logo

  • HOME
  • DYEING
  • DIY
  • PARTIES
  • CRICUT
  • SHOP
  • ABOUT
  • CART
You are here: Home / DIY / Lavender Mint Bath Bomb Recipe (from Someone Who Failed 5 Times)

April 3, 2017

Lavender Mint Bath Bomb Recipe (from Someone Who Failed 5 Times)

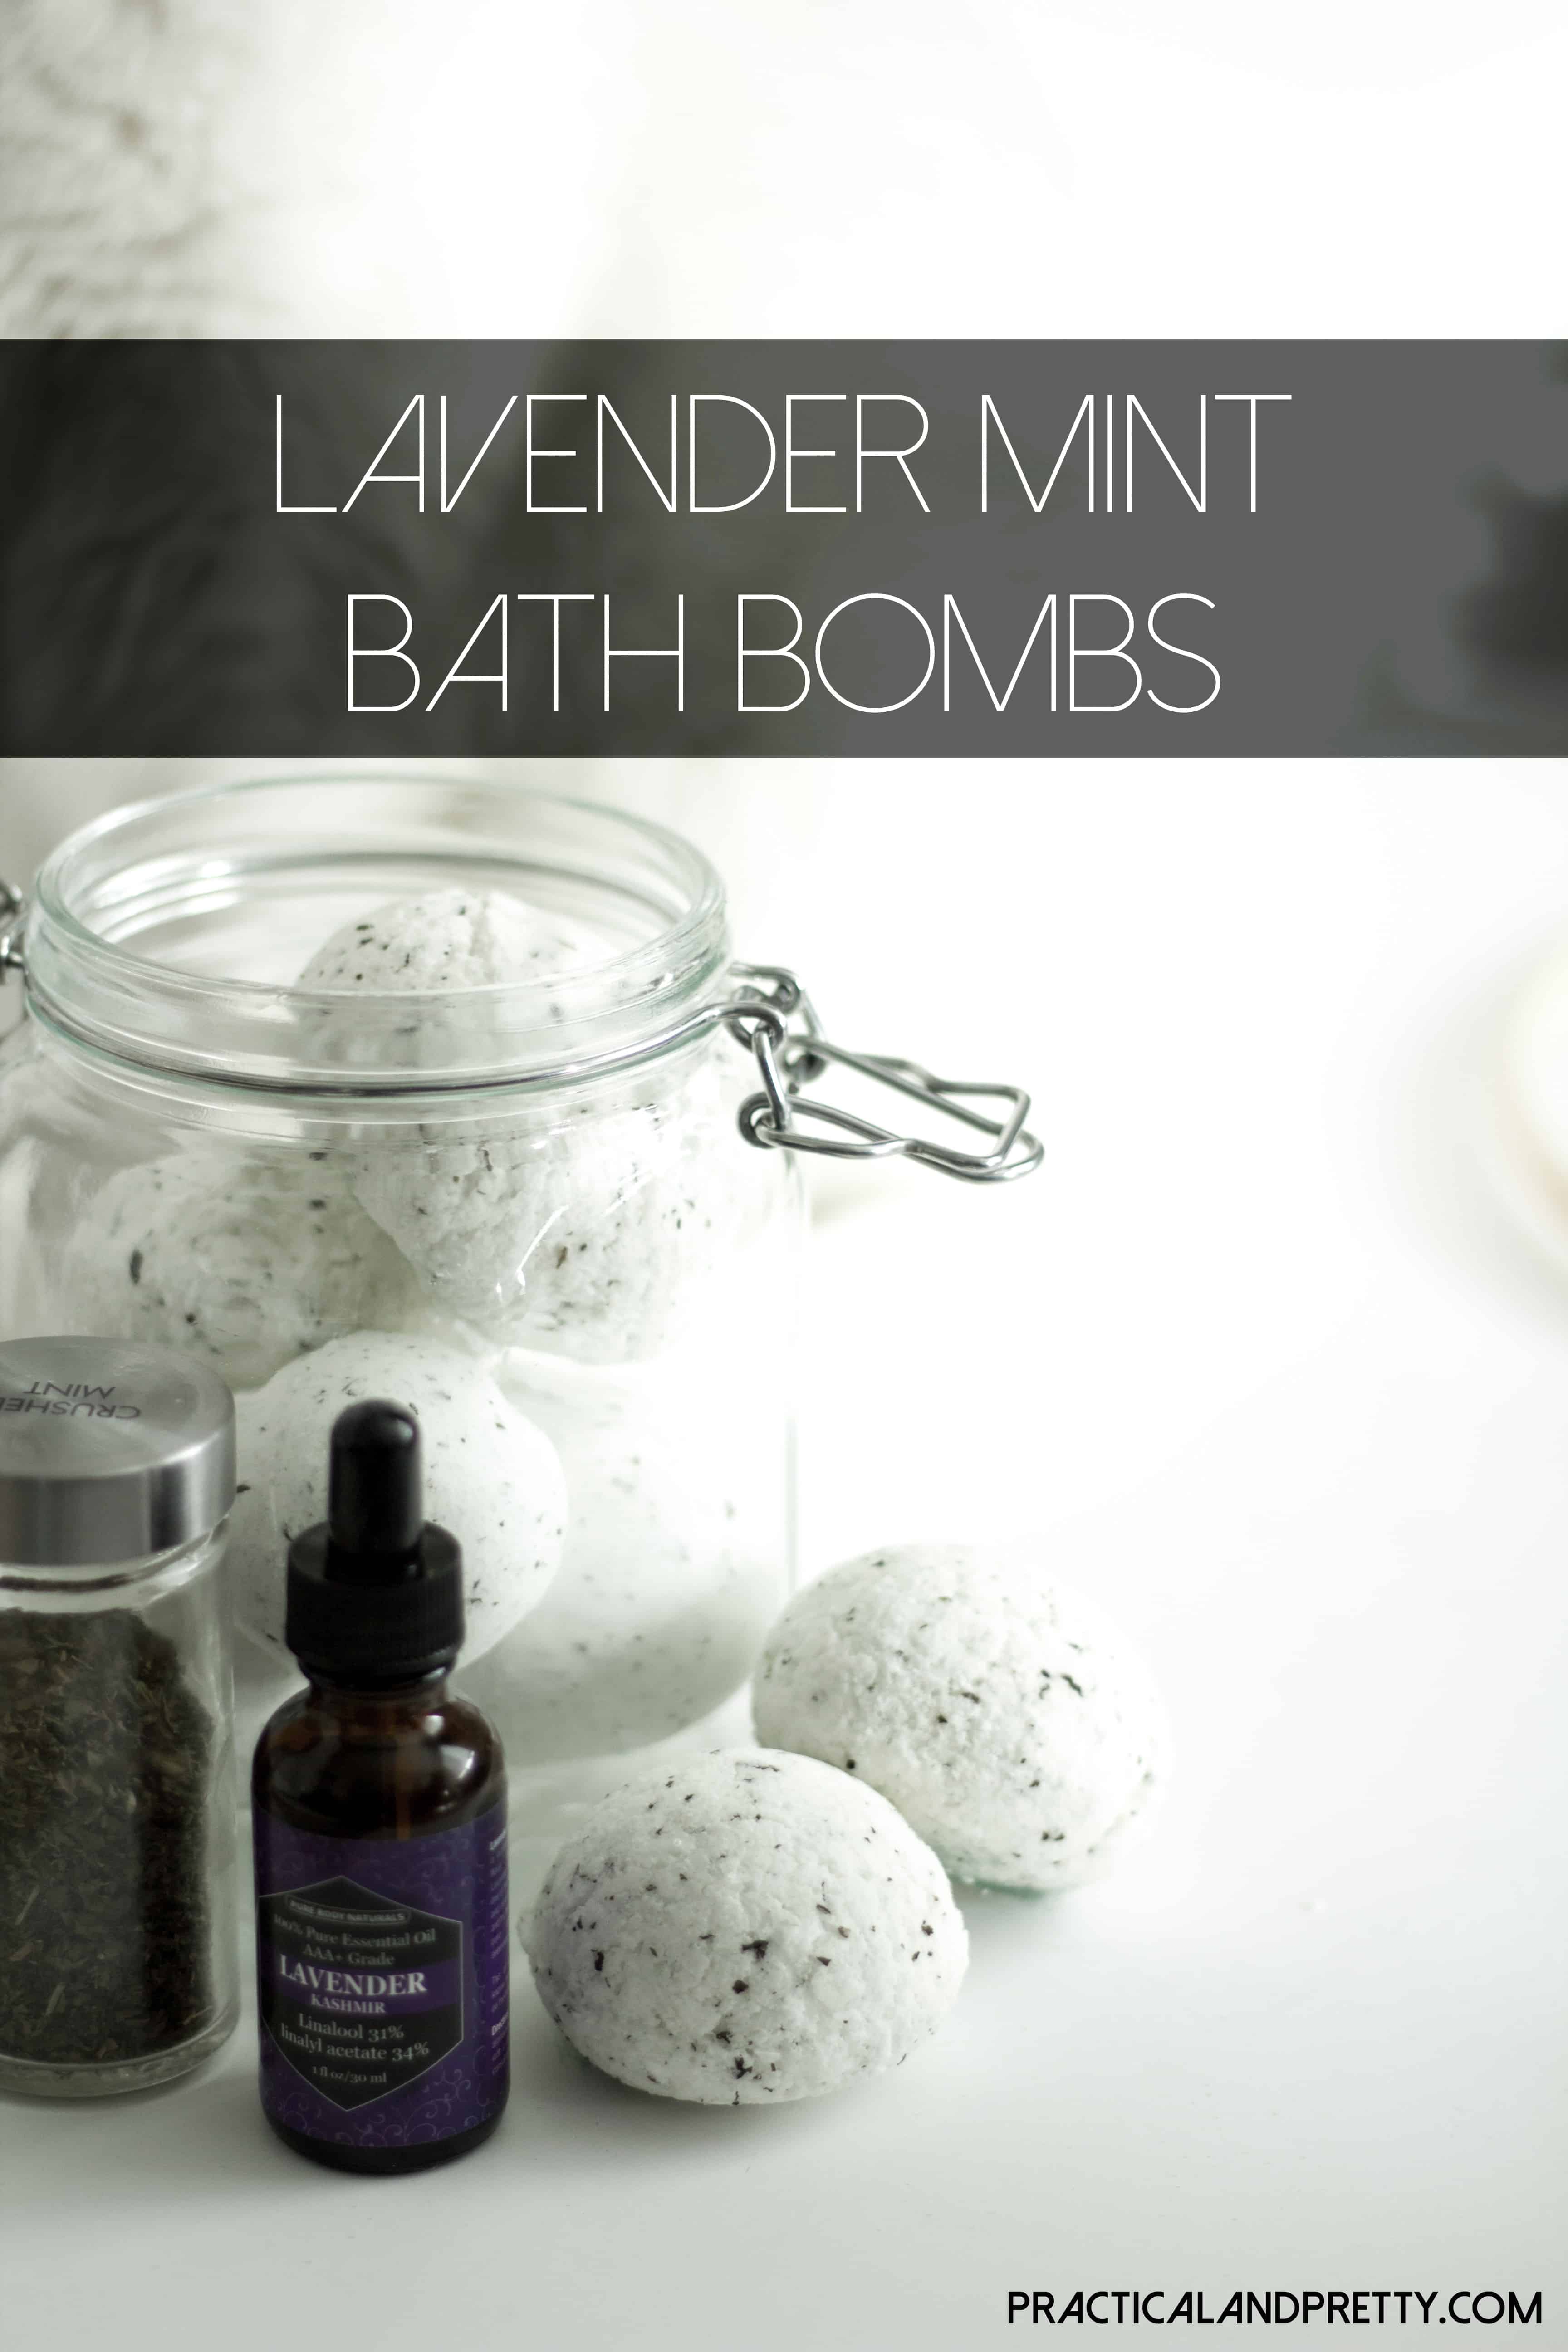
Are you wondering what the title of this post means? I wanted to make these bath bombs for a few months now and tried every recipe I could find. After I tried every method they described I still failed miserably every time. However, like we all do, I learned from each failed attempt and figured out a bath bomb recipe to make them form correctly without sagging, crumbling or splitting in half. 

Step by step on how to create these delicious smelling bath bombs without them breaking, sagging or just falling apart!

Bath Bomb Recipe
  • 1 cup baking soda
  • 1/2 cup epsom salt
  • 1/2 cup corn starch
  • 1/2 cup citric acid
  • 1 tablespoon water
  • 3 tablespoons olive oil
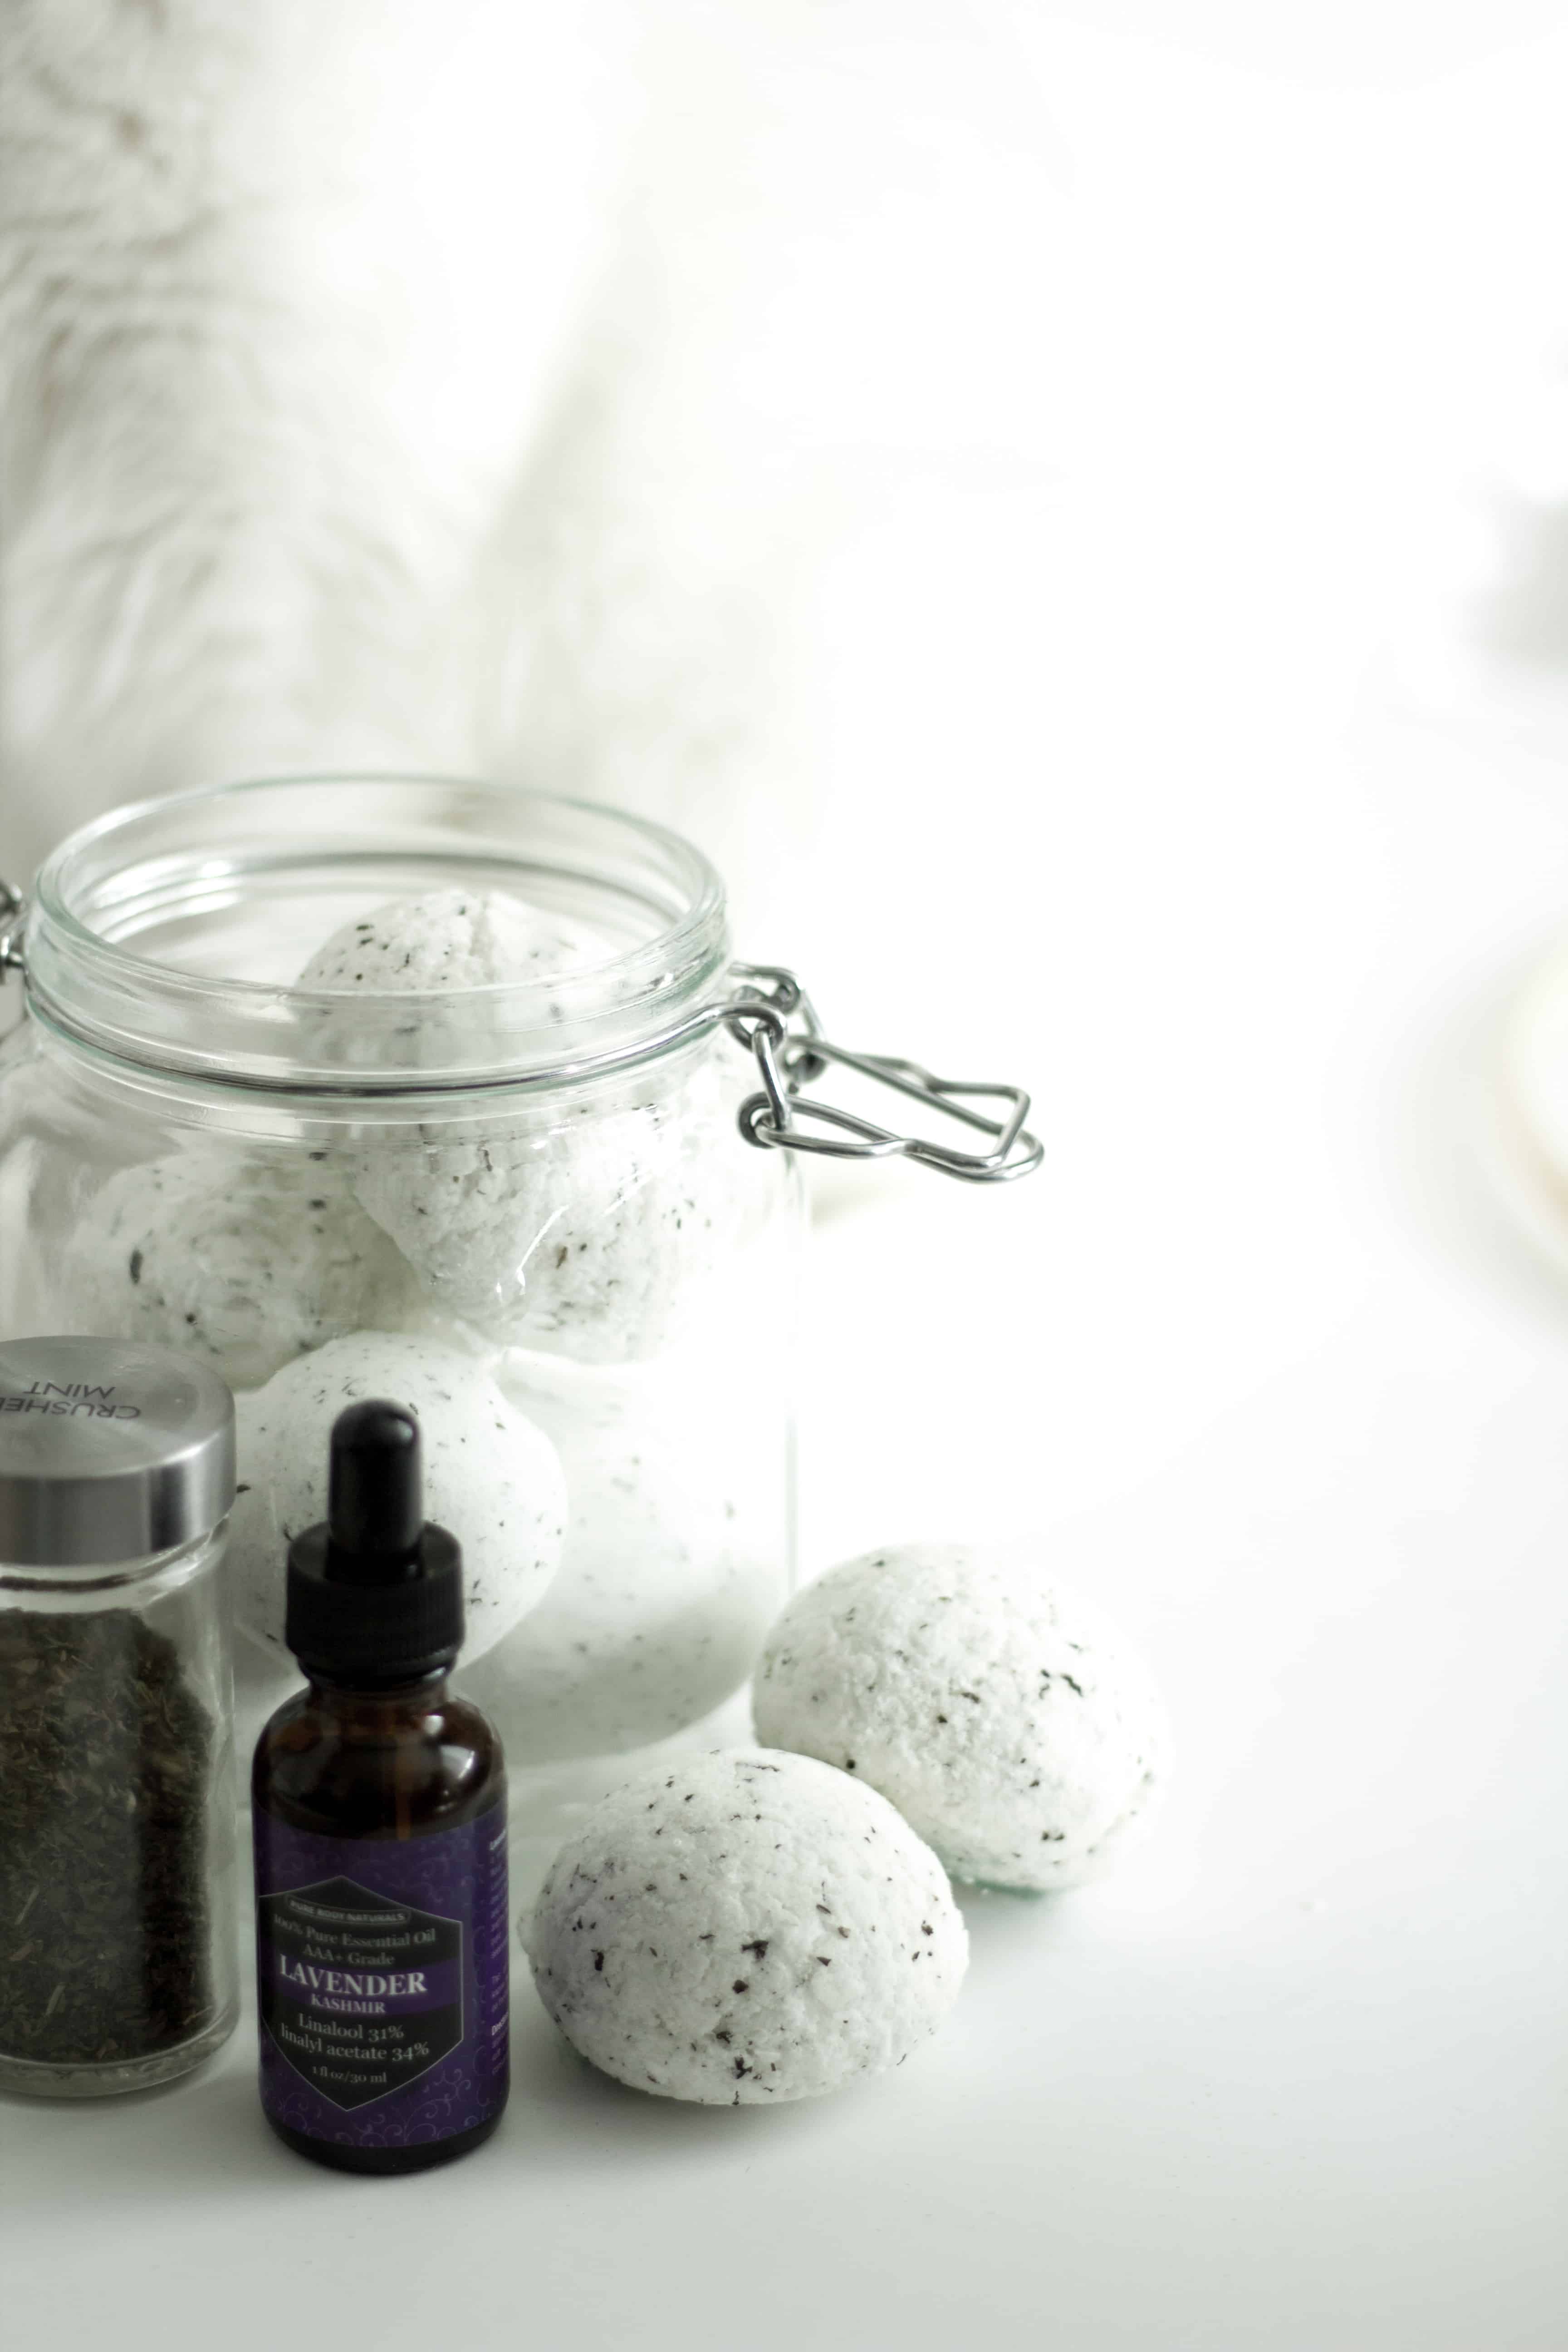
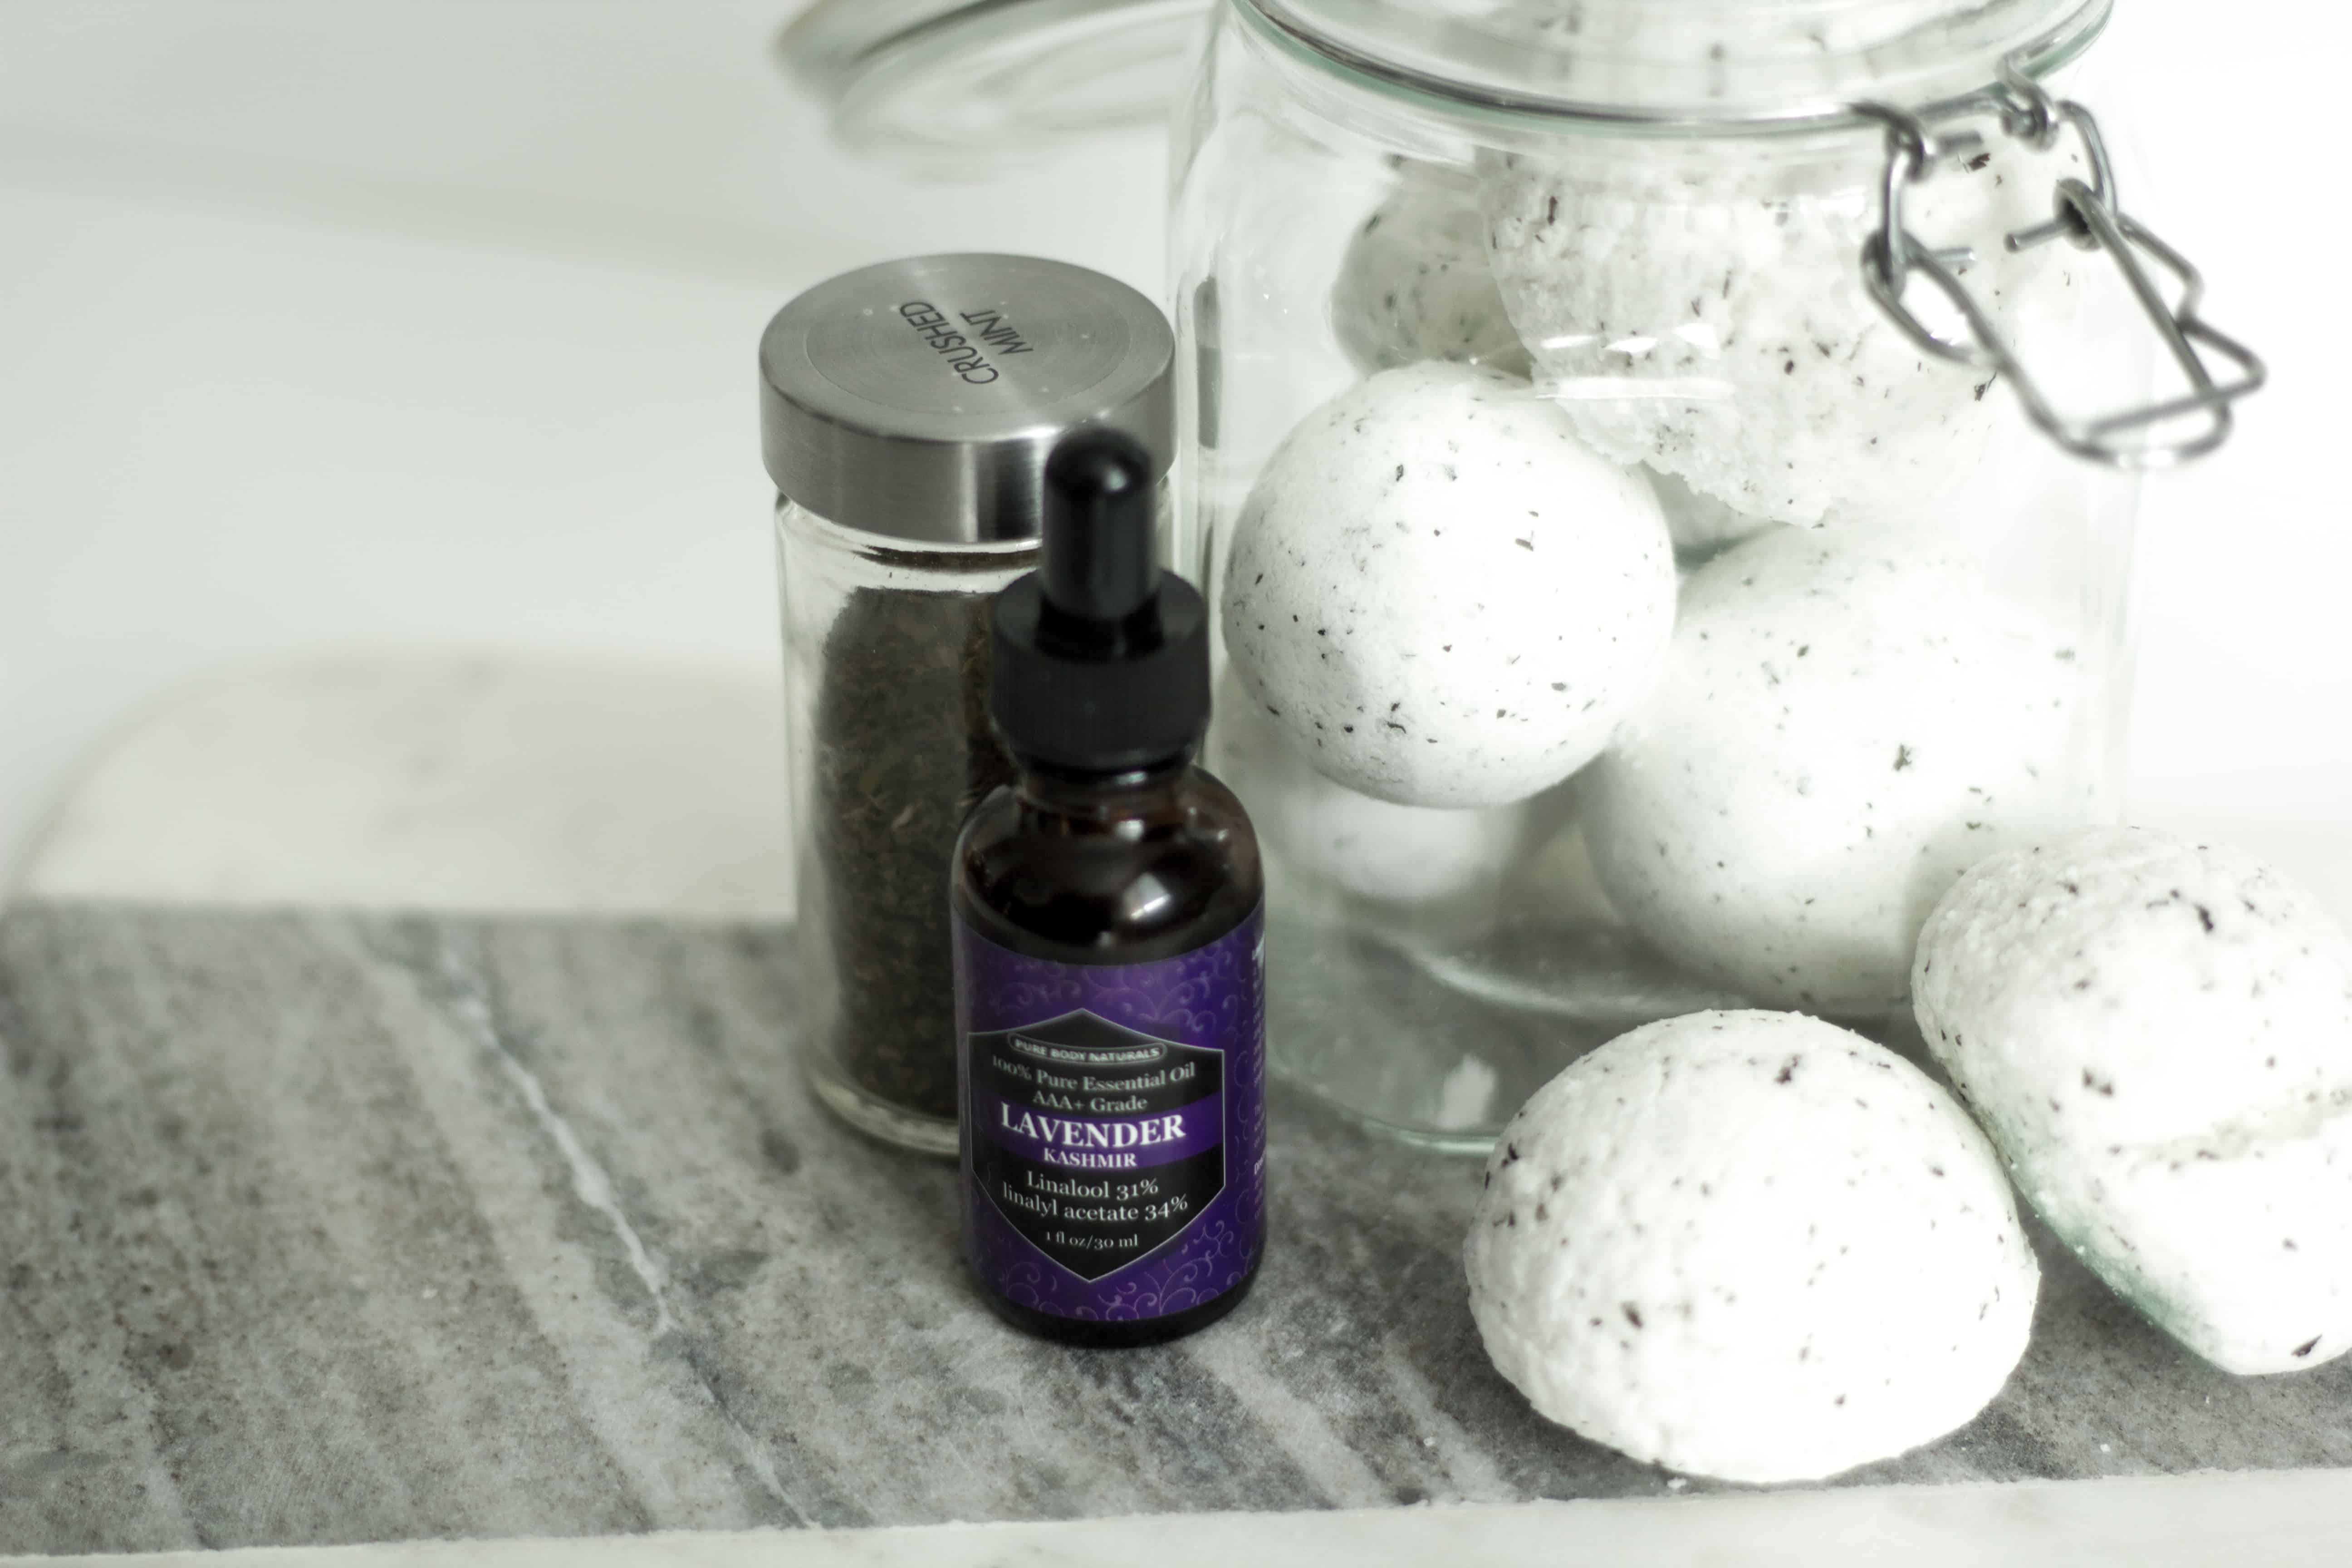
  • 5-10 drops lavender (or your favorite oil)
  • 1/4 cup mint (approximately. This is totally optional. My mom didn’t love the mint because it required more cleanup than without.)
  • Bath bomb molds

First you will mix your dry ingredients. I used my kitchen aid with the whisk attachment. Then mix all of your wet ingredients in a different bowl. Once these are mixed, keep whisking the dry mixture as you slowly and carefully pour in your wet ingredients.

It’s hard for me to describe to you how exactly you will know your mixture is just right. For me, it was when my kitchen aid had just a tad of the mixture stuck on the sides.

Pack in your mixture into each half of your mold. Overpack them a little bit and put a sprinkle of unpacked mixture on top of the packed areas. This will make sure they stick and don’t split. Smash them together as tight as you can and then gently tap the sides of the molds. I removed the top half of the mold and let the bomb sit for  a while. I let mine sit for about 2 hours.

Very gently try to remove the bottom portion of the mold and set it with that side facing up. The bombs need to dry before they are used. You can’t let them dry too much so let them sit as long as you can. I waited overnight.

Step by step on how to create these delicious smelling bath bombs without them breaking, sagging or just falling apart!

These made my house smell like lavender for 2 weeks. They were that potent! These are very simple if you have the right recipe and follow the directions. I hope this helps you not waste as many of these ingredients as I did!

Step by step on how to create these delicious smelling bath bombs without them breaking, sagging or just falling apart!


Filed Under: DIY, Self Care Tagged With: essential oils, quick diy

Reader Interactions

Comments

  1. halfpintpartydesign says

    August 6, 2017 at 11:01 pm

    Anna! Thank you for this. I’ve been looking for a recipe and this one looks great. I am wondering how many bath bombs you made with the amounts used in this recipe.

    Reply

Leave a Reply Cancel reply

Your email address will not be published. Required fields are marked *

Primary Sidebar

SEARCH

I’m Anna!

Welcome!

I’m Anna and love practical and pretty things. You will find DIYs here as well as party ideas and of course, natural dyeing tutorials. I’m so glad you’re here.

FEATURED ON

PARTIES

DIY Custom Tablecloths

Customize a tablecloth to your event using this step by step tutorial for custom tablecloths. This was for a birthday party but it will apply to any event!

Blippi Party Ideas and Supplies

Customize this party hat to your color scheme and needs for your next fun party! I show you how I made a simple pom pom and assembled the hat.

Birthday Blippi Shirt

This silly Blippi shirt is perfect for the birthday child or you could even make a few for all the guests! They will get a kick out of what it says. 

Free ‘It Is Your Birthday’ Banner

it is your birthday banner

NATURAL DYEING

Forest Fairy Costume Featuring Tie Dye

How to Dye with Pine Cones

pine cone dye vat

Dye with Quebracho for a Beautiful Red

If you're looking for a beautiful red natural dye, look no further than quebracho! This gave the most beautiful hue and was a simple process.

How to Dye with Turmeric Video Tutorial

Here I will show you how I dye with turmeric to get a rich orange and yellow color. I demonstrate you in real time with a video!

CRICUT PROJECTS

DIY Yoga Shirts with Your Cricut

Random Acts of Kindness Cards

Use these little kindness cards to spread kindness on February 17th or any day you want to celebrate random acts of kindness!

DIY Bath Salt Recipe with Free Sticker Label

This simple bath salt recipe is an easy way to gift a nice DIY to your favorite person and I included a label to make it feel even more custom.

DIY Custom Tablecloths

Customize a tablecloth to your event using this step by step tutorial for custom tablecloths. This was for a birthday party but it will apply to any event!

Footer

Copyright © 2023 Practical and Pretty on the Brunch Pro Theme