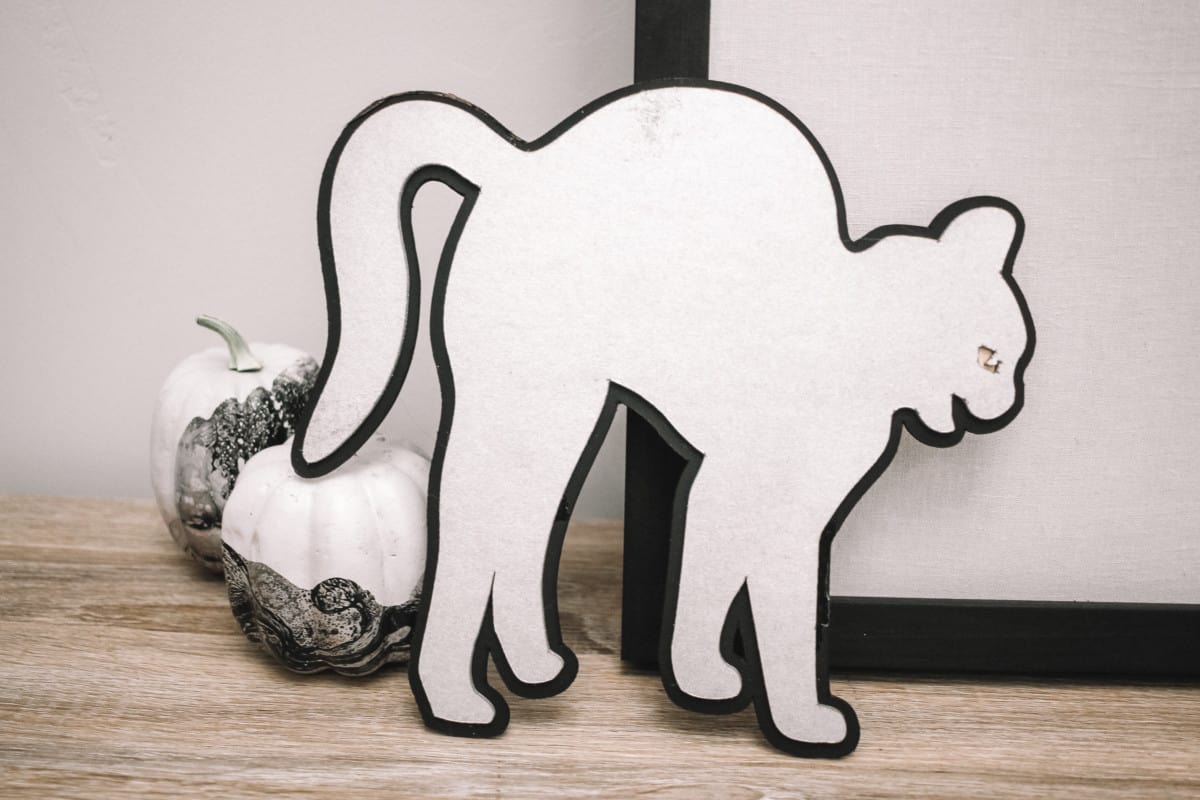
You can DIY your own halloween decor with this simple tutorial for a black cat chipboard sign!
Halloween is a super fun holiday but sometimes the orange and purple is a little too much for me! I like decorating for halloween with black and white with a hint of metallics. That’s why this little black cat is a perfect addition to my decor.
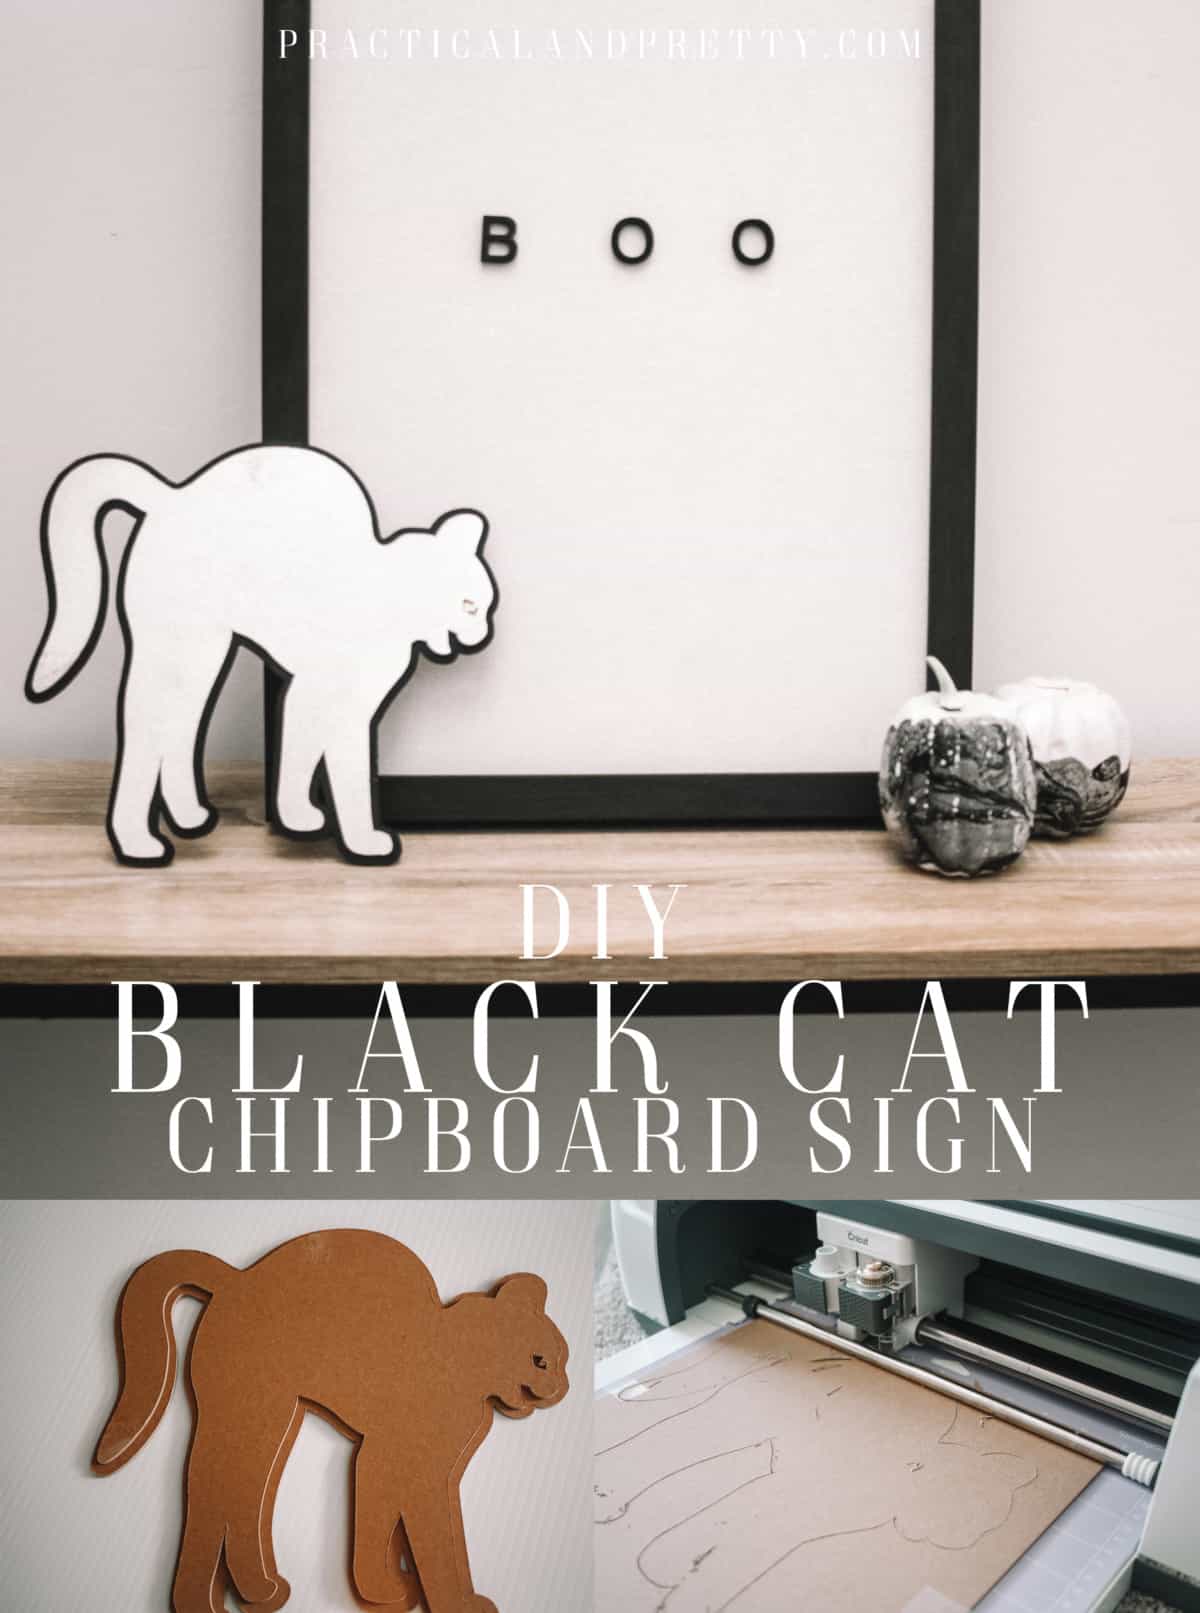
What You Need for Your Black Cat Chipboard Sign
- Cricut Maker (with knife blade)
- 2mm Chipboard
- Mirror spray paint
- Matte black spray paint
- Glue tape
- (optional) A little piece of gold foil vinyl
Use this cut file to cut your 3d chipboard sign! I use two pieces of chipboard for this. Make sure to move your little stars to one side or you’ll have lines running through your design! (I know because.. I’ve done it..)
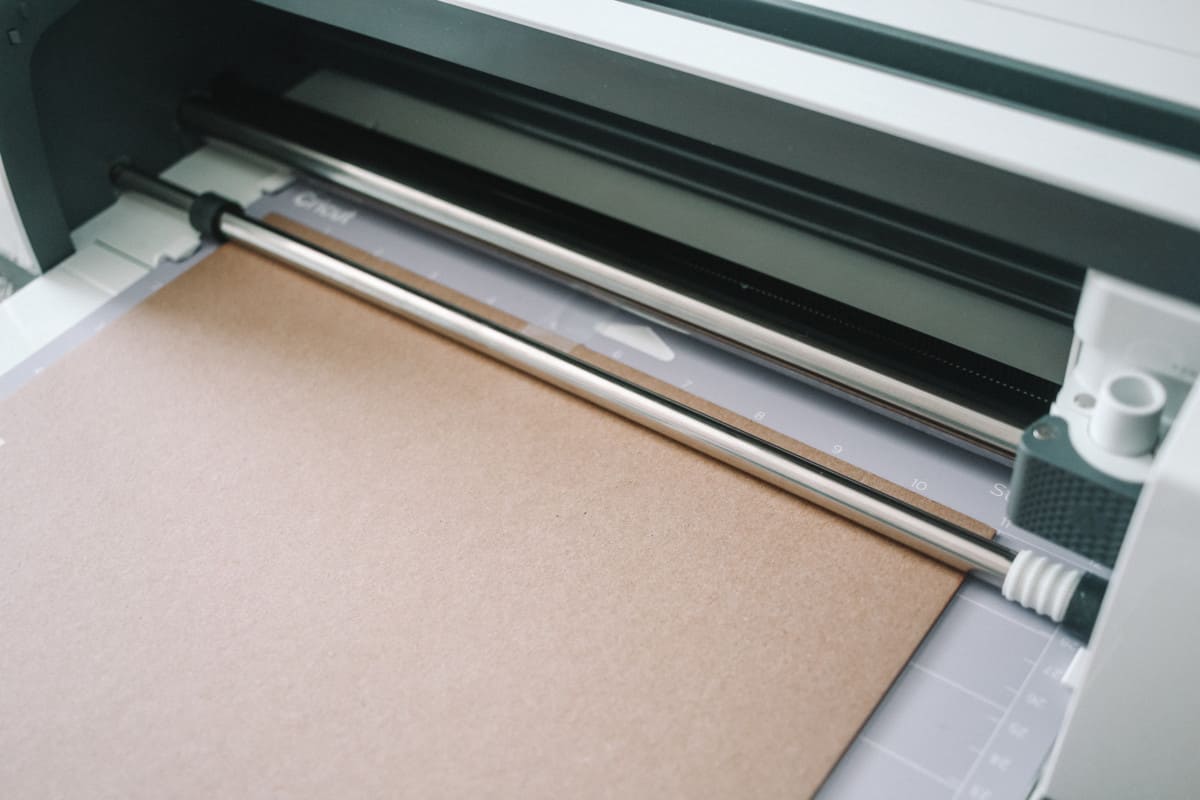
The Maker will cut quite a few passes and this particular one took 24 minutes. So total this project will be cutting for almost an hour! But you just let it sit and do it’s thing.
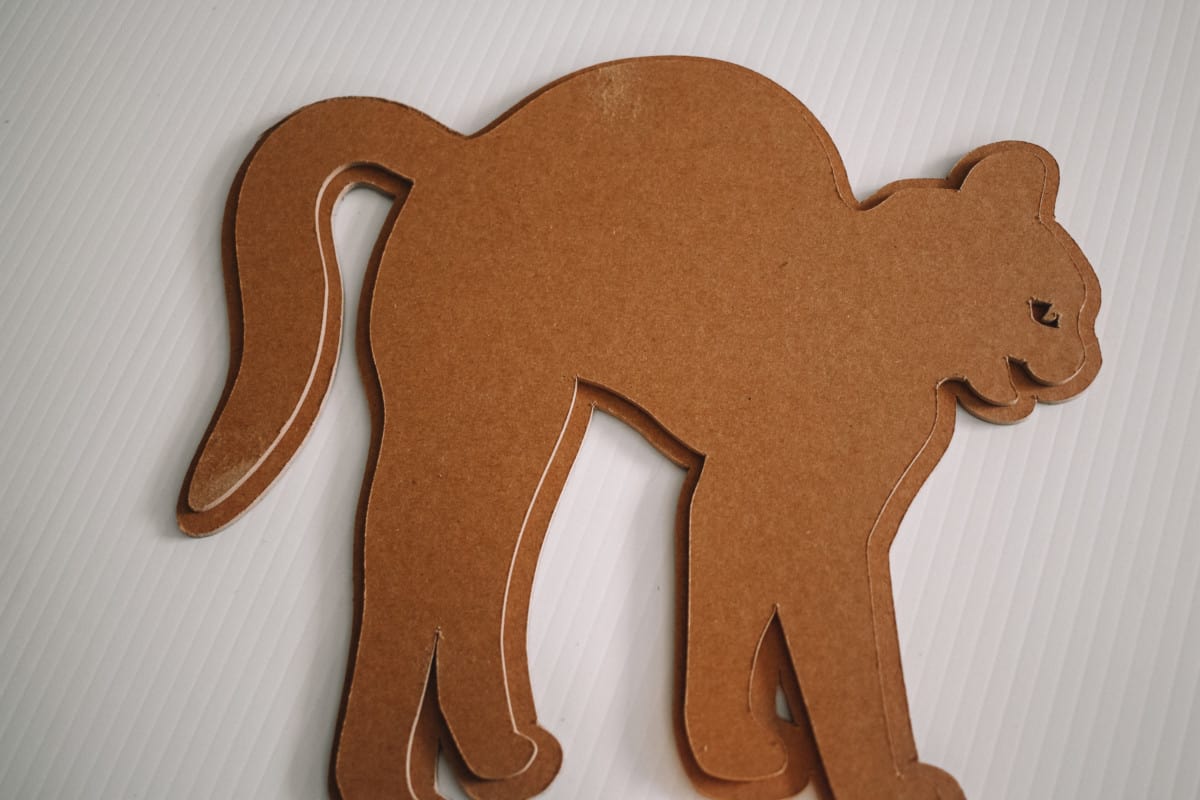
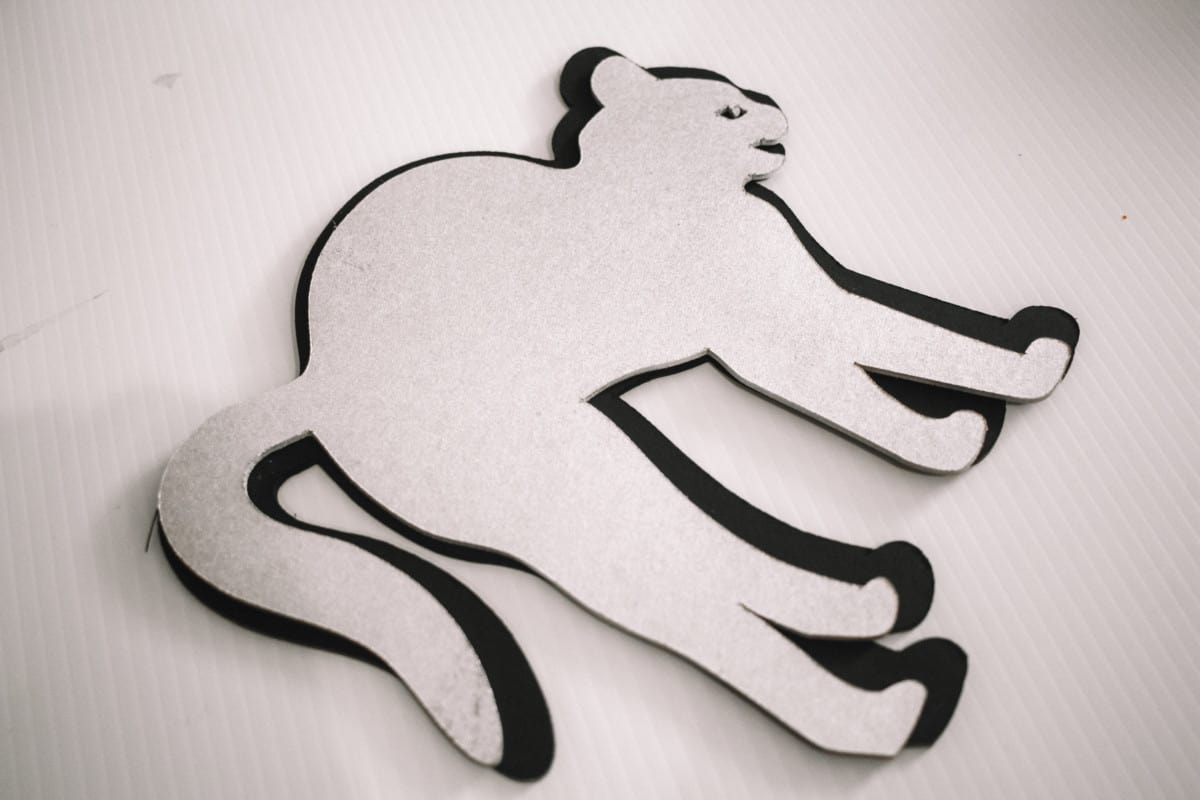
Cut out your second cat and it should look like this when they are layered together.
At this point I spray painted each layer. I had a really hard time deciding what to do here! you can do anything you want but I really wanted to use the mirror spray paint so I used that for the smaller cat and the matte black for the larger one.
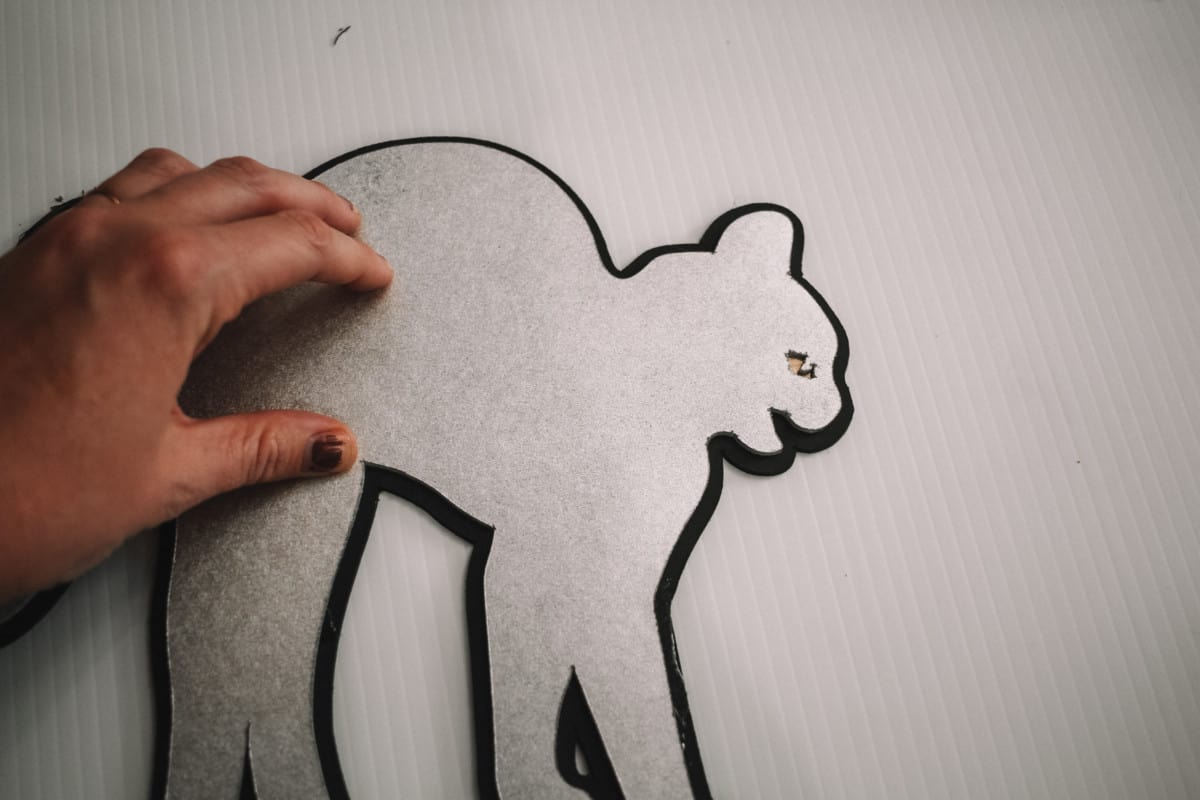
At this point I cut out a small little piece of gold vinyl to put where the eye was so it looked like the cat had yellow eyes!

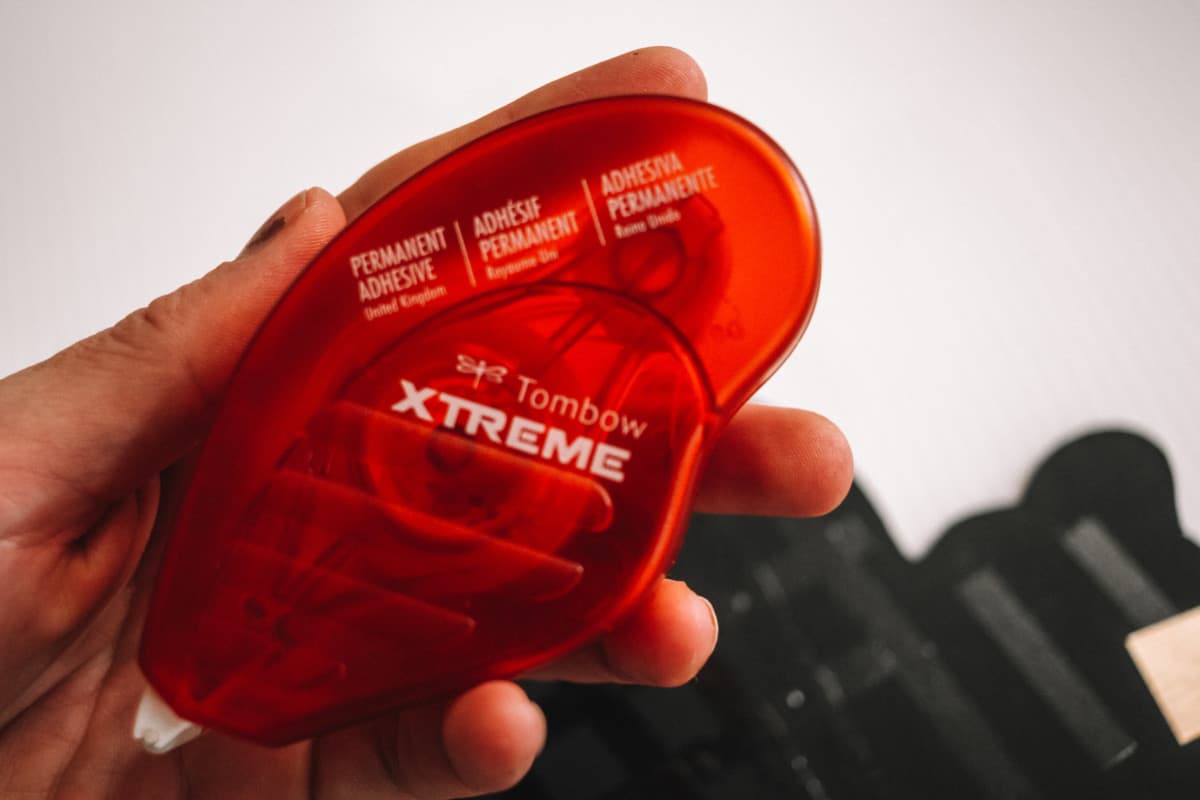
Now you will use your glue tape to combine the two pieces! This Tombow permanent adhesive is my very favorite. I use it for everything.
After this I put it under a mat so it would stick flat and not move! Then I was all done. I love love love how this turned out. It didn’t take long but is perfect to pull out for the fall.
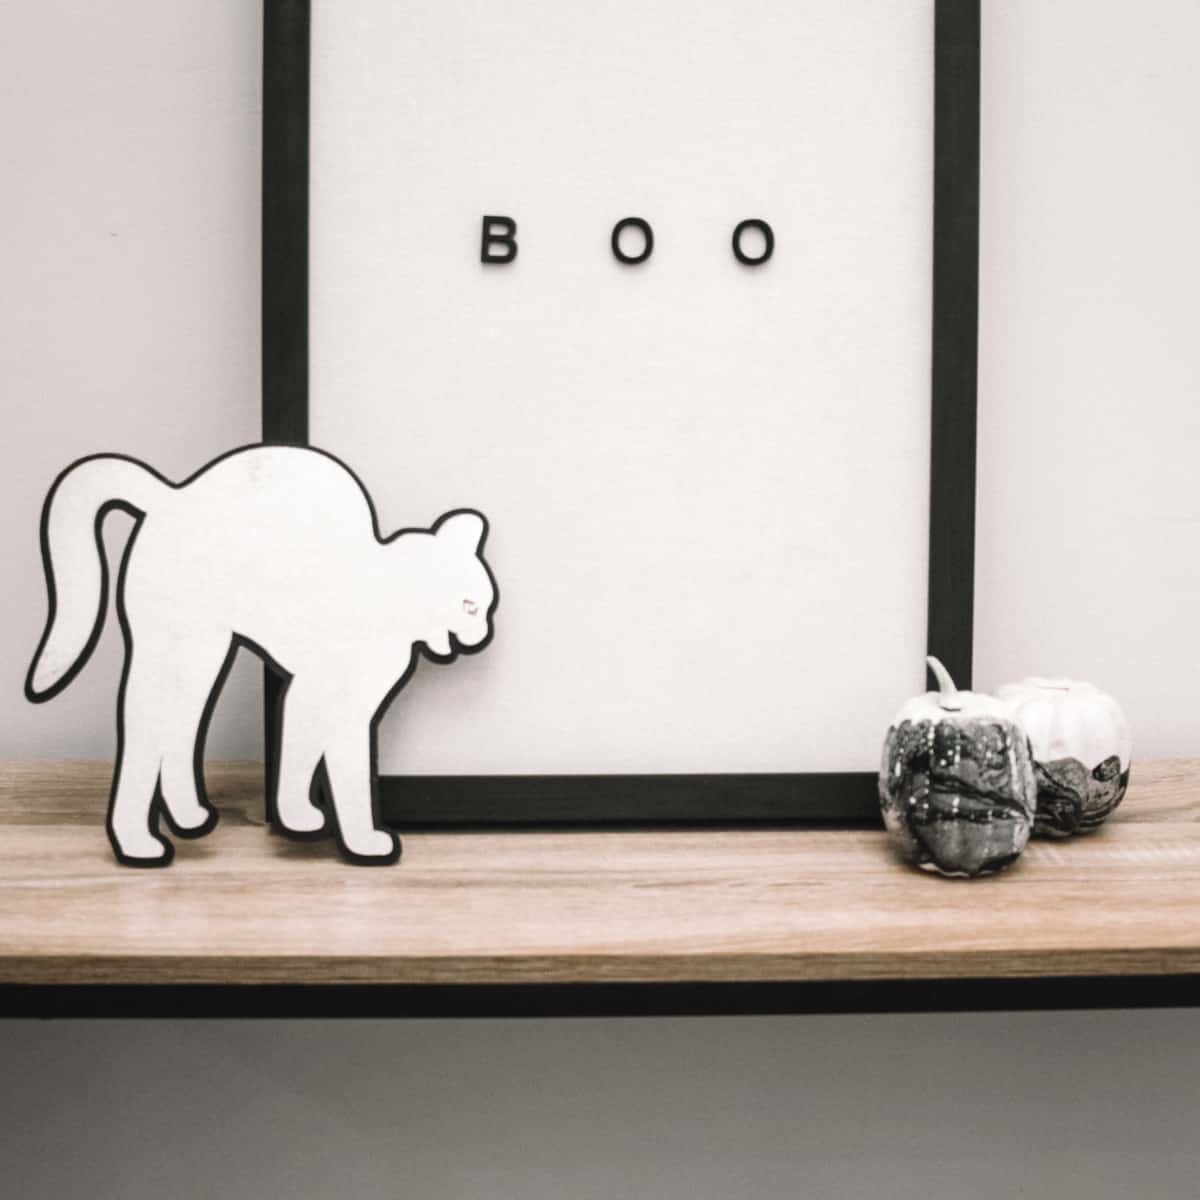
If you love these pumpkins you can find them here! They are a simple DIY as well. I also used chipboard to make this USA sign. Stay tuned at my blog here for even more Cricut Maker projects because I have SO MANY ideas coming down the pipeline!
