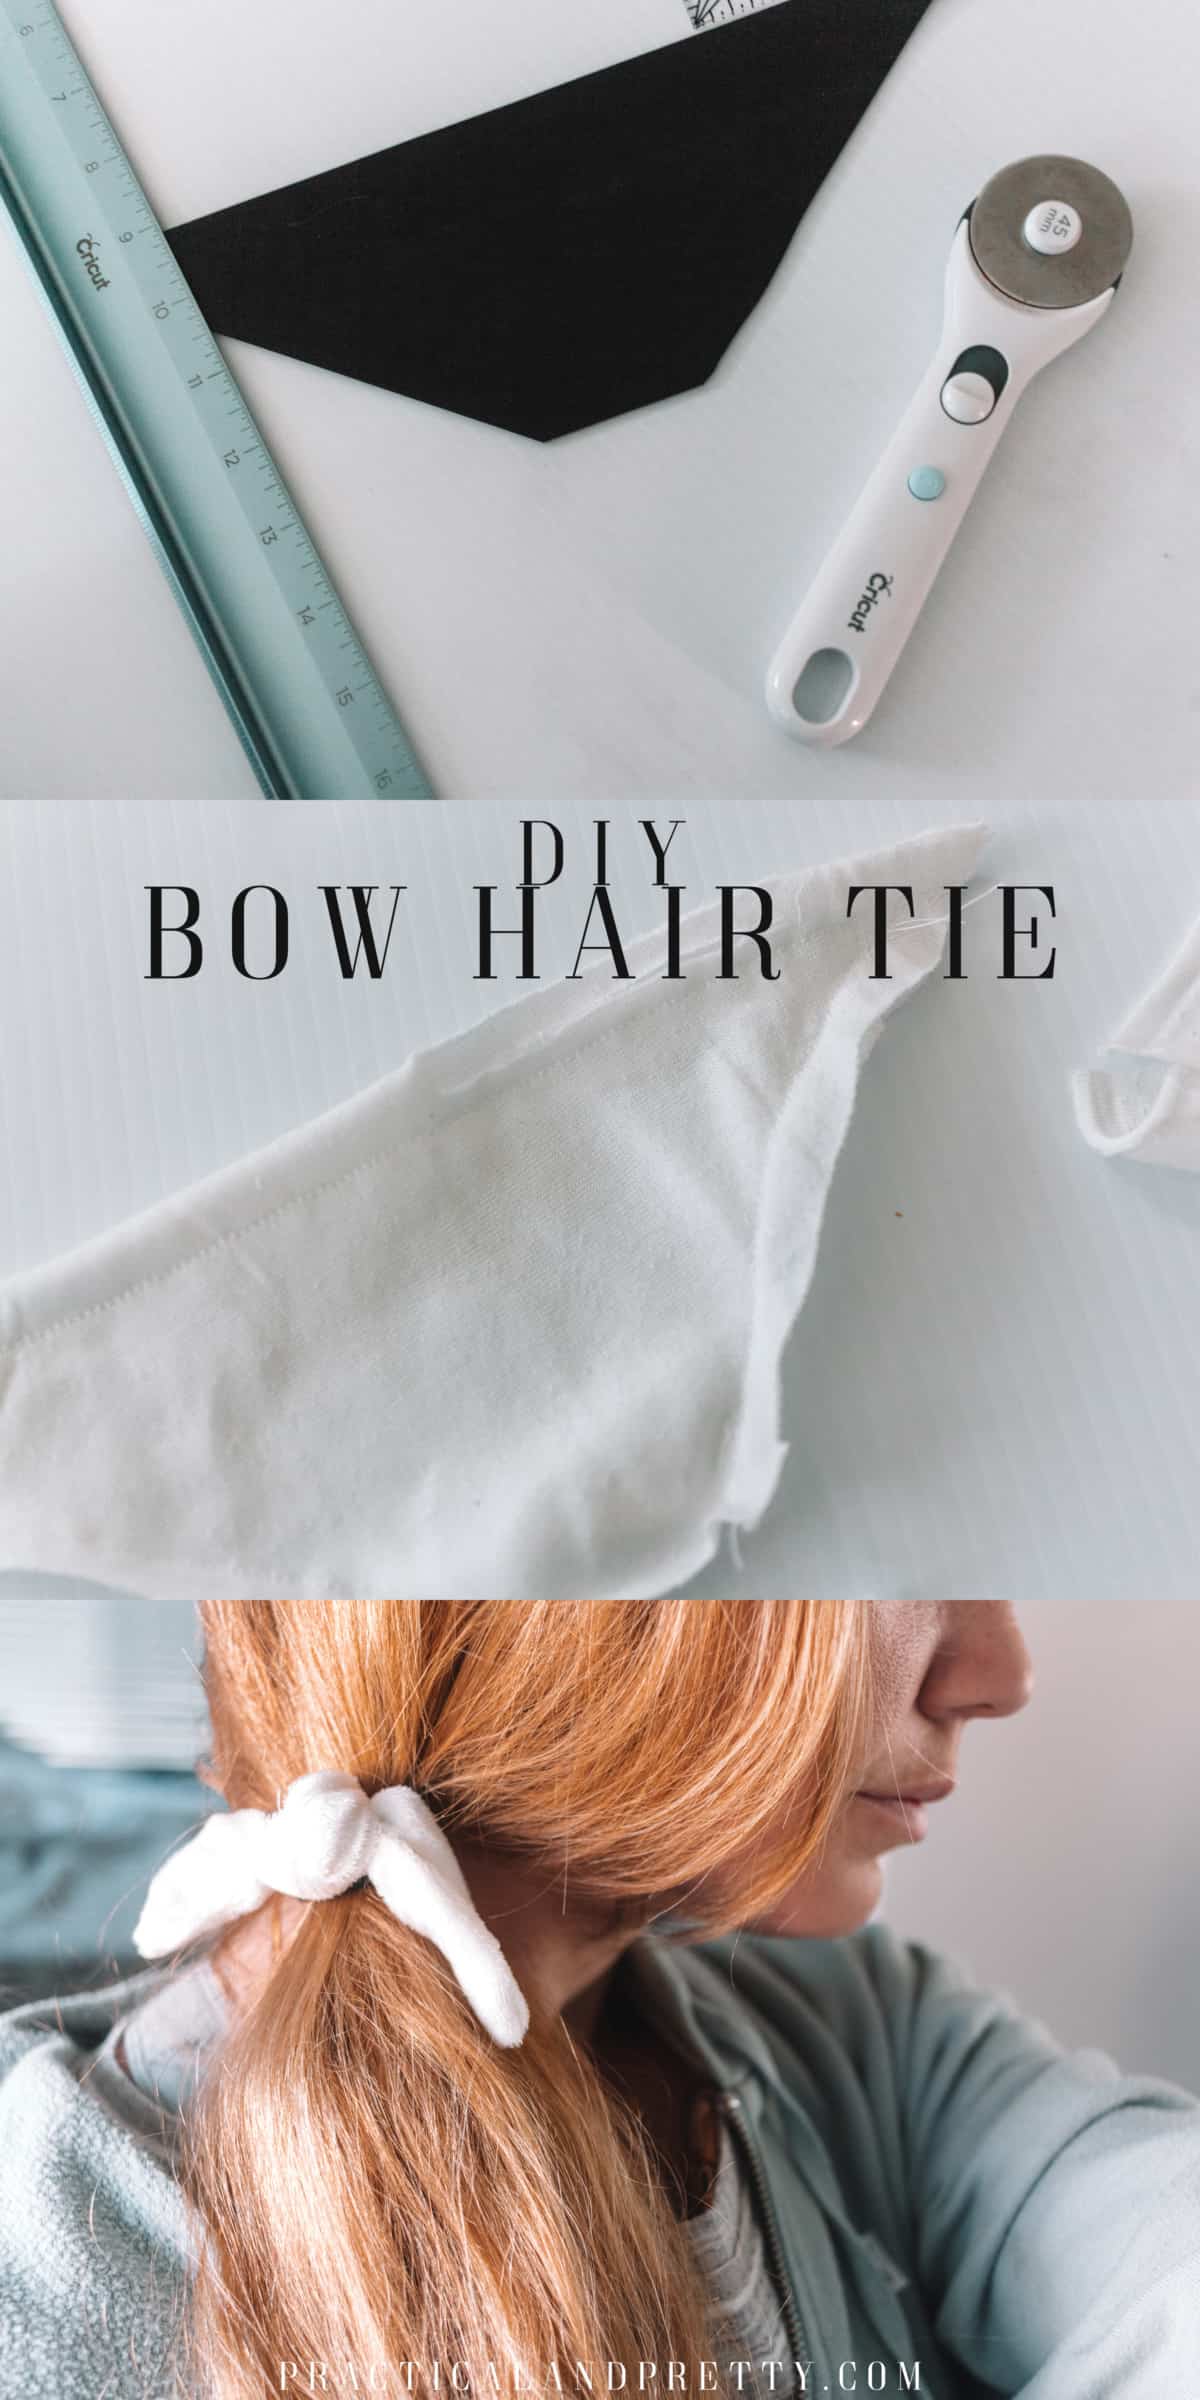
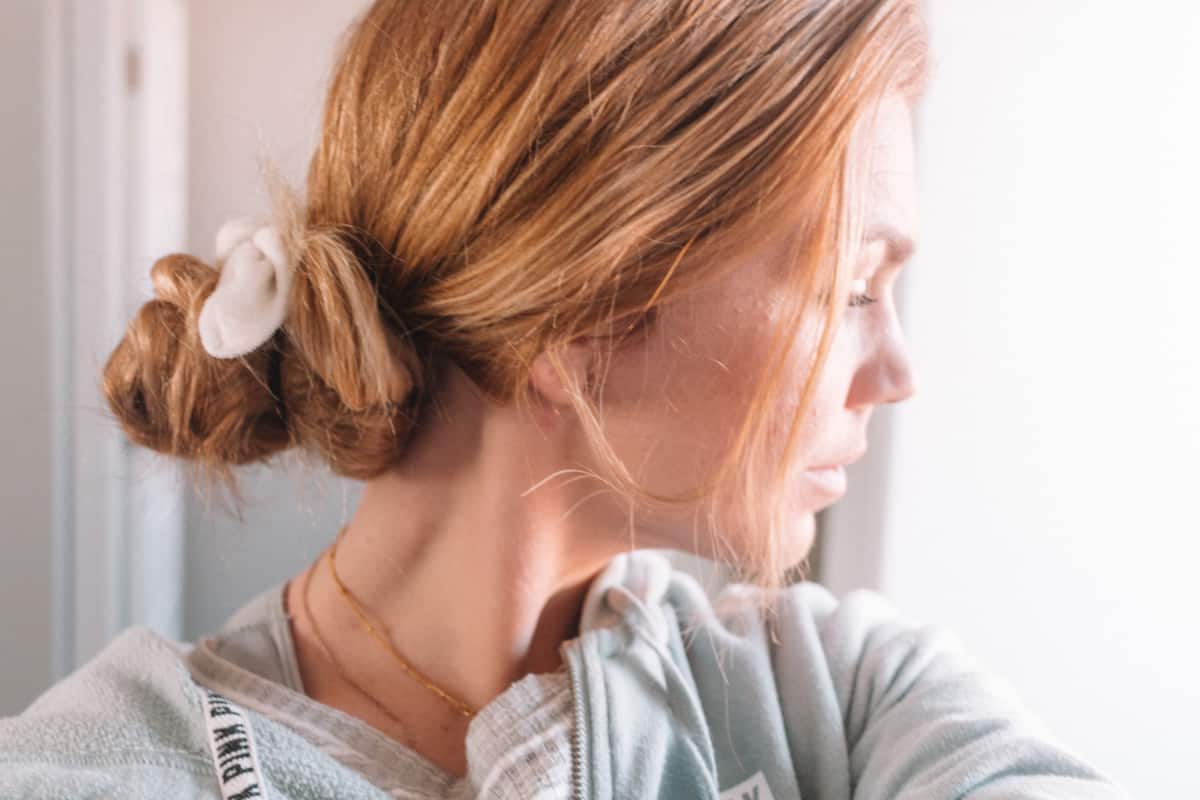
If you like the look of bow scrunchies but aren’t quite ready to commit to the scrunchie idea yet, this bow hair tie DIY for you!
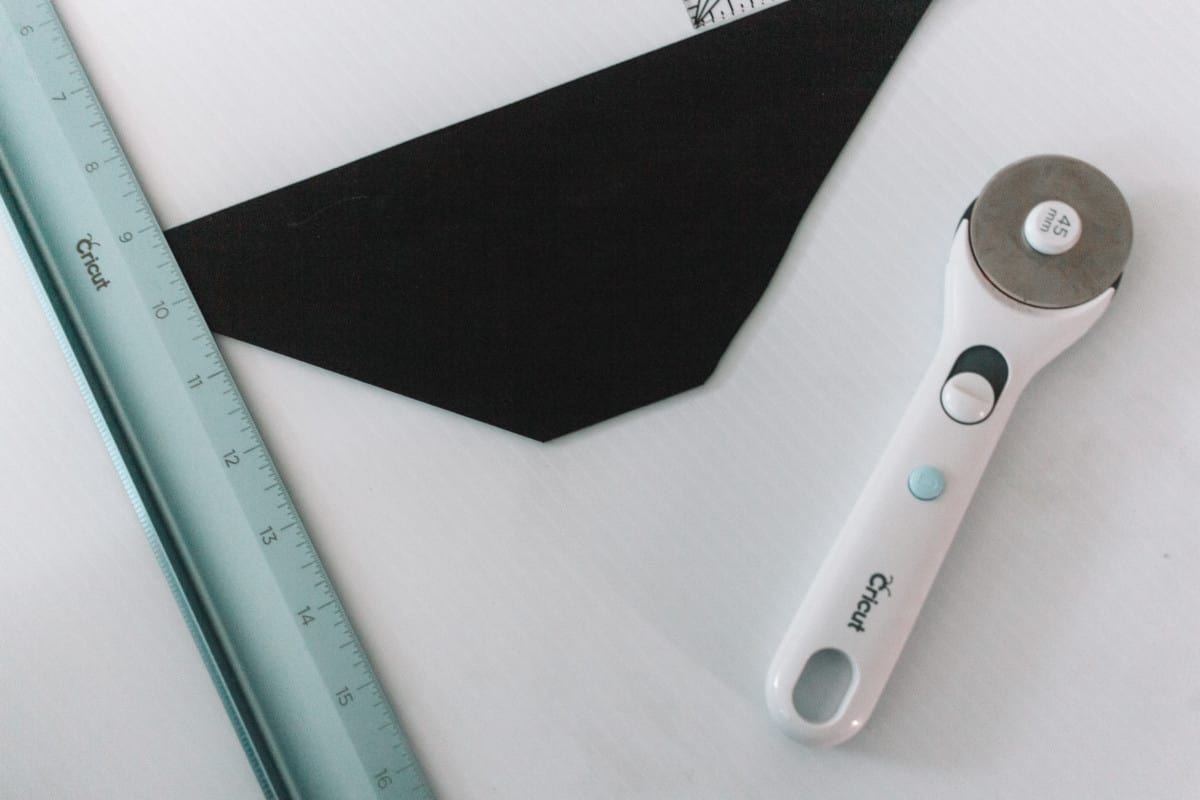
For this tutorial I used a rotary blade to cut out some foam to use as a pattern. If you’re only making one, you probably wouldn’t want to waste your time doing this. However, I highly doubt you’ll only want to make one!
What you need to make your bow hair tie diy
- Fabric – You don’t need much so this might be a good project to do with scraps
- Rotary Blade
- Self Healing Mat
- Ruler
- Sewing Machine
- Foam (optional)
- Hair Tie
You are going to make a trapezoid with your ruler and self healing mat. It will be 12″ on one end and 2″ on the other with 4″ at it’s widest point.
What I did first was cut a 4″x12″ strip.
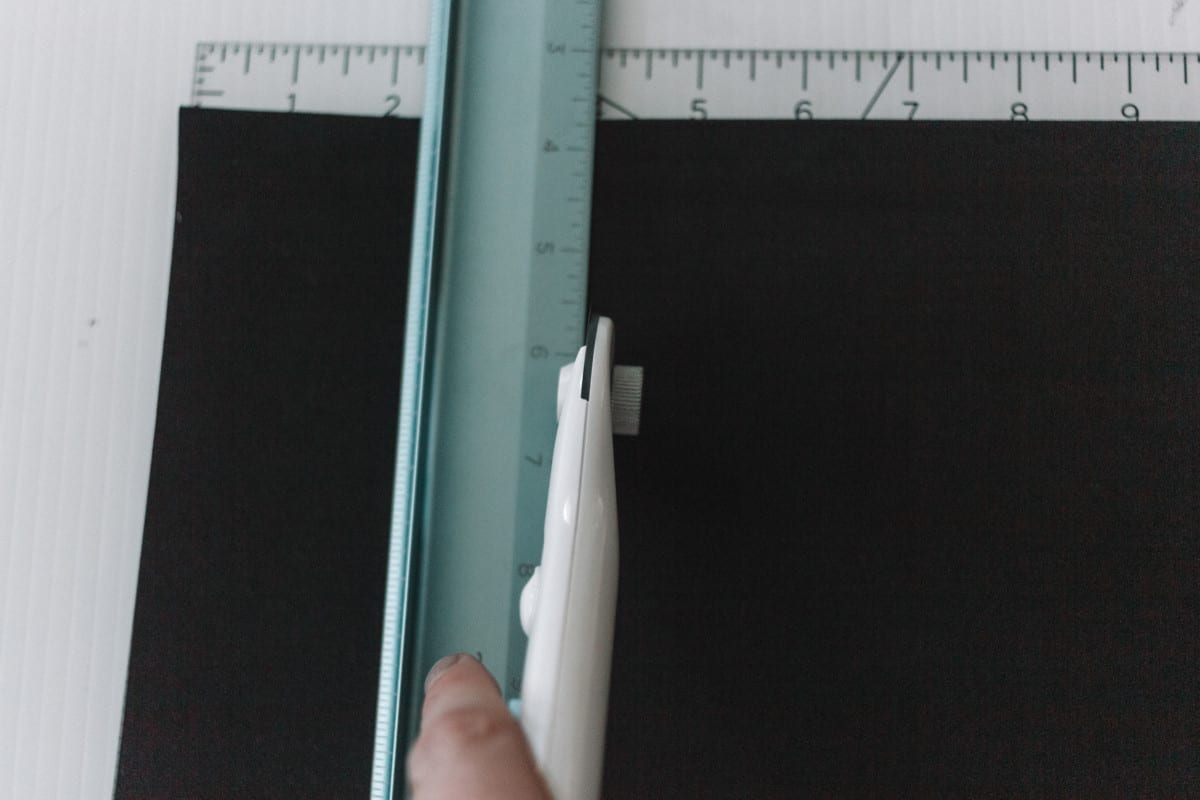
After you’ve cut this strip, mark a 2″ wide section at the center of one of the long edges of your foam.
I did one corner to one edge of the 2″ mark. By doing this on each side you will get uniform angles. I really hope this isn’t too confusing!

Now that you have your pattern, pin it to your fabric folded in half. Put the long edge along the fold.
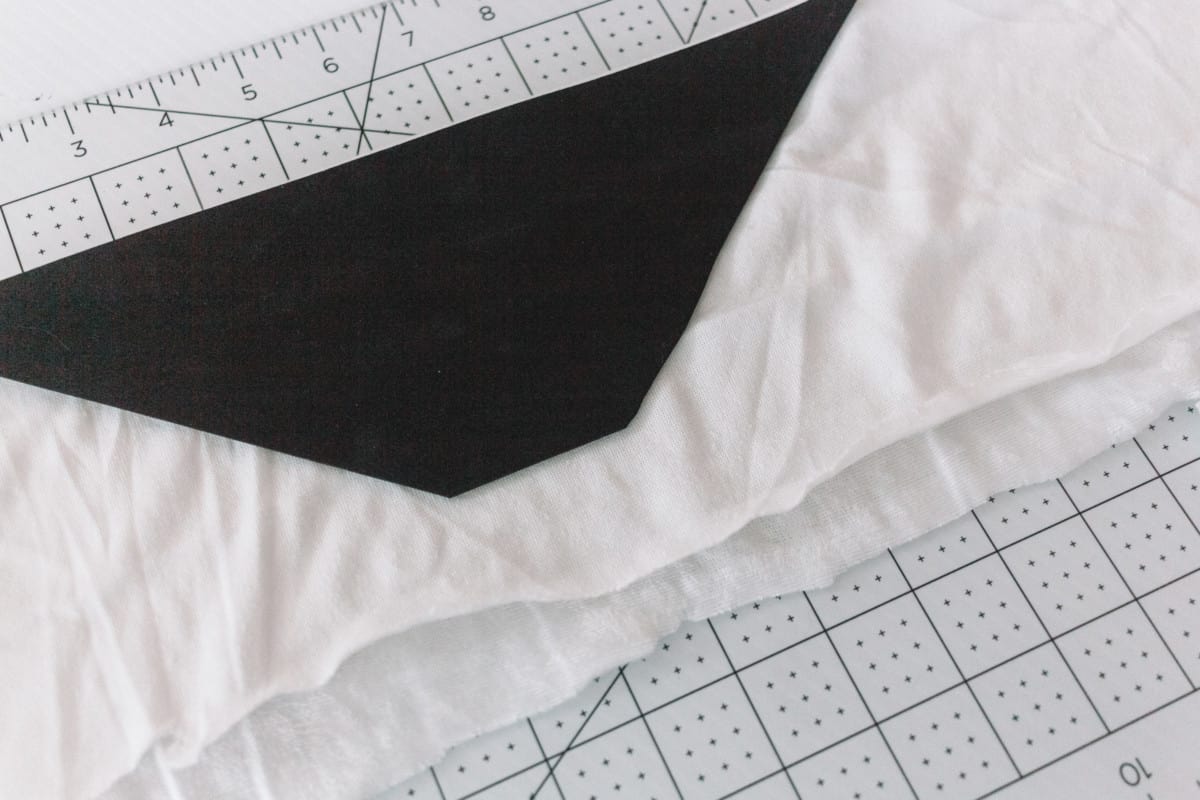
Sew along all the edge except the shortest side with the right sides facing together.

As you can see, I did not sew this very straight ha! But it still worked. Cut the excess if you have some like this. Next time I do this, I’m going to a 1/4″ seam not 1/2″.
Flip it inside out.
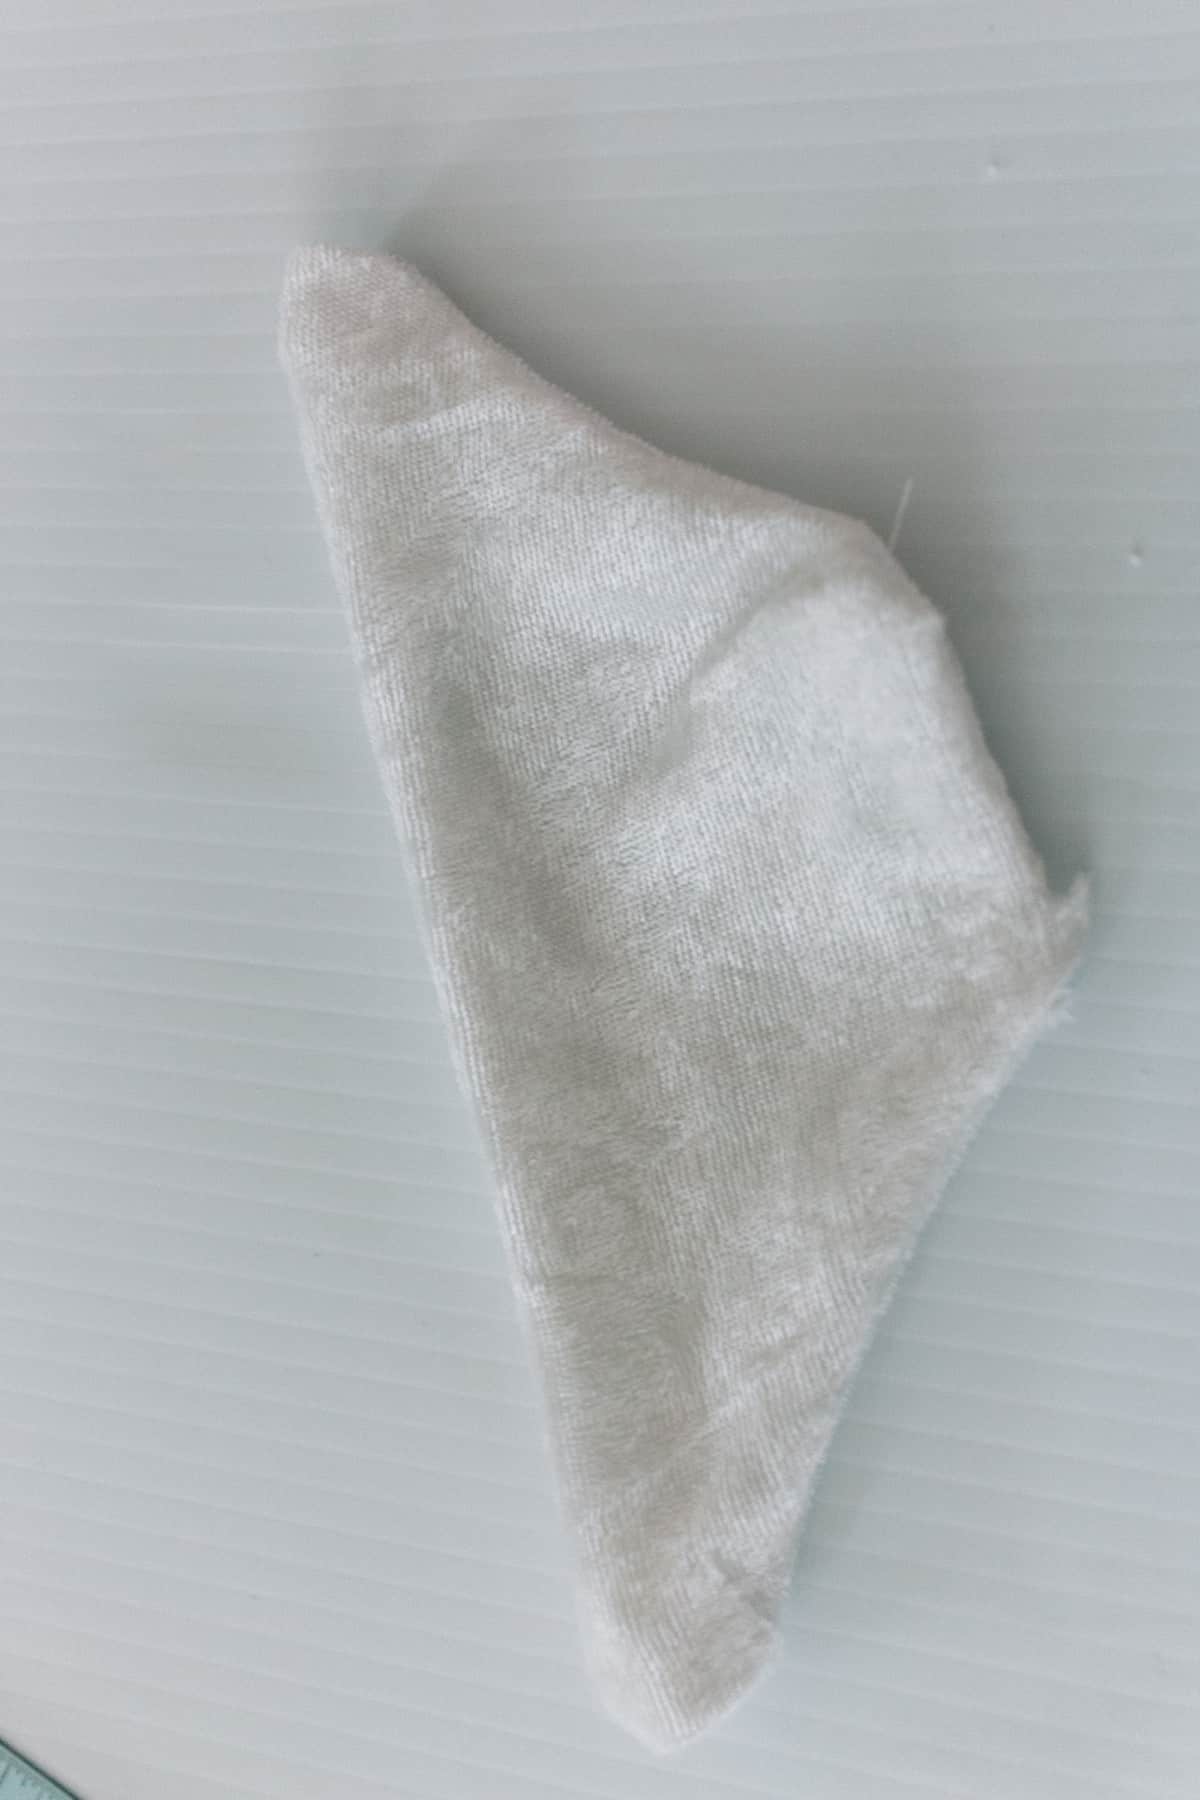
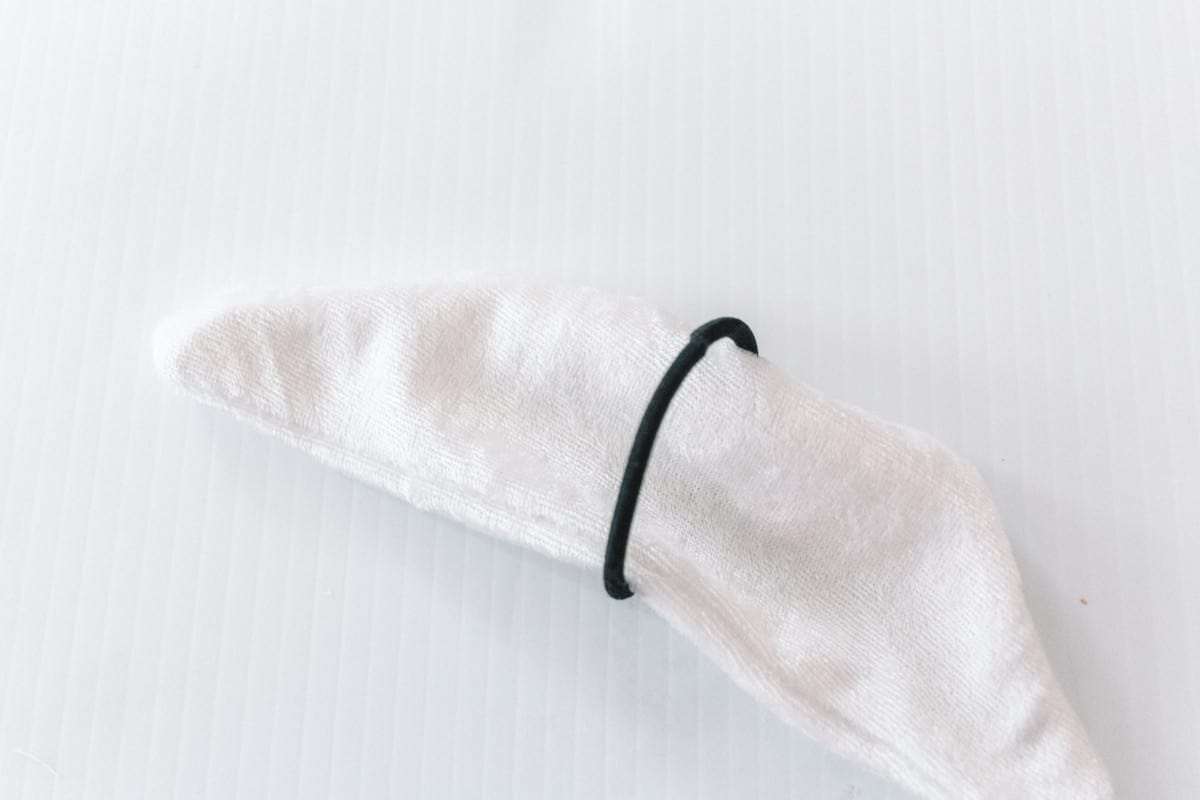
Now all you need to do is center it on a hair tie then tie it in a knot.
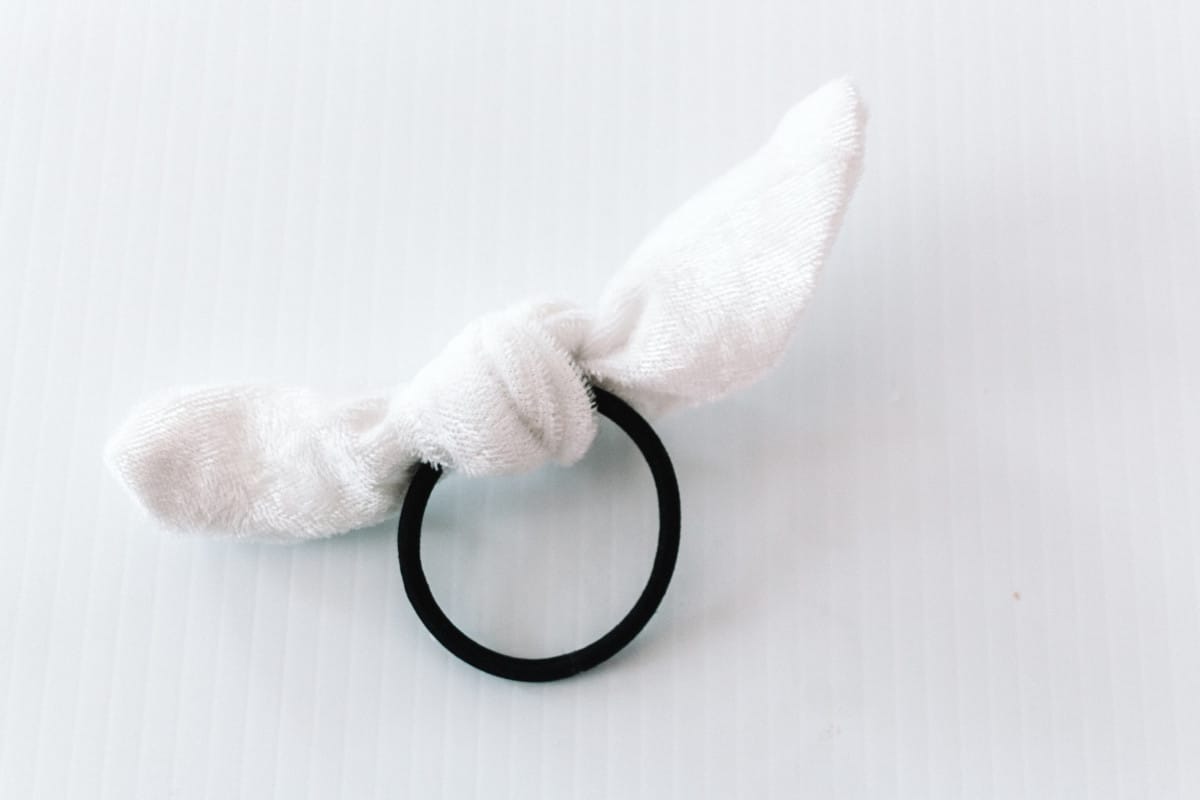
This specific one was a little small but I kinda liked it! You could do it little or make your strip longer to have it be more floppy.


Thanks so much for the post.Much thanks again. Really Cool.