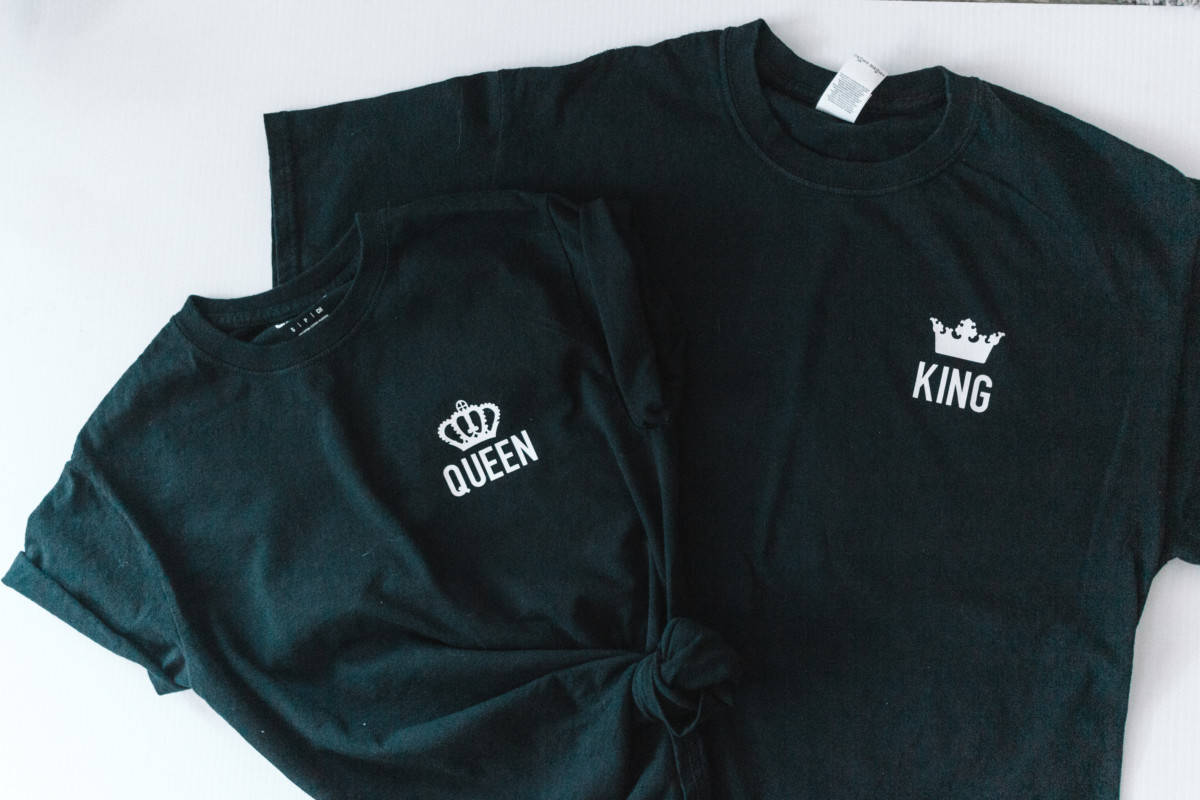
Twin with your spouse with these DIY ‘King’ and ‘Queen’ anniversary tee shirts by using this simple tutorial and only a few minutes of your time.
A friend of mine was celebrating a huge milestone anniversary and going to a Backstreet Boys concert. She wanted to surprise her husband with matching tee shirts.

This is a little design so you can use scraps to complete the project! If you have a stretchy material I suggest using SportFlex iron on but these were just cotton so I just used the Everyday Iron On.
What you Need for Your Anniversary Tee Shirts
- Two Tee Shirts
- Everyday Iron On
- EasyPress
- Cricut
- This Cut File
Shop This Post!
These are affiliate links! I earn a small commission if you purchase through them at no cost to you!
Cricut Iron On Lite,Buy NowCricut EasyPress 2 –Buy NowCricut Explore Air 2Buy NowHanes Men’s Comfortsoft T-ShirtBuy Now
Open this cut file and start cutting. Be sure to mirror for iron on. If you need a checklist to make sure you don’t mess up your iron on check out this post here.
Heat up your EasyPress or iron and iron it on according to the settings of the materials you are using. I used Everyday iron on with cotton tee shirts so I heated it up to 320. Heat the shirt for 5 seconds and then iron it on for 30 seconds.
I typically wait until the iron on is cool before peeling it off. This is a trick I learned at the Make-a-thon that Cricut hosts. Most of the time, you can do a ‘cold peel’ and it works out better. There are a few exceptions but I’ve found it works often.
Once it is peeled off, you are done! If you have a shirt with a pocket this little design would work great for that. I’ll be making my husband and me one of these too!