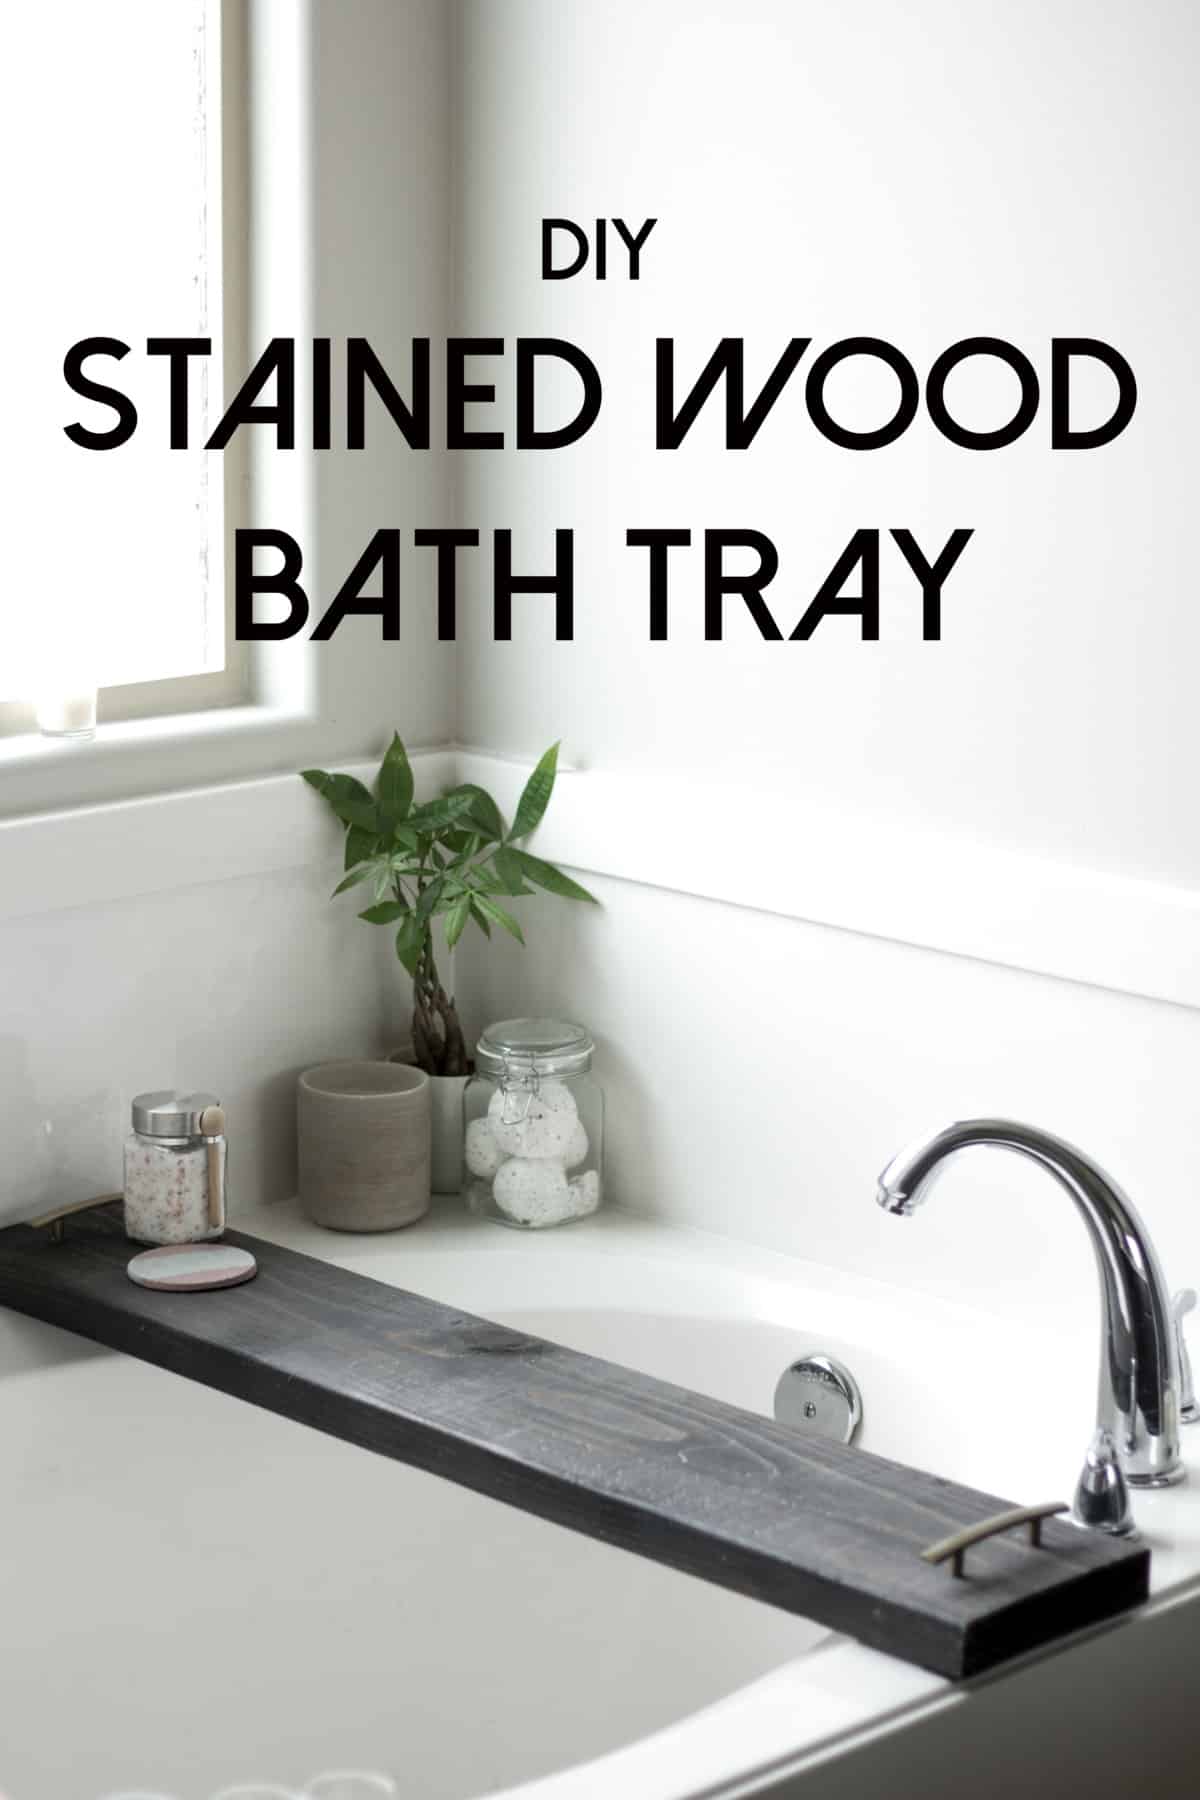
If you’re anything like me, bath time is one of the best parts of the day. I love my bath so much that I bring my computer with me to the bath and work sometimes. No shame in my bath game! It has got to a point though where I’m a little nervous I’m going to seriously damage my pretty expensive electronics. So, to resolve this issue, I made a DIY bath tray! It only cost me about $10 and made my bath even that much more enjoyable.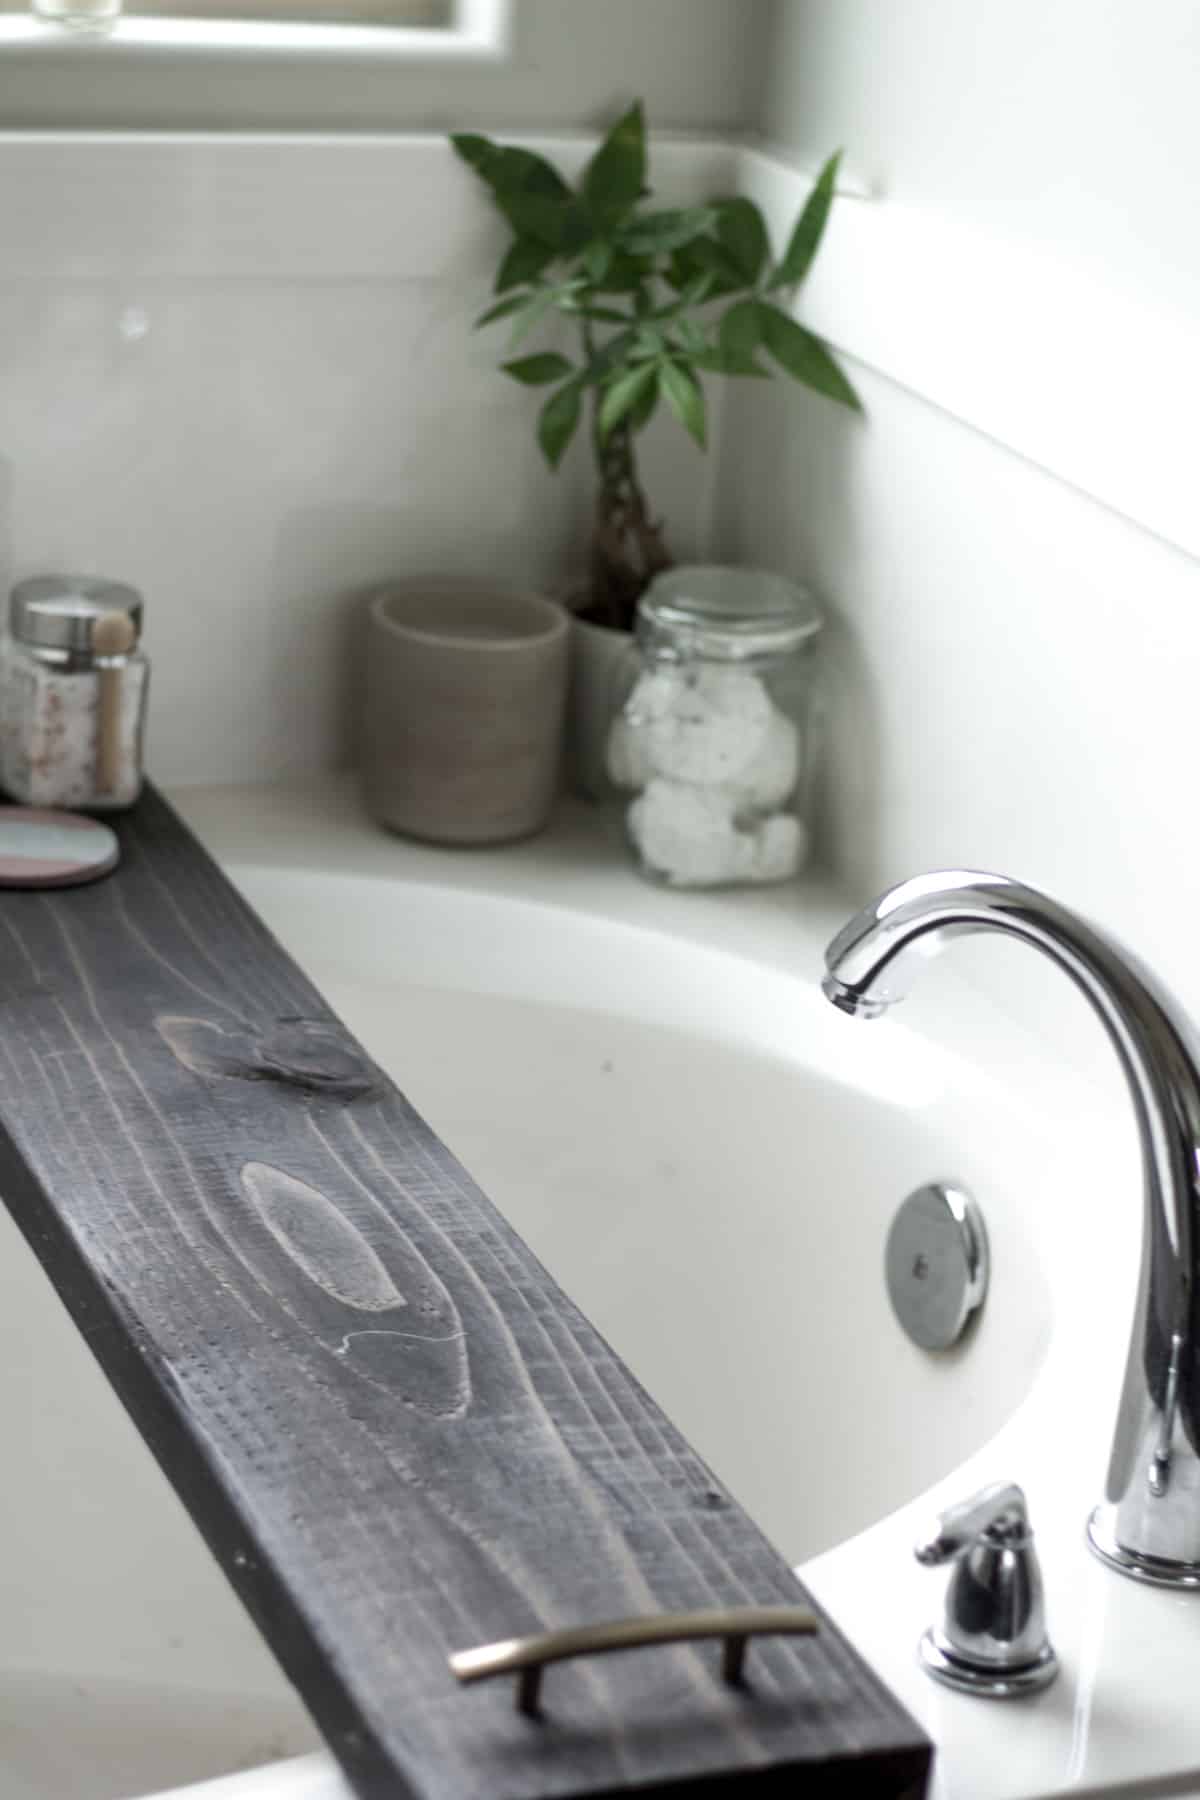
Materials for the Bath Tray
- 1-in x 8-in x 6-ft piece of wood
- Wood Stain
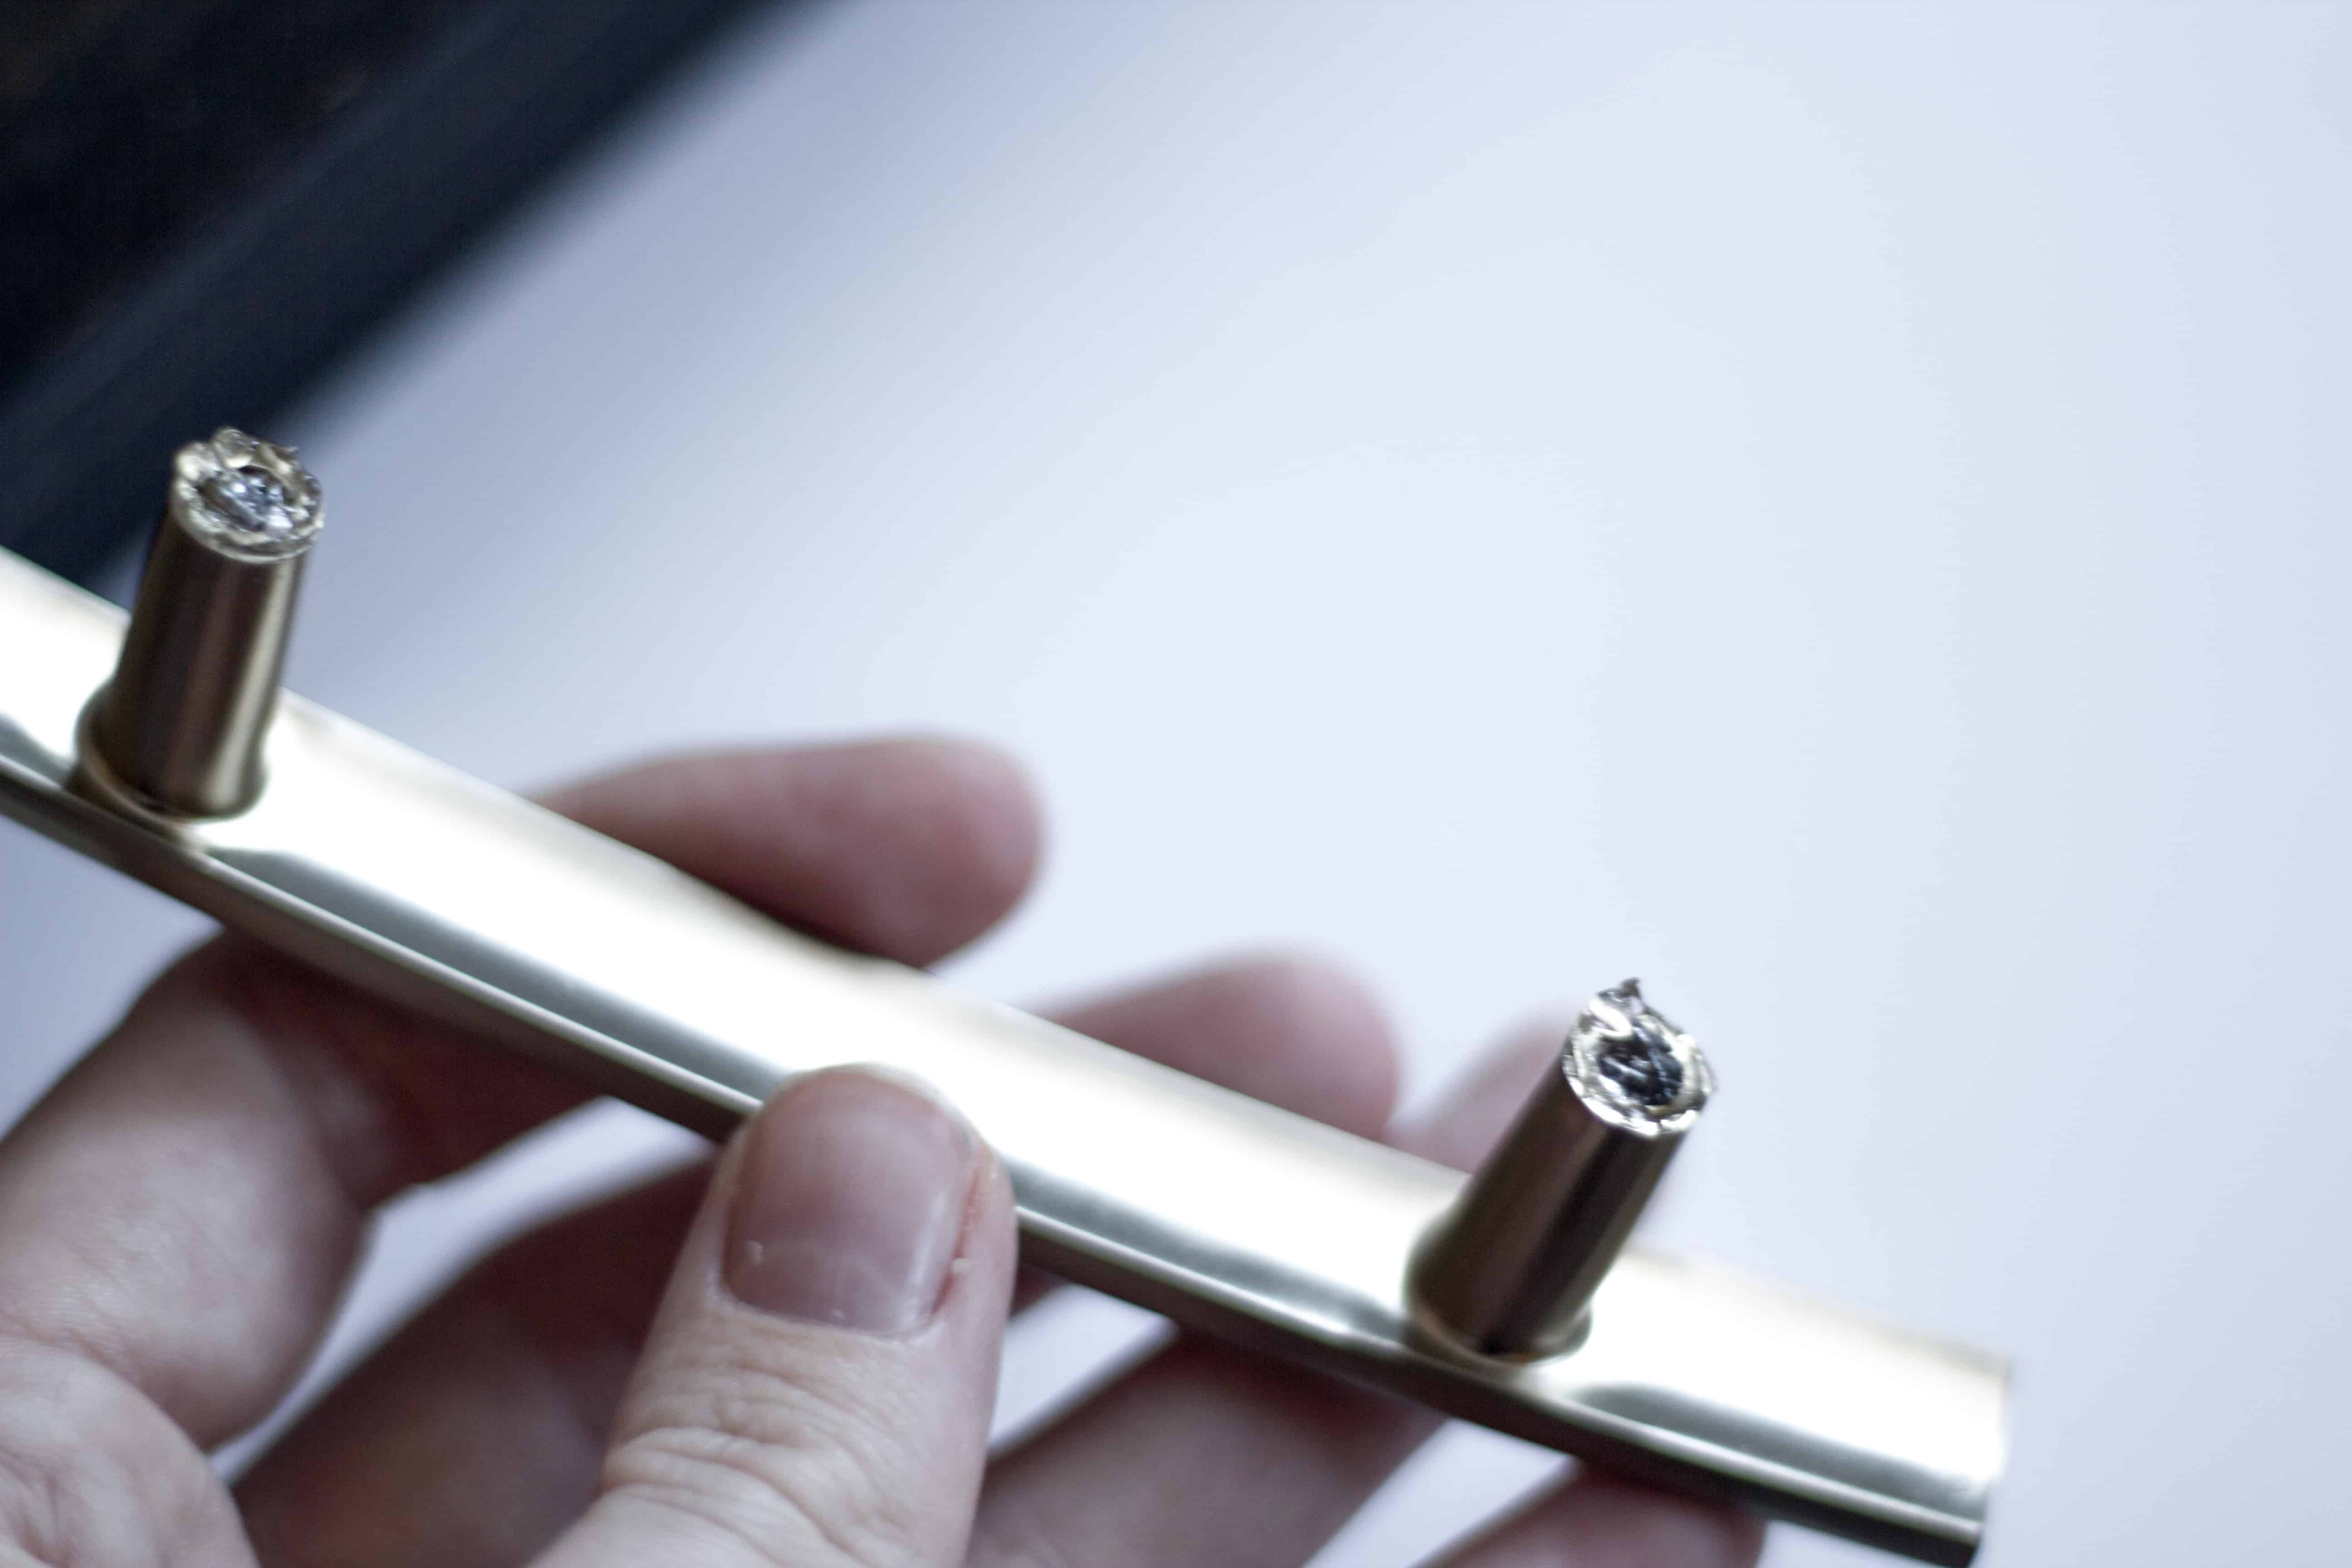
- Cabinet Pulls
- Grippers
- Wood Stain Sealer
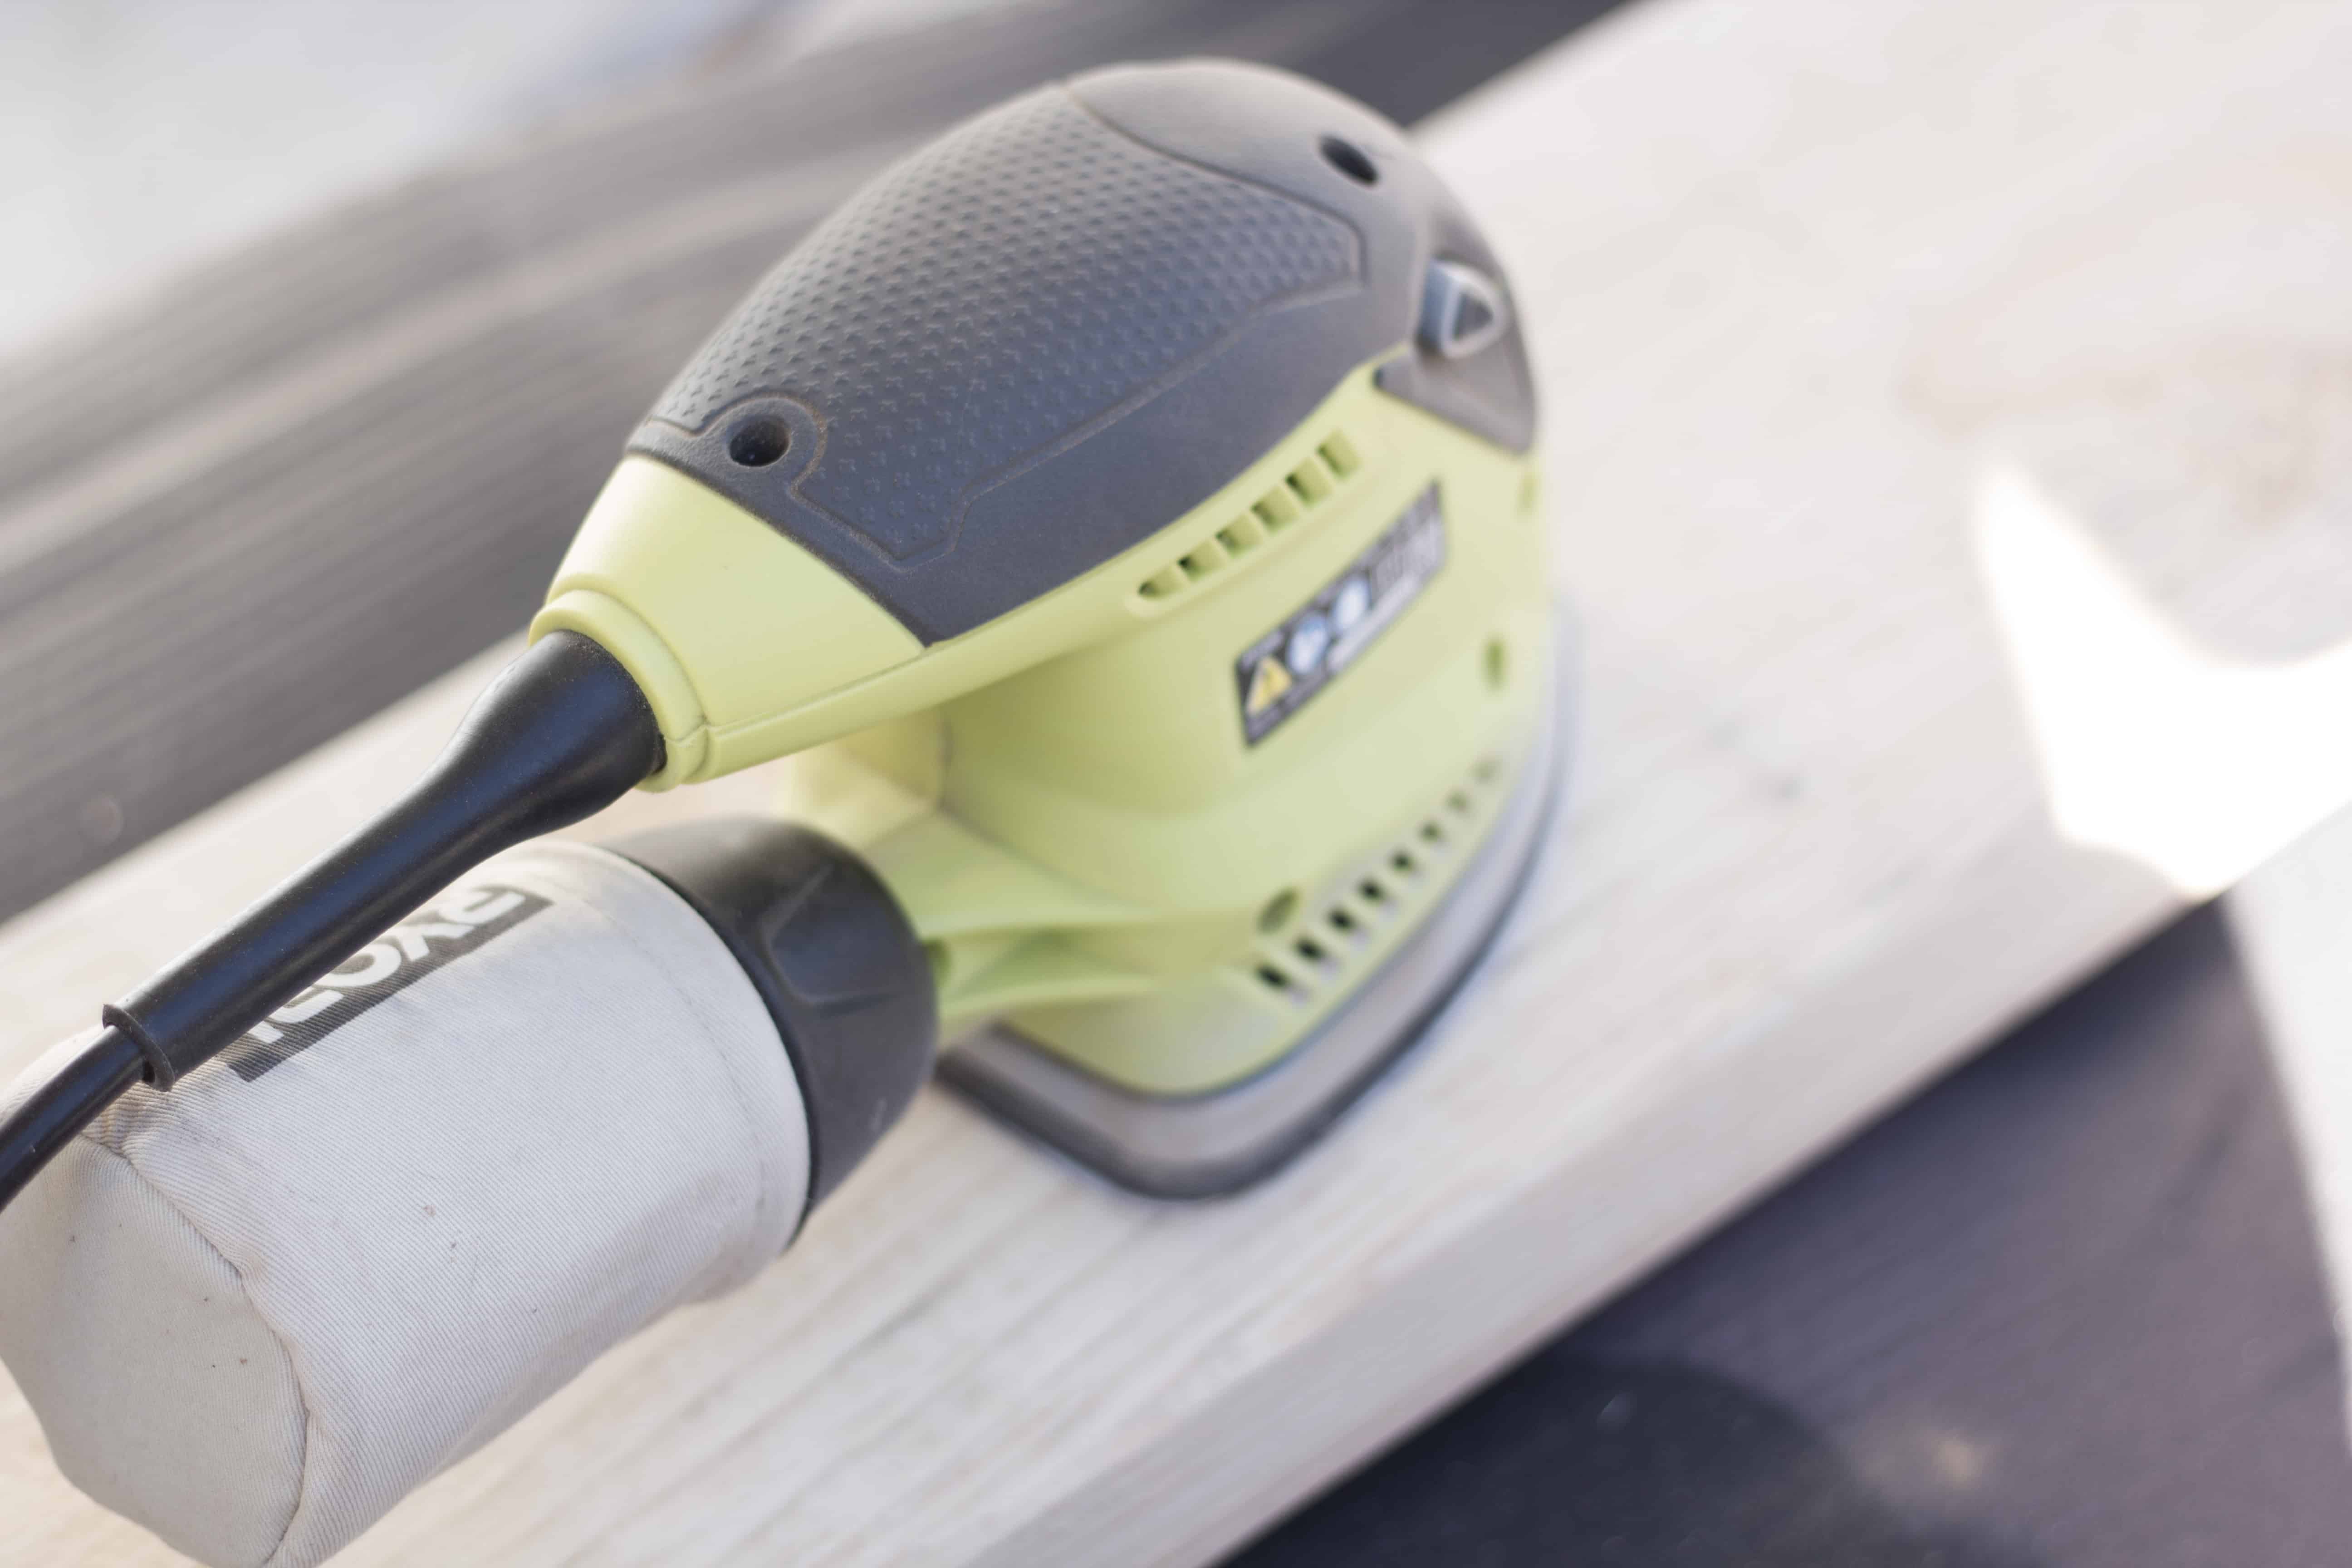
- Sander (or sand paper)
- Super glue
Instructions
Start by measuring your bath tub. Mine was 41″. When I bought my lumber I had the nice man at Lowe’s cut it for me.
I then sanded my wood plank with my Ryobi sander. I used 60 grit then 120 grit sand paper.
Then, I stained my plank according to the instructions on the can. I only did one coat. I definitely could have done two but I wanted the grain to show through pretty well.

After, I let it dry overnight (let’s be honest I actually had my baby the day after I stained it so I let it dry for about 4 days after it was left out in the rain. Oops. It still turned out though so I’m ok with it!)
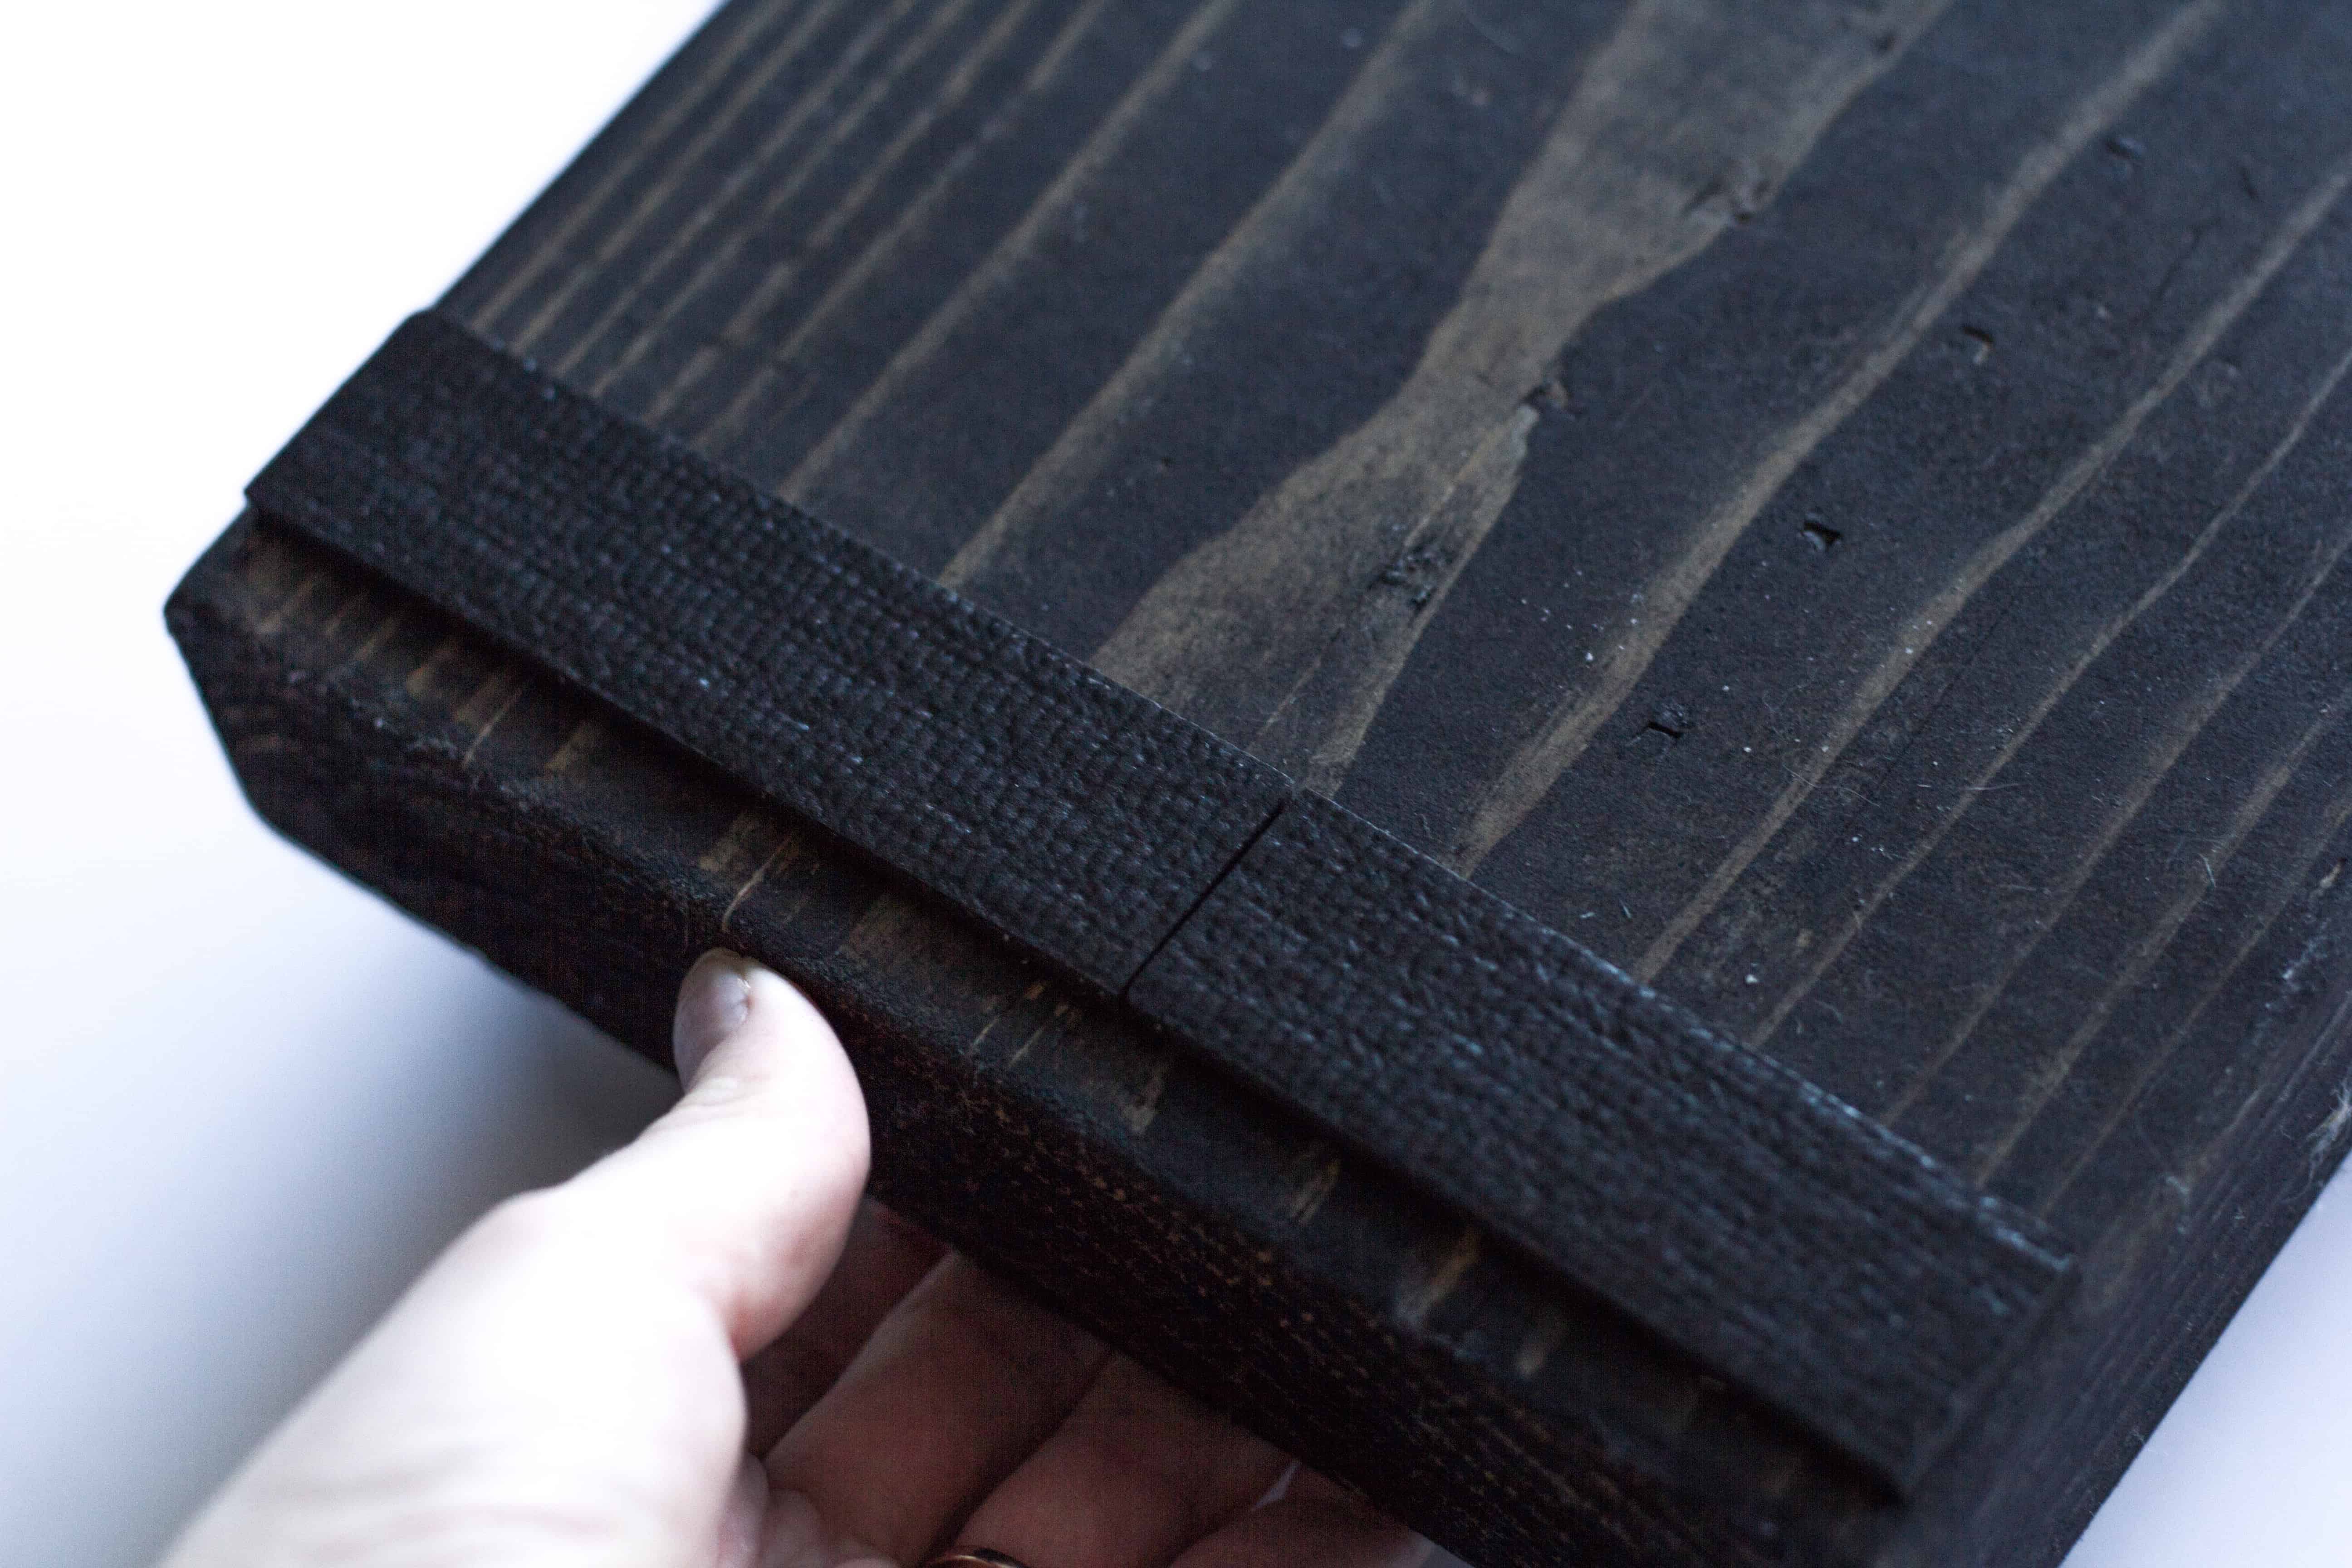
Seal your stain with a stain sealer. I used a spray because that was the easiest for me. I did two coats on each side.
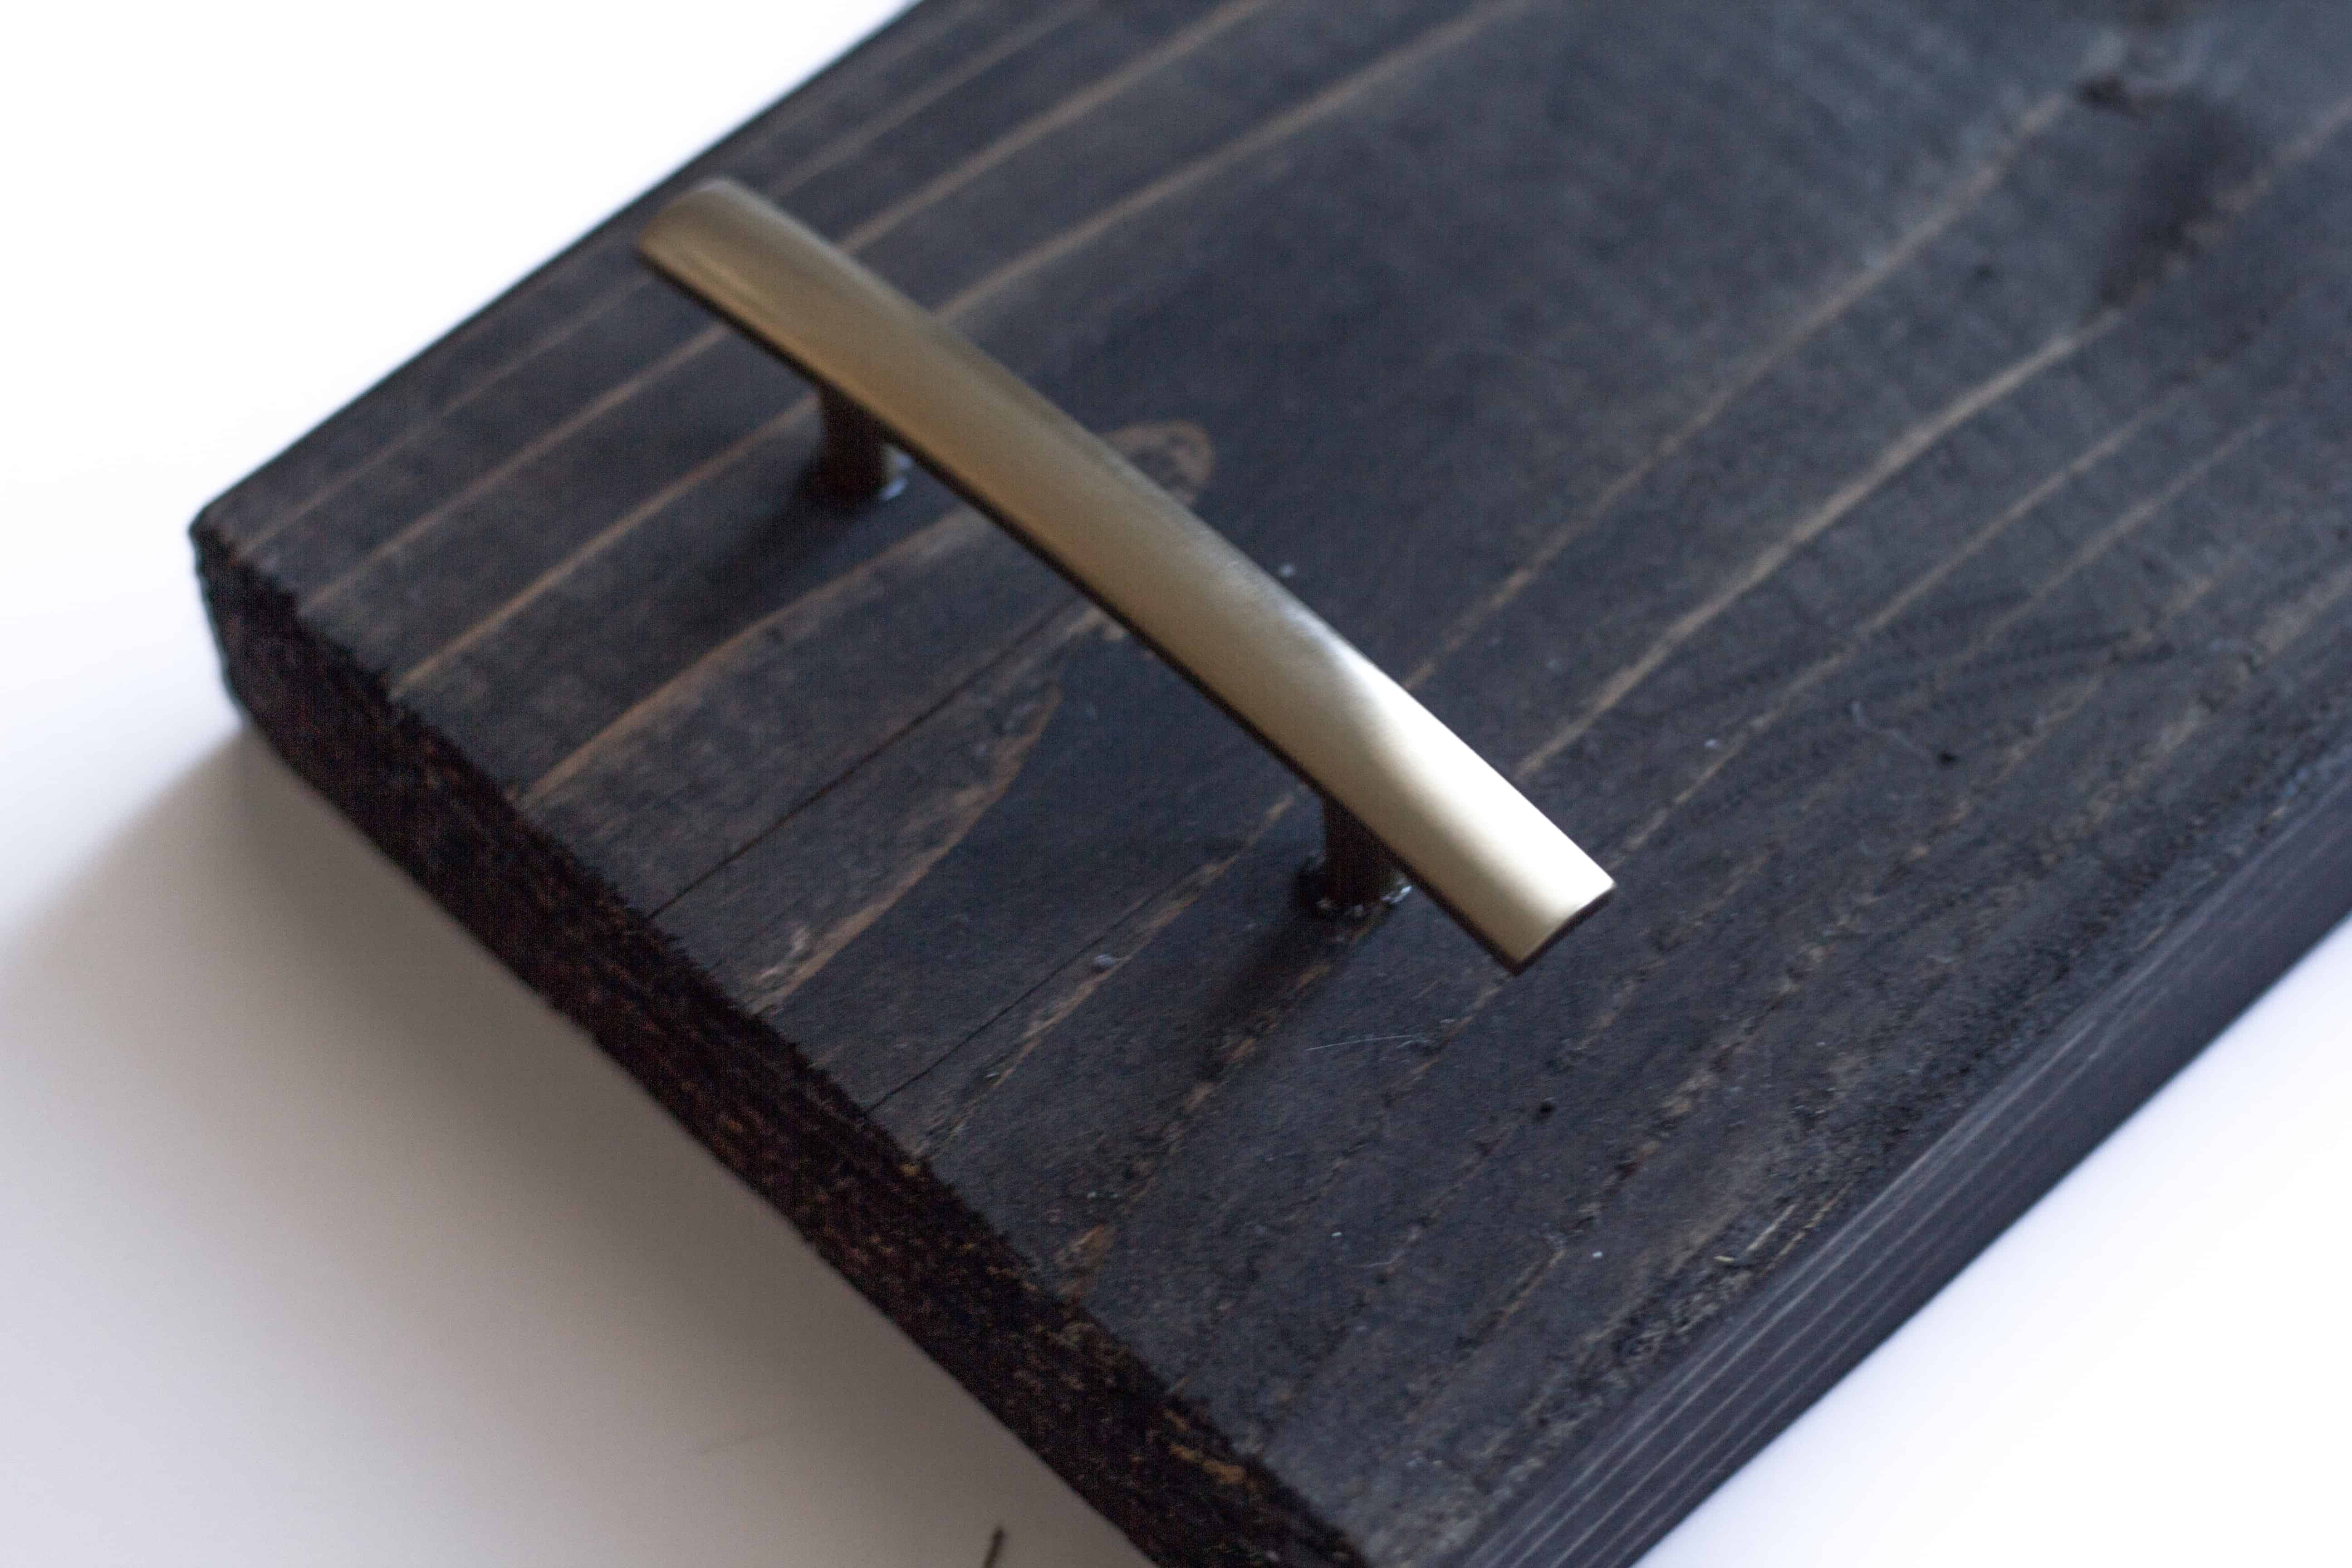
I superglued some cabinet pulls on the top. You could screw them in if you want but I was trying to limit the power tools because I’m lazy.
Stick the grippers on the bottom. I don’t really know if this is totally necessary but I wanted to protect my tub as much as possible. The board was not really slipping around though as it is quite heavy!
Now you can hang out and relax in your bath while you read, drink some tea, or maybe get some work done.


What a great idea Anna!