• Skip to main content
  • Skip to primary sidebar
  • Skip to footer

Practical and Pretty logo

  • HOME
  • DYEING
  • DIY
  • PARTIES
  • CRICUT
  • SHOP
  • ABOUT
  • CART
You are here: Home / DIY / DIY Full Length Dowel Mirror

April 10, 2017

DIY Full Length Dowel Mirror

This dowel mirror was inspired by one I saw online. When I saw the price, my jaw dropped! I recreated it for a fraction of the price and I’m so excited to share it with you! It is really simple and only requires a few things.

I needed  a full length mirror in my room. After I created this mirror, I decided to leave it in my entry way because it is that pretty! I’ve received so many compliments on it. People don’t believe me when I tell them I made it myself

I received some free product from Rustoleum to create part of this project. All opinions are 100% my own!

What you need for your Dowel Mirror
  • Mirror
  • 2 dowels
  • Super strong glue
  • Spray paint

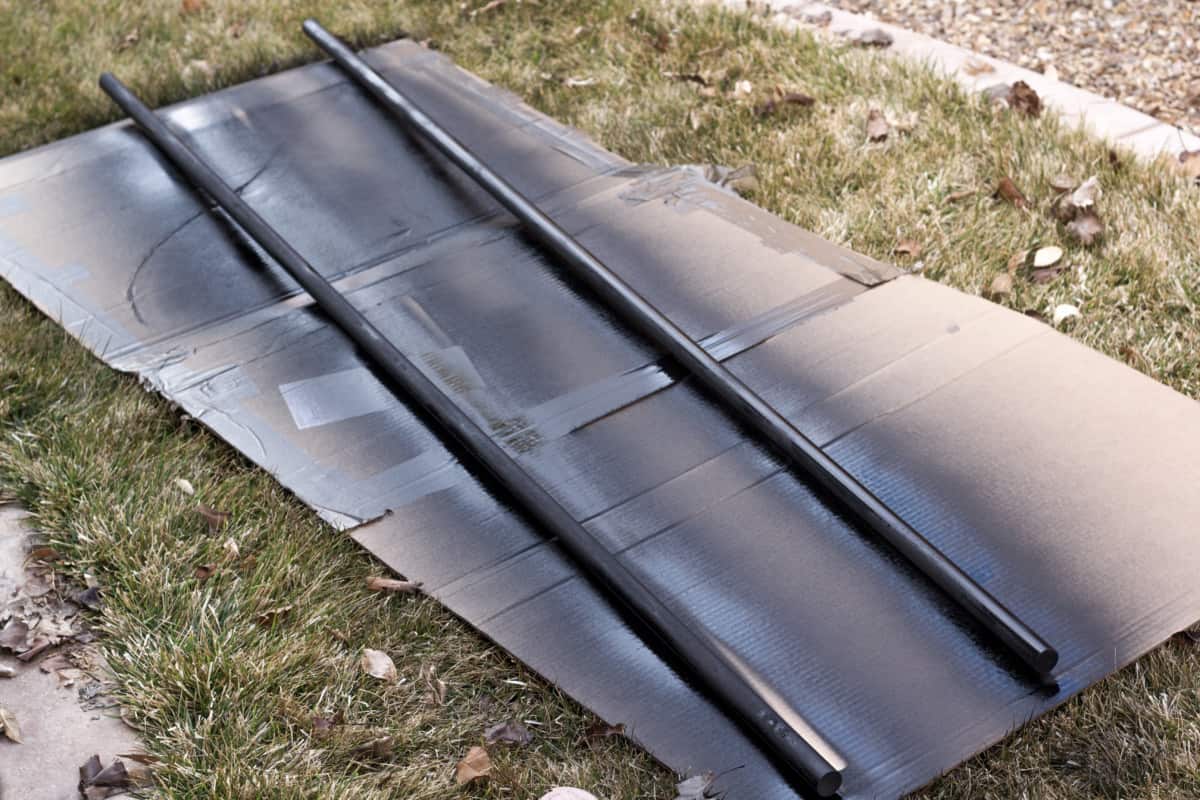
You’ll start by spraying your dowels. You don’t have to do this, but it will make it easier to hide mistakes you make with your glue!

This is such a simple DIY but will save you SO much money!

Then you will glue on the dowels. The key to this is using very strong glue. Obviously you are suspending a mirror, so it is important you know you have a really secure seal. I researched for the strongest multi surface glue and this was the best option I could find. Before I set it up I made sure it was completely dry. So far it has held up really well!

This is such a simple DIY but will save you SO much money!

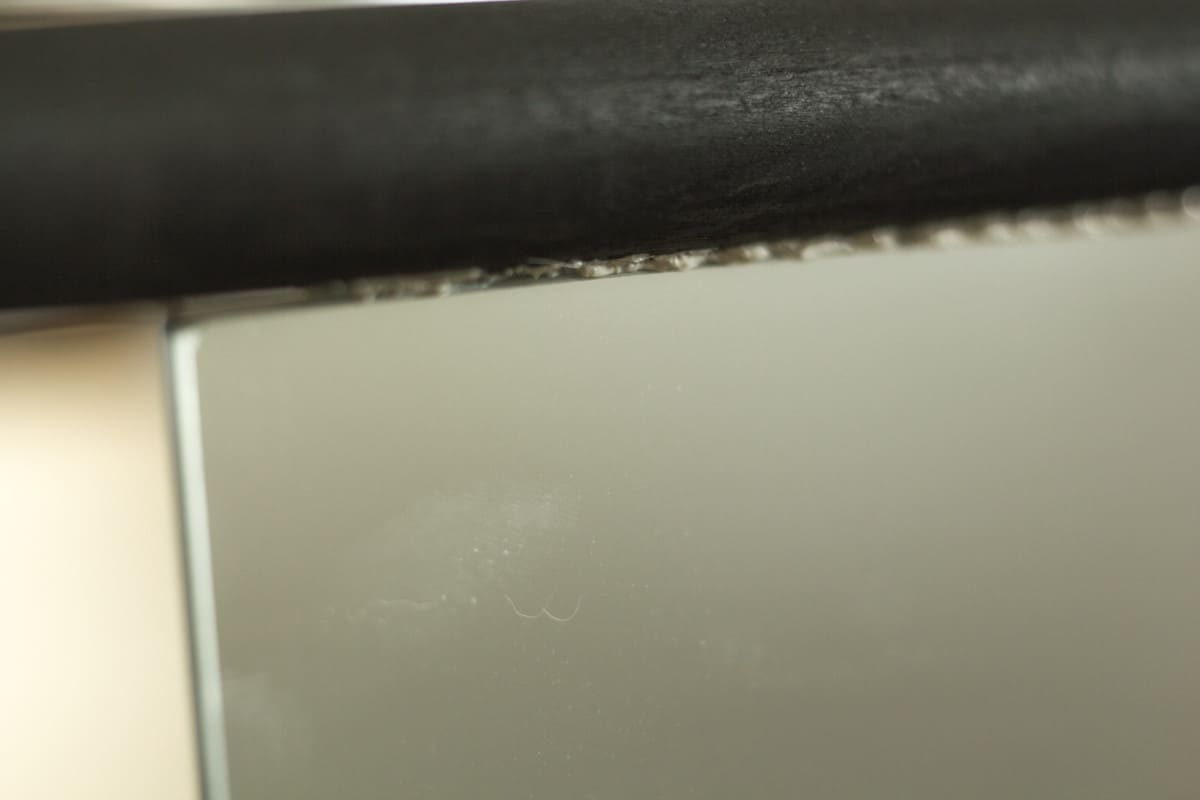
The glue I used dried white so I went over the parts that had seeped out the sides with some more spray paint. I got some spray paint on the mirror and it ended up being really easy to clean up with this simple trick. I sprayed the mirror with window cleaner and used a straight age razor and it came right off!

This is such a simple DIY but will save you SO much money!

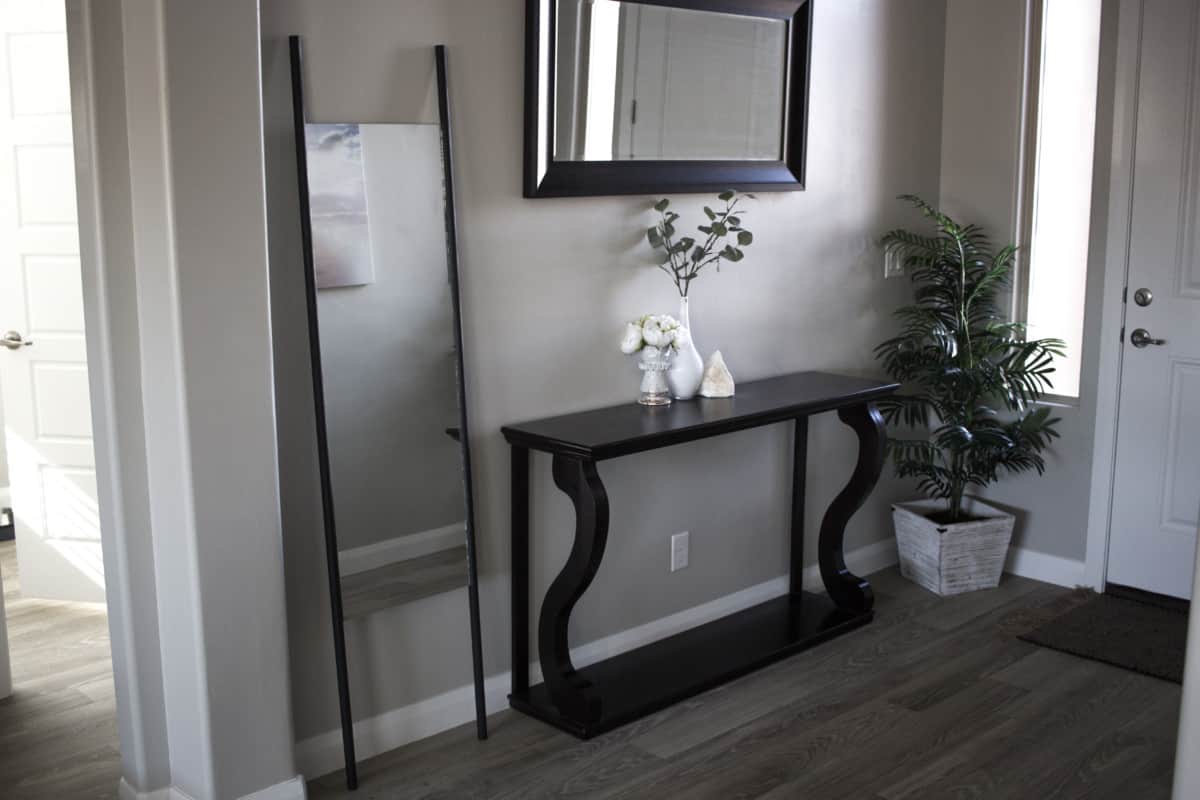
This was seriously so easy, saved me a ton of money, and I love the look of it! What do you think?

This is such a simple DIY but will save you SO much money!

Filed Under: DIY Tagged With: ikea hack, quick diy

Reader Interactions

Leave a Reply Cancel reply

Your email address will not be published. Required fields are marked *

Primary Sidebar

SEARCH

I’m Anna!

Welcome!

I’m Anna and love practical and pretty things. You will find DIYs here as well as party ideas and of course, natural dyeing tutorials. I’m so glad you’re here.

FEATURED ON

PARTIES

DIY Custom Tablecloths

Customize a tablecloth to your event using this step by step tutorial for custom tablecloths. This was for a birthday party but it will apply to any event!

Blippi Party Ideas and Supplies

Customize this party hat to your color scheme and needs for your next fun party! I show you how I made a simple pom pom and assembled the hat.

Birthday Blippi Shirt

This silly Blippi shirt is perfect for the birthday child or you could even make a few for all the guests! They will get a kick out of what it says. 

Free ‘It Is Your Birthday’ Banner

it is your birthday banner

NATURAL DYEING

Refresh Used Crib Sheets

crib sheets tie dye

Geode Tie Dye

Forest Fairy Costume Featuring Tie Dye

How to Dye with Pine Cones

pine cone dye vat

CRICUT PROJECTS

Fabric Growth Chart with Cricut Joy

The Cricut Joy is the perfect tool to create a height chart! I walk you through how to cut the iron on and then create a cute fabric height chart. 

DIY Disneyland Coupons with New Maker Tools

This coupon book of fun Disneyland coupons is a great idea for your next Disneyland trip! I'll walk you through how I created it with my Cricut Maker Tools.

DIY Yoga Shirts with Your Cricut

Random Acts of Kindness Cards

Use these little kindness cards to spread kindness on February 17th or any day you want to celebrate random acts of kindness!

Footer

Copyright © 2023 Practical and Pretty on the Brunch Pro Theme