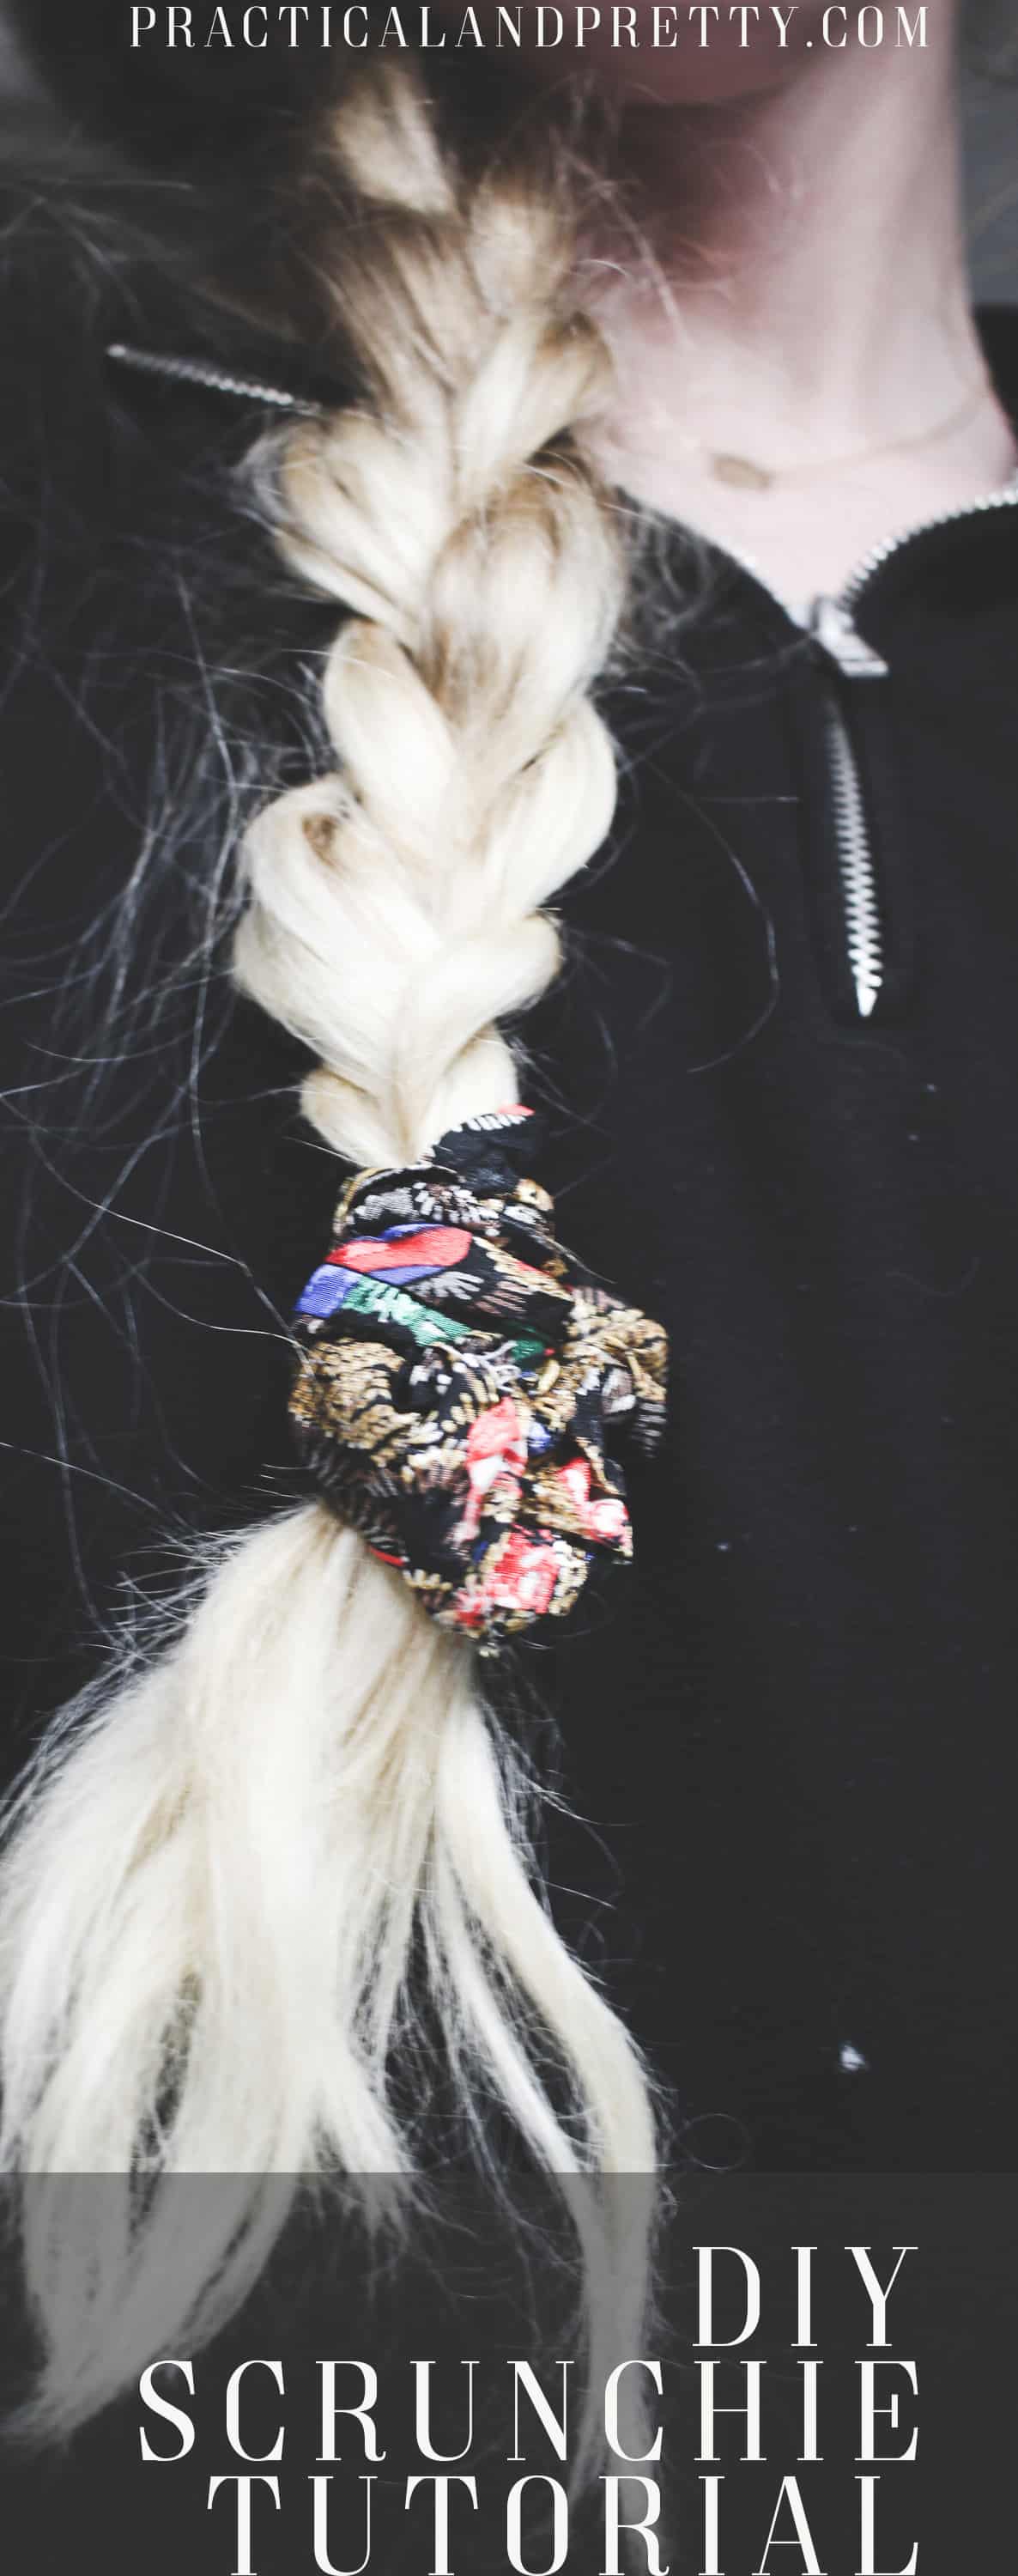
I have wanted a scrunchie for months. Why? Because apparently they’re better for your hair to sleep with. It’s so much simpler
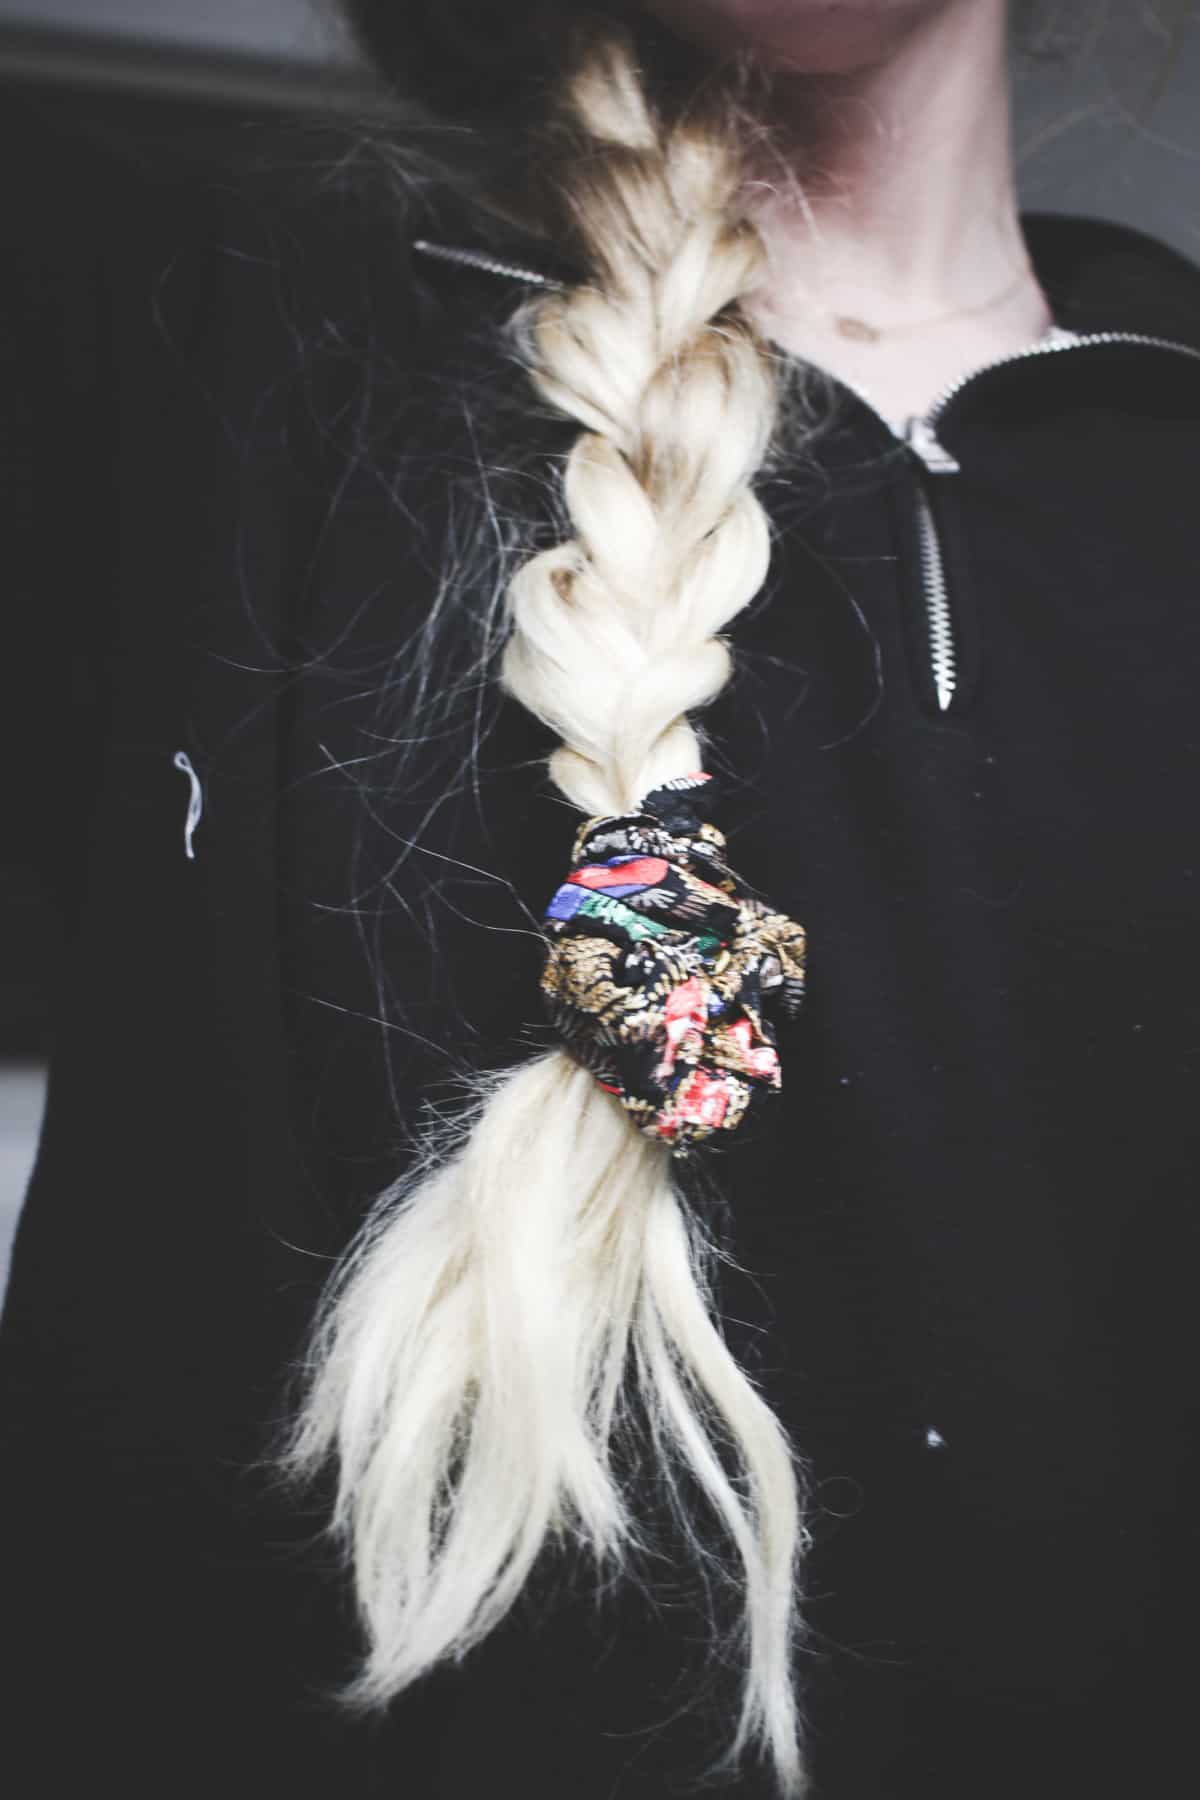
People have said putting your hair in a top but while you sleep is good for volume. I’ve found this rats my hair so I like to do a braid with the scrunchie so it doesn’t crimp it and it gives it a nice wave!
What you need for your DIY scrunchie
- 8” elastic*
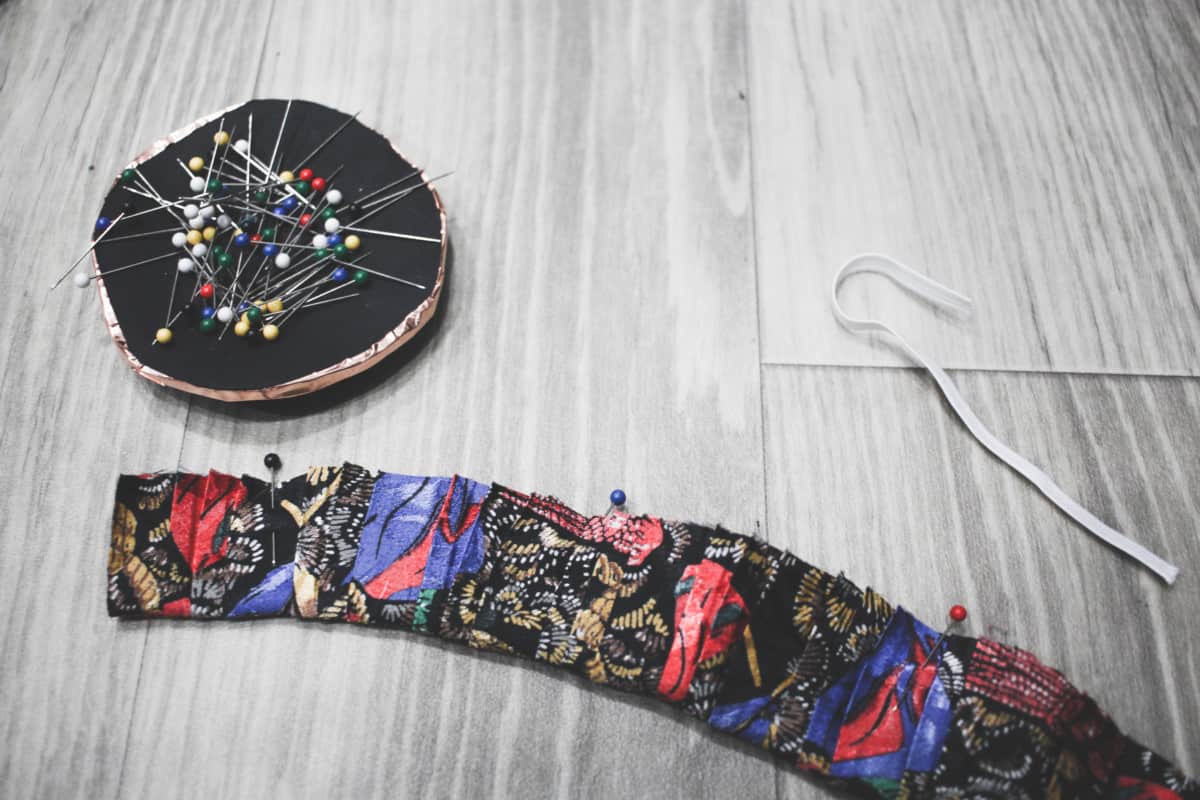
- 18”x5” strip of fabric
- sewing notions
*If you have thinner hair, I’d suggest doing a 7 inch elastic. If your hair is thicker you might need a 9” elastic. My hair is quite long and average thickness and 8” was perfect!
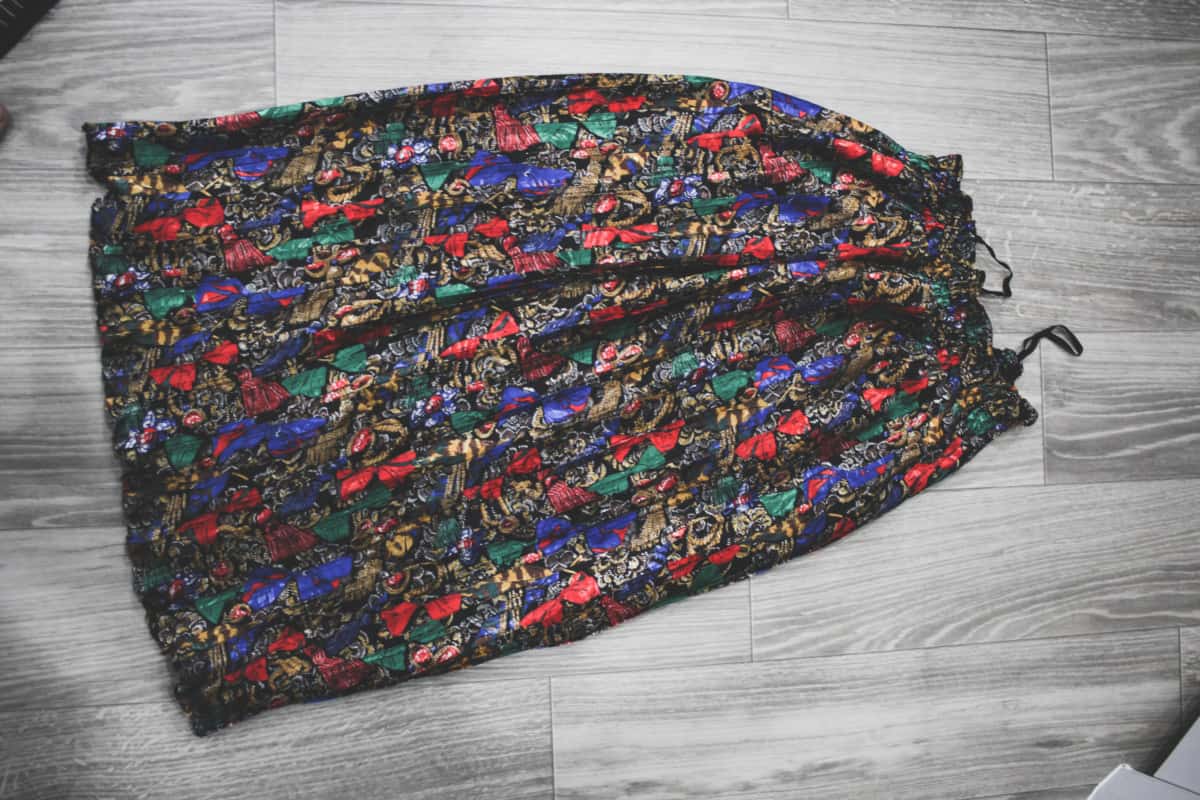
Cut your strip out of any fabric of your choosing. Just to prove you can use anything you want, here is what mine started as!
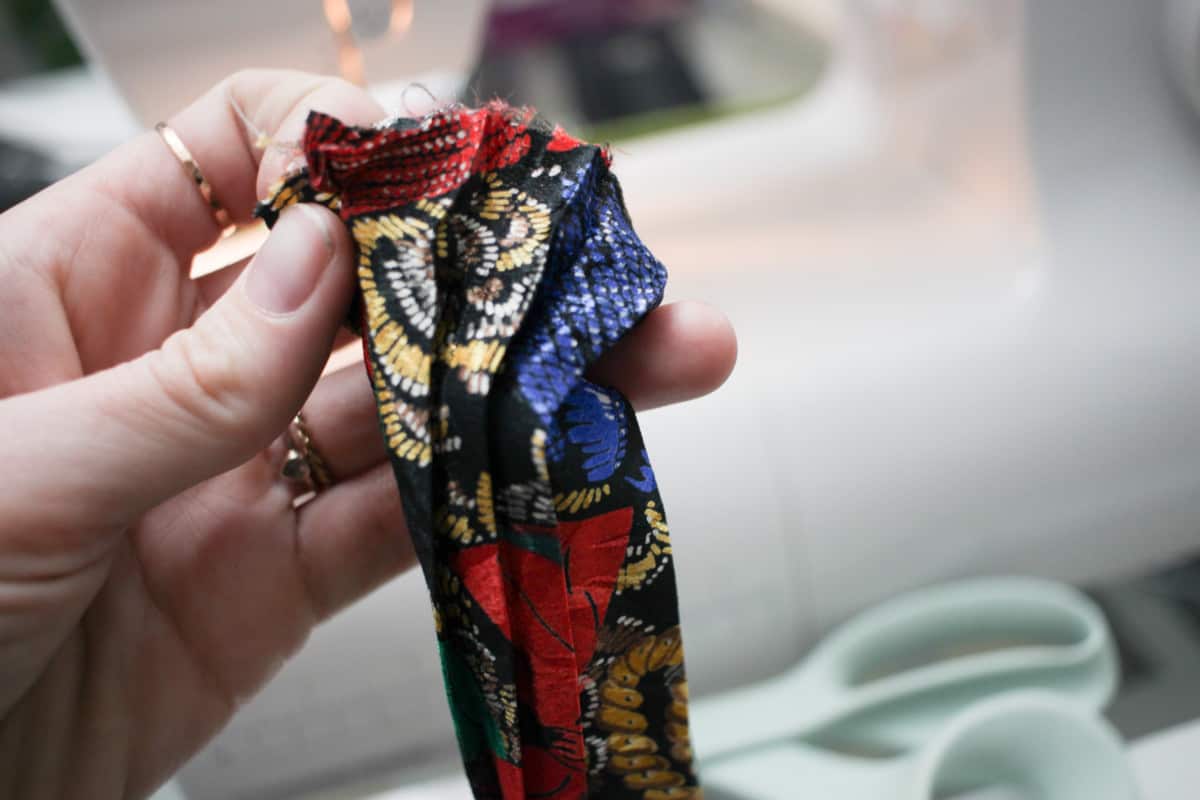
Start by sewing the two long edges of your fabric strip right side together.
Turn the tube right side out.
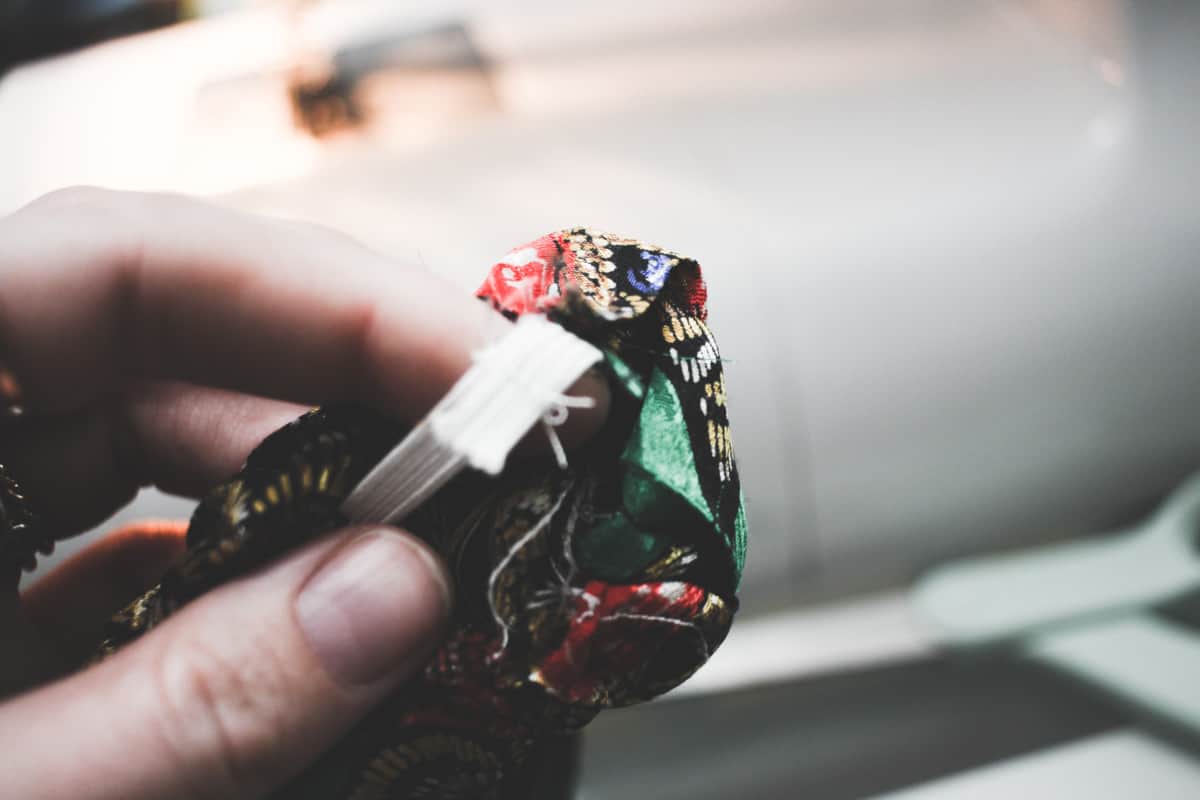
Sew half of the tube together to form a circle but not close the circle. Thread the elastic through the tube and sew up the other half of the circle to close it off. Sew the elastics together.
Now you will close off the loop. Fold in the edges together so that the rough edge isn’t too obvious.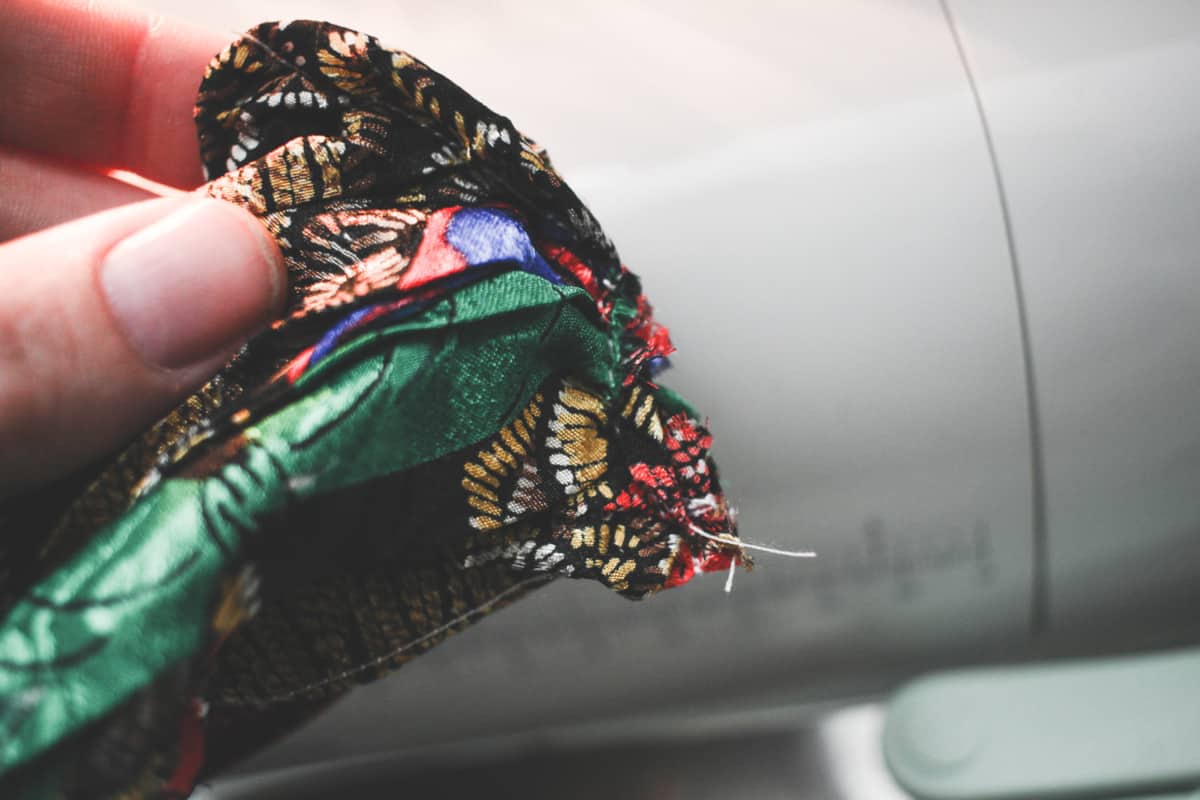
Now you are all finished! Isn’t that so simple? I have made a goal to create at least 1 sewing project per month this year and this was perfect to start me off. It was really simple, super quick, and I have used it every day since I made it!
If you liked this post you may also like this DIY pin holder I made (pictures above actually!). I also made a meditation pillow using some quilting techniques and even created my own yoga bolster! See you next month <3