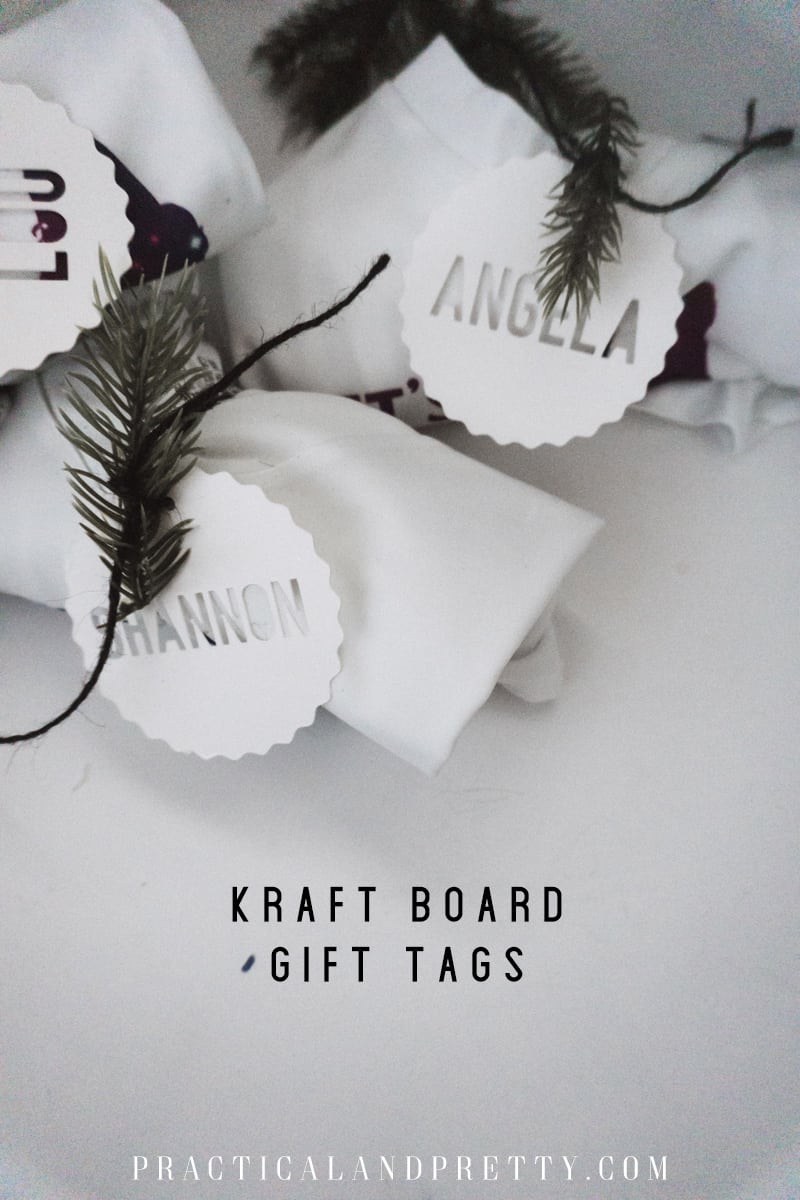
Add DIY to your gift using Kraft Board gift tags. Whether you are just decorating a gift or labeling who they are for this tutorial will walk you through it
I love using Kraft Board. If you’ve never tried its basically cardstock but thicker. It’s usually used to construct 3D crafts, but I like using it as a goo base for my paper crafting and it made a good material for gift tags. Cardstock bends much easier and these were gifts going to sit in my backpack for a bit so I wanted them sturdier than cardstock.
First, I’m going to walk you through how I created this file using the slice tool then I will explain the simple tutorial of cutting them out using your Cricut machine.
What I used to make my Kraft board gift tags
- This cut file
- Kraft board
- Light grip mat
- Cricut Explore Air 2
The following steps are shown in the video below!
Pull up the cut file and duplicate the image for as many gift tags as you are making. I had 6 names so duplicated it 5 times.
Next you will find a font you like. I love DIN 1451 and use all caps. That’s what I did here if you want this same look. Place the text where you’d like it to go on your image.
When you’ve decided you like the placement, select the name and the gift tag image. You can click and drag (that’s what I like to do) or click on the name, and control click the image. Selecting two flat images like this should activate the slice tool on the bottom of your design space screen. Click slice. You should now have an image with the gift tag and name outlined, the name in the color of the gift tag, and the name in the original color of the text you typed. Delete the two names and just leave the outline.
Cut out your gift tag
That is how you create this file! So, once you have created the file for each name you want to cut, you will load your Kraft Board onto a standard grip mat and rotate your Explore Air 2 dial to ‘Custom’.

This will pull up a section on your Design Space to set what your custom material is. You will select ‘Kraft Board’.
Let the machine cut out your design! Carefully remove the images from the mat. If your mat was new you may want to peel the mat away from the paper as opposed to pulling the paper away from the mat to avoid curling. Have no fear though, if the paper curls, just put them under some books for a bit and they’ll flatten out.
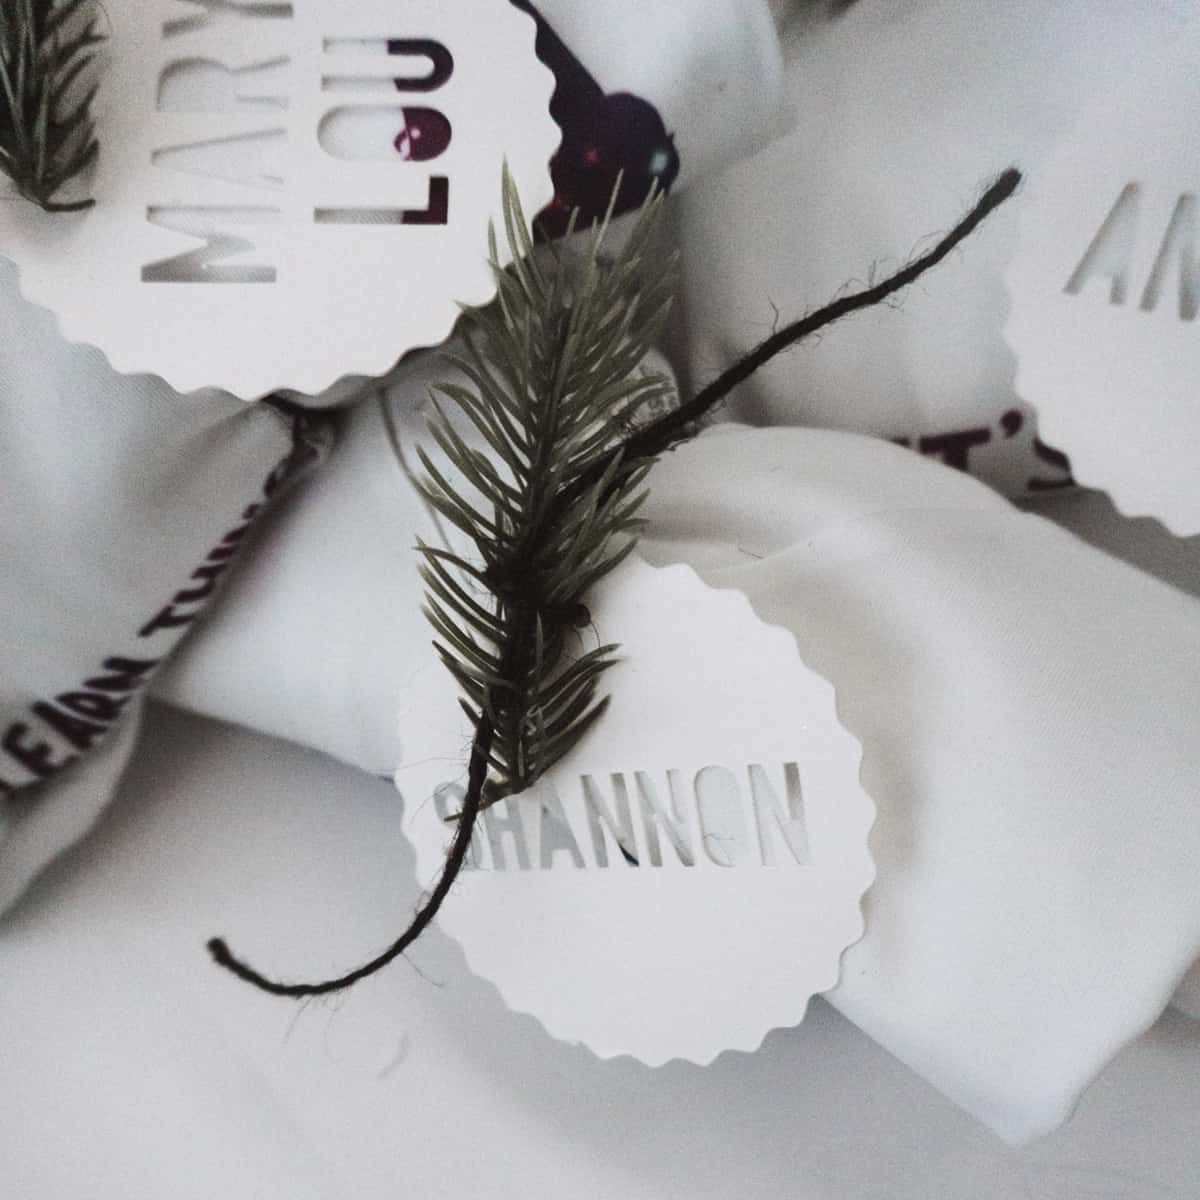
I tied mine on using some cotton twine and was all done! I love how they turned out because they are so simple but feel so much more put together than just writing the person’s name on the package!
This post is part of a gift tag series this season so be sure to also check out these posts too