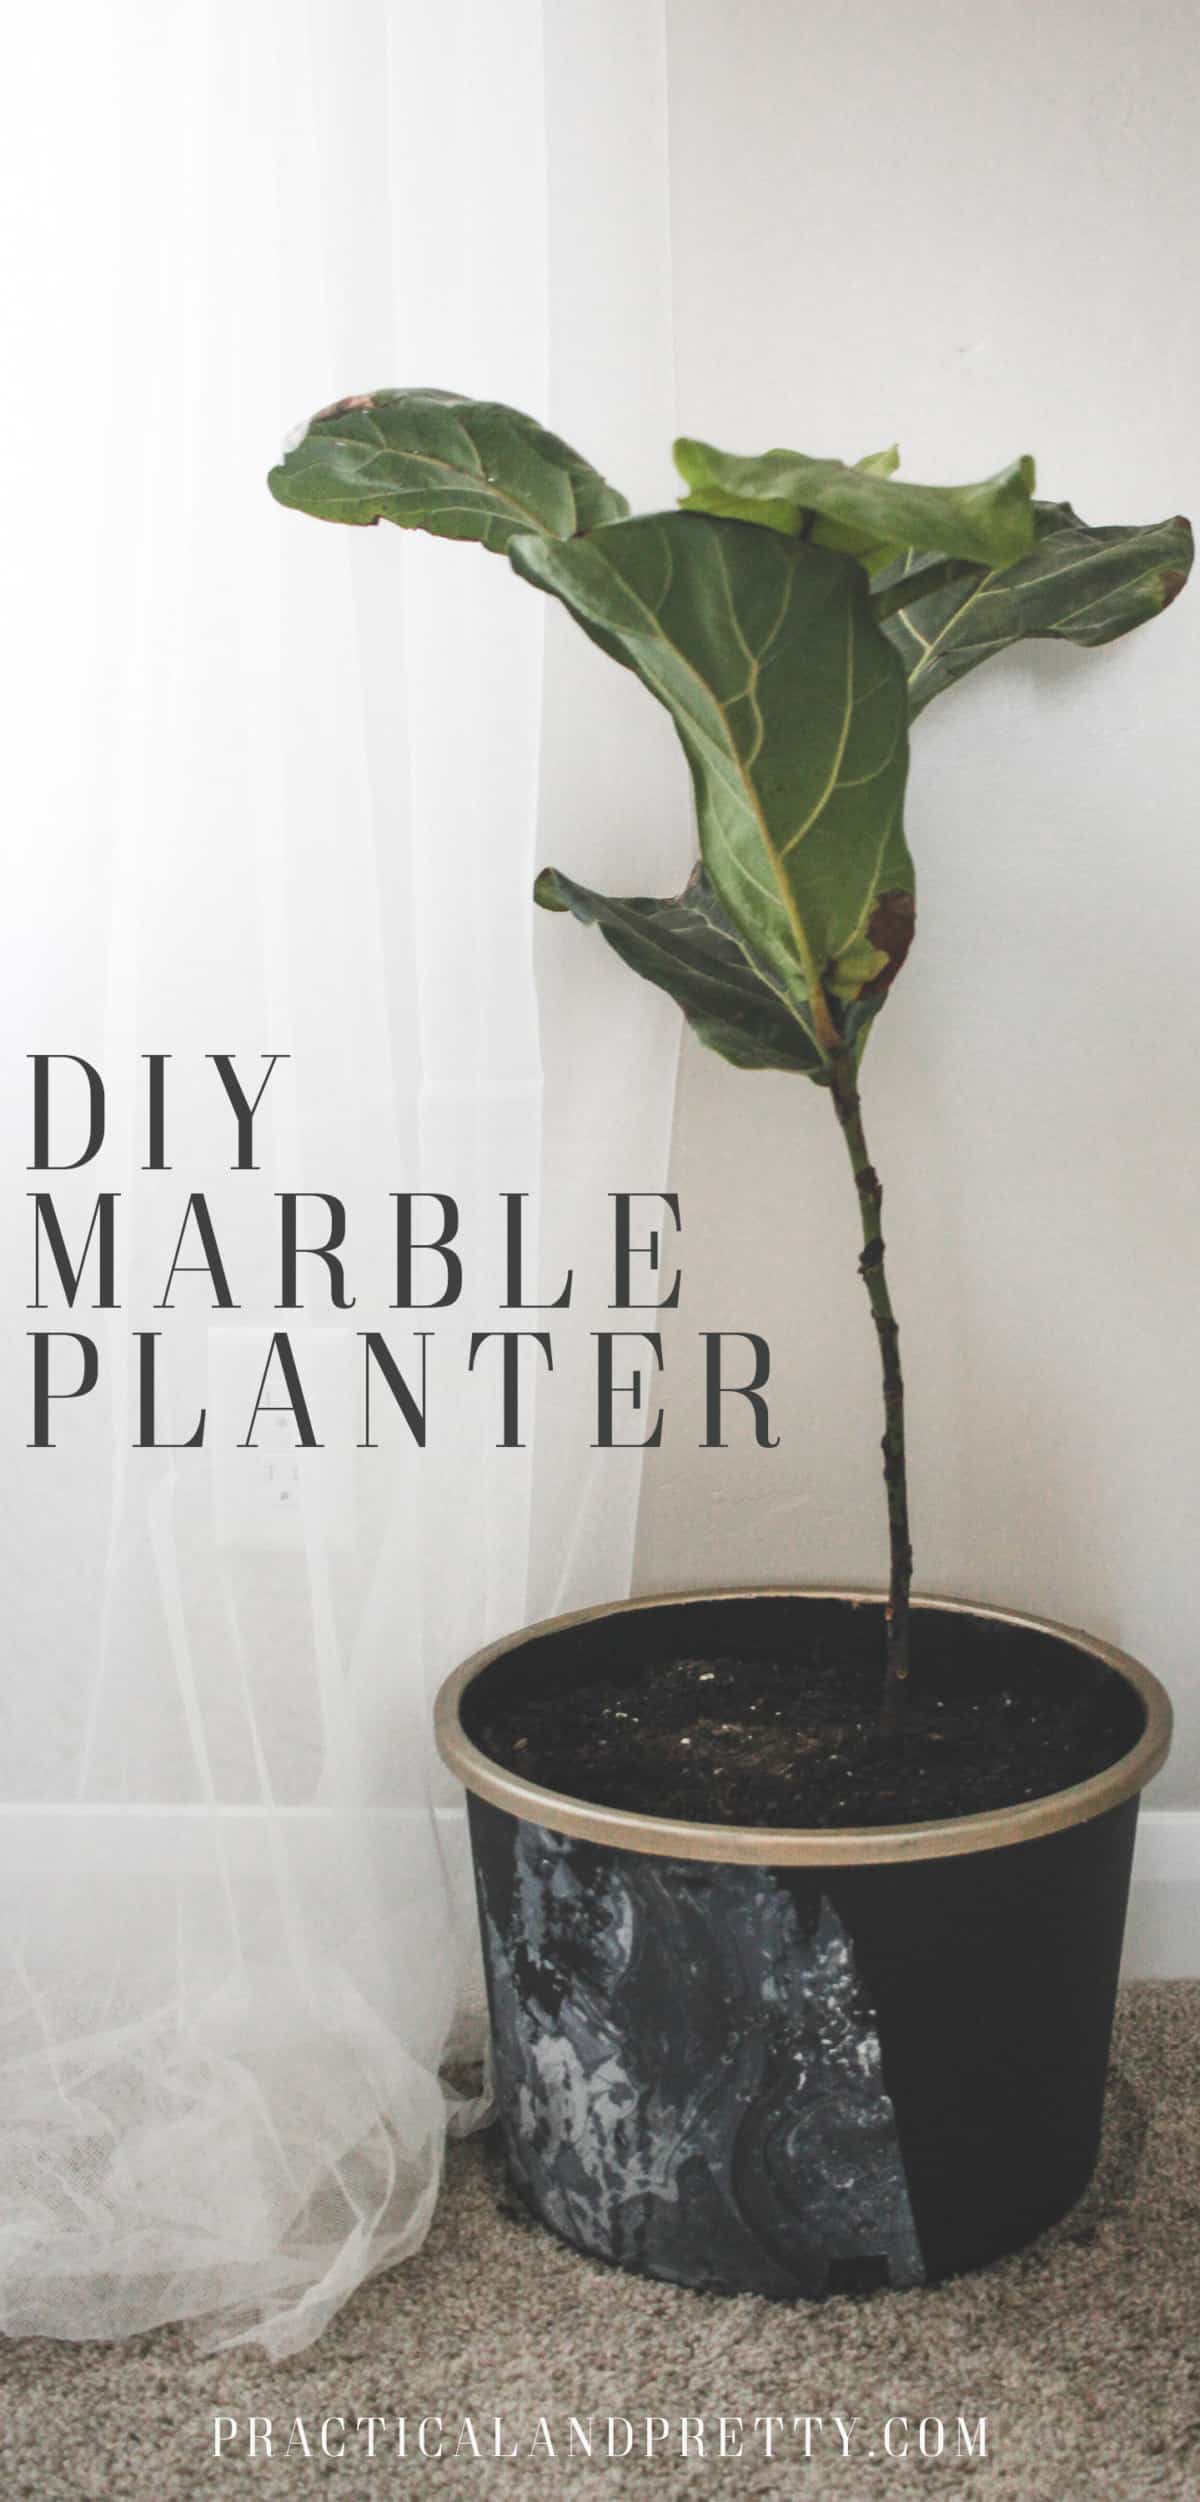
Take these basic black planters to the next level with a step by step tutorial using paint with a DIY water marbling technique for a marble planter.
Have you noticed planters are expensive?! Home Depot has pretty inexpensive plastic ones, but they look pretty plastic. This tutorial will show you how to make it look a little less plastic. This is a simple way to create a marble planter without paying marble planter money.
What you need for your marble planter
- Planter
- Spray paint (I have found glossy paint works better than the matte finish!)
- A large tub of water
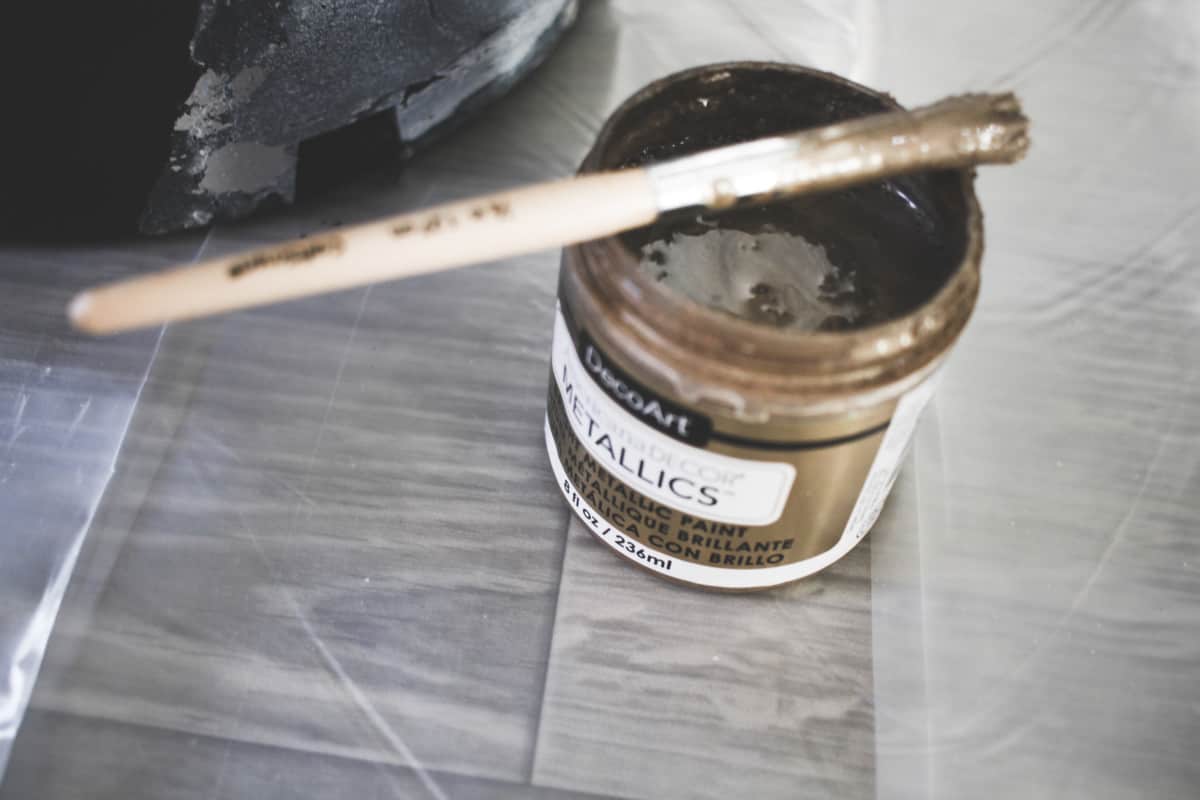
- Gold acrylic paint
Shop this Post!
These are affiliate links. I will earn a small commission if you purchase through them!
I started by spraying the planter black. It was black, but I don’t like the finish of plastic so I did a matte black to change the finish.
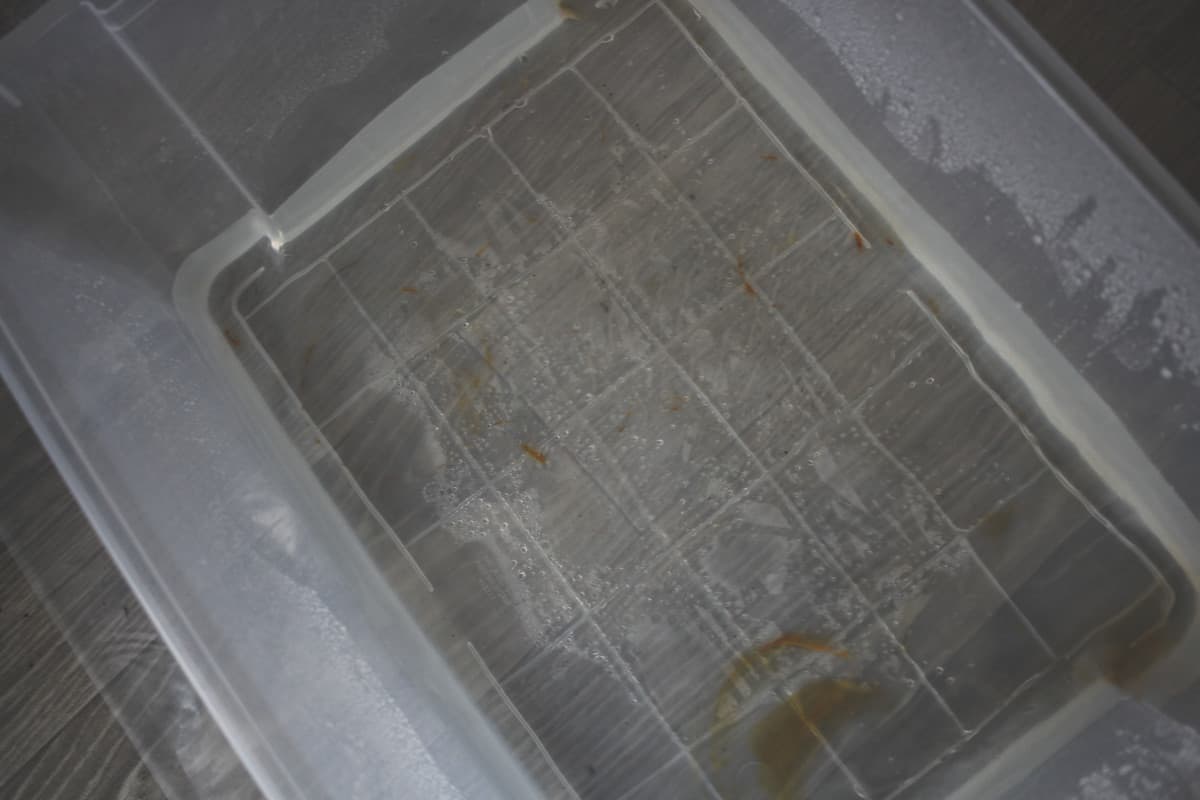
Fill your tub with water if it’s not filled already. You don’t need to too deep. I had about 4 inches of water.
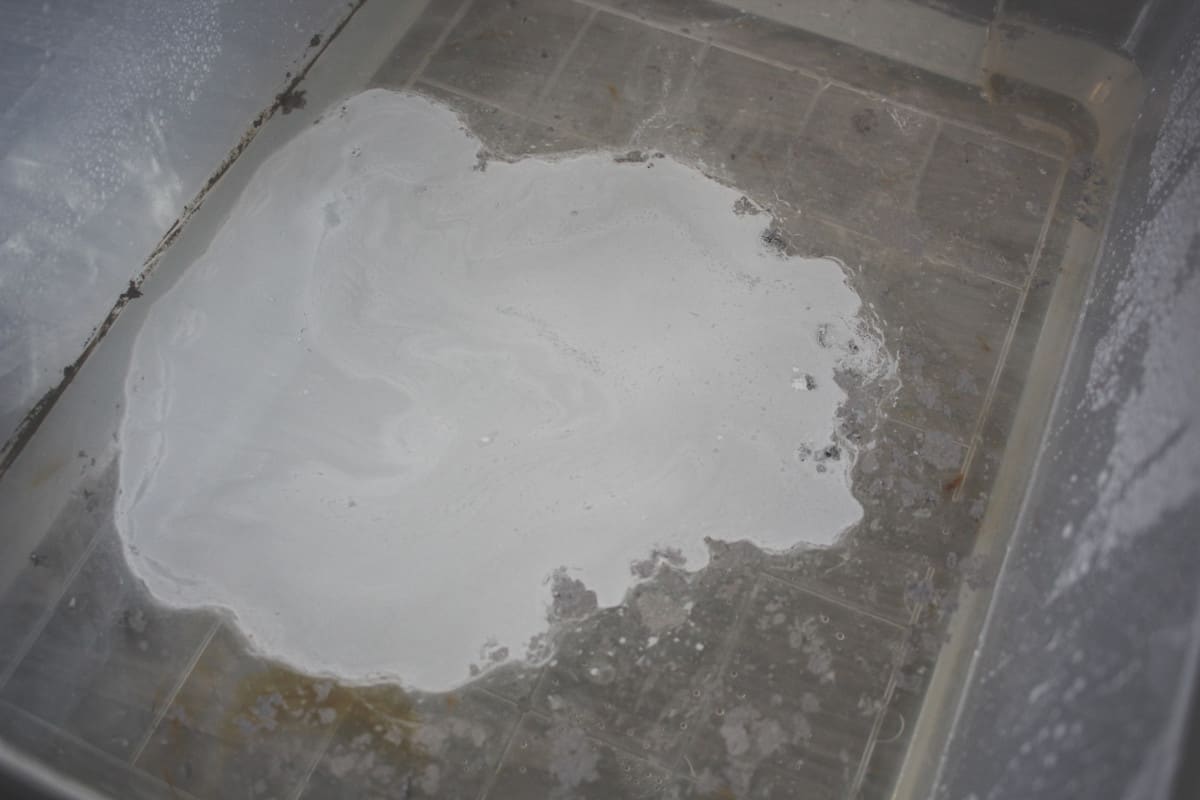
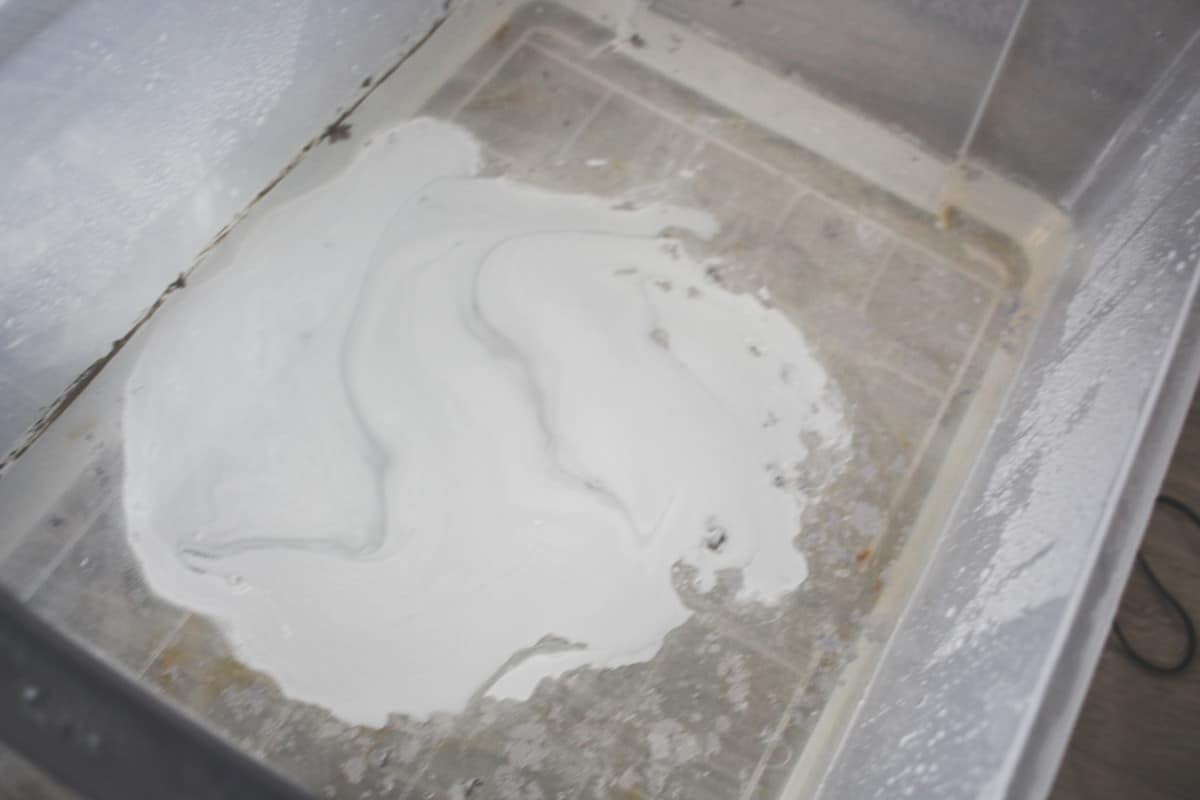
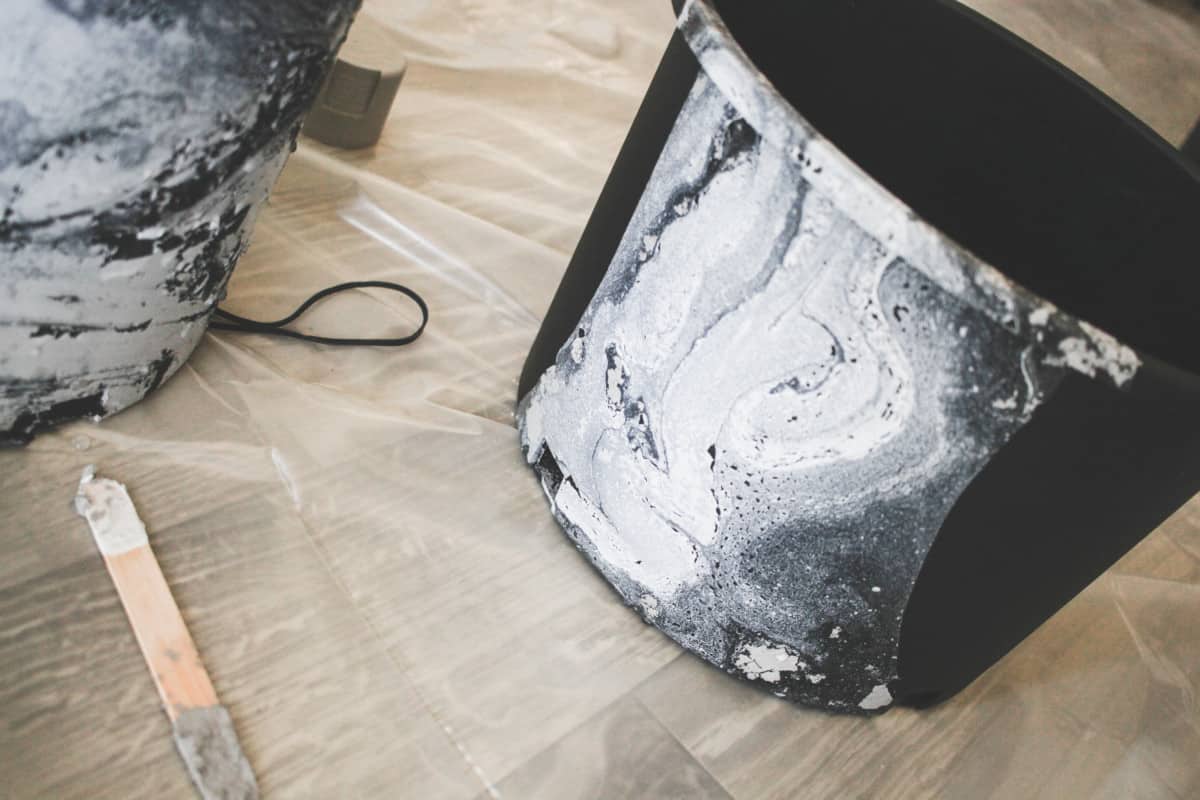
Spray a light coat of the contrasting paint color in the water. You can always add spray paint but can’t take it out!
Take a small straw or stick and drag it through the paint so it starts swirling a bit.
Dip your planter in the paint and lift it straight up. I did this twice on each side.
After letting it dry I used acrylic paint to paint the rim. It was still obvious it was plastic to me so I painted the rim to hid that a bit.
At that point I was all done! It was so simple but i feel like it looks much better than just the plain plastic.



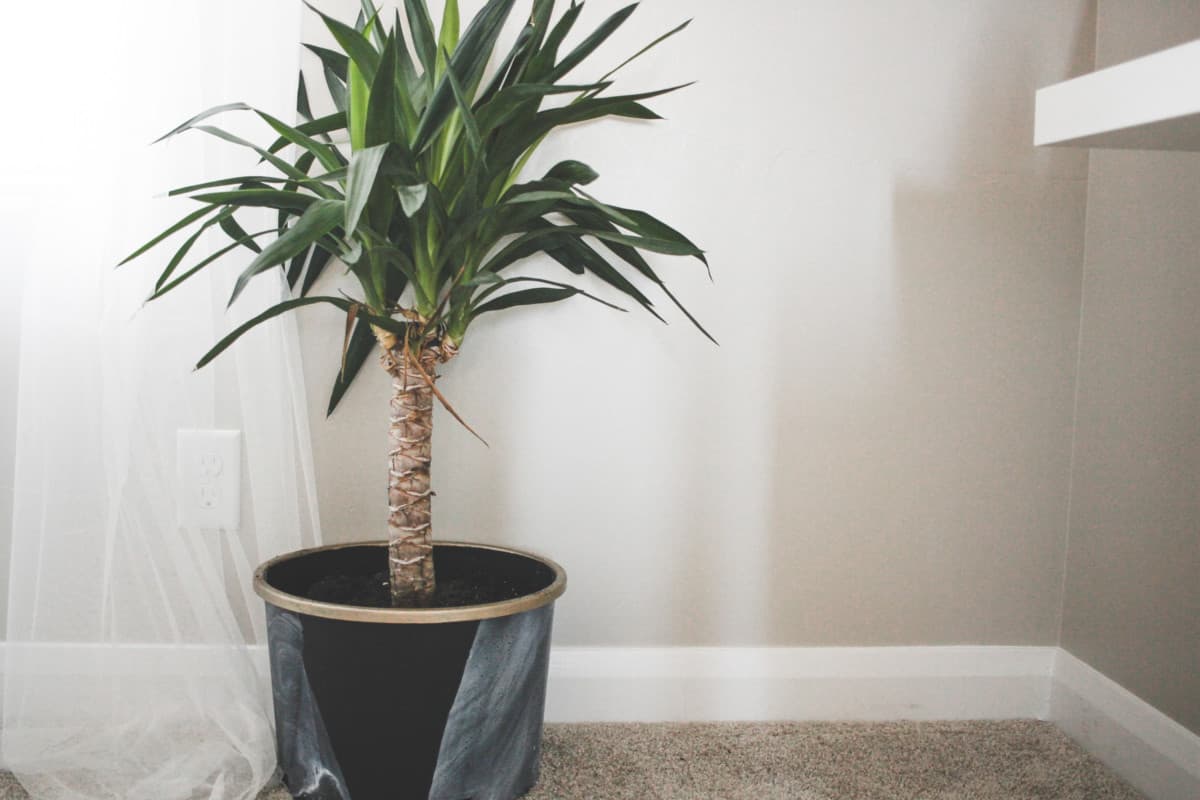


I really liked how you created this DIY marble planter without giving marble planter money. This is looking nice.
Thank you so much girl!