I have ironed on almost every surface and have made many mistakes. I want to give you a Cricut Iron On Vinyl Checklist so you don’t make the same mistakes!
It would be super cool to iron a shirt customized with reverse tie dye! Any sort of dyed shirt would be cool. Check out my other Cricut tutorials too.
Iron on is such a simple way to customize any fabric whether you’re wearing a shirt or even leggings. Did you also know you can iron onto wood? Because you can, and I highly suggest it. (It’s much easier than vinyl and transfer tape!)
Do you know how many mistakes I’ve made ironing on? So many. So this might be just for me so that I don’t keep making the same mistakes!
Products in this Post
These are affiliate links! I earn a small commission if you purchase through them at no cost to you.
Cricut Easy PressBLACK+DECKER Digital Advantage Professional
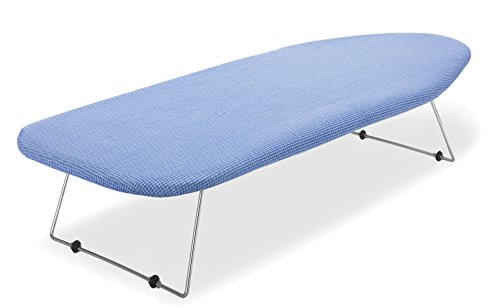
Whitmor Tabletop Ironing Board
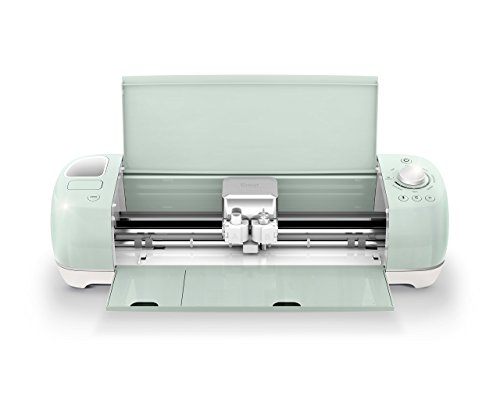
Cricut Explore Air 2
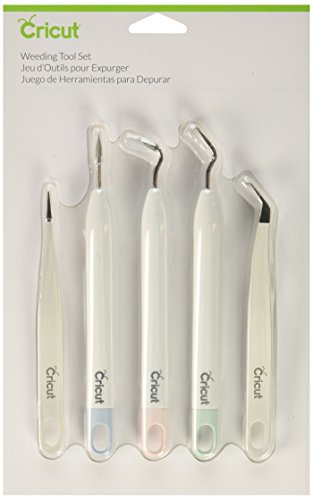
Cricut Weeding Tool Kit
Cricut Iron On Lite,
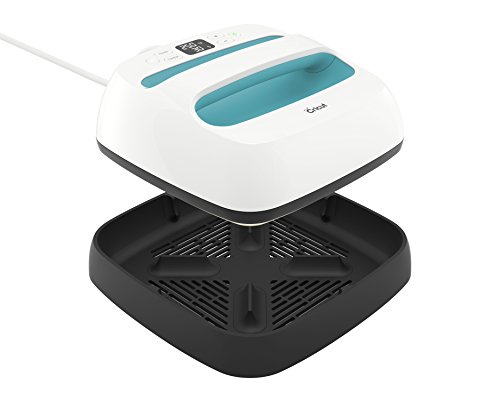

A quick tip for those of you who really struggle; invest in an EasyPress. I’m telling you this thing has been a game changer for my iron on. It tells you exactly how hot it needs to be an evenly distributes the heat and weight so you can get things accomplished quicker. HIGHLY recommend!
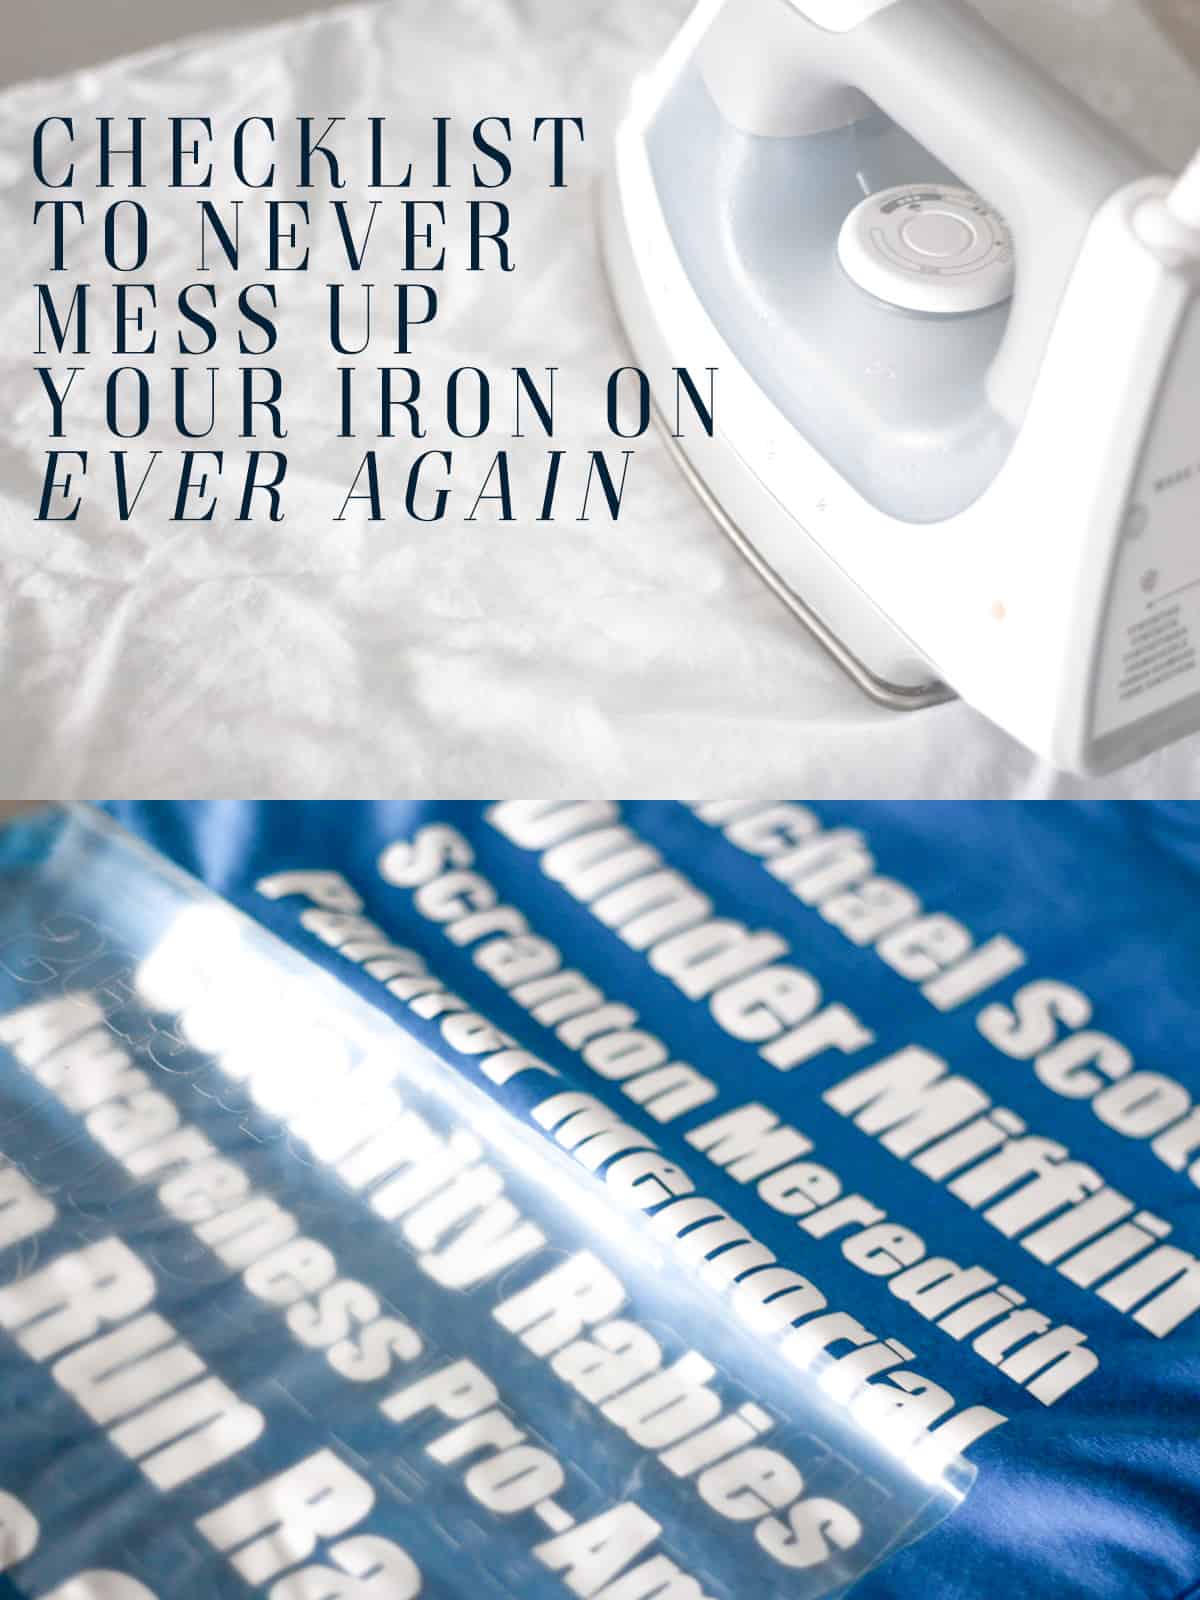
Here is a checklist when you iron on so you make sure you don’t mess up your vinyl or your material you’re ironing on. (Or your iron!) I have it in text form right here and then I’ll also make an image for you visual learners!!
- Always Mirror for Iron On before the cut
- Dial is set to ‘Iron-On’
- Place the material on a standard grip mat shiny side down.
- Heat your surface for 5 seconds before ironing on.
- If using an iron – always use a press cloth.
- Hold the heat on the surface for at least 30 seconds.
- When it’s ready to peel, move slowly.
- If you need to re-iron, cut off the plastic that you have already peeled away from the iron on.
- If you’re using fabric, always flip the surface over and iron the back without the press cloth when you have removed the plastic.
Here is a free download for you if you would like to save this image! You can also feel free to print it off and put it by your Cricut so you never forget each step.

For a how to of how I use Design Space to make custom t-shirts see this post here.