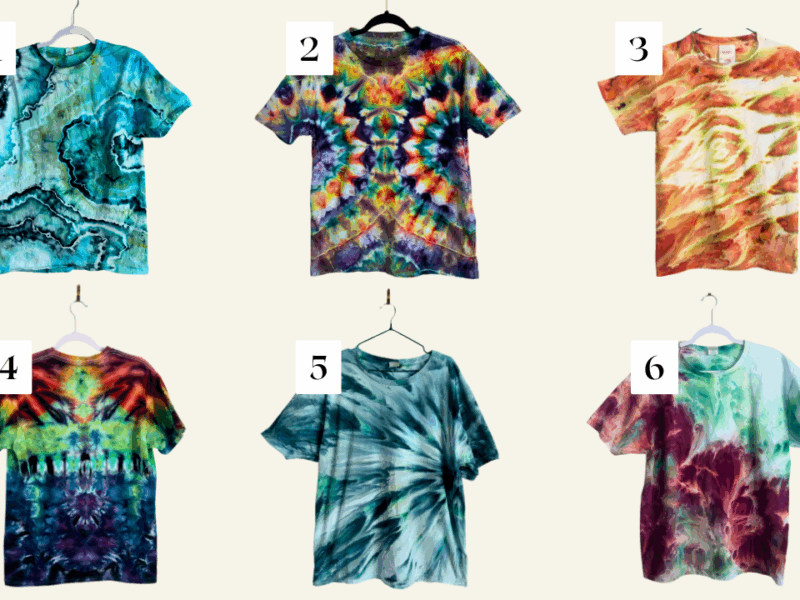
I tried this fold three different times before I figured out why it wasn’t turning out the way I wanted. I’m calling it the fern fold, because when you do it correctly, it looks like ferns laid over each other. Some people call it the chevron fold, but honestly every version I’ve seen looks a little different, so fern fold it is.
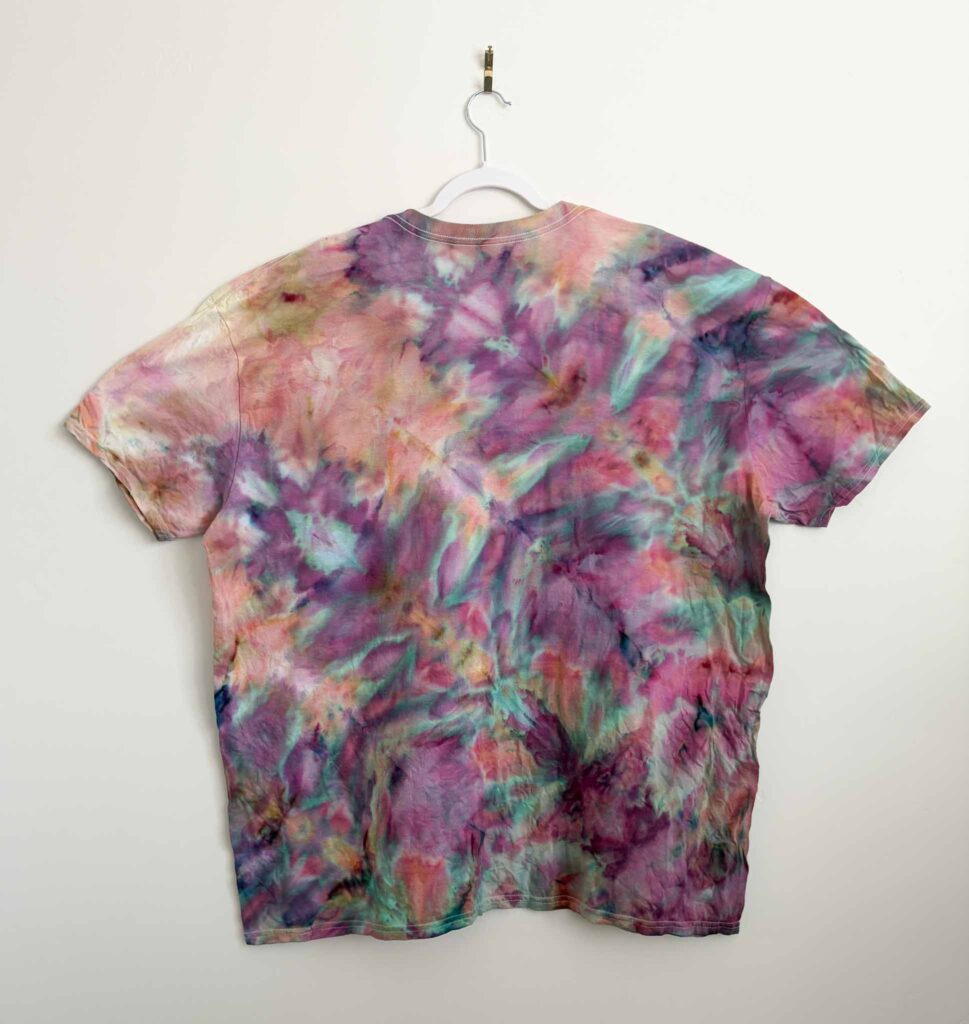
If you’ve been looking for a tie dye pattern that isn’t the same spiral or crumple you’ve done a hundred times, this one is worth the extra folding practice. Here’s exactly how I did it, including the mistake I kept making and how I finally fixed it.
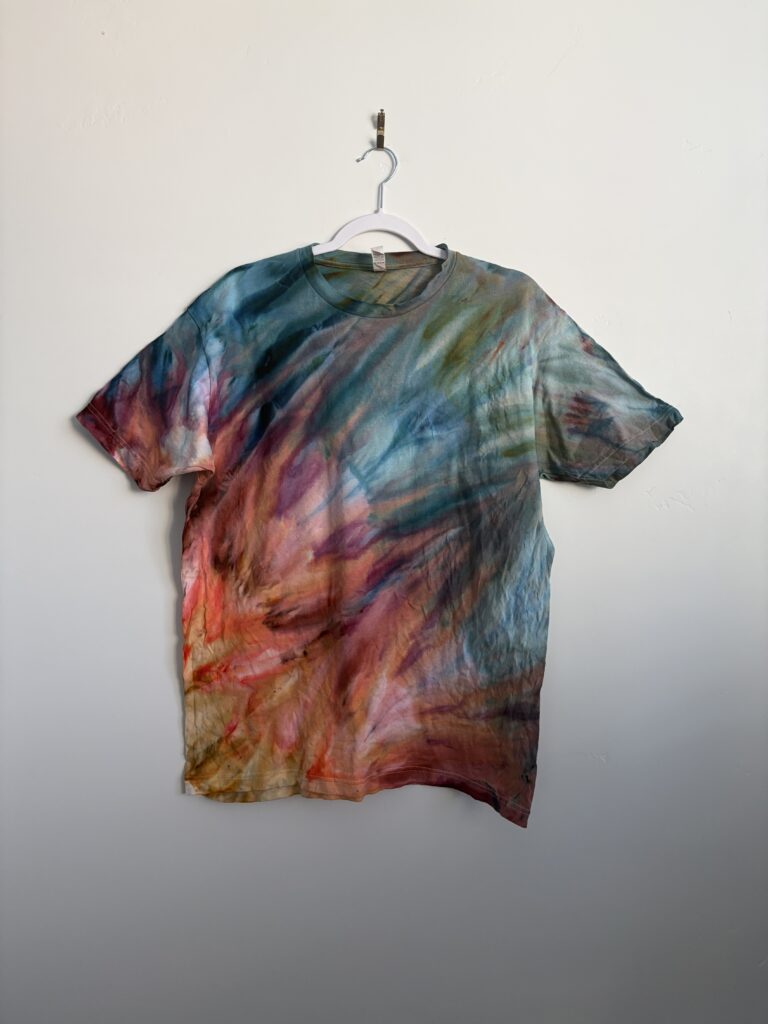
Below is the fold when I was folding it ‘wrong’. Of course nothing is really wrong. It’s still beautiful. But it’s more like feathers than ferns.
What You’ll Need
- A cotton blank, soaked overnight in soda ash and spun dry (I used a 3XL for this shirt)
- Rubber bands (not sinew, since sinew leaves white resist lines)
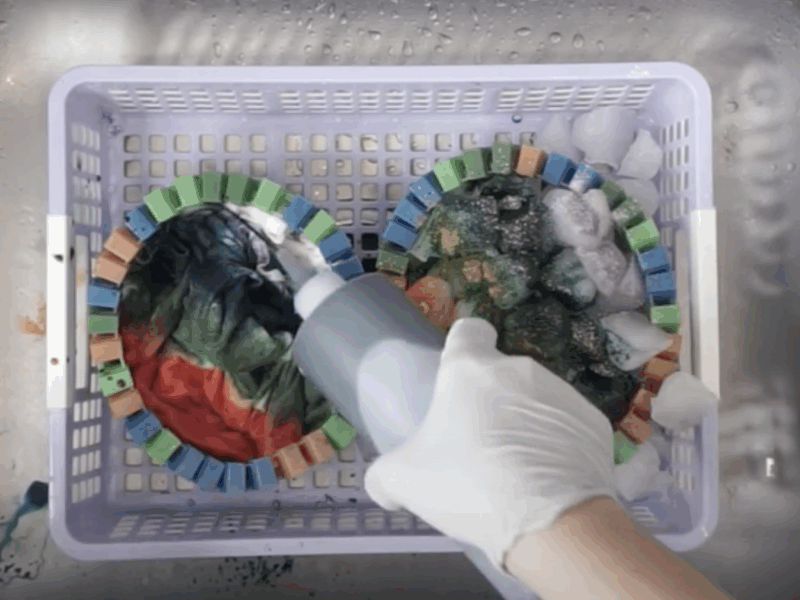
- A tote or bin for your ice dye setup
- A pool noodle cut to fit the bottom of your tote
- Ice
- Dye of your choice. I used two Dalula Dyes colors from Dharma Trading Co: Northern Lights and Nova
- Blue Dawn dish soap
- Access to a washing machine
If you’re interested in watching this in a video form check out this video below.
Folding the Fern Fold
Start by folding the shirt up on a diagonal, then fold the opposite side back over on that same diagonal. You’re essentially accordion folding a five to six inch span along a diagonal line. That’s your first side.
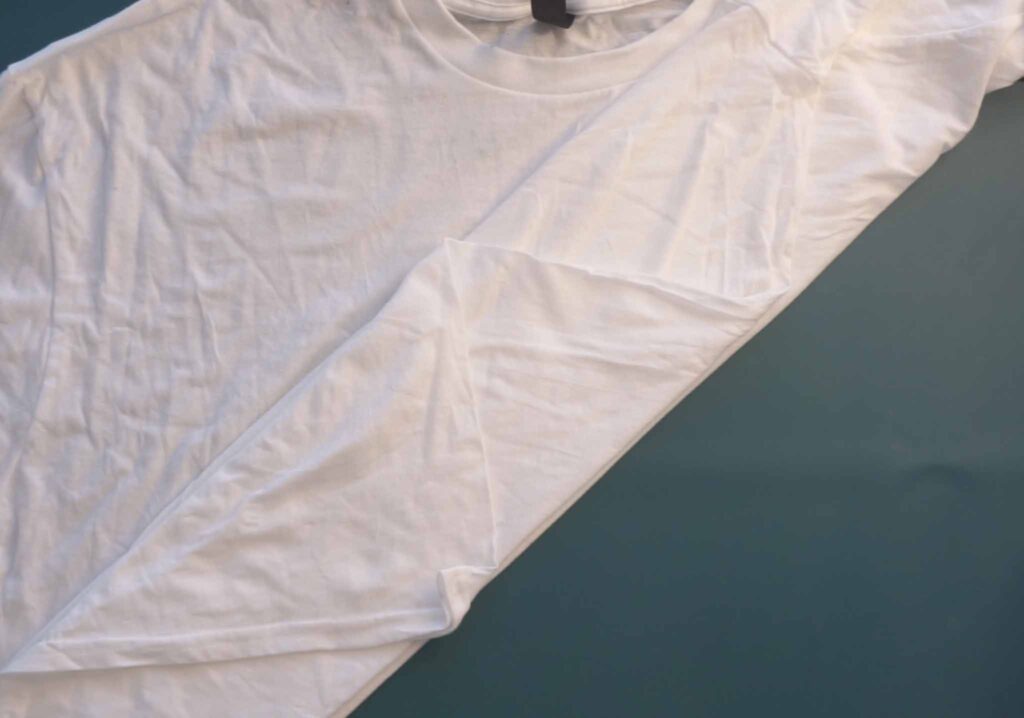
Flip the shirt over and repeat, folding it the same way on the other side.
Here’s where I kept messing up the first two times. A tutorial I saw on Facebook said to accordion fold the second side along a diagonal too, and that never worked for me. It doesn’t actually make sense when you think through the geometry of the fold. Instead, accordion fold that second side straight along the line, with maybe just a slight diagonal lean. That one change was the difference between a feather look and an actual fern pattern.
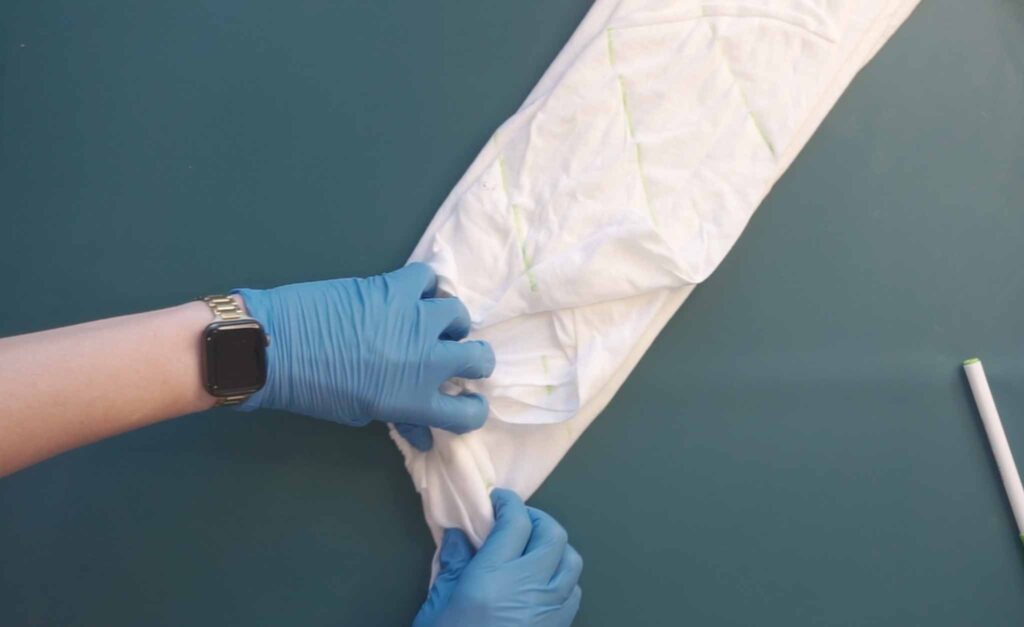
Once folded, secure the whole thing with rubber bands.
Setting Up the Incline Ice Dye
Grab a tote (a thrift store find works great) and put a pool noodle in the bottom so the shirt has something to prop against and the ice doesn’t slide straight down.
Apply your dye directly onto the folded shirt before the ice goes on. I started with Nova since it’s a lighter color, and I went light on it so I’d get some natural color fall as the ice melts. You can always add more dye. You can’t take it back off. The second color I used was Northern Lights.
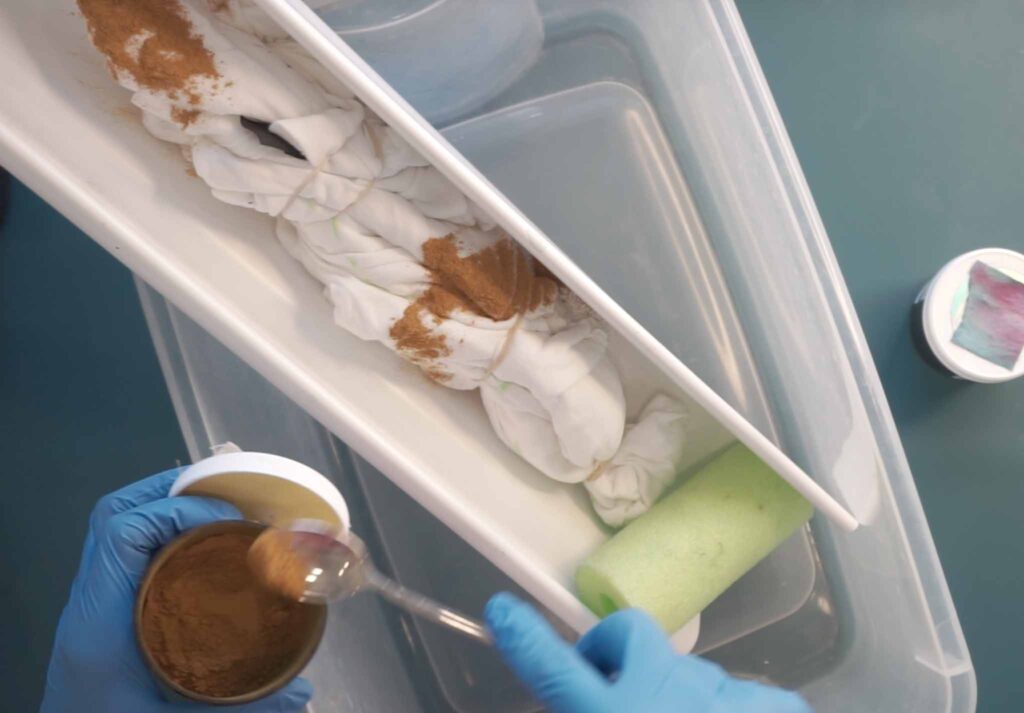
Layer the ice on top, propped on an incline so gravity pulls the color down through the fabric as it melts. I let the first side melt fully, then flipped the shirt over. The bottom hadn’t gotten saturated yet, so I added a second round of dye and ice, roughly doubling what I’d used on the first side.
Rinse and Wash
Once the ice has fully melted and the dye has set, untie the rubber bands and rinse in cold water first. After you’ve rinsed out a good amount of color, switch to hot water, which releases even more dye. Finish with a bit of Blue Dawn dish soap worked into the fabric. I can’t explain the science behind it, but it pulls out excess dye better than anything else I’ve tried. From there, it goes straight into the washing machine.
The Result
This attempt came out with less flow than my last try at the fern fold, which actually gave the ferns more definition. I think I prefer this version, but it’s close, and you might land on the opposite side. That’s part of the fun of this fold. Small changes in fold tightness and dye placement change the whole look.
If this is your first time trying the fern fold, don’t expect it to click on attempt one. It took me three tries to understand why the fold wasn’t working, and once I switched up that second side, everything came together.
Want More Folds?
Grab my free 12 Tie Dye Folds ebook here: practicalandpretty.myflodesk.com/o83j7vh2tg
Shop my supplies and finished pieces:
Use code ANNA for 20% off at Jacquard.