Learn how to shibori tie dye at home with 5 beautiful folding techniques, easy step-by-step instructions, and videos to guide you through. Perfect for beginners and tie-dye enthusiasts!
These 5 techniques have been used over 500k times from my YouTube video tutorial and in this post, I’ve got all of those videos linked as well as some step-by-step written instructions for you to start folding right away.
Table of contents
What Is Shibori Tie Dye?
Shibori is a traditional Japanese fabric dyeing technique that uses folding, twisting, scrunching, or binding to create patterns before the fabric is dyed. Unlike modern tie dye, which is often more random, shibori is intentional and detailed, and it’s traditionally done with indigo dye. Today, tie dyers (myself included!) also use shibori folding techniques with regular fiber reactive dyes for a similar effect with way more color options.
There are six major traditional shibori techniques:
- Kanoko Shibori — the classic “tie dye” look, using bound sections
- Kumo Shibori — pleated and bound to create spiderweb-like patterns
- Nui Shibori — stitched and gathered before dyeing
- Miura Shibori — looped and bound, no knots needed (this is closest to the galaxy fold below)
- Arashi Shibori — wrapped around a pole for a diagonal, storm-like pattern
- Itajime Shibori — folded and clamped between shapes for geometric patterns
Below I’m walking you through 5 of my favorite folding techniques so you can start creating these patterns yourself, whether you’re using an indigo dye vat or regular tie dye.
While you’re here you may like to check out my dyeing page where I have all sorts of information about natural dye and synthetic dye. With indigo, you don’t need an alum bath, but with all other forms, you will. So don’t miss that post either! If you want to get started with a simple natural dye, I suggest turmeric.
This is probably one of my most requested videos. I LOVE tie-dyeing. I have tried dyeing without tying it off and I just never love it as much. Also, good news for those of you who want to utilize clothespins. Here are my favorite Shibori patterns involving clothespins. Part of the art is seeing the gorgeous patterns. No two are EVER the same.
Tools to Shibori Fold
In this post I only used rubber bands but below is a list of common tools used for folding!
- Rubber Bands. Traditionally, a string is used to tie shibori. In this post, all the folds were secured using rubber bands. (These are the rubber bands I use. They are pretty thick and rarely break.) For a lighter hold and for smaller projects, these rubber bands here are typically what comes in a tie-dye kit.
- Needle and Thread. Some types of shibori, like those using very detailed lines, utilize a needle and thread.
- Clothes pins. I have a post where I laid out my 5 favorite Shibori folding techniques using clothes pins.
- Sinew. Sinew is not typically used with traditional shibori but if you’re interested in other ways of folding tie dye, sinew is great for geode tie dye and mandala patterns.
- Pattern Blocks. For itajime shibori, pattern blocks are used to get different shapes. With this folding technique, use the square fold shown below and clamp the shapes on each side.
New to shibori and not sure you want to buy tools piece by piece? A shibori tie dye kit is a great way to start since it comes with dye, gloves, and folding tools all in one box. I put together a full guide to the Best Tie-Dye Supplies I use for every project, and I’ve also reviewed my favorite tie-dye kits on Amazon if you’d rather grab everything at once.
Let’s get into the detailed folds! Below I have linked the part of the video where I demonstrate the fold I’ve given you the step-by-step for.
Shibori Folding Patterns
✅ Quick Summary of Folds:
- Galaxy fold – simple scrunch
- Diamond fold – triangle accordion
- Square fold – layered squares
- Wave fold – pulled middle points
- Diagonal stripe – triangle accordion from corners
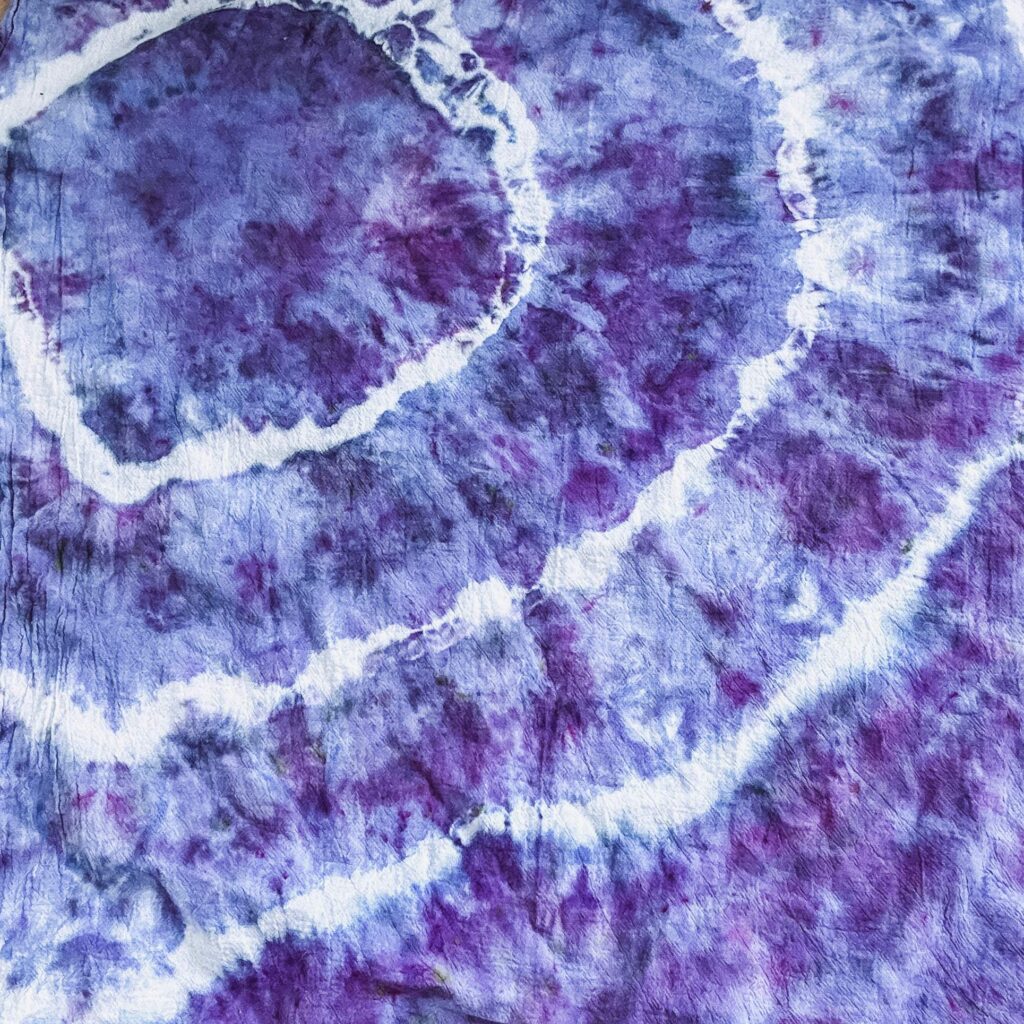
Galaxy Style Shibori Folding Technique
I call this one the ‘galaxy print’ because I feel like it looks like a beautiful nebula when it’s unfolded. It is by far the simplest way to fold your tie dye but the results are beautiful every time!
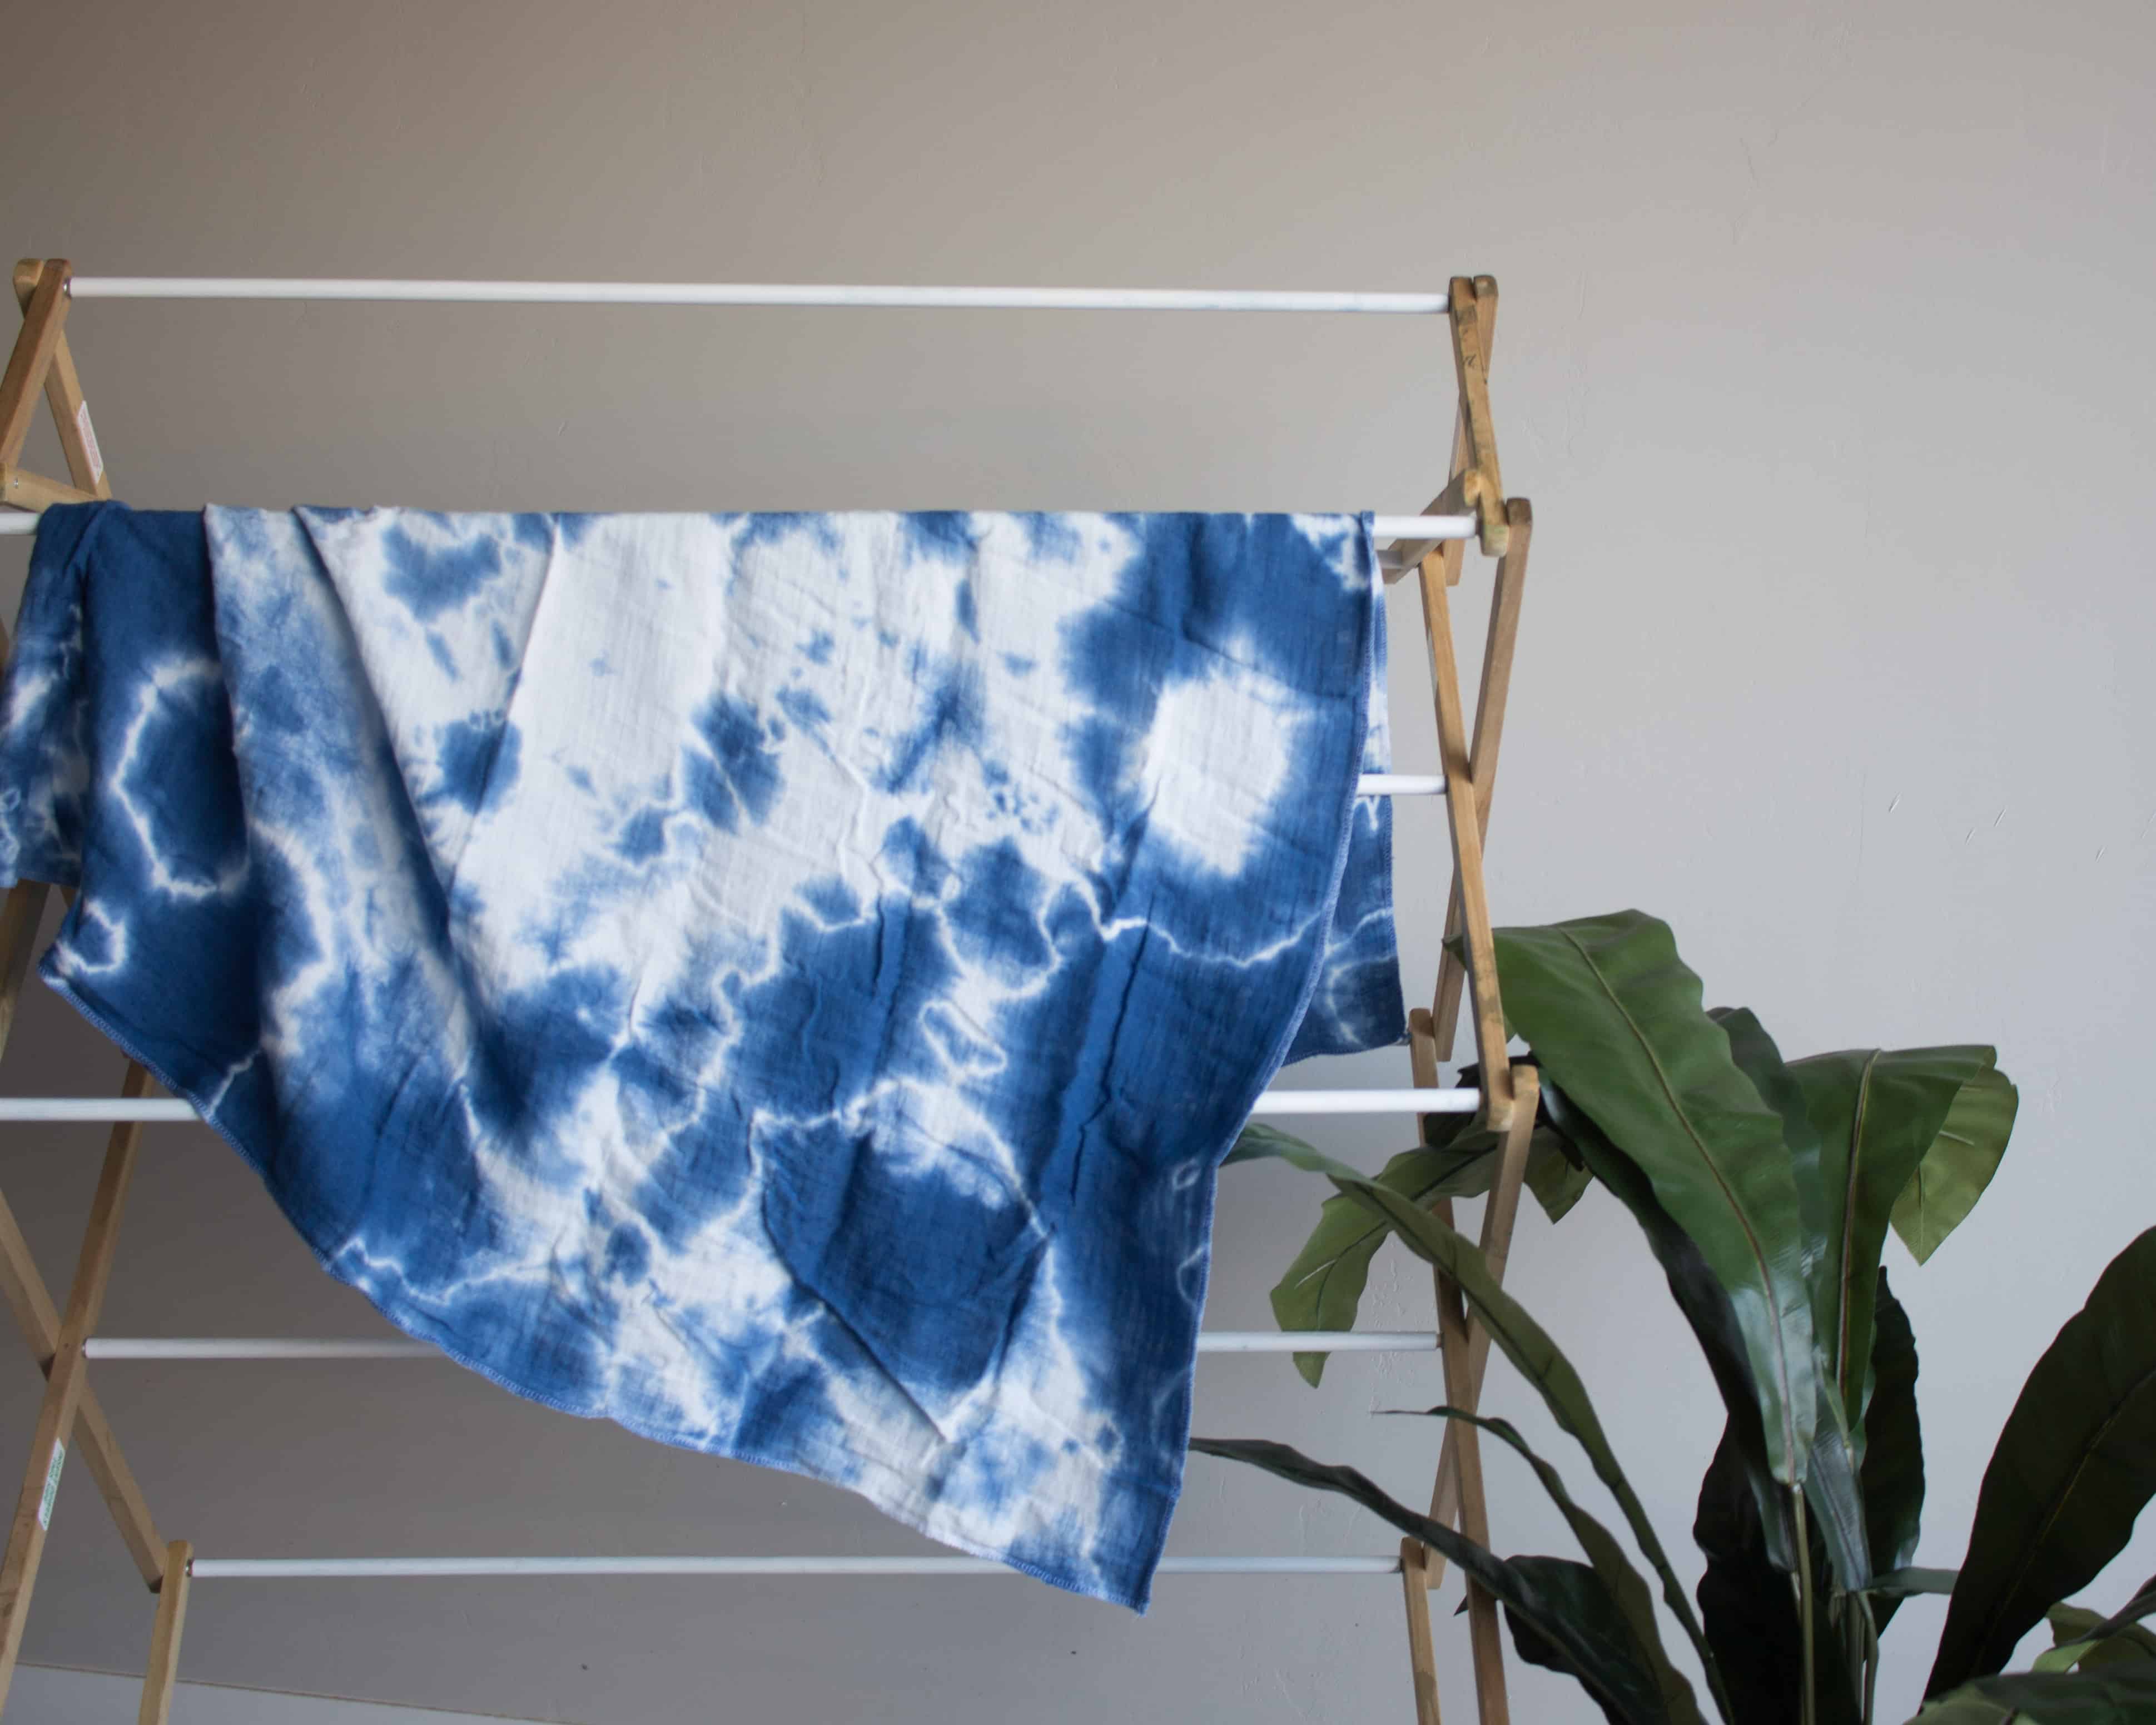
This is by far the most popular style right now! If you buy something tie-dyed at the store this is likely how they did it.
Video Tutorial for Galaxy Fold
Written Instructions for Galaxy Fold
- Lay your fabric out flat.
- Scrunch the fabric into a ball.
- To get more color tie it loosely, for more color keep more fabric out.

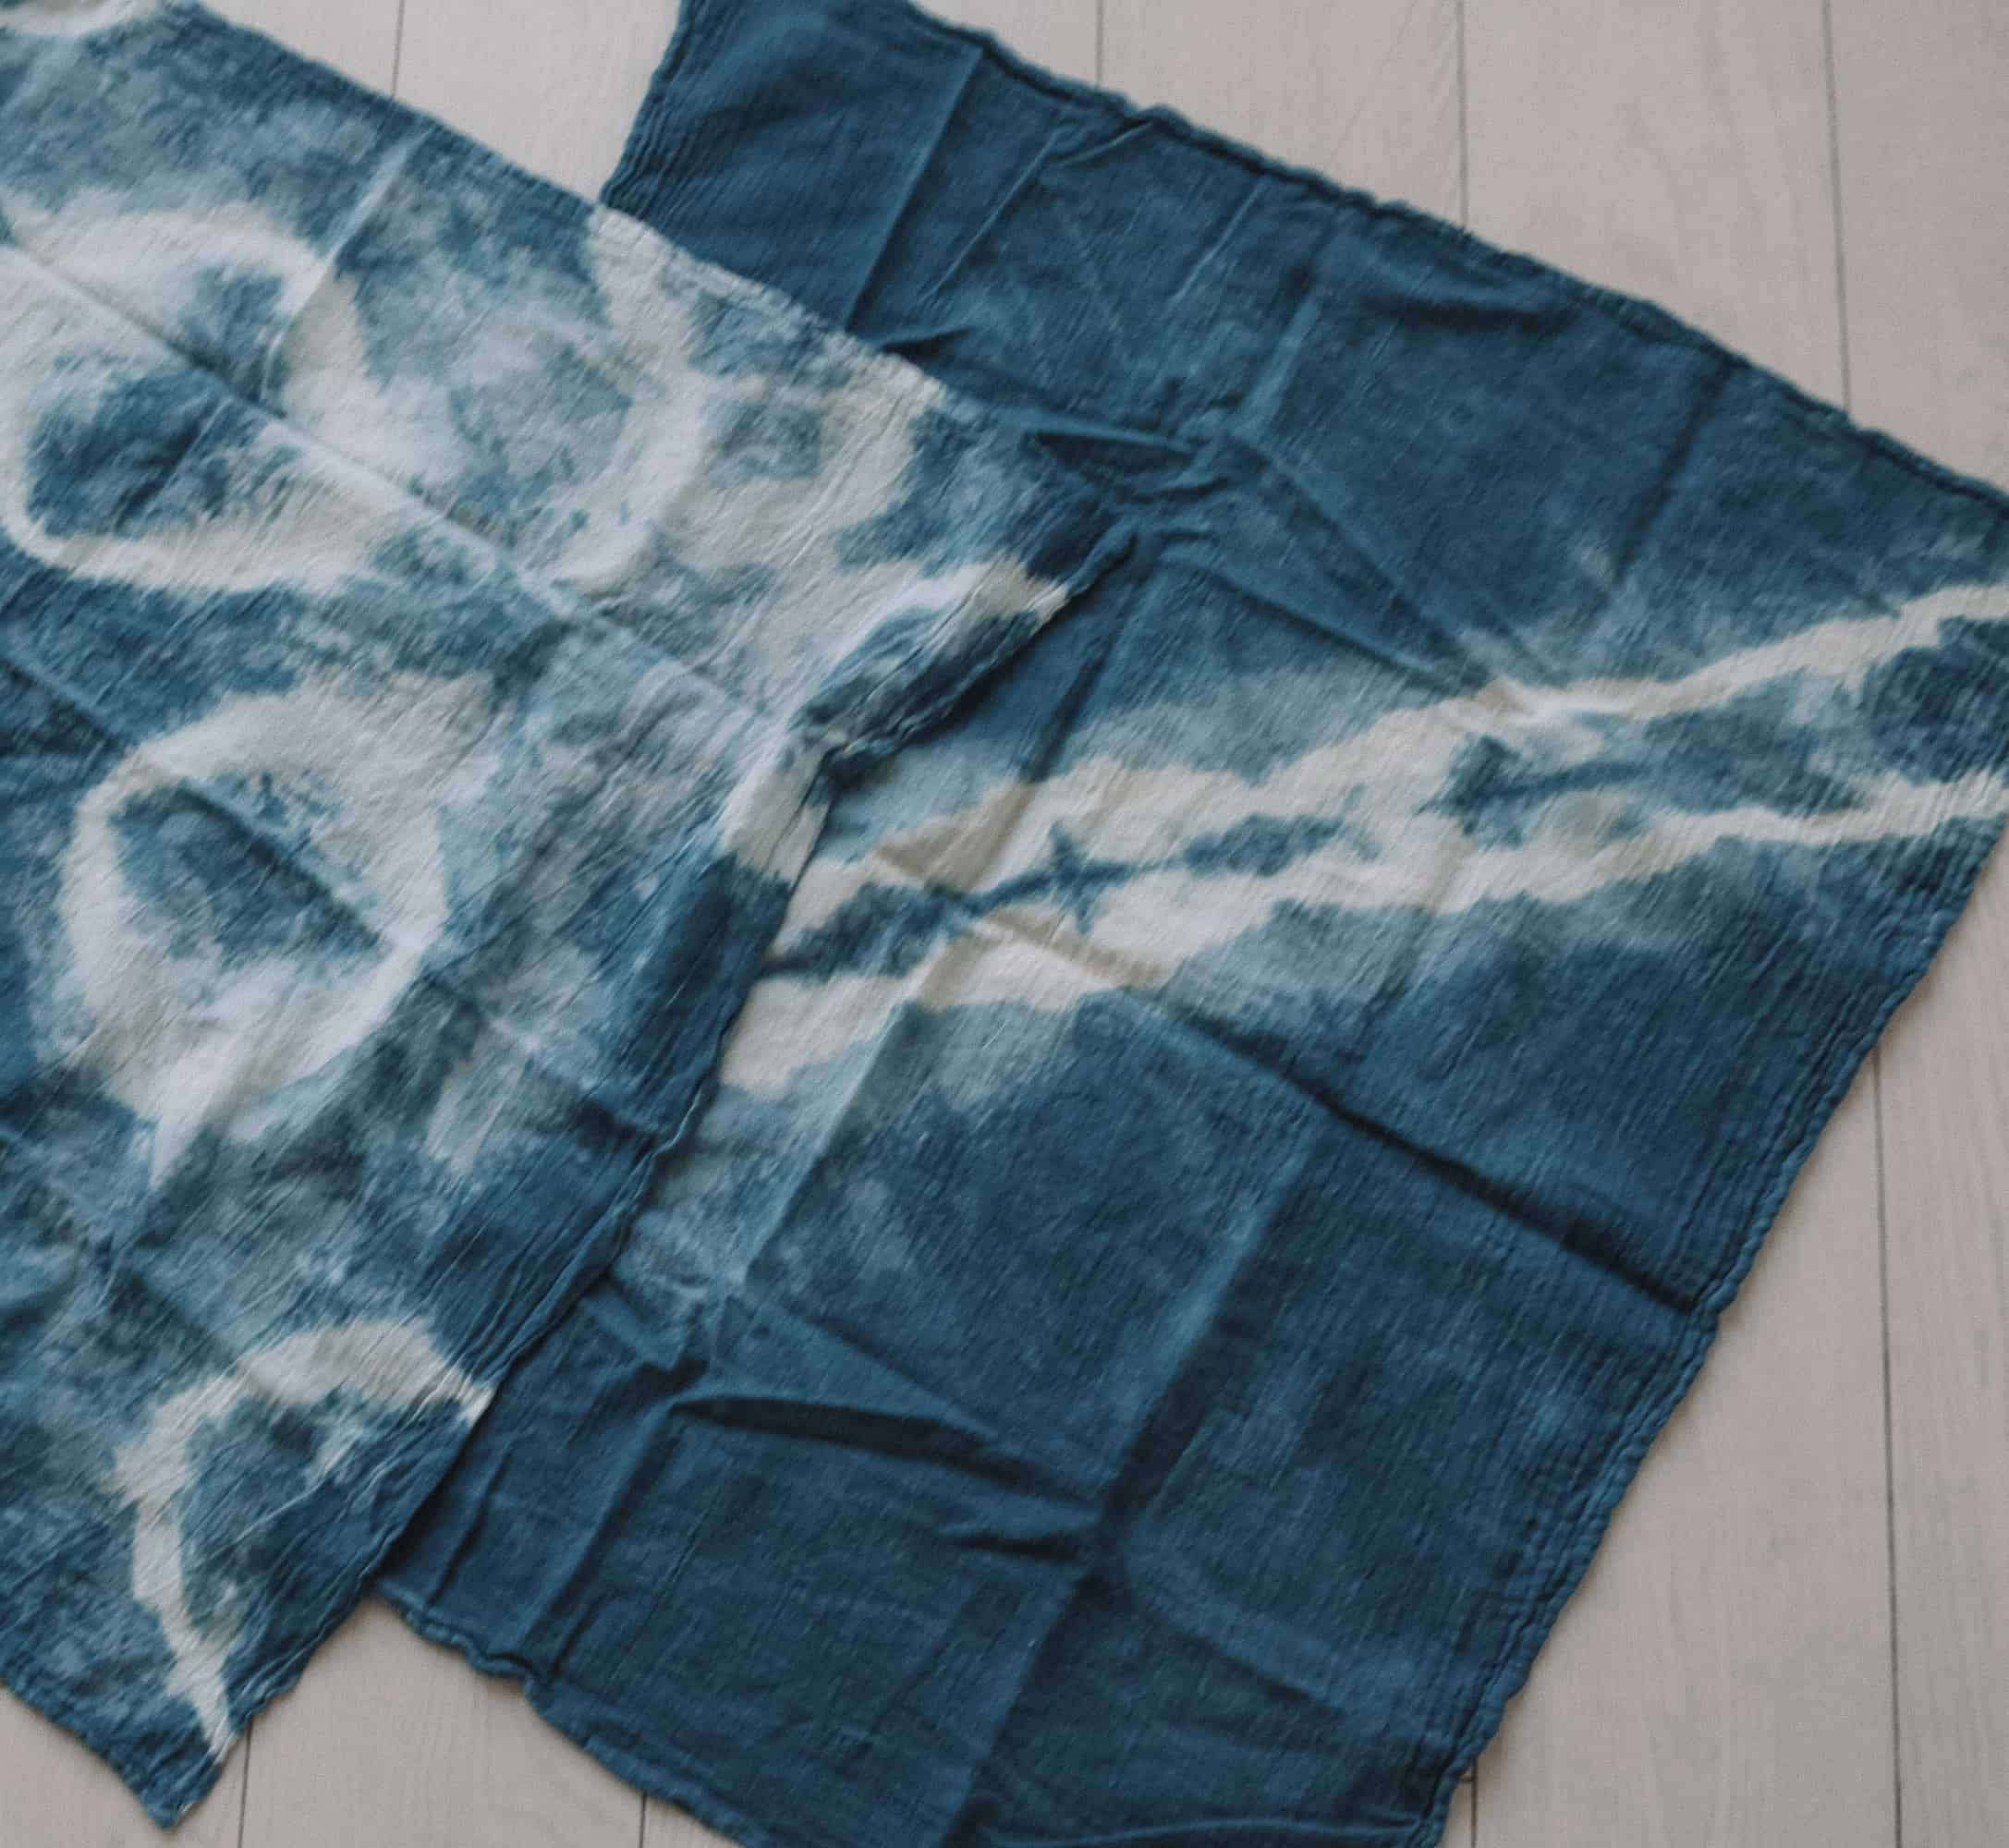
Diamond Pattern Folding Technique
This fold may require a bit more work than the others but once you get the hang of it, it is really pretty simple! If you’ve ever folded a flag you may recognize these steps. The beautiful diamond patterns that result are well worth any upfront frustration!
Diamond Fold Video Instructions
Written Instructions for Diamond Fold
- Accordion fold your fabric
- Fold the small edge down to create a triangle and fold a triangle using the same accordion style. Like a flag!
- Secure with a rubber band.
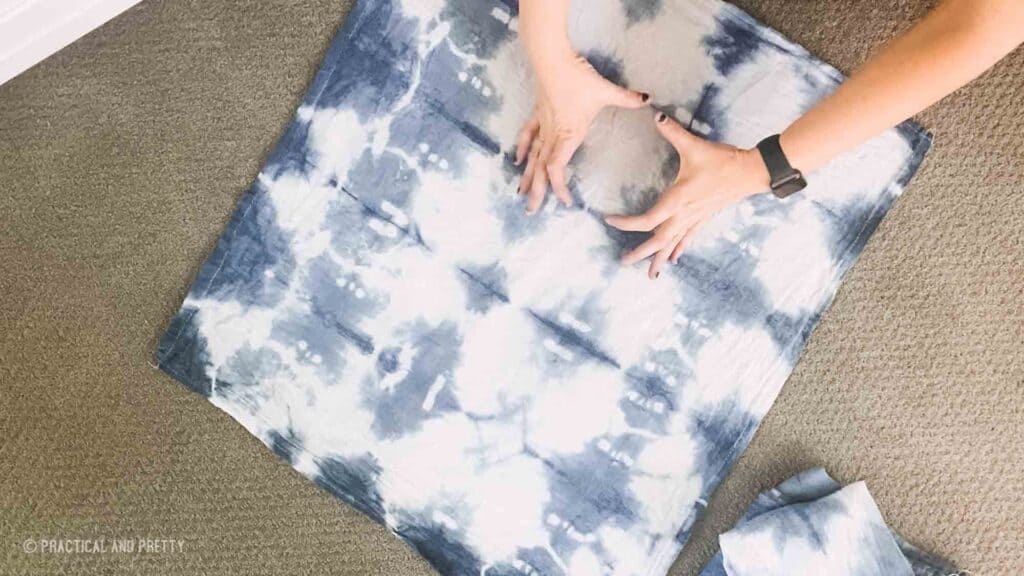
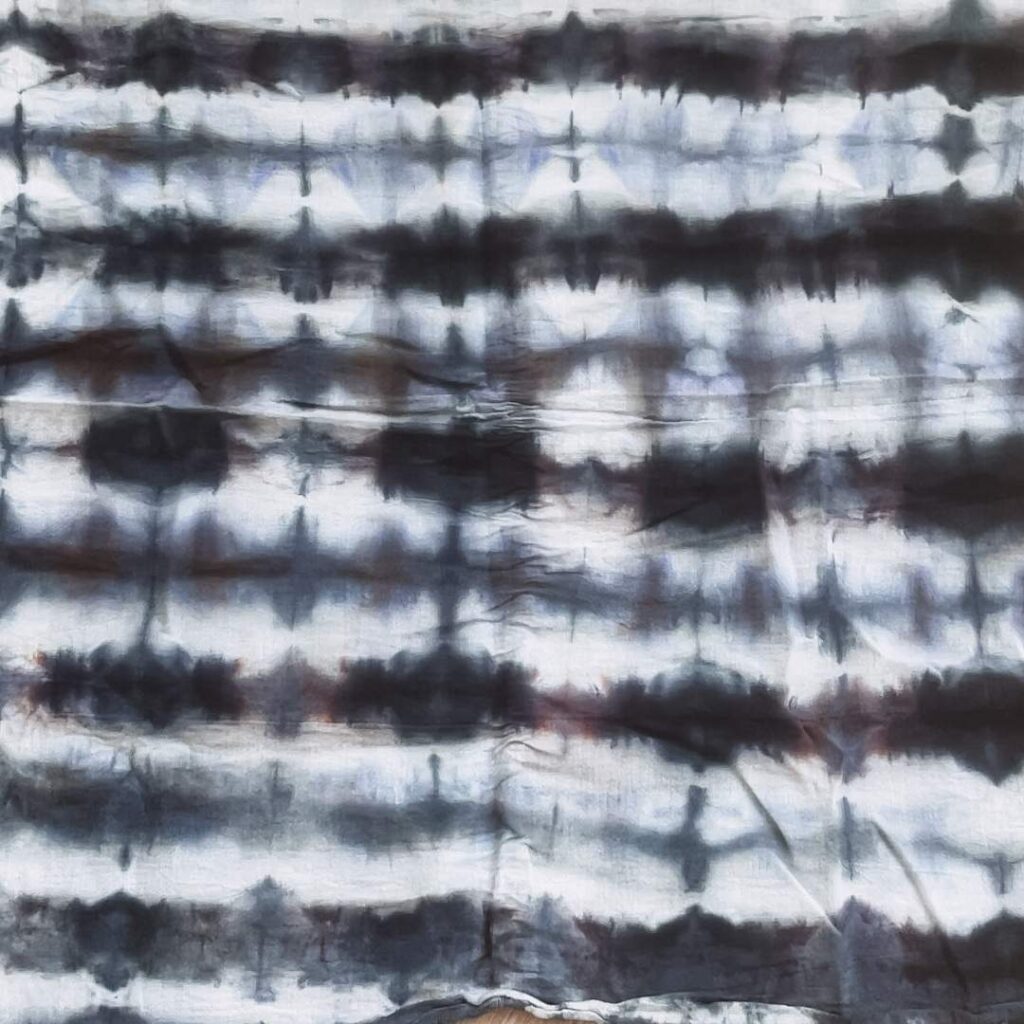
Square Pattern Shibori Folding Technique
This pattern is a classic. It is a beautiful fold, especially for large rectangular things like towels or swaddles. This fold looks great on clothes too, but I think it really pops on rectangular shapes!
Video Instruction for Square Folds
Written Instruction for Square Folds
- Accordion fold your fabric
- Accordion fold the fabric from the top to create a square.
- Secure with a rubber band.
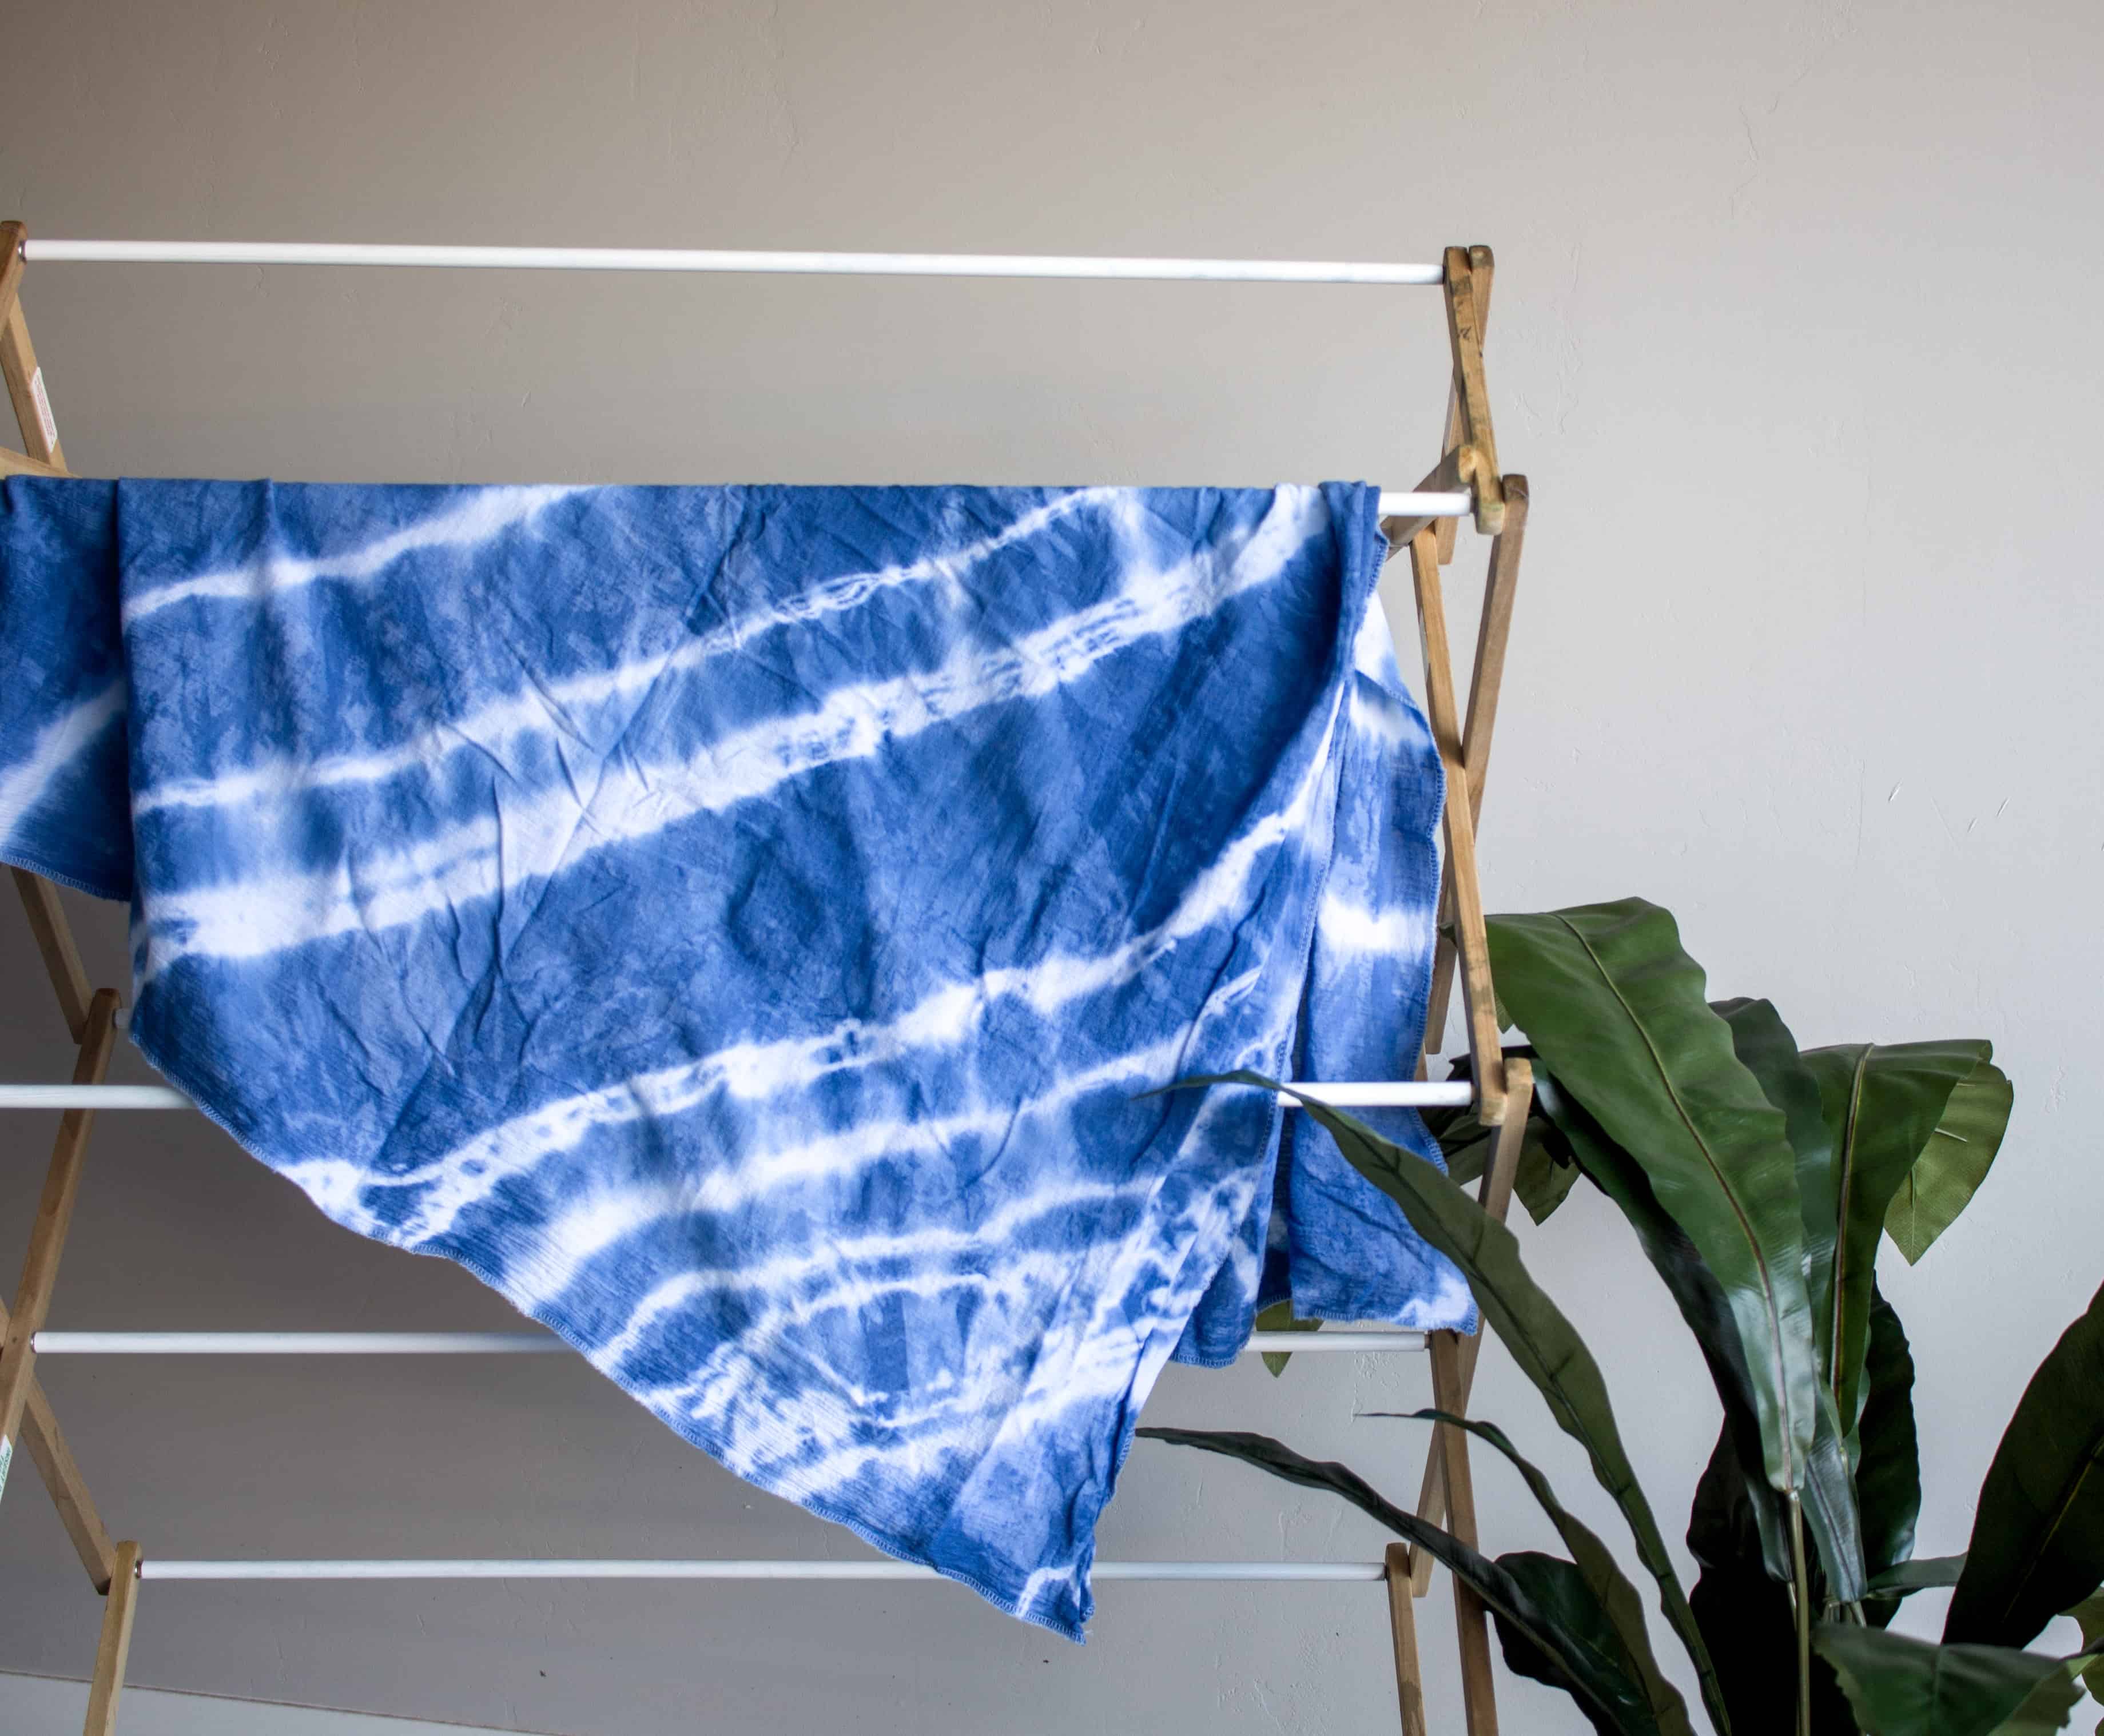
Wave Shibori Fold Technique
This pattern will require the most dye which means the most amount of rinsing, but that also means you’ll have a vibrant and colorful result. It’s super simple too!
Video Instruction for Wave Fold
Written Instruction for the Wave Fold
- Lay your fabric out flat.
- Grab a random place in the middle of your fabric and lift it up.
- Secure with a rubberband along the fabric you are holding.
- If you’d like multiple waves, do it again.
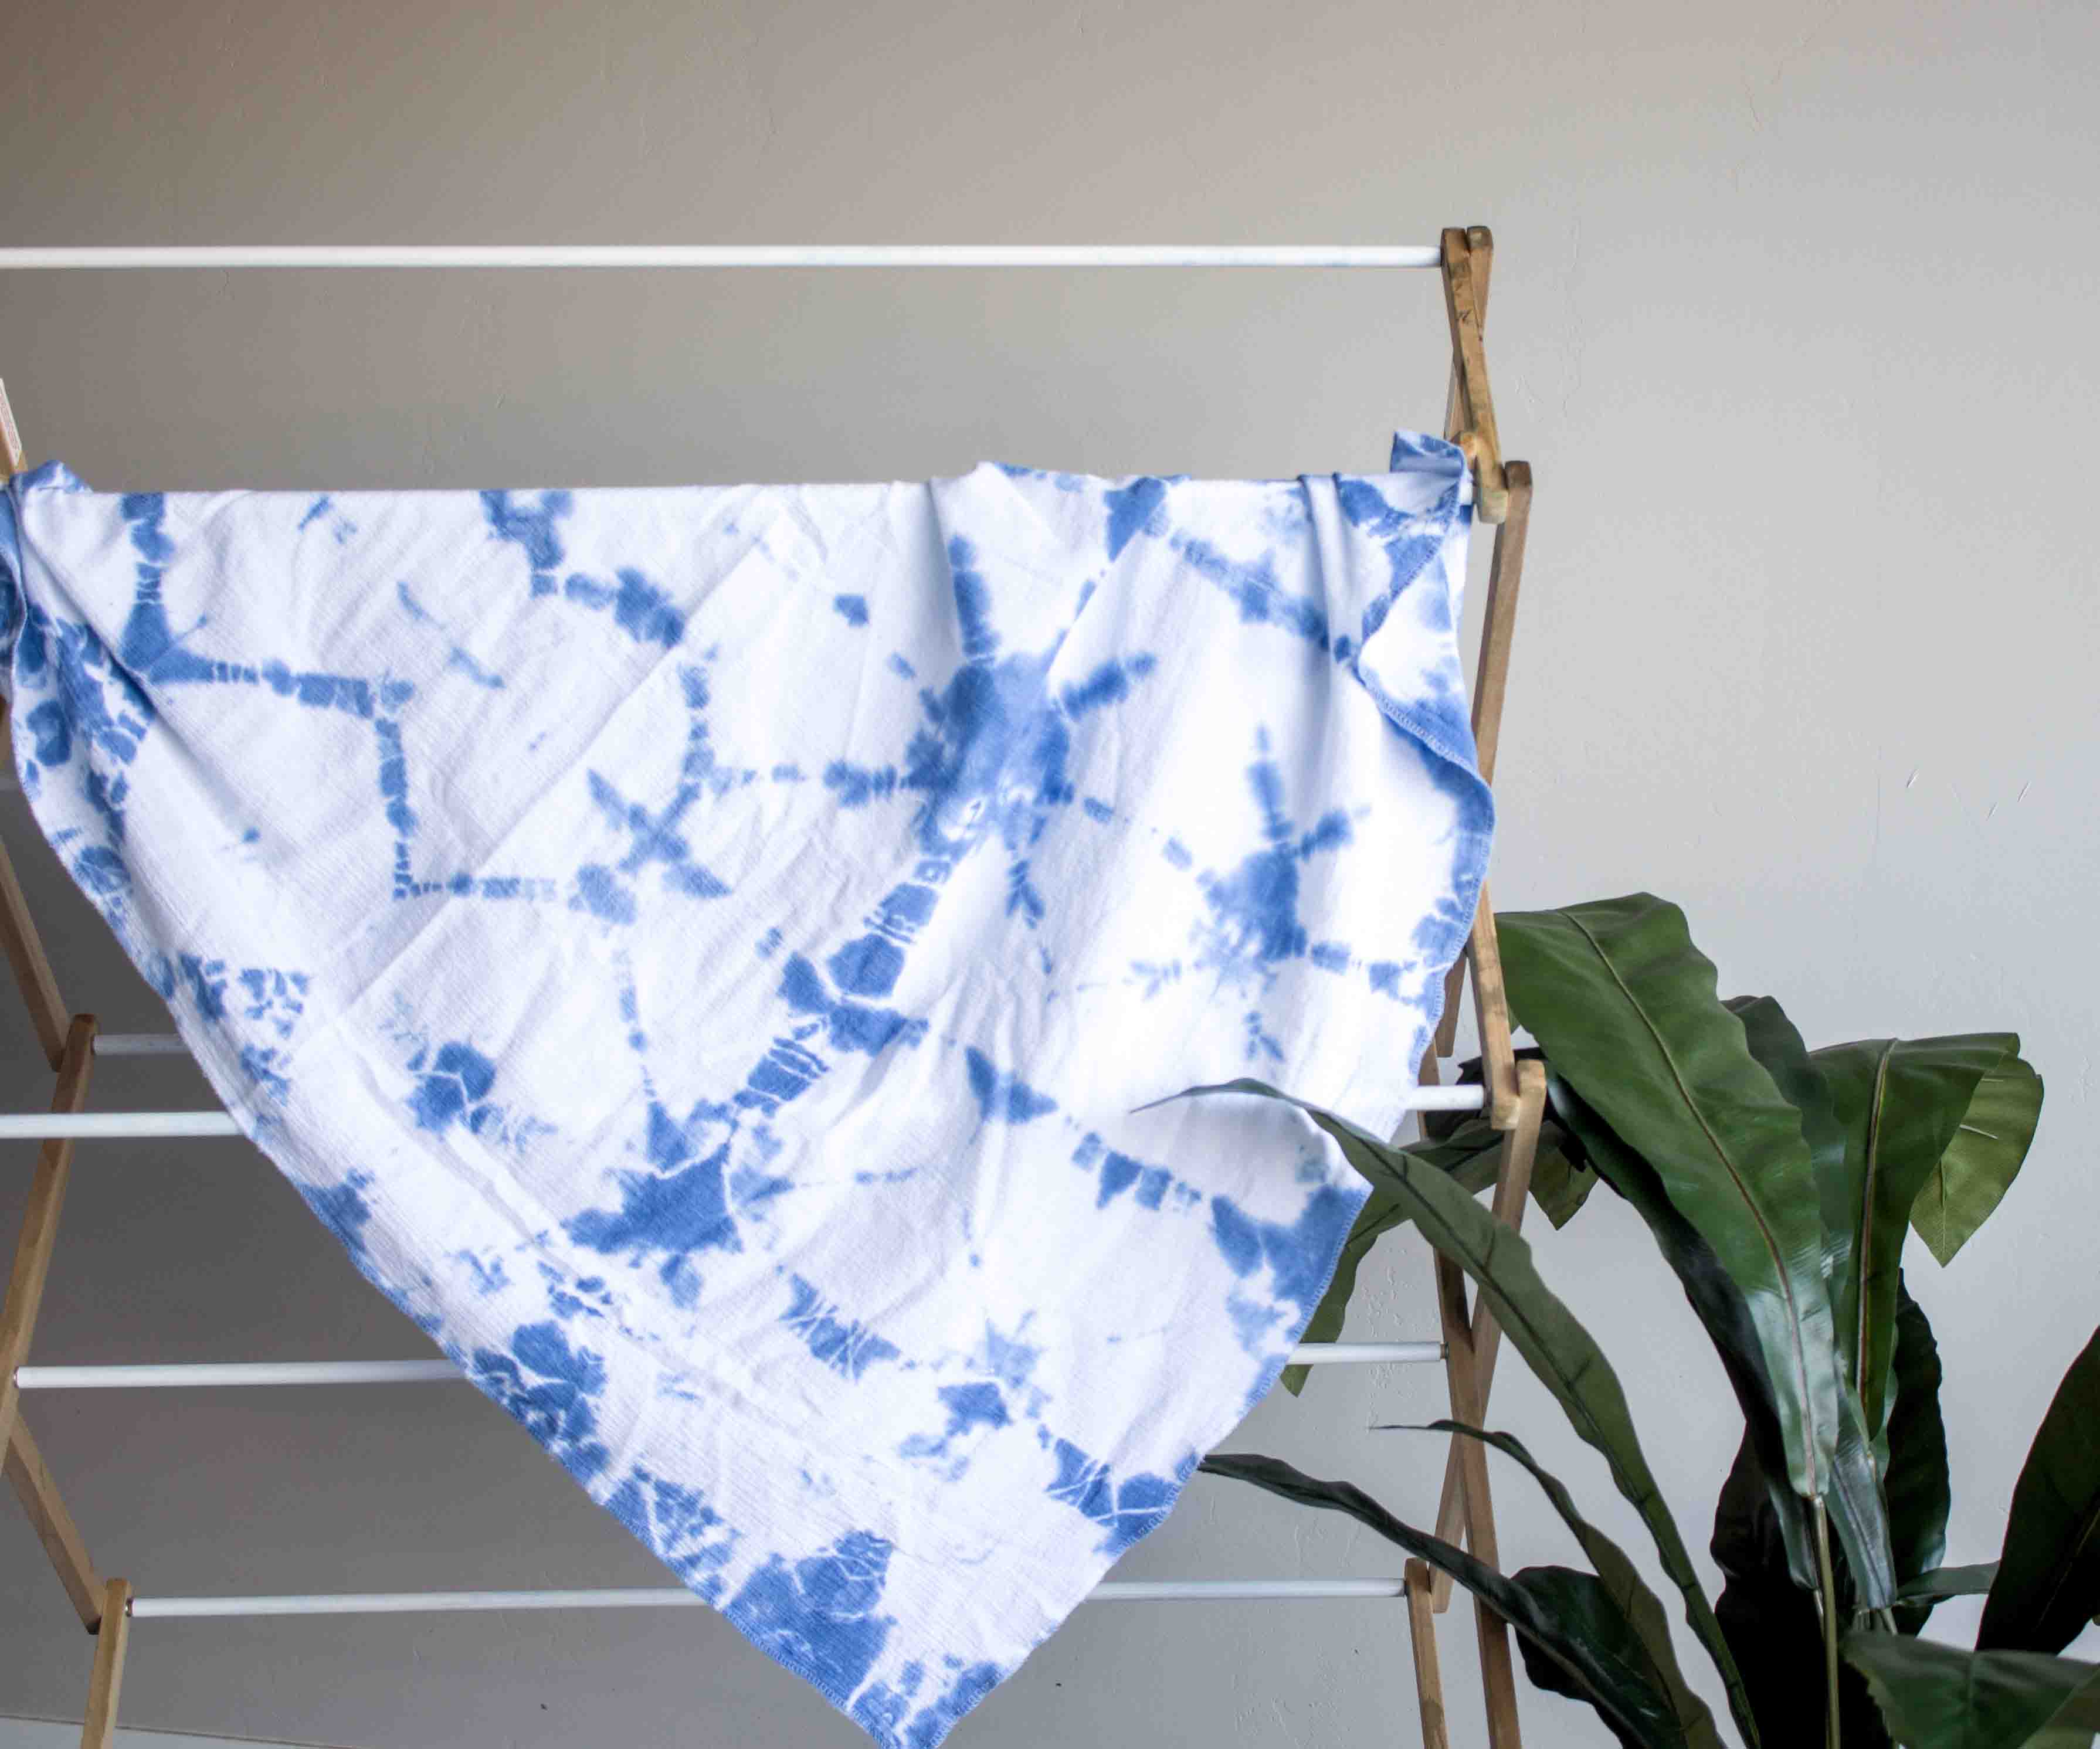
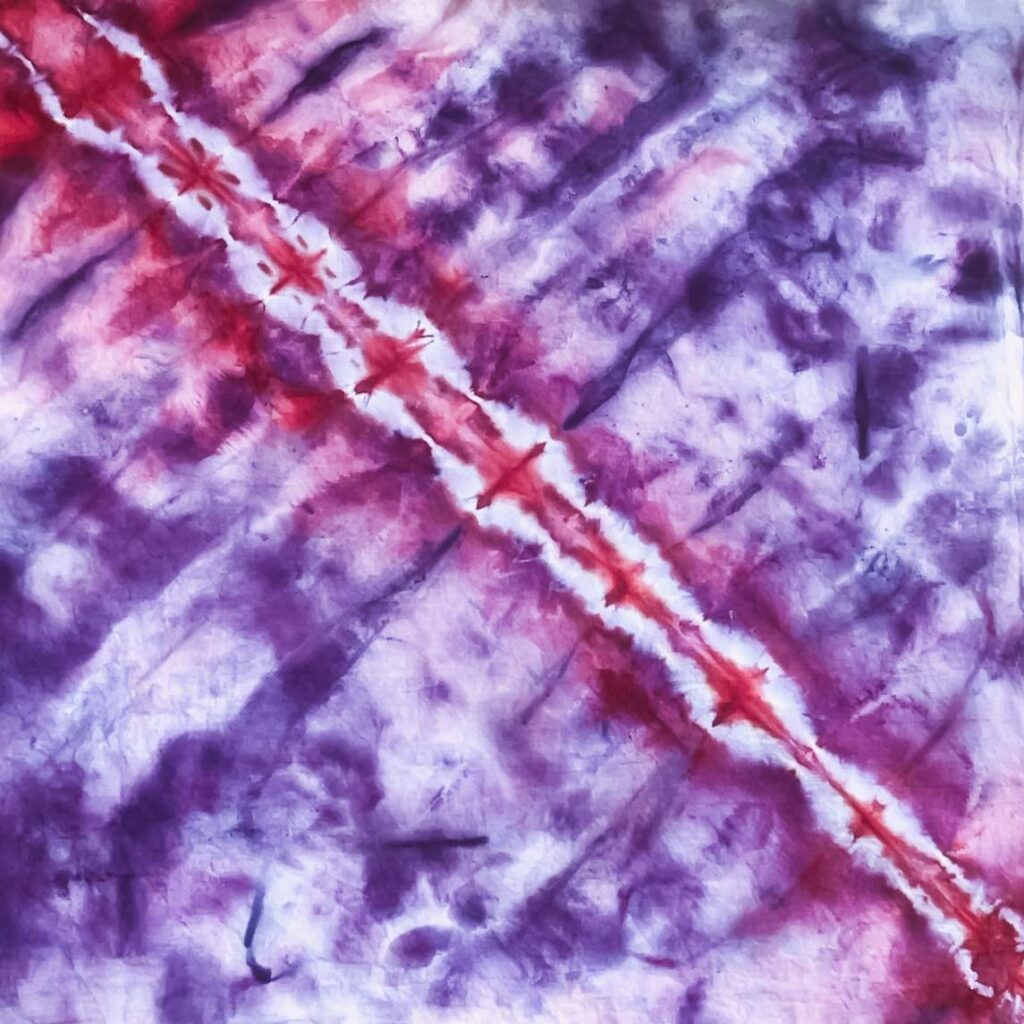
Diagonal Center Stripe
This is another great option for a fold with a result full of color. It’s simple yet leaves a big impact.
Diagonal Stripe Video Tutorial
Written Instruction for Diagonal Stripe
- Lay your fabric flat.
- Fold your fabric from one corner to the other into a triangle.
- Accordion fold the fabric along the hypotenuse.
- Secure the rubber band on the place you have tightly folded the long edge of the triangle.
5 Shibori Folds
Shibori is a trendy and cool folding technique for tie-dye and I take you through 5 of my very favorites for any tie dye you plan to do.
Materials
- Natural fiber cloth
Tools
- Rubber Bands
Instructions
- Lay your fabric out flat
- Scrunch the fabric into a ball.
- To get more color tie it loosely, for more color keep more fabric out.
Recommended Products
As an Amazon Associate and member of other affiliate programs, I earn from qualifying purchases.
-
 Shibori Dragon Sashiko Large Skein 111yds Thread, Off-White
 -
 Treasure Gurus Artificial Deer Sinew Waxed Beading Craft Poly Thread Spool Natural Wax Sinue
 -
 Sorillo Brands-Wooden Clothes Pins, Natural Wood, 50 Pack, 2.9 Inch
 -
 Amazon Basics Assorted Size and Color Rubber Bands, 0.5 lb.
 -
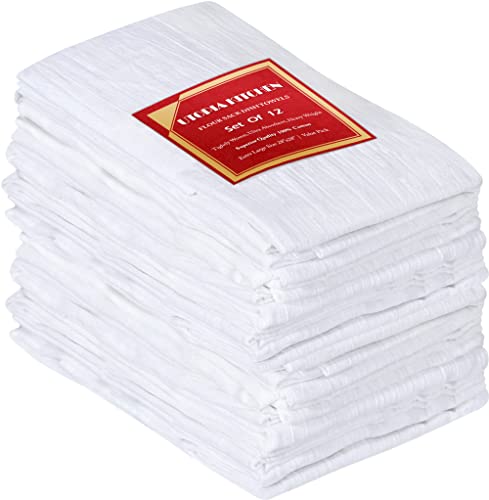 Utopia Kitchen Flour Sack Dish Towels, 12 Pack Cotton Kitchen Towels - 28 x 28 Inches
Shibori Tie Dye Folding Techniques FAQs
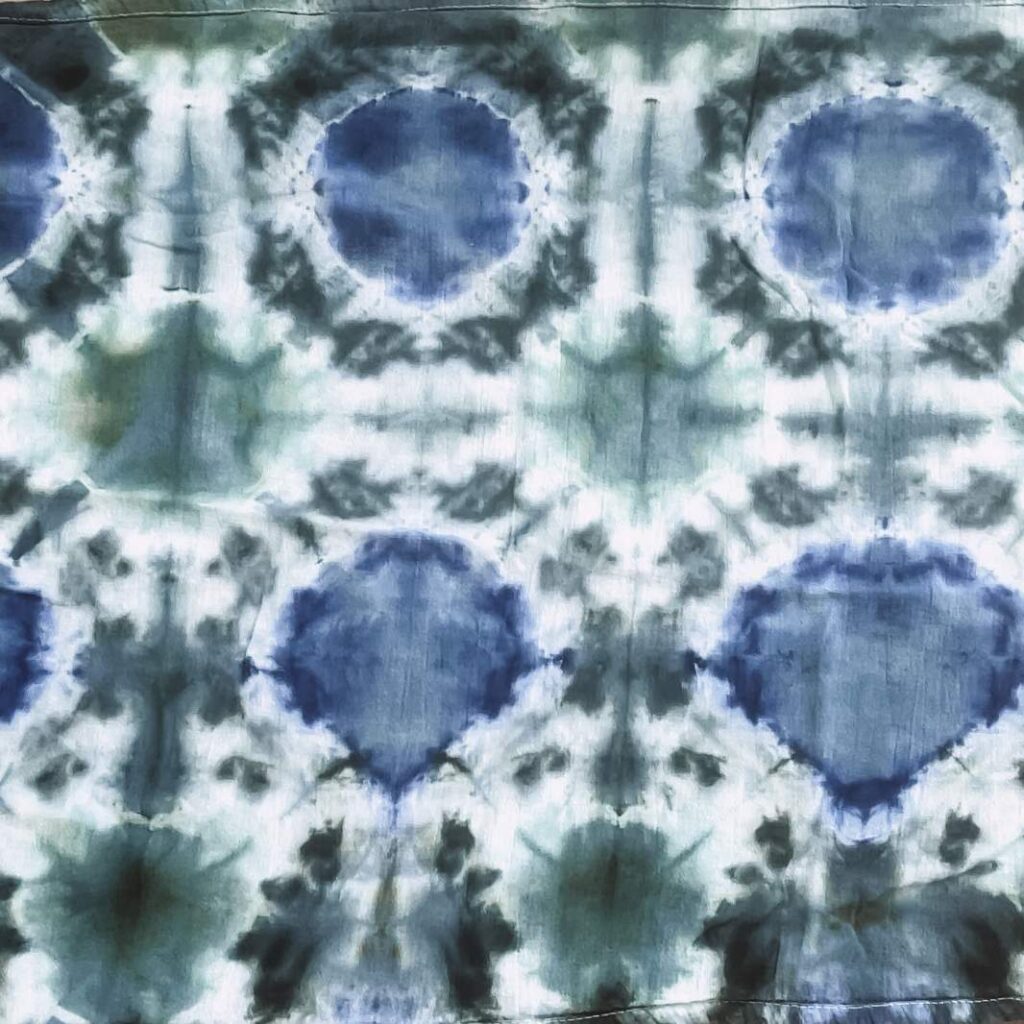
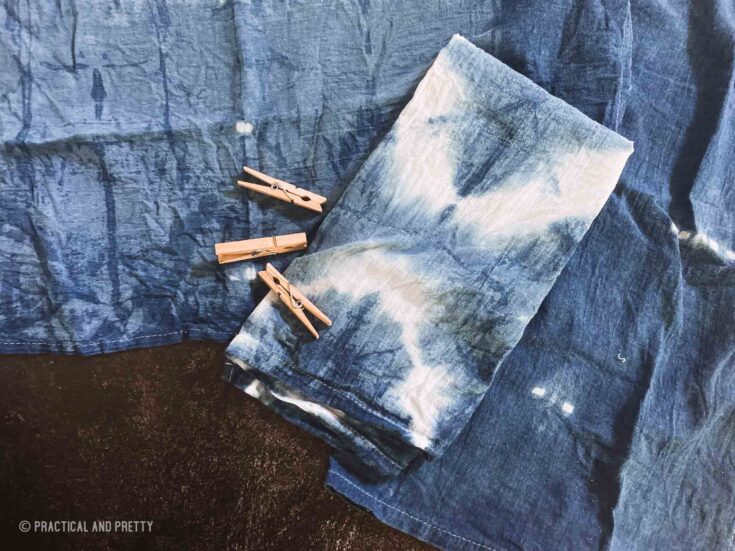
Classic shibori is dyed with an indigo dye vat which is why you mostly see it with the beautiful blue hue. In this post, you see a few different color variations where I mixed tie dye and shibori.
If you’re interested in dyeing using the traditional indigo dye vat, that tutorial can be found here.
Kanoko Shibori, Kumo Shibori, Nui Shibori, Miura Shibori, Arashi Shibori and Itajime Shibori. Each one uses a different fold, tie, or clamp method to create its signature pattern, and I break each one down in the section above.
Traditionally, a string is used to tie shibori. In this post, all the folds were secured using rubber bands. (These are the rubber bands I use. They are pretty thick and rarely break.)
Some types of shibori, like those using very detailed lines, utilize a needle and thread.
I have a post where I laid out my 5 favorite Shibori folding techniques using clothes pins.
Anything with natural fiber content like cotton, muslin, rayon or linen. Modal is also a great dyeable fabric!
Absolutely! That’s actually what most of these images are of here!
If you’re doing indigo, you’ll just wait until the fabric turns blue from it’s green color. If you’re doing tie dye, here’s a guide for how long you should let your dye sit.
Now you know how to fold the fabric. If you want to do the full indigo dye technique, the tutorial is here.
More tie-dye tutorials you’ll love
If you’re diving into Shibori, here are some other popular posts to help you keep experimenting with color and pattern:
- How long should tie-dye sit? — Find out exactly how long to let your dye cure for the brightest results.
- How to wash tie-dye — Keep your tie-dye vibrant wash after wash with these simple steps.
- Best tie-dye kit on Amazon — My honest review of top kits for beginners and beyond.
- Best tie-dye brands compared — Tested side by side so you can pick the right one.
👉 Or explore all my dyeing tutorials here for endless inspiration!


