• Skip to main content
  • Skip to primary sidebar
  • Skip to footer

Practical and Pretty logo

  • HOME
  • DYEING
  • DIY
  • PARTIES
  • CRICUT
  • SHOP
  • ABOUT
  • CART
You are here: Home / DIY / DIY Washable Nursing Bra Pads

July 17, 2017

DIY Washable Nursing Bra Pads

I plan to tell you more details about my nursing journey in the future (if anyone is interested of course!) but for now I will tell you, I am tired of buying nursing pads! I have almost spent as much on nursing pads as I would have spent on formula. So those who say nursing saves money, that might not be true if you’re anything like me. But I found a solution that has been working pretty well for me and I thought you may be interested as well.

When I bought my third box of nursing pads by the time my little guy was only 1 month old I started looking for something that didn’t feel like plastic in my bra. My mom made me burp cloths out of reusable diapers and I have loved them. I knew she had some left over reusable diapers and I thought I could cut out a couple of circles and keep them in my bra. It worked pretty well but they moved all over and folded! I considered velcro, but no side of velcro would be comfortable in your bra. 

Save yourself some money by making your own nursing bra pad inserts. You only need a couple of things and a few minutes! Don't buy another nursing pad again

If you have an infant, you are very familiar with snap closures. (They put them on every outfit. Zippers are my best friend right now!) I was buttoning up Leo’s onesie one day and thought, ‘Hey! I should attach the disposable diaper with a snap in my bra!’. So that’s what I did.

What you need to make your own Nursing Bra Pad Inserts
  • Nursing bra
  • Cloth diaper
  • Snap Closures

Gerber Birdseye 3-Ply Prefold Cloth Diapers, White, Pack of 10Check PriceSet Of 2 - 100 Pcs 9.5Mm Pearl Popper Snaps And Pliers Leather Crafting, Scrapbooking And ArtsCheck PriceKindred Bravely Extra Soft Organic Cotton Wireless Nursing & Maternity Sleep Bra (Black, Small)Check Price

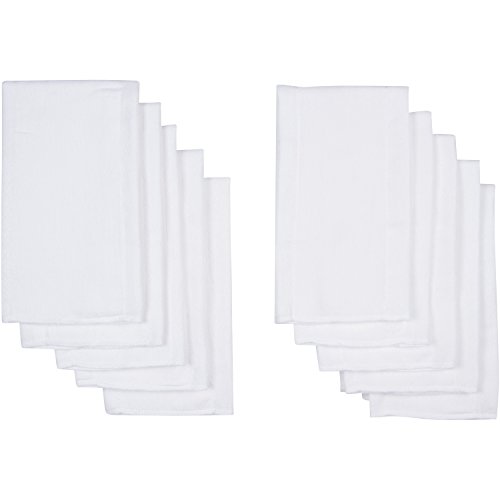
Start by tracing a circle on your reusable diaper. Make it bigger than you think you’ll want it. If you have a current favorite nursing pad, trace it!

Save yourself some money by making your own nursing bra pad inserts. You only need a couple of things and a few minutes! Don't buy another nursing pad again

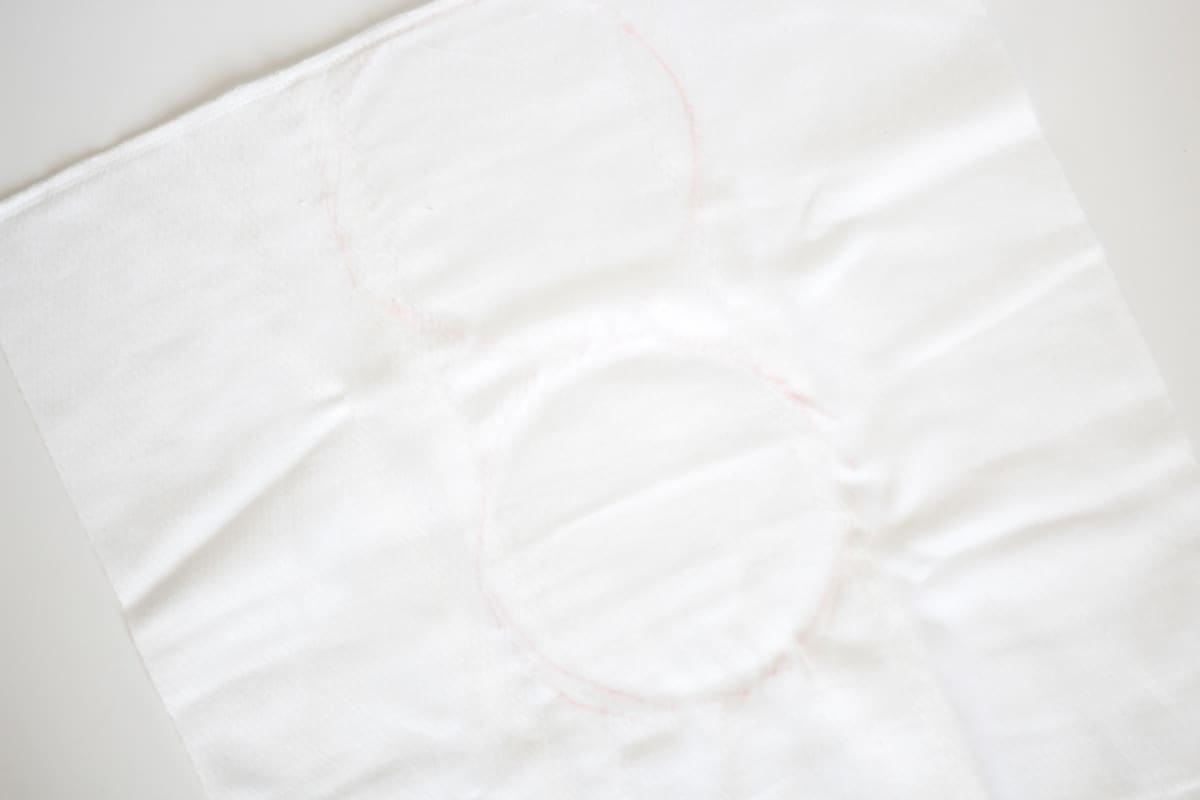
Then cut out your circle.

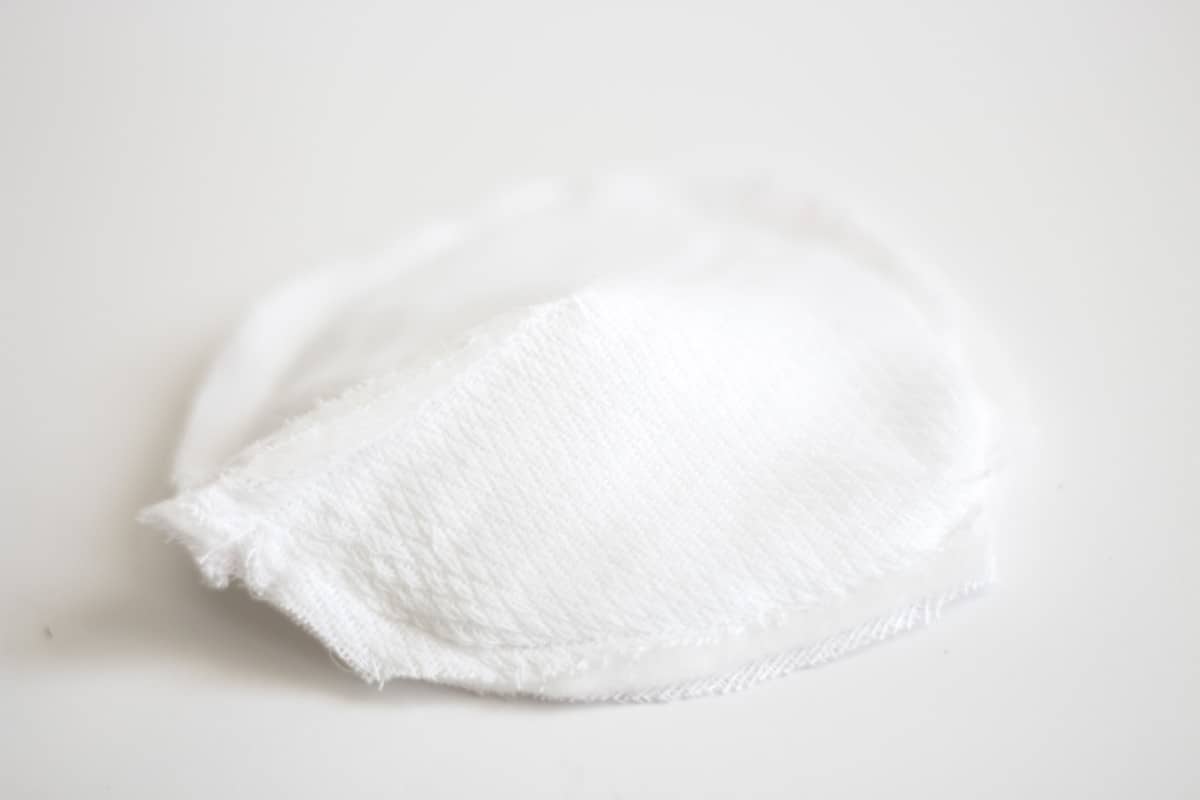
I decided to add a small pleat to mine so it sat more comfortably in my bra. This is totally optional, and I’m not sure it made a ton of difference. To do this, draw a triangle with the tip at the center of your circle. Line the two sides of the triangle up and just stitch a straight line.

Save yourself some money by making your own nursing bra pad inserts. You only need a couple of things and a few minutes! Don't buy another nursing pad again

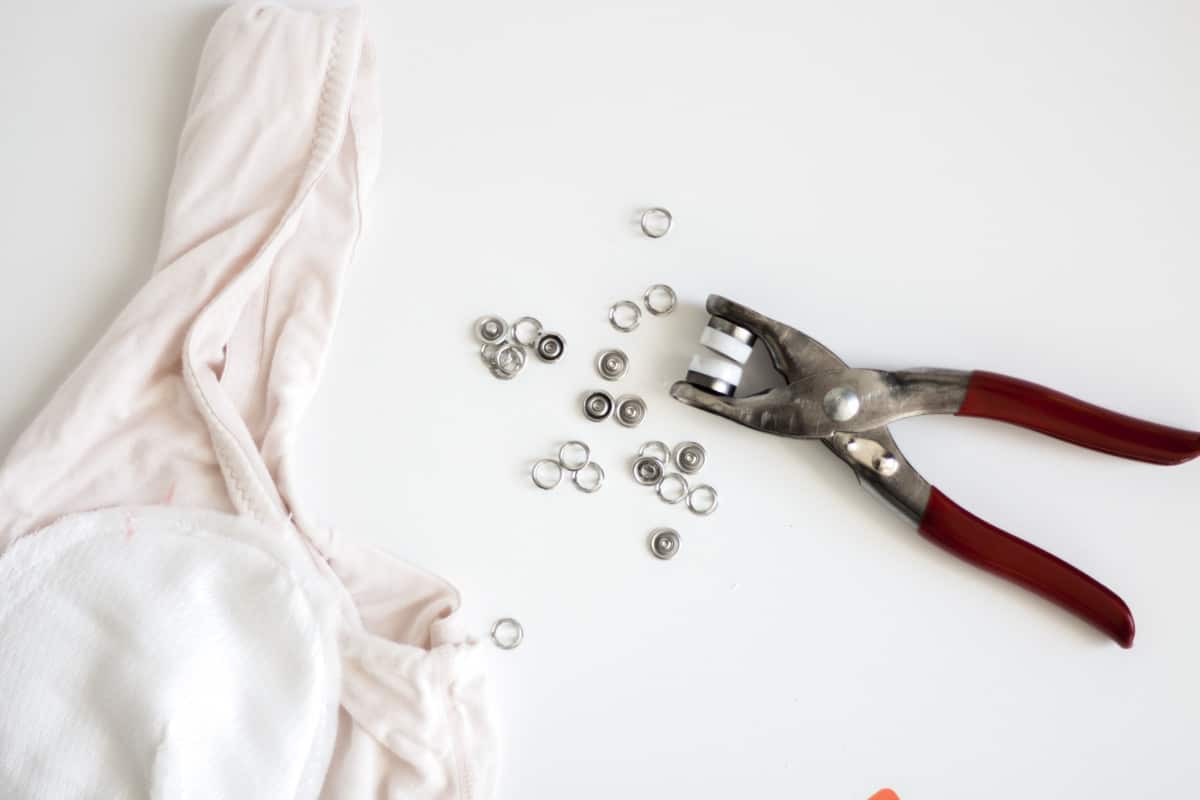
Then I measured where I wanted my snaps. I tried doing just one and two snaps but found three was the best number. It prevented it from folding in on itself but wasn’t too many snaps to close.

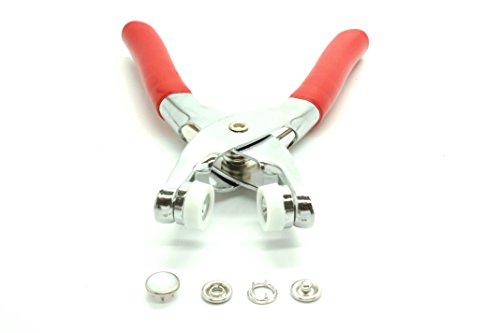
My snap closure set came with everything I needed. I did use a hammer to make sure it was on there really well though. I would highly suggest trying out two or three snaps (both sides) on  practice cloth. They aren’t difficult, but you will probably want to try it a couple of times before you start hammering a nice nursing bra!

Save yourself some money by making your own nursing bra pad inserts. You only need a couple of things and a few minutes! Don't buy another nursing pad again

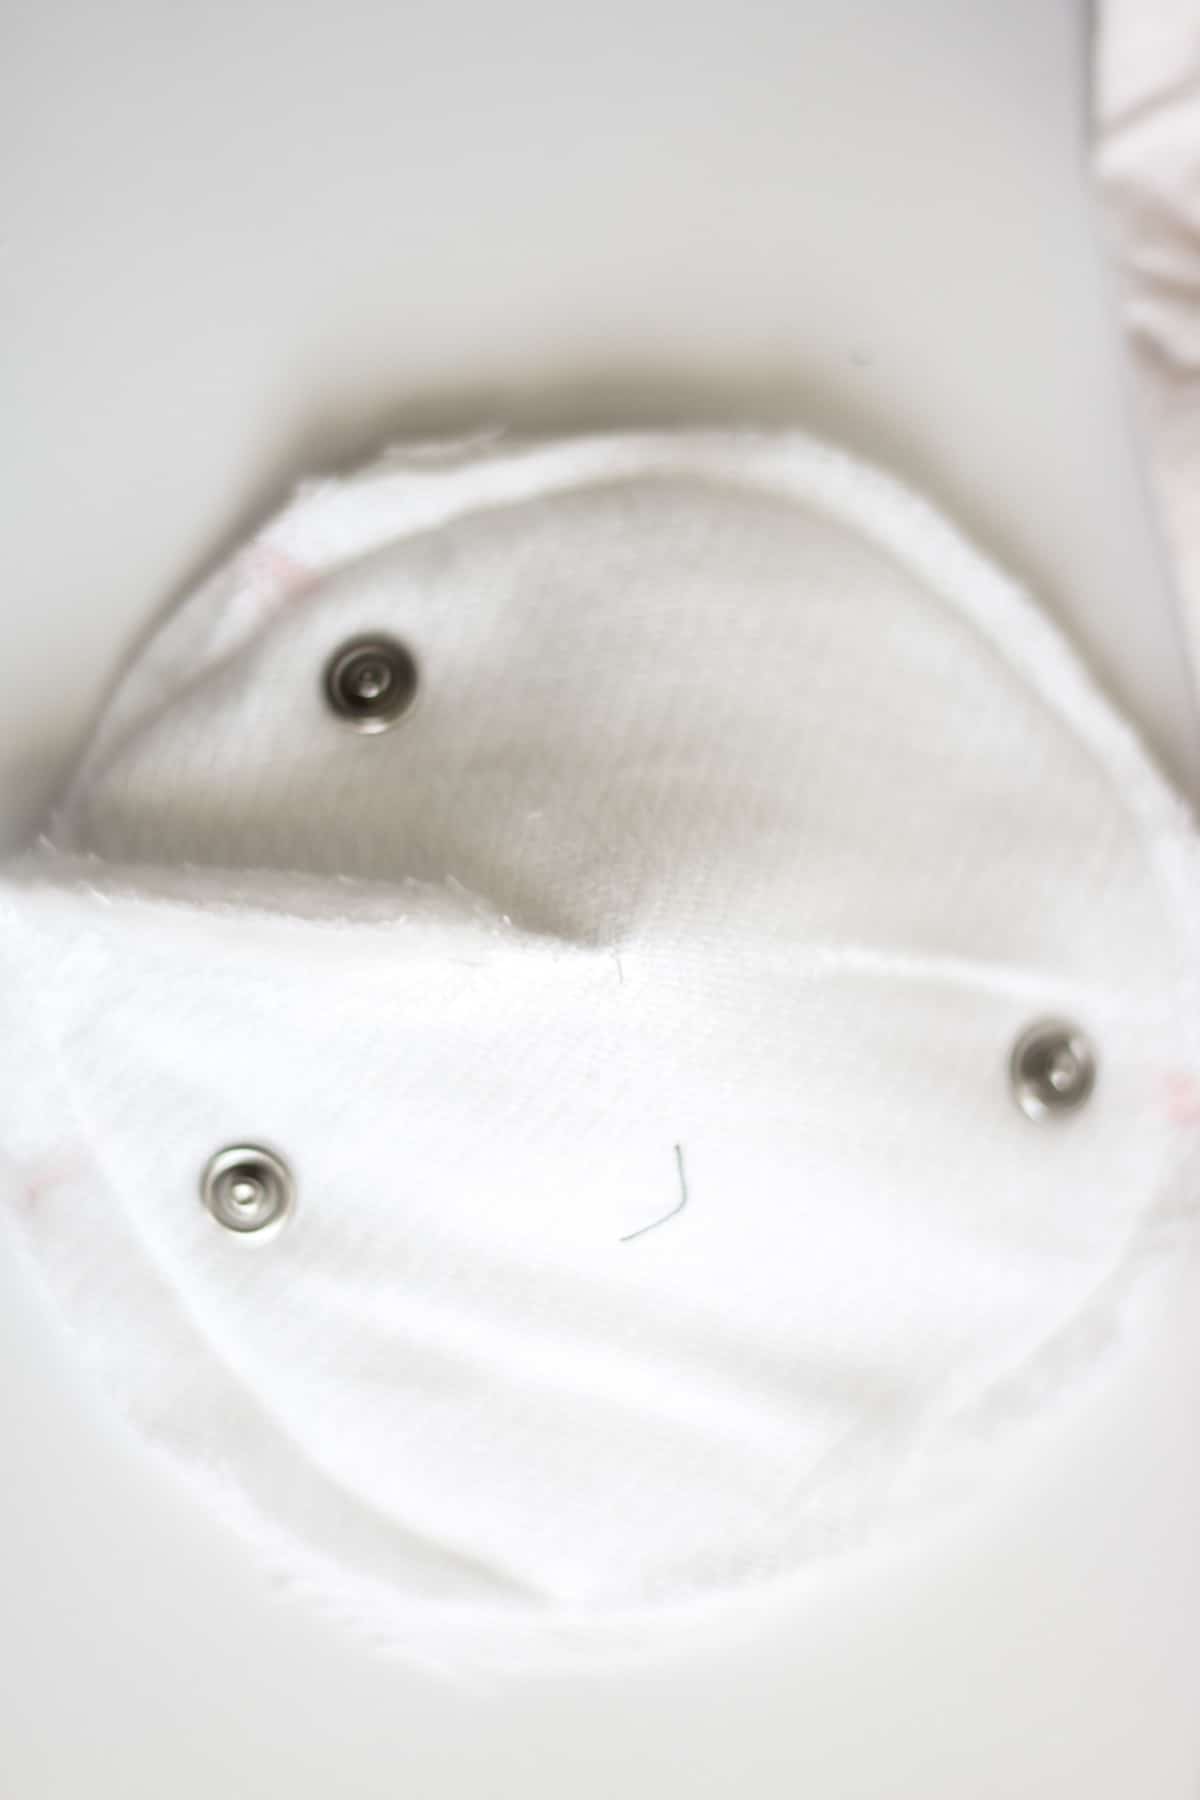
I made sure to put the flat part of the snap closure on my bra and the pointy part on the pad. This way, if I need to wash the pad and wear my bra without it, I don’t have something poking me. 

Save yourself some money by making your own nursing bra pad inserts. You only need a couple of things and a few minutes! Don't buy another nursing pad again

That’s really all it took to solve my problem! Now I need to go do it to all of my bras so I always have the snaps to insert the pads into. 

If you liked this post you may also like these:

  • DIY Nursing Bracelet
  • DIY Moby Wrap
  • Mombo Nursing Pillow Review
  • Best Nursing Tunic


Filed Under: DIY, Sewing Tagged With: quick diy

Reader Interactions

Leave a Reply Cancel reply

Your email address will not be published. Required fields are marked *

Primary Sidebar

SEARCH

I’m Anna!

Welcome!

I’m Anna and love practical and pretty things. You will find DIYs here as well as party ideas and of course, natural dyeing tutorials. I’m so glad you’re here.

FEATURED ON

PARTIES

Birthday Blippi Shirt

This silly Blippi shirt is perfect for the birthday child or you could even make a few for all the guests! They will get a kick out of what it says. 

Free ‘It Is Your Birthday’ Banner

it is your birthday banner

Encanto Party Supplies

You will find lots of Encanto party supplies and even some fun ideas for your next Encanto party! Who doesn't love Encanto after all?

Roblox Party Supplies Ideas

roblox balloons

NATURAL DYEING

Forest Fairy Costume Featuring Tie Dye

How to Dye with Pine Cones

pine cone dye vat

Dye with Quebracho for a Beautiful Red

If you're looking for a beautiful red natural dye, look no further than quebracho! This gave the most beautiful hue and was a simple process.

How to Dye with Turmeric Video Tutorial

Here I will show you how I dye with turmeric to get a rich orange and yellow color. I demonstrate you in real time with a video!

CRICUT PROJECTS

Birthday Blippi Shirt

This silly Blippi shirt is perfect for the birthday child or you could even make a few for all the guests! They will get a kick out of what it says. 

Custom Modern Workout Tank Tops

Customize your workout tanks with this simple tutorial. I've got everything outlined for you from the materials to the finished product. 

Rose Pedal Bath Salts

This is such a beautiful addition to your bath routine. DIY Rose bath salts recipe AND free file to cut with your Cricut!

DIY Christmas Pajamas

Use Cricut Holographic Iron On to customize your favorite set of pajamas and keep yourself nice and warm no matter the season. 

Footer

Copyright © 2023 Practical and Pretty on the Brunch Pro Theme