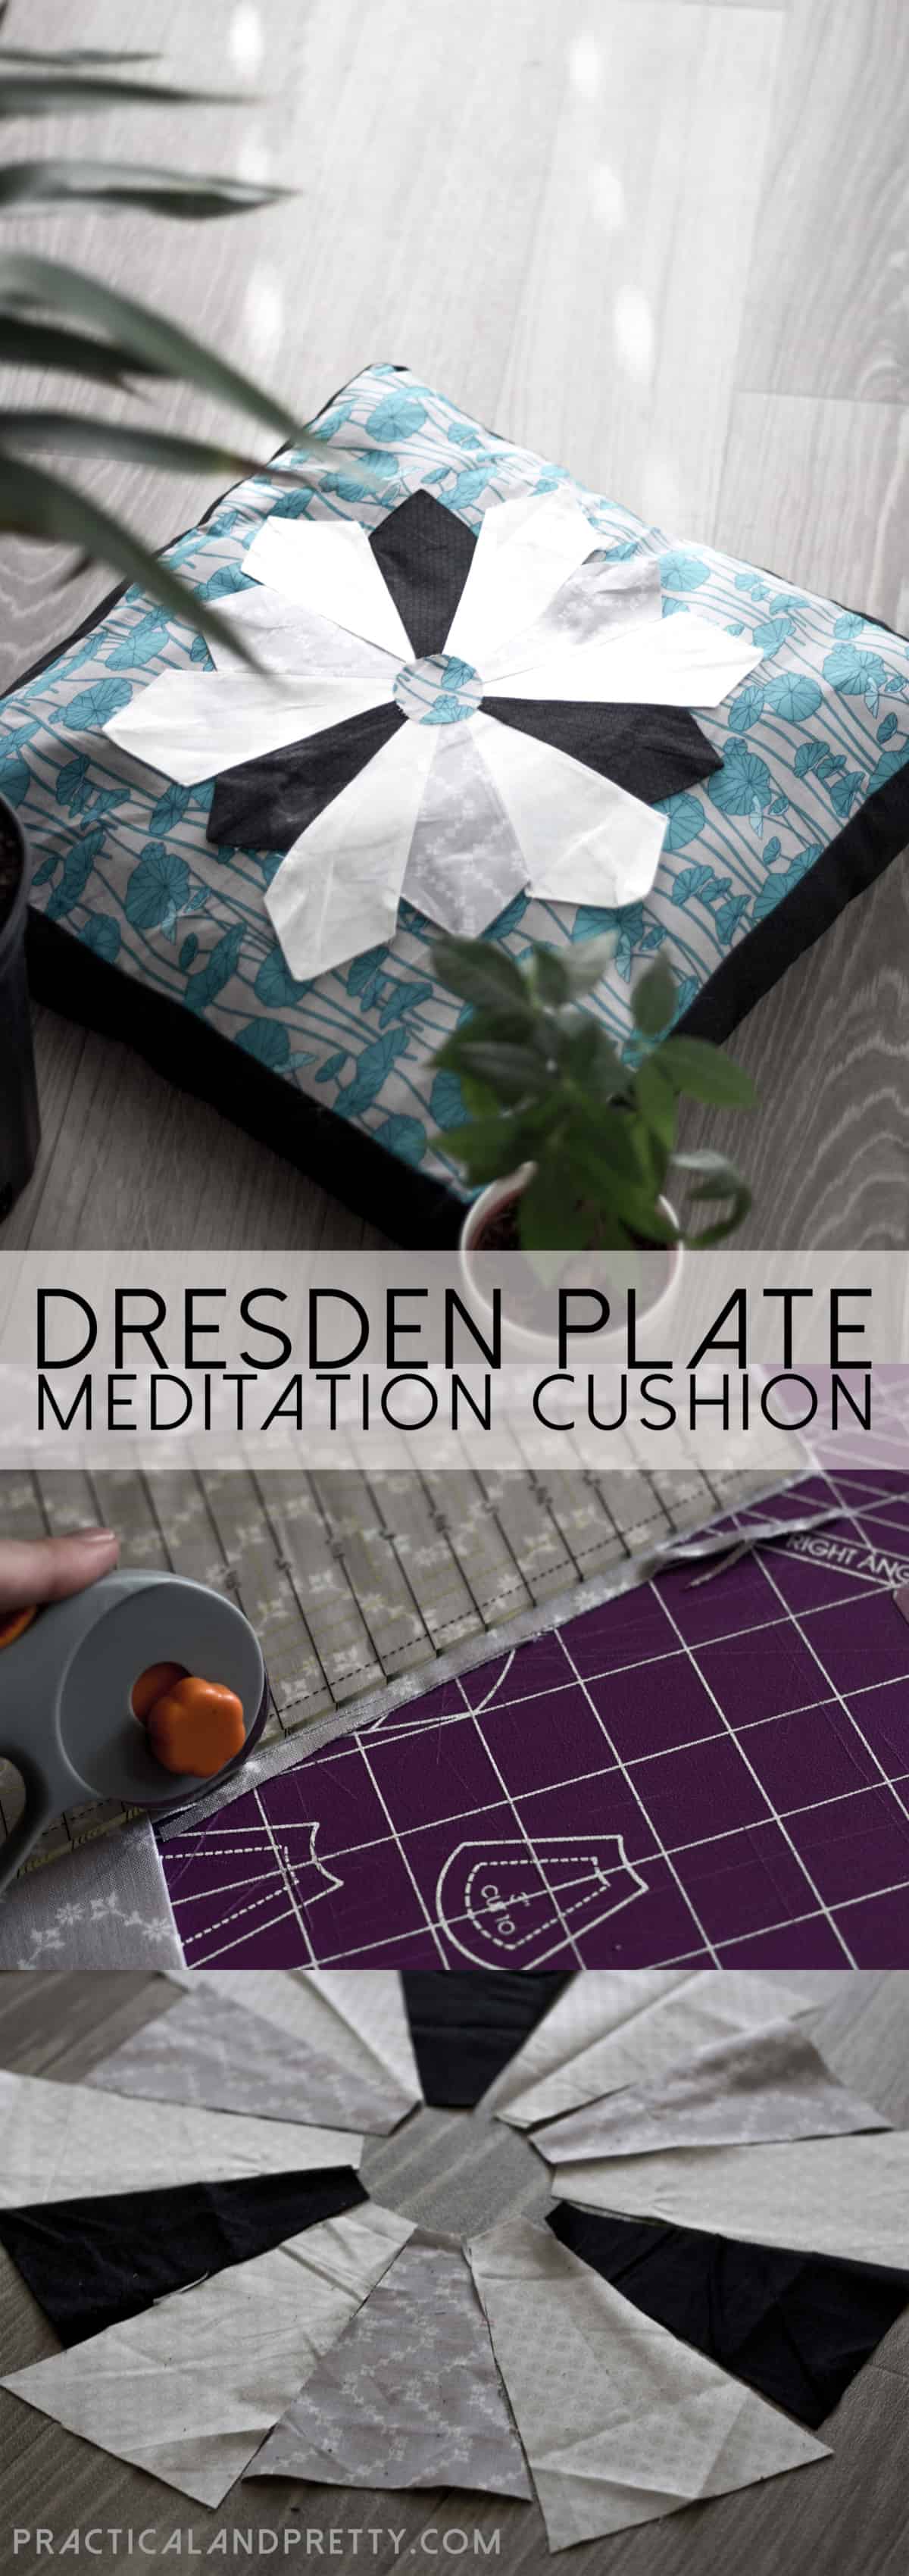
You’ll love this uniquely patterned meditation pillow using the dresden pattern. It’s a simple project don’t let it deceive you.
I did this DIY yoga bolster post a bit ago and had such a wonderful response I knew it was time for another sewing post! I love DIY projects so make sure to take a gander over there. This pillow would also look beautiful with tie dye fabric so go fold using shibori patterns and make a unique pillow!
‘Dresden plate’ is a really cool quilting pattern that I have fallen in love with. I studied Math in college and love all things geometric so to piece together triangles to form a beautiful circular pattern was so fun! The unique pattern originated in the 20s which is probably another reason I really love the look.
I sit on the floor all day. I work on the floor for my full time job, I sit on the floor to blog, I craft on the floor most of the time and I take photos on the floor. Needless to say a floor cushion is a must.
I also love to practice mindfulness! Mindfulness is a form of meditation where you simply sit in stillness and acknowledge your thoughts. I think mindfulness is an important part of being a good mom, friend and daughter. We don’t sit in still silence often enough.
I received some free product from Nancy’s Notion’s to complete the post. All opinions are 100% my own.
What you need for your Dresden Plate Meditation Pillow
- 3 – .5 yard of fabric (for the plate)
- 1 – 1 yard of fabric (for the pillow)
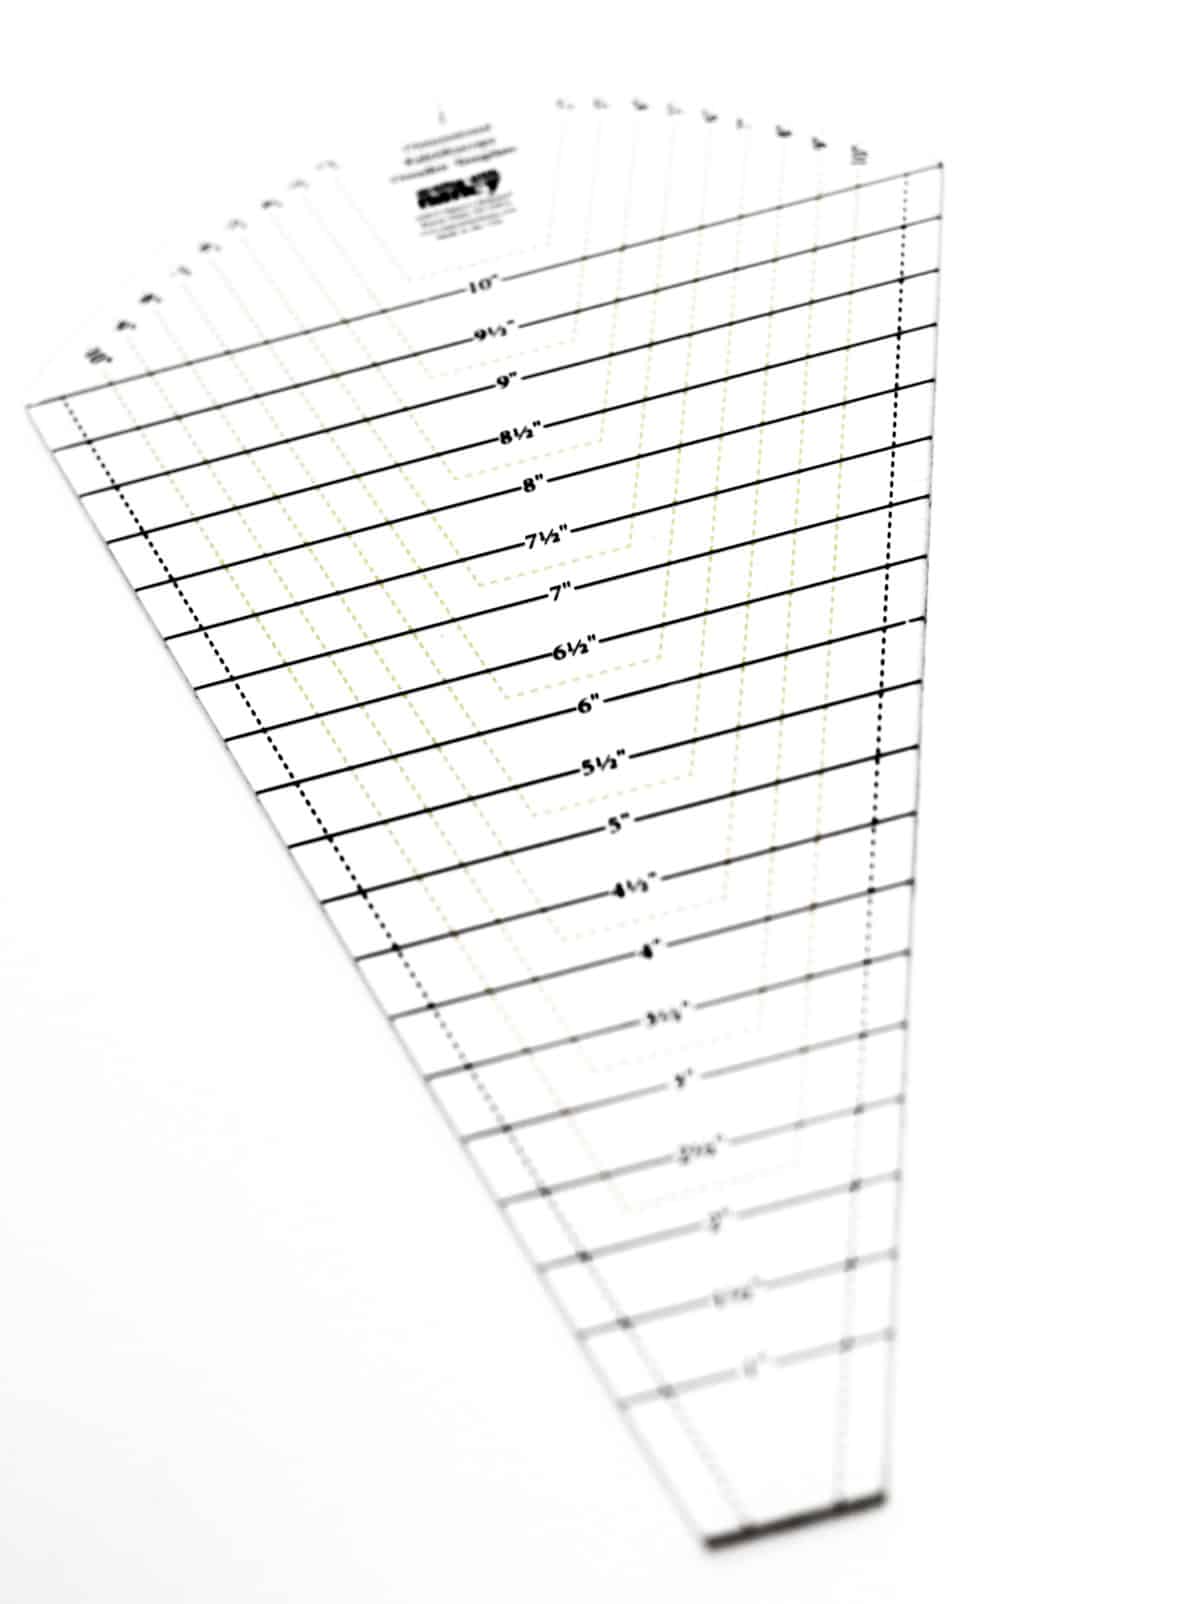
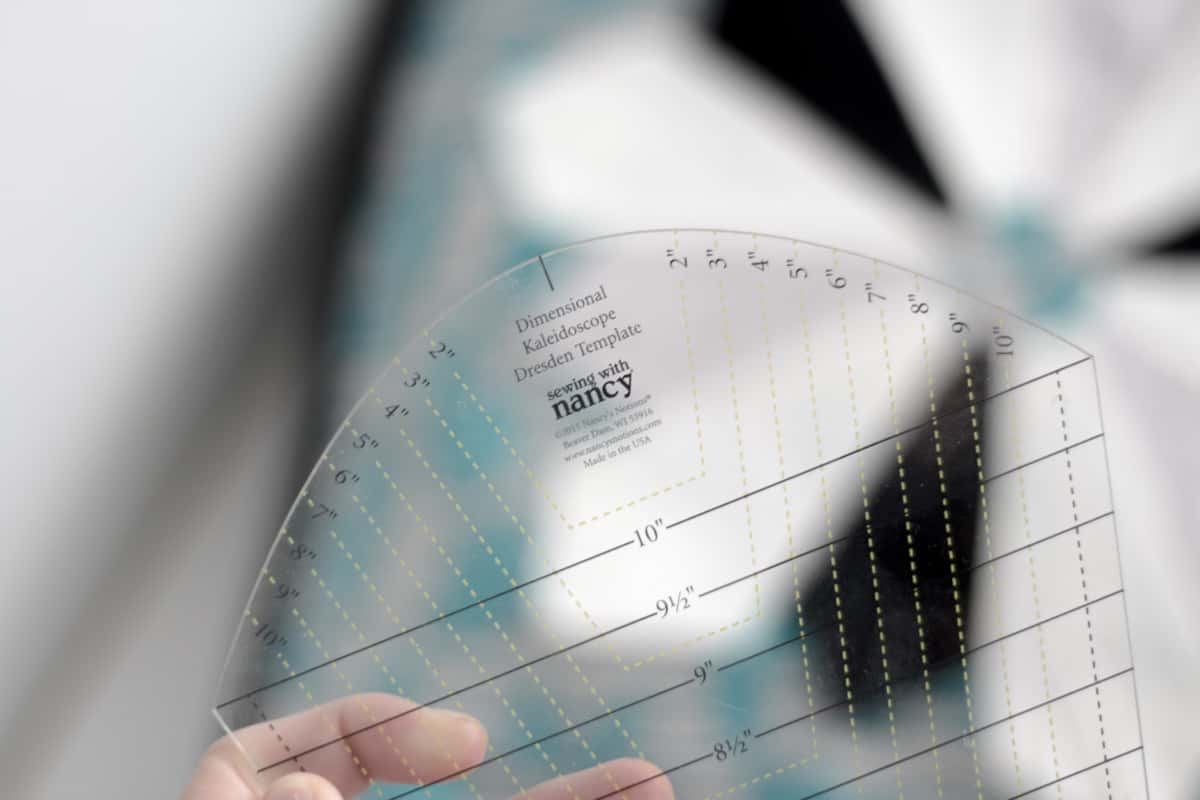
- Dresden plate template (Usually $18 but only $10 with this link!)
- Iron on fabric binding
- An old towel
- Polyfill
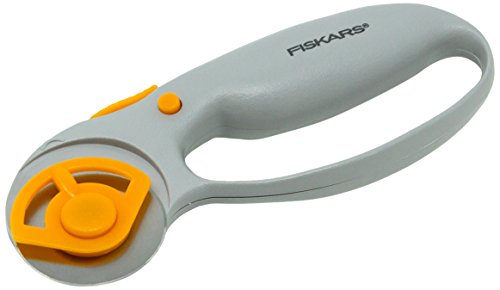
- Rotary Cutter
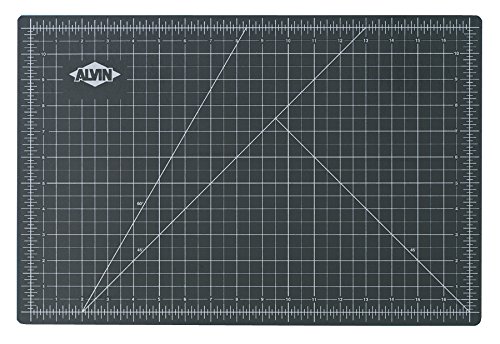
- Cutting mat
Shop this post!
These are affiliate links. They don’t cost you a thing but I receive a small commission if you purchase through them. Thanks for supporting my crafting habits!
Check PriceCheck PriceCheck PriceCheck PriceCheck Price
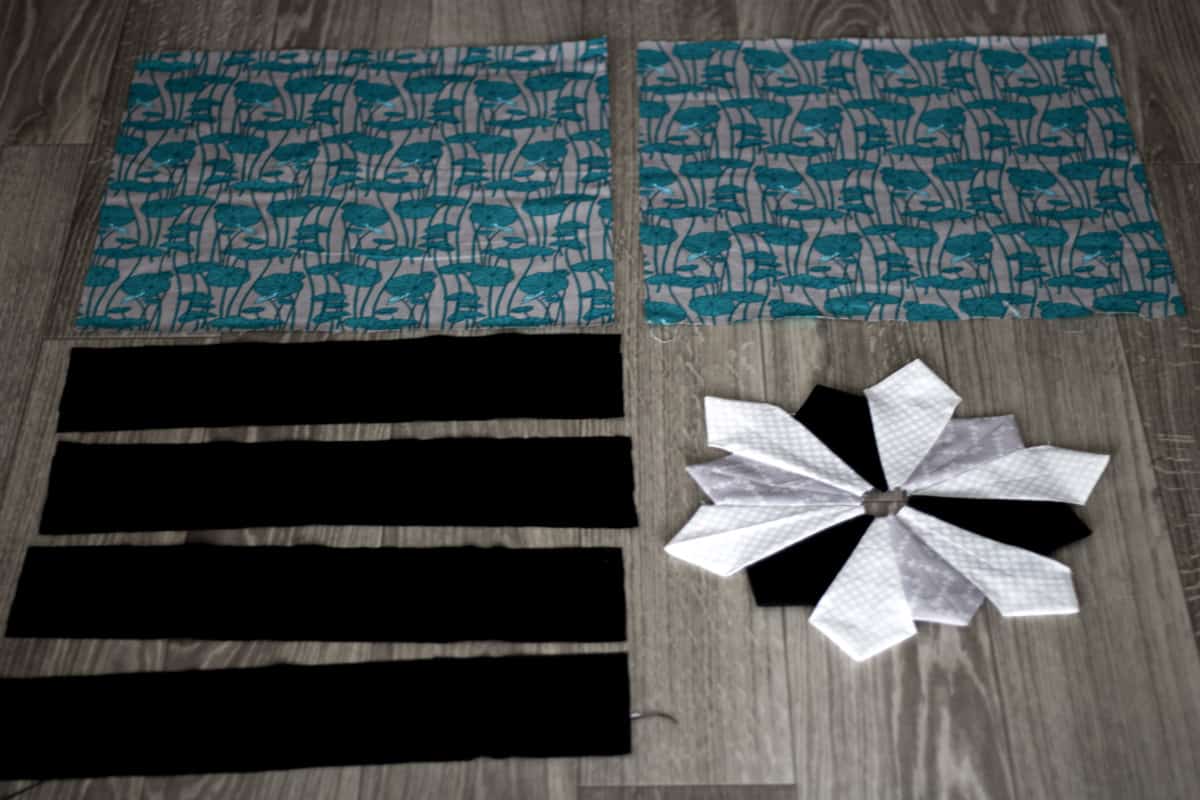
Start by cutting 2 squares of the desired size of your pillow. I prefer it a little larger than a throw pillow so mine was about 25″x25″.
Cut four strips of 25″x5″ for the sides of your pillow. I did these a different color to add a little contrast.
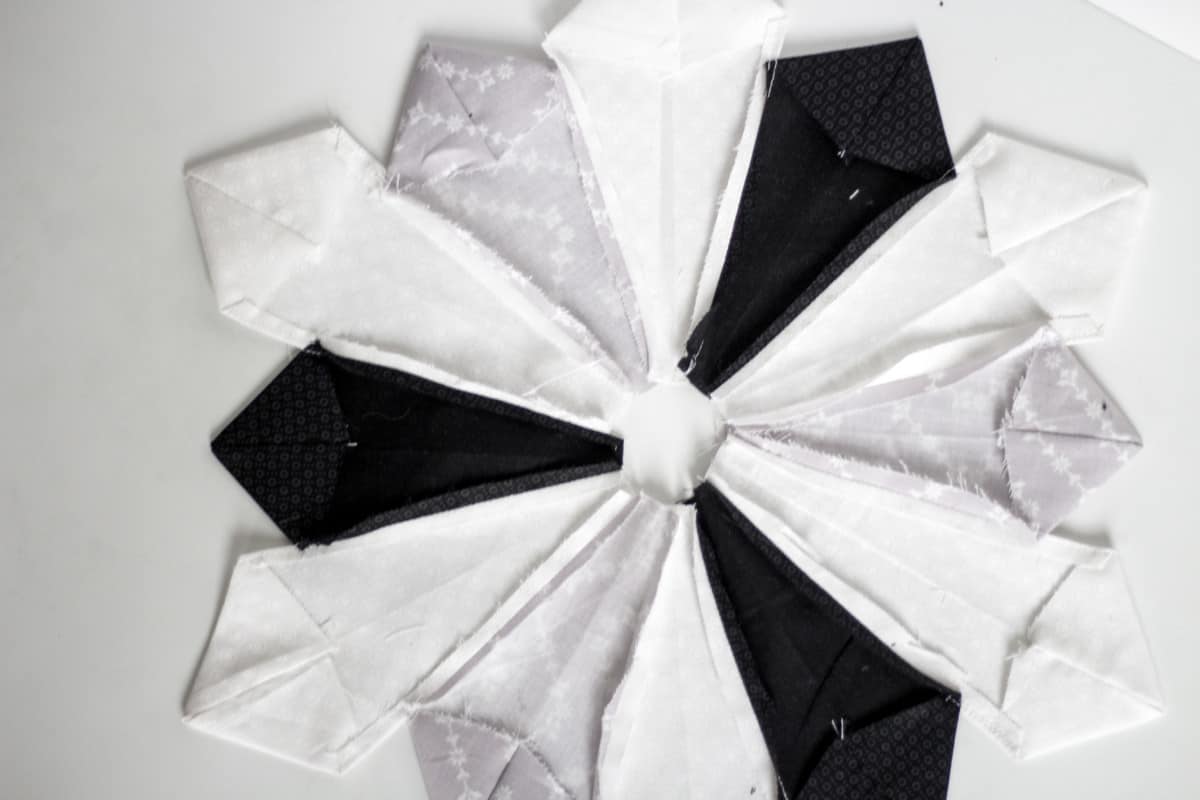
Now you get to play with your Dresden Plate Template! I don’t want to tell you exactly how to do this because I think that’s part of the fun. I’ll give you a little tutorial of how I created mine, but I would say get creative and make your own design! I am already excited to do it again.
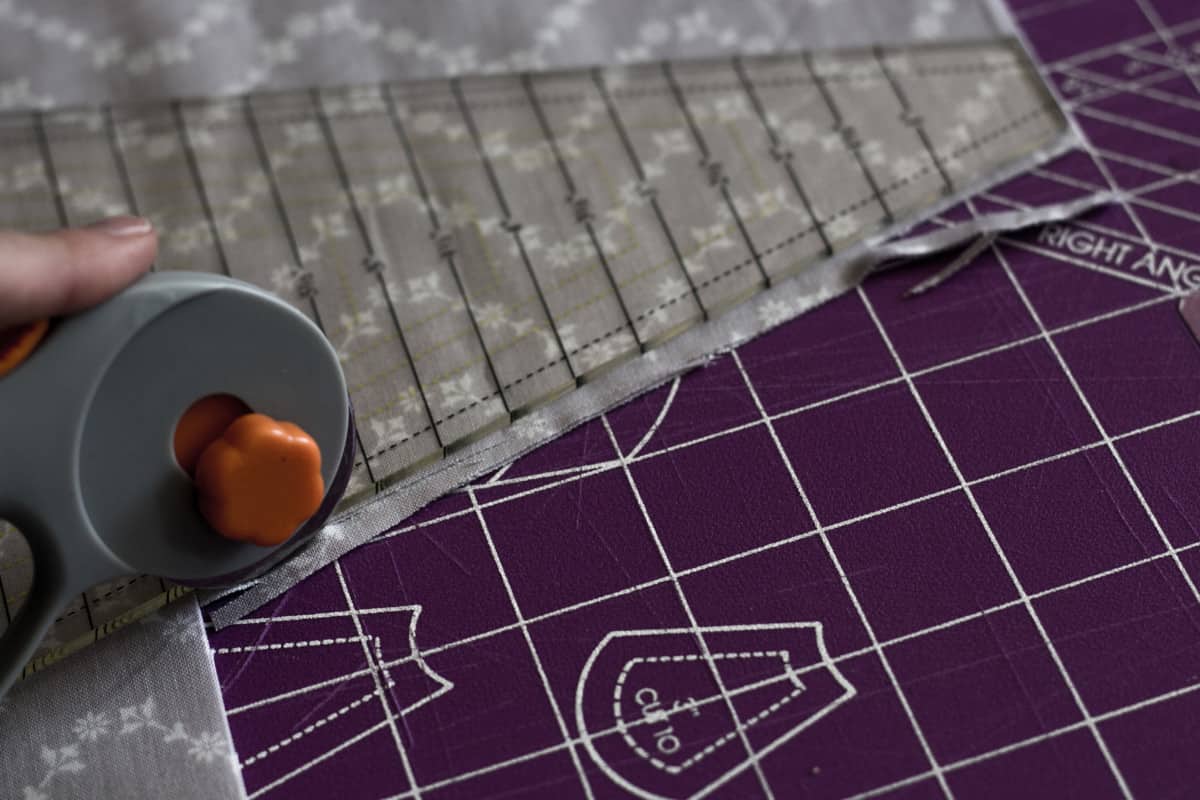
I did 6 white wedges of 7″ and 6 (2 sets of 3) of 5″ wedges. To cut the wedges you start by cutting a strip of the height you want your wedges. I did two layers of fabric so cut them two at a time. When you buy this template, it will give you all of these instructions and it’s really pretty simple!
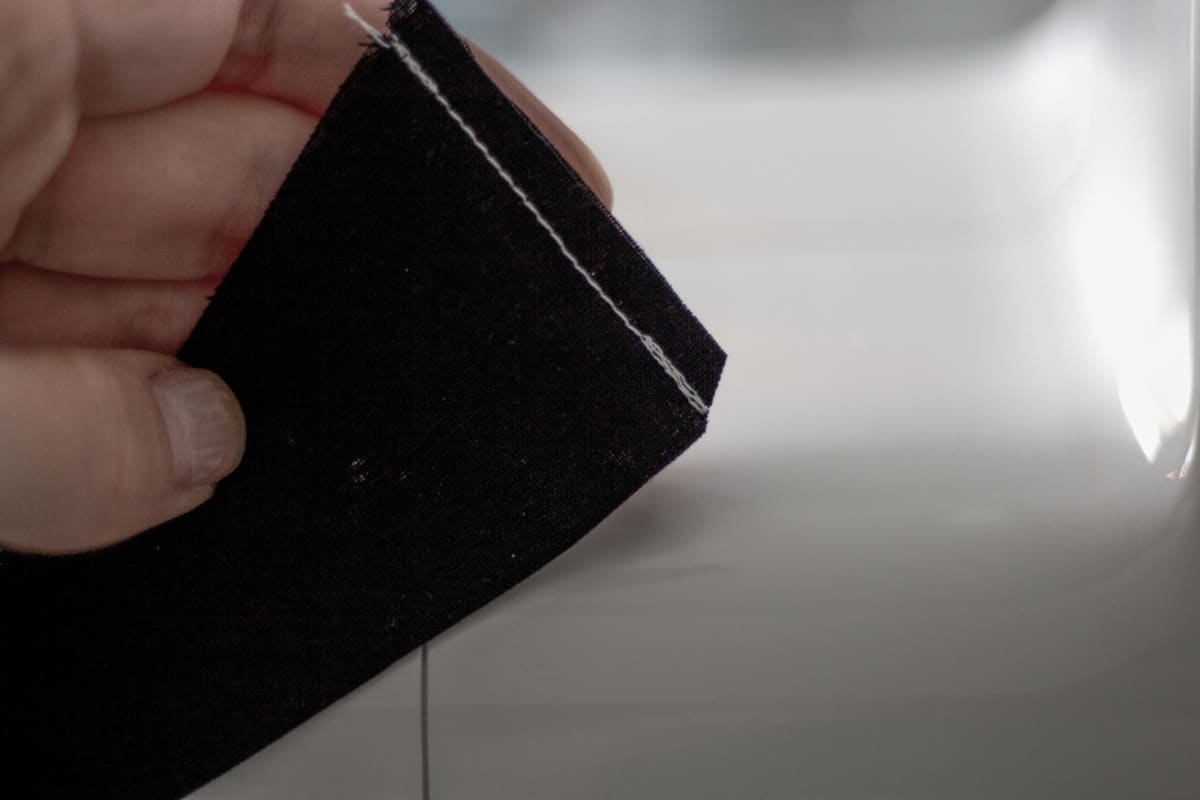
I decided to do point wedges. You start by folding your wedge in half, wrong side out, and sewing the top 1/8 of an inch. The template comes with a point finger press piece that made the folding part really simple.
I pieced my plate together by placing the right sides together and sewing them about 1/4 of an inch. Because some of my pieces were 7″ I had to do extra stitching to the tops of the points to have them folded evenly (this will make more sense when you do it!)
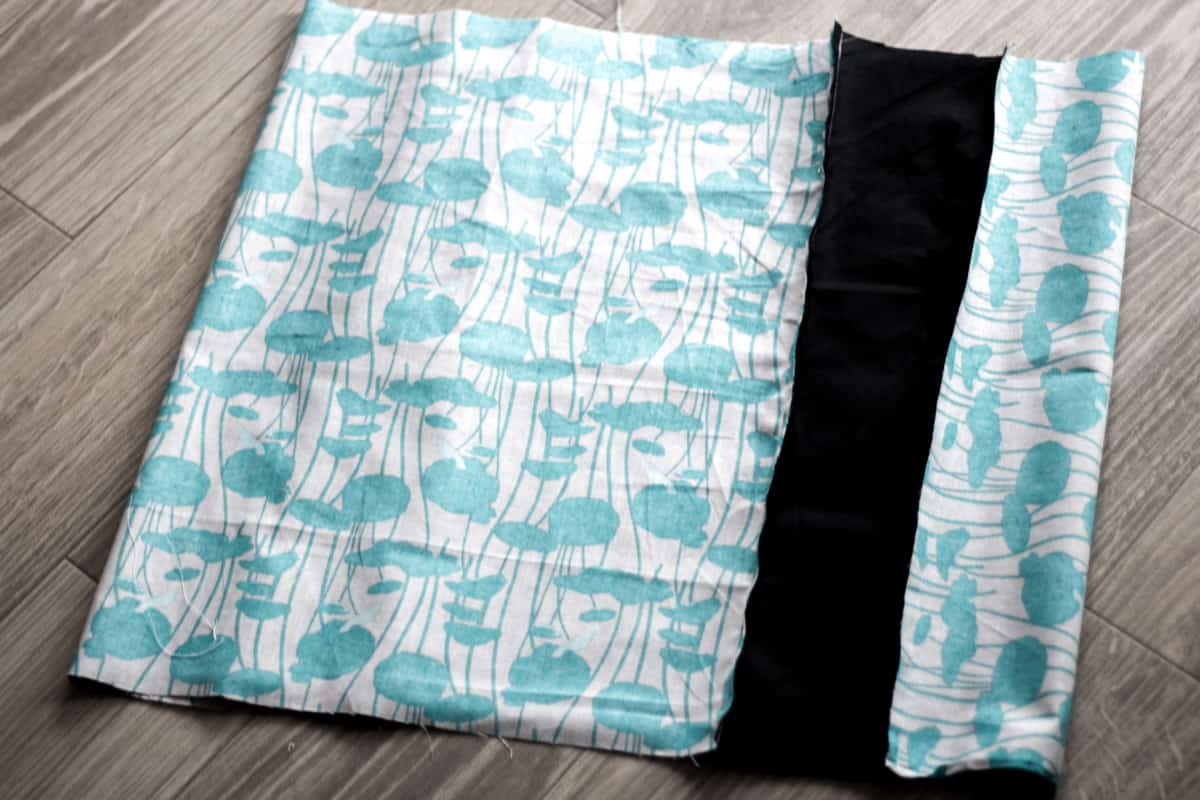
I sewed the two strips onto one side of the pillow then joined the final strip to form a circle. I added on the third side at this point. The 4th side I only sewed 3 of the sides so I could put my filling in. (Is that so confusing? I promise it will make sense when you start doing it!)
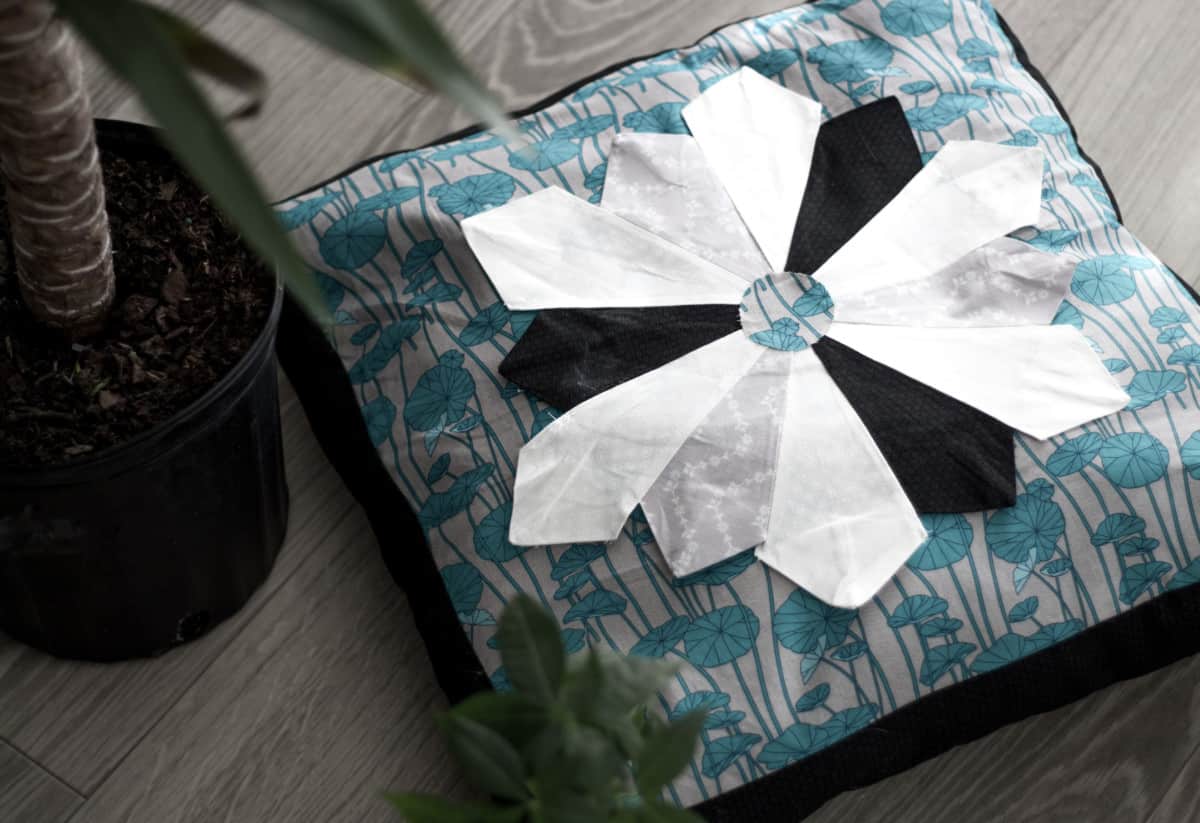
Then I ironed it onto my pillow with the fabric bonding. I also cut out a small circle and placed it in the center of my plate.
To stuff the pillow I added an old towel so it had a little weight and wasn’t too soft. Then I filled the rest with poly fill.
Sew up the final side and you are done!
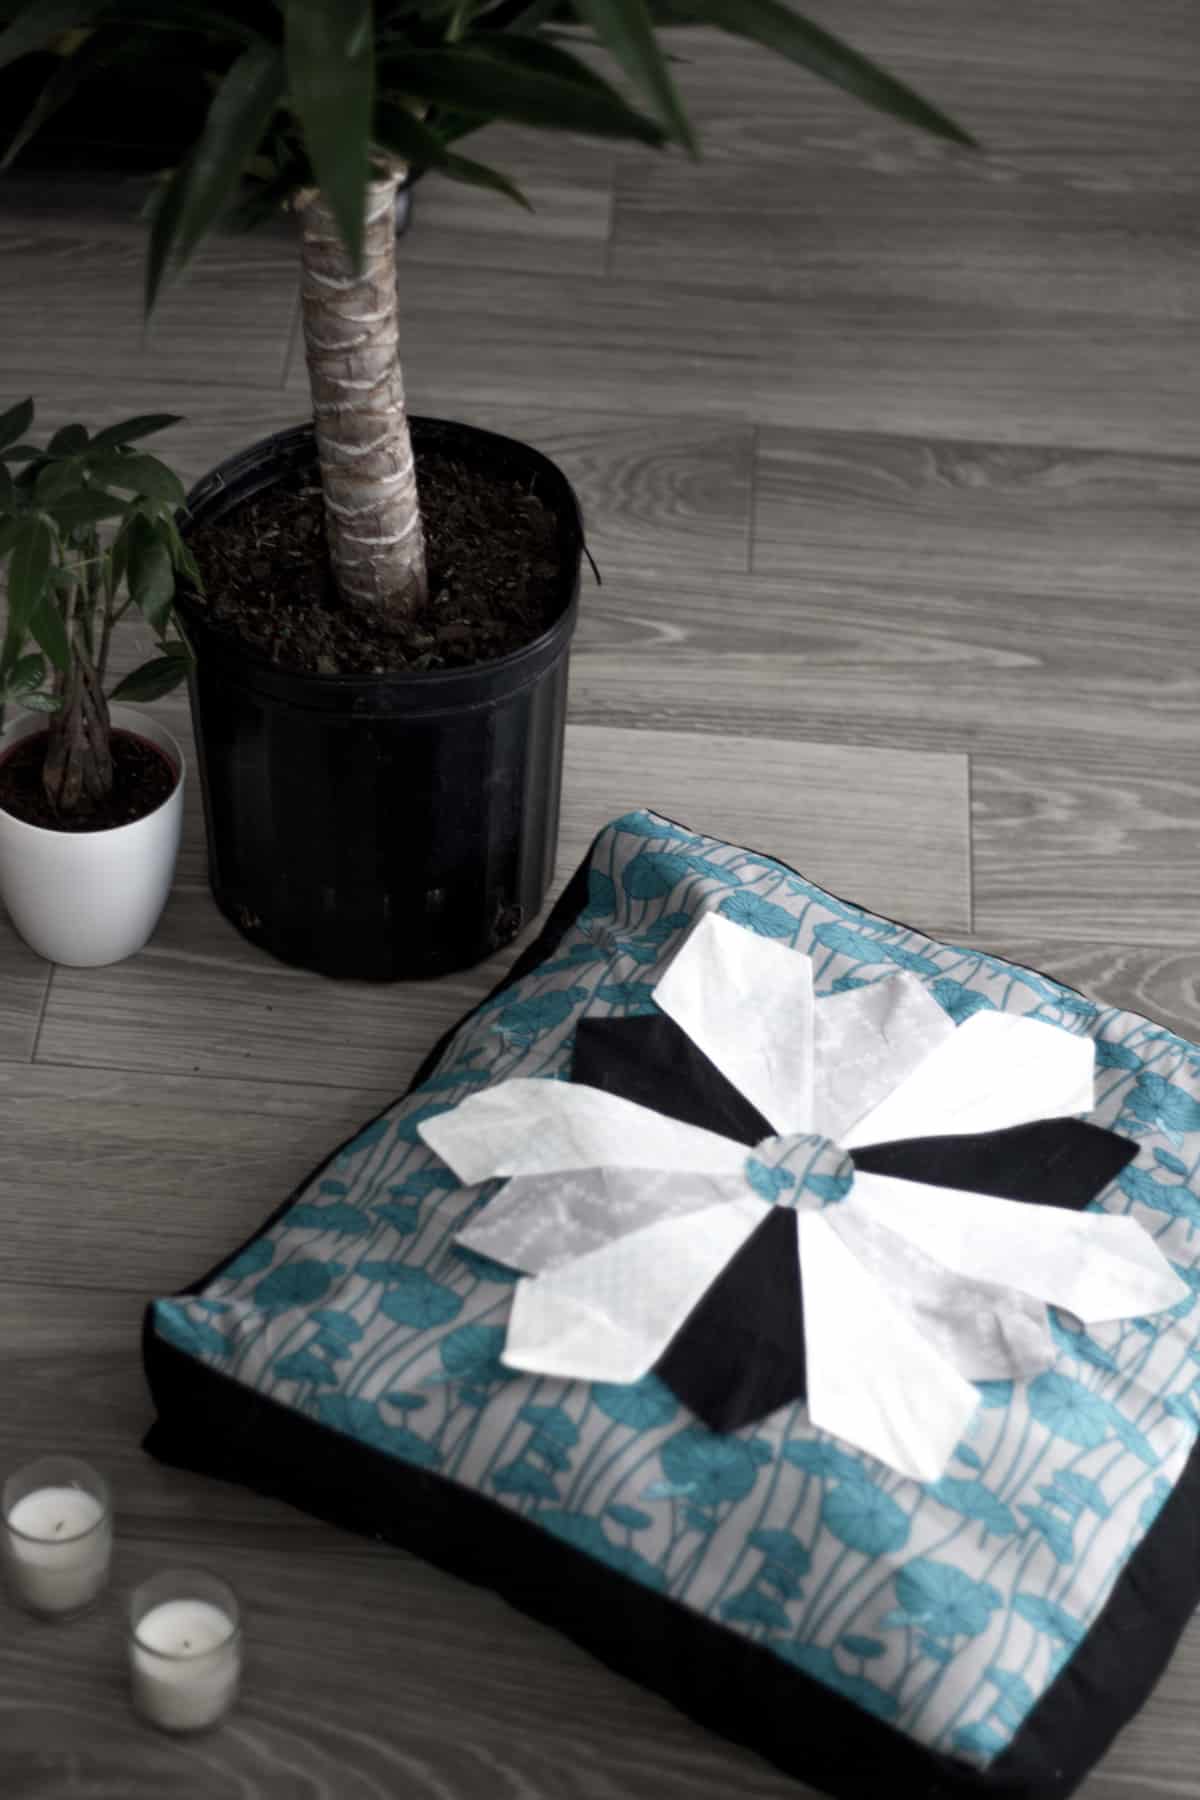
I think this pillow turned out so cool and was a perfect little introduction to any aspiring quilter or someone just wanting to do a quick but fun sewing project!






This turned out beautifully!