Are you out of white t shirts to dye? Totes are a popular thing to tie dye and for good reason; they turn out pretty cool! I tie dyed five tote bags and ranked the patterns from easiest to hardest, so whether you’re brand new to tie dye or looking for something a little more advanced, there’s a fold here for you. I did every single one of these with just rubber bands, no clamps or string needed, so you can jump in with basic supplies.
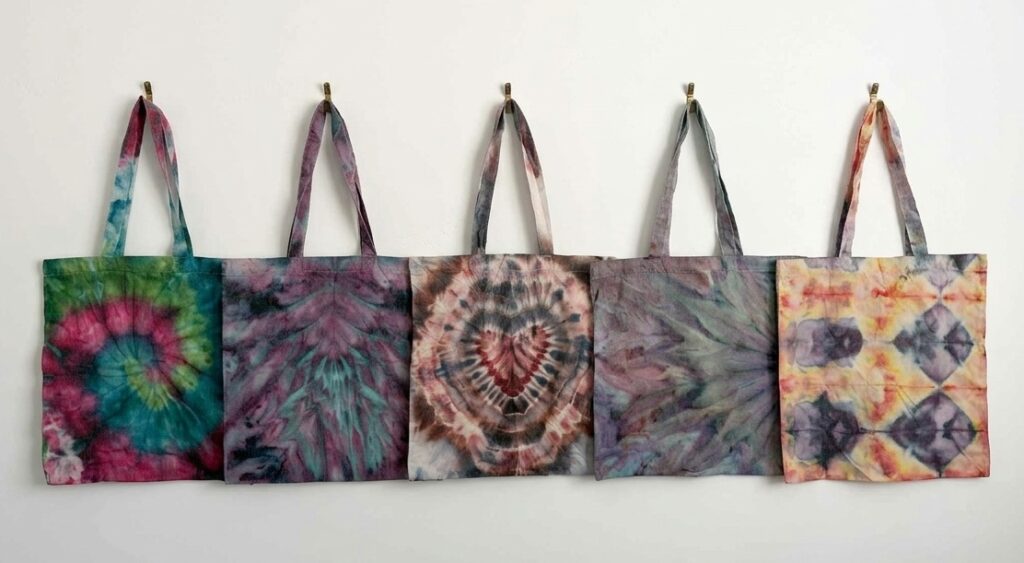
Here’s the lineup, from simplest to most involved, but all are beginner friendly.
1. Spiral (Easiest)
The spiral is where I always send beginners, even though crumple usually gets that title. We all already know crumple, so let’s give spiral its moment.
How to fold it:
- Find the center of your tote, or go slightly off center for a fun variation.
- Pinch the center and swirl the fabric around it. It’s often easier to hold the outside still and swirl from there instead.
- Secure the spiral with two rubber bands, tied in a plus sign or asterisk shape across the fold.
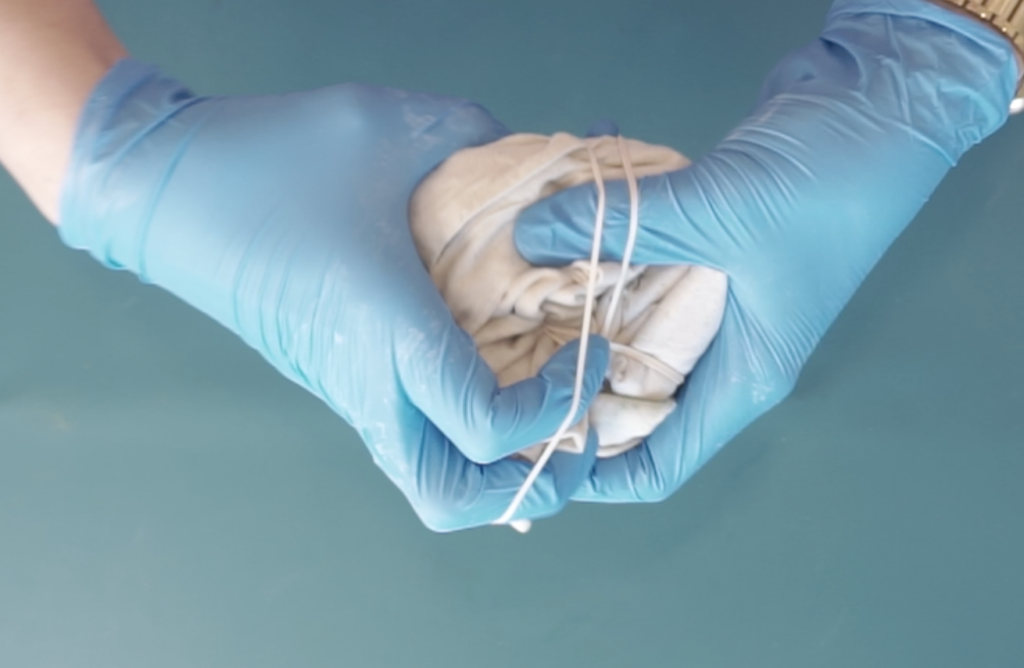
Applying dye: Apply your colors in wedges around the spiral. Because I used rubber bands instead of string, the wedge lines are a little softer to see once the fold is secured, so don’t worry if it looks a bit jumbled while you’re working.
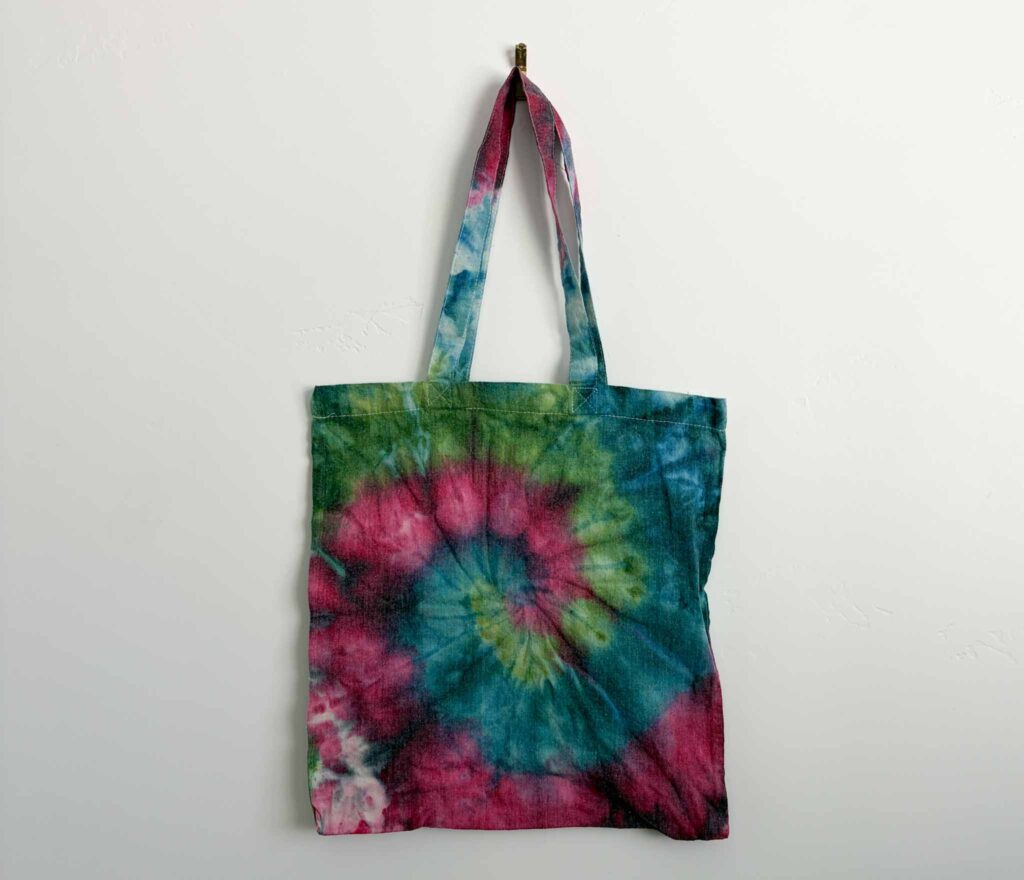
Results: The liquid dye version had a fun rainbow effect, though the saturation was a bit lighter than I wanted. The ice dye version came out with much richer color. If you want bold, saturated results on a spiral, ice dye is the way to go.
2. Shibori Fold
This one steps up the difficulty just slightly, but it’s still very beginner friendly.
How to fold it:
- Accordion fold along the bottom edge of the tote. Use folds that are a good two to three inches wide. Too narrow and the next step gets tricky.
- Turn the folded strip on its side and fold it into a triangle, folding along each edge and tucking in as you go.
- Secure the triangle with a rubber band wrapped around the two shorter edges.
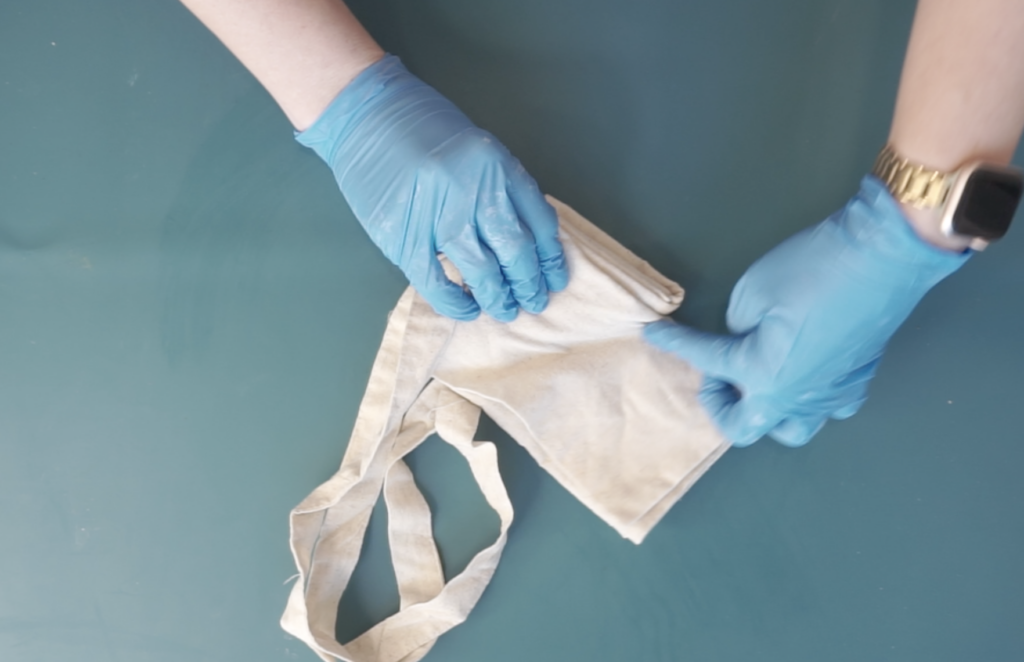
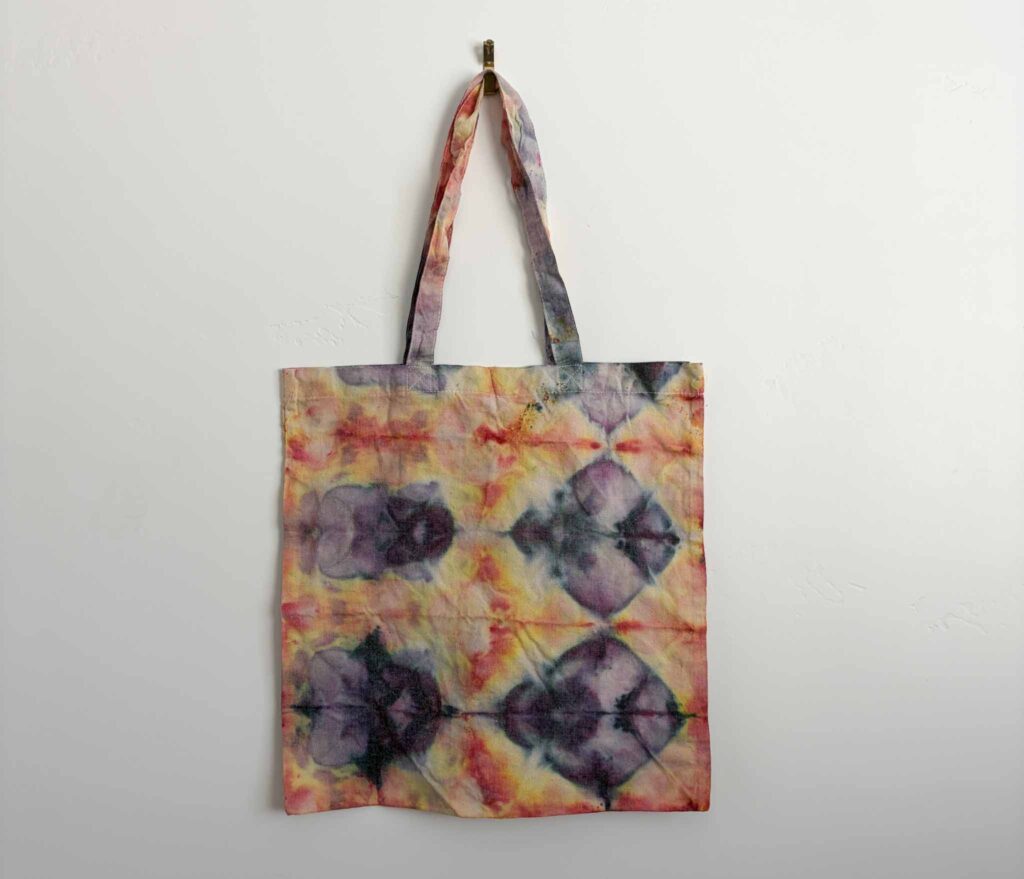
Applying dye: Apply one color to the top half of the triangle, then flip and apply a different color to the bottom half. If I could redo this one, I’d apply the colors to the two sides of the triangle instead of top and bottom. That half and half application on the sides gives a cleaner, more classic shibori look.
Results: Both the liquid and ice dye versions showed off the geometric shibori pattern nicely, just with different color placement depending on which application method you choose.
3. Fan Fold
Third on the difficulty list, and this one introduces a shape guide.
How to fold it:
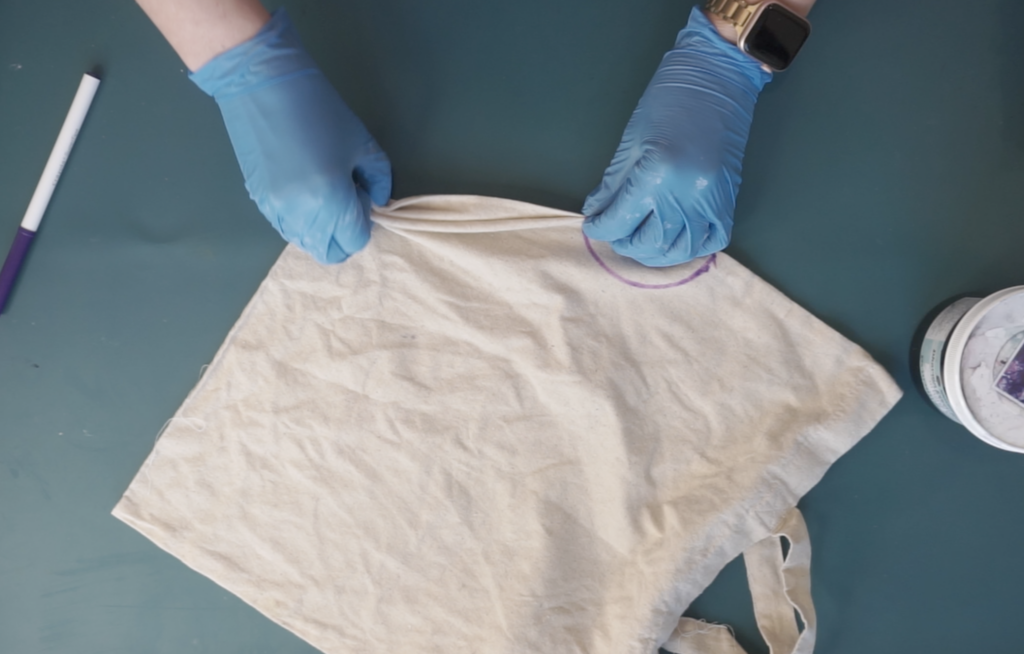
- Trace or use a compass to draw a semicircle onto the tote. This is just a guide, so it doesn’t need to be perfect. You can go bigger than you’d think.
- Accordion fold along the curved edge of the semicircle. Each fold will naturally create a small triangle shape.
- Keep folding until the semicircle becomes a straight line.
- Secure with a rubber band. Wrap it loosely if you don’t want visible white lines, or tighter if you do. Just be careful when cutting tight rubber bands off later so you don’t nick the fabric.
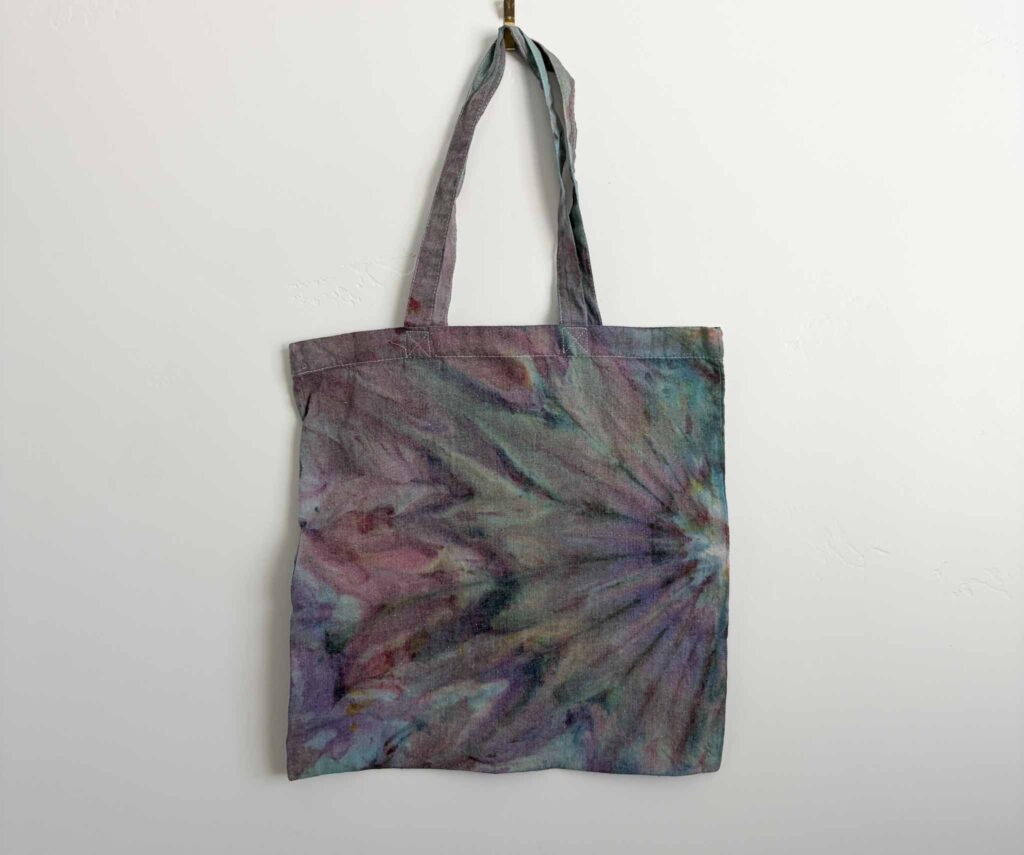
Applying dye: Apply dye to the separate wedges created by your folds. A five color rainbow works especially well on this pattern.
Results: The wedge application created a really clean rainbow effect on both the ice dye and liquid dye versions. For the liquid dye version, propping the tote on an incline while it sets helped the color move through the fabric evenly.
4. Heart
Fourth on the list, and don’t let the shape intimidate you. This is more approachable than it looks.
How to fold it:
- Find the center of the tote and fold it in half.
- Draw or freehand half a heart along the fold. If you’re right handed, flip the fabric over to draw. If you’re left handed, you can draw it as is. Go relatively large with the shape.
- Accordion fold along the heart outline. The curve at the top of the heart is the trickiest part, but keep adjusting your folds and picking the fabric up from the center as you go around the curve.
- Secure with rubber bands.
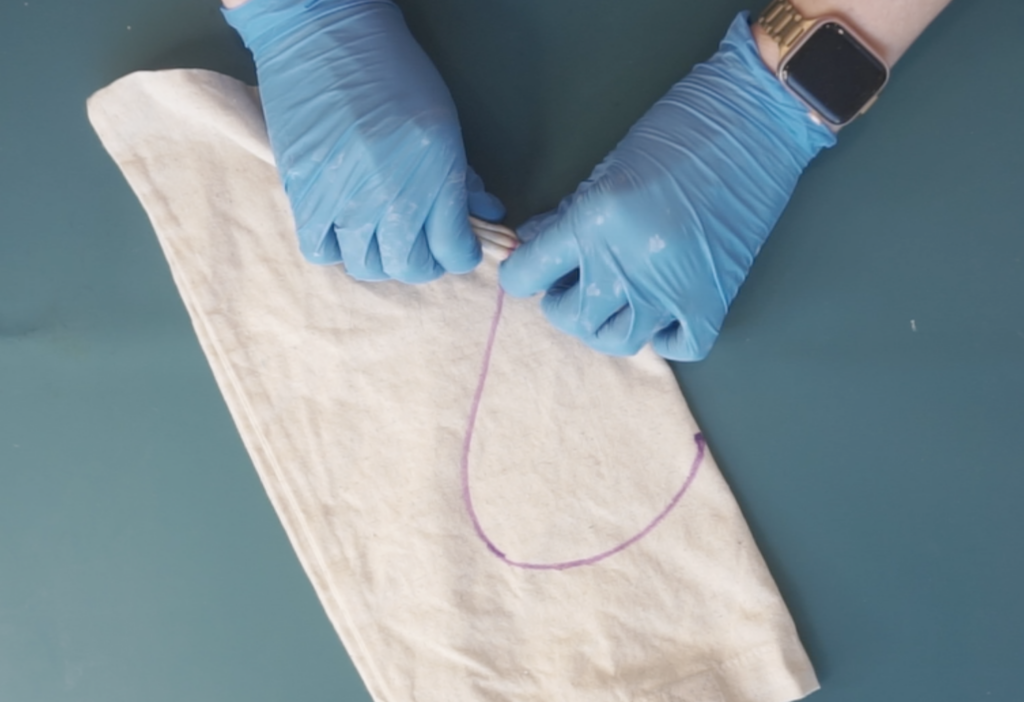
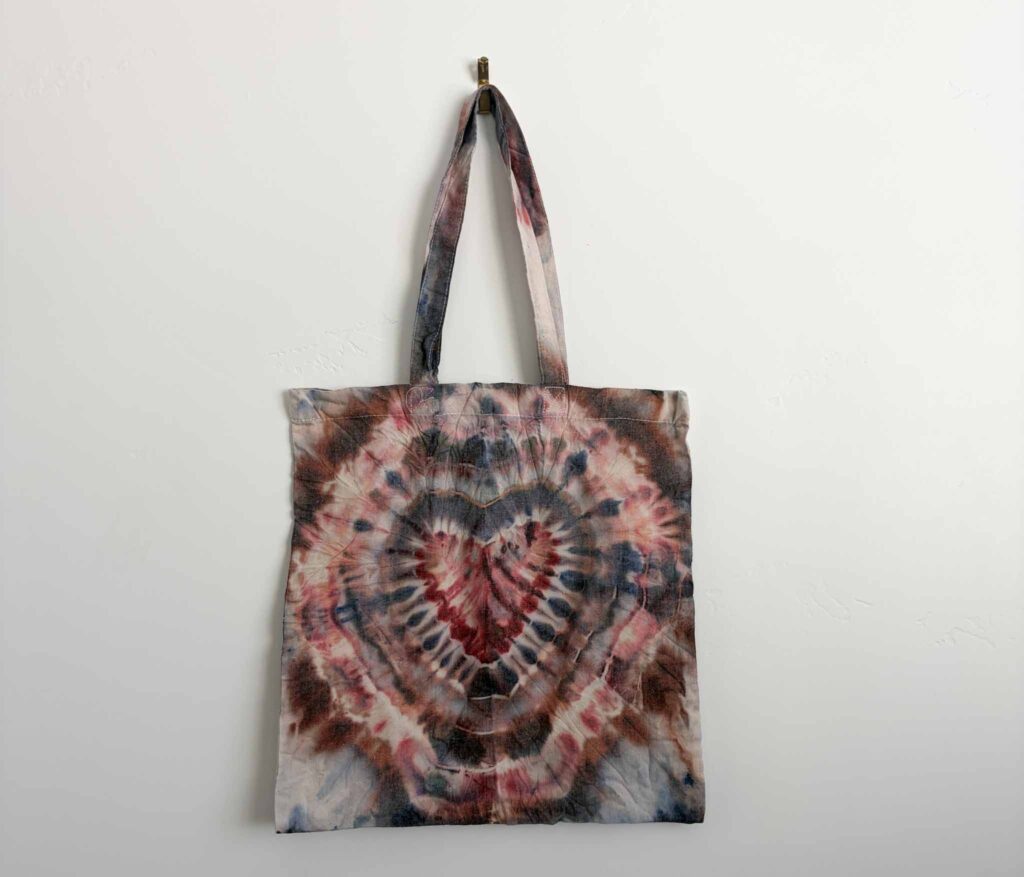
Applying dye: Apply a bold color, like red, directly at the point of the heart, then use different colors around the outside. I used purple, blue, and green on the outside of mine, though I’d add a touch of yellow next time since the combination ended up quite dark.
Results: The liquid dye version showed the heart shape clearly. For the ice dye version, I used sinew instead of rubber bands, which gave a completely different texture and look. If you have sinew on hand, it’s worth trying on this fold.
5. Psychedelic Roll (Hardest)
The most advanced fold on the list, and the one that requires the most patience with dye application.
How to fold it:
- Fold the tote in half, any direction you like.
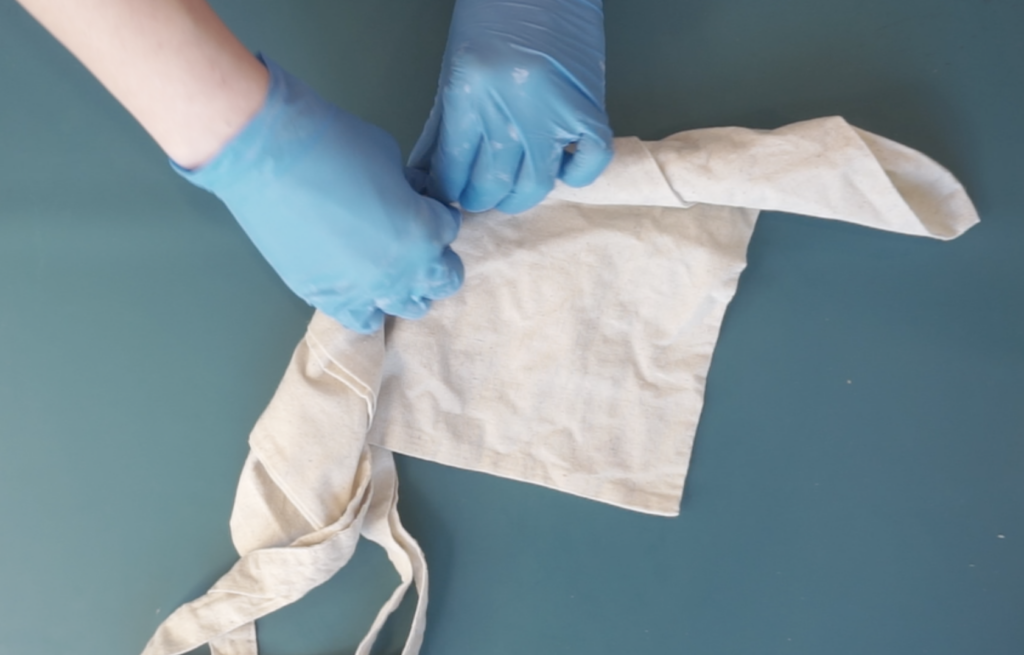
- Starting from the center (or anywhere you choose), roll the fabric tightly along that edge. Keep the roll tight in the center but let the outer edges stay a little loose. The fabric will naturally start folding in on itself as you go, and that’s exactly what you want.
- Secure loosely with rubber bands, just enough to hold everything together without cinching too tight.
Applying dye: Apply color in wedges. Because this fold is so dense, dye has a harder time reaching every layer. Flip the tote partway through and reapply dye to the other side, since color can barely reach the bottom layers otherwise.
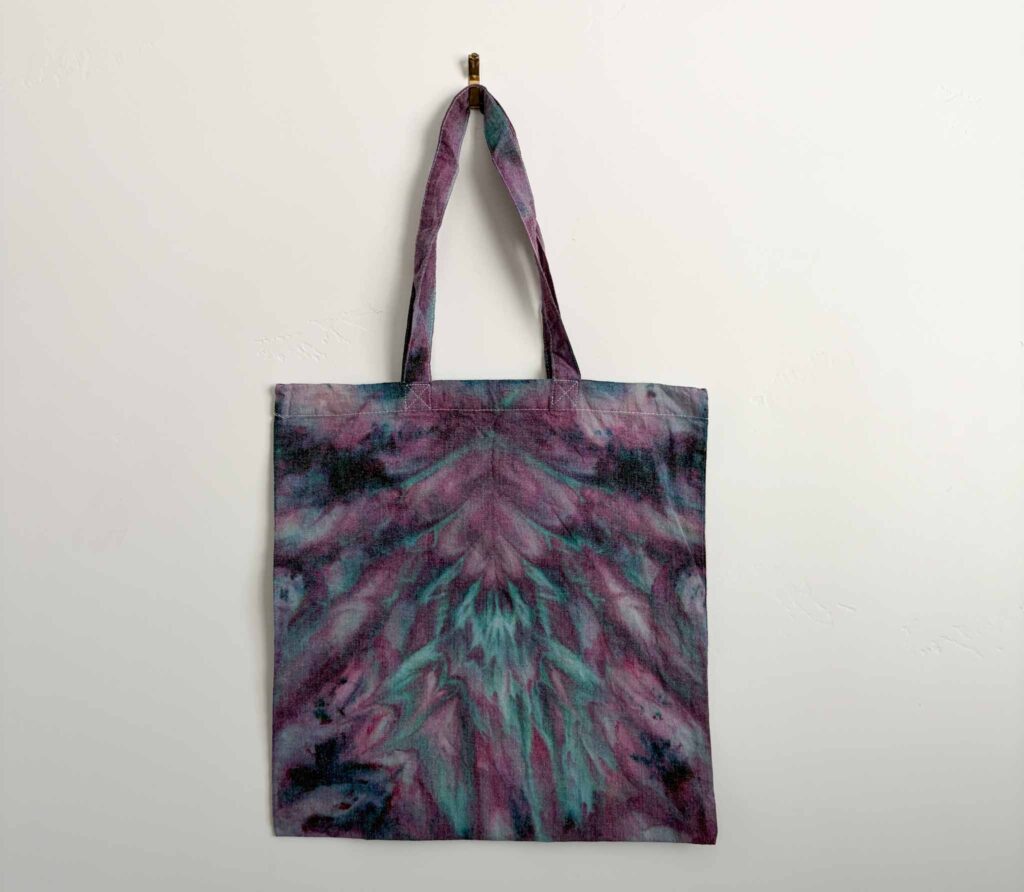
Results: The liquid dye result wasn’t quite what I expected, but still turned out cool. The ice dye version looked completely different, with much better color penetration through all those dense layers. If you’re going to try the psychedelic roll, I’d lean toward ice dye for the most reliable result.
Tie Dye Tote Bag FAQ
Can you tie dye a canvas tote bag? Yes. Canvas totes made from cotton or a cotton blend take dye well, which is exactly why they’re such a popular tie dye blank. Just check the tag before you buy, since totes made from synthetic materials like polyester won’t absorb fiber reactive dye the same way.
What colors should you avoid mixing when tie dying? Complementary colors sitting directly next to each other, like red next to green or blue next to orange, tend to mix into a muddy brown where they overlap. If you want clean, vibrant results, plan your color placement so those combinations don’t touch, or leave a little white space between them.
Is tie dye better left wet or dry before rinsing? Keep your tote wet and wrapped in plastic while it batches. This keeps the fabric fibers open so the dye can fully bond, which gives you brighter, more colorfast results. Let it sit at room temperature for at least 6 to 8 hours, though a full 24 hours will give you the richest color.
Do you rinse tie dye with the rubber bands still on? Yes, rinse with the rubber bands and folds still in place. Rinse under cool water until it runs mostly clear, then remove the rubber bands and continue rinsing the newly exposed fabric before washing the tote on its own in the machine.
Whichever fold you start with, remember these are all genuinely beginner friendly. The heart looks intimidating and the psychedelic roll looks dense, but every one of these folds just builds on the same basic accordion and rubber band skills. Start with the spiral, work your way down the list, and you’ll have a whole stack of one of a kind totes before you know it.
Want more fold tutorials like these? Grab my free 12 Tie Dye Folds ebook for step by step instructions on even more patterns, from beginner basics to advanced techniques.