Just because you love to craft doesn’t mean your space needs to be disorganized! 10 craft organizing ideas are sure to organize your space
If I were thinking ahead I would have taken a photo of what this space looked like before I got organizing. It wasn’t awesome! I utilized a few simple tricks to make the space look more put together and I think you’ll find them useful as well.
Shop this Post!
This is everything I used to get organized in this post! They are affiliate links so I will earn a small commission if you purchase through them at no cost to you.
1.
The first thing I did to kind of unify the space and keep my Maker clean was create this Cricut Maker cover! (See every detail here!)
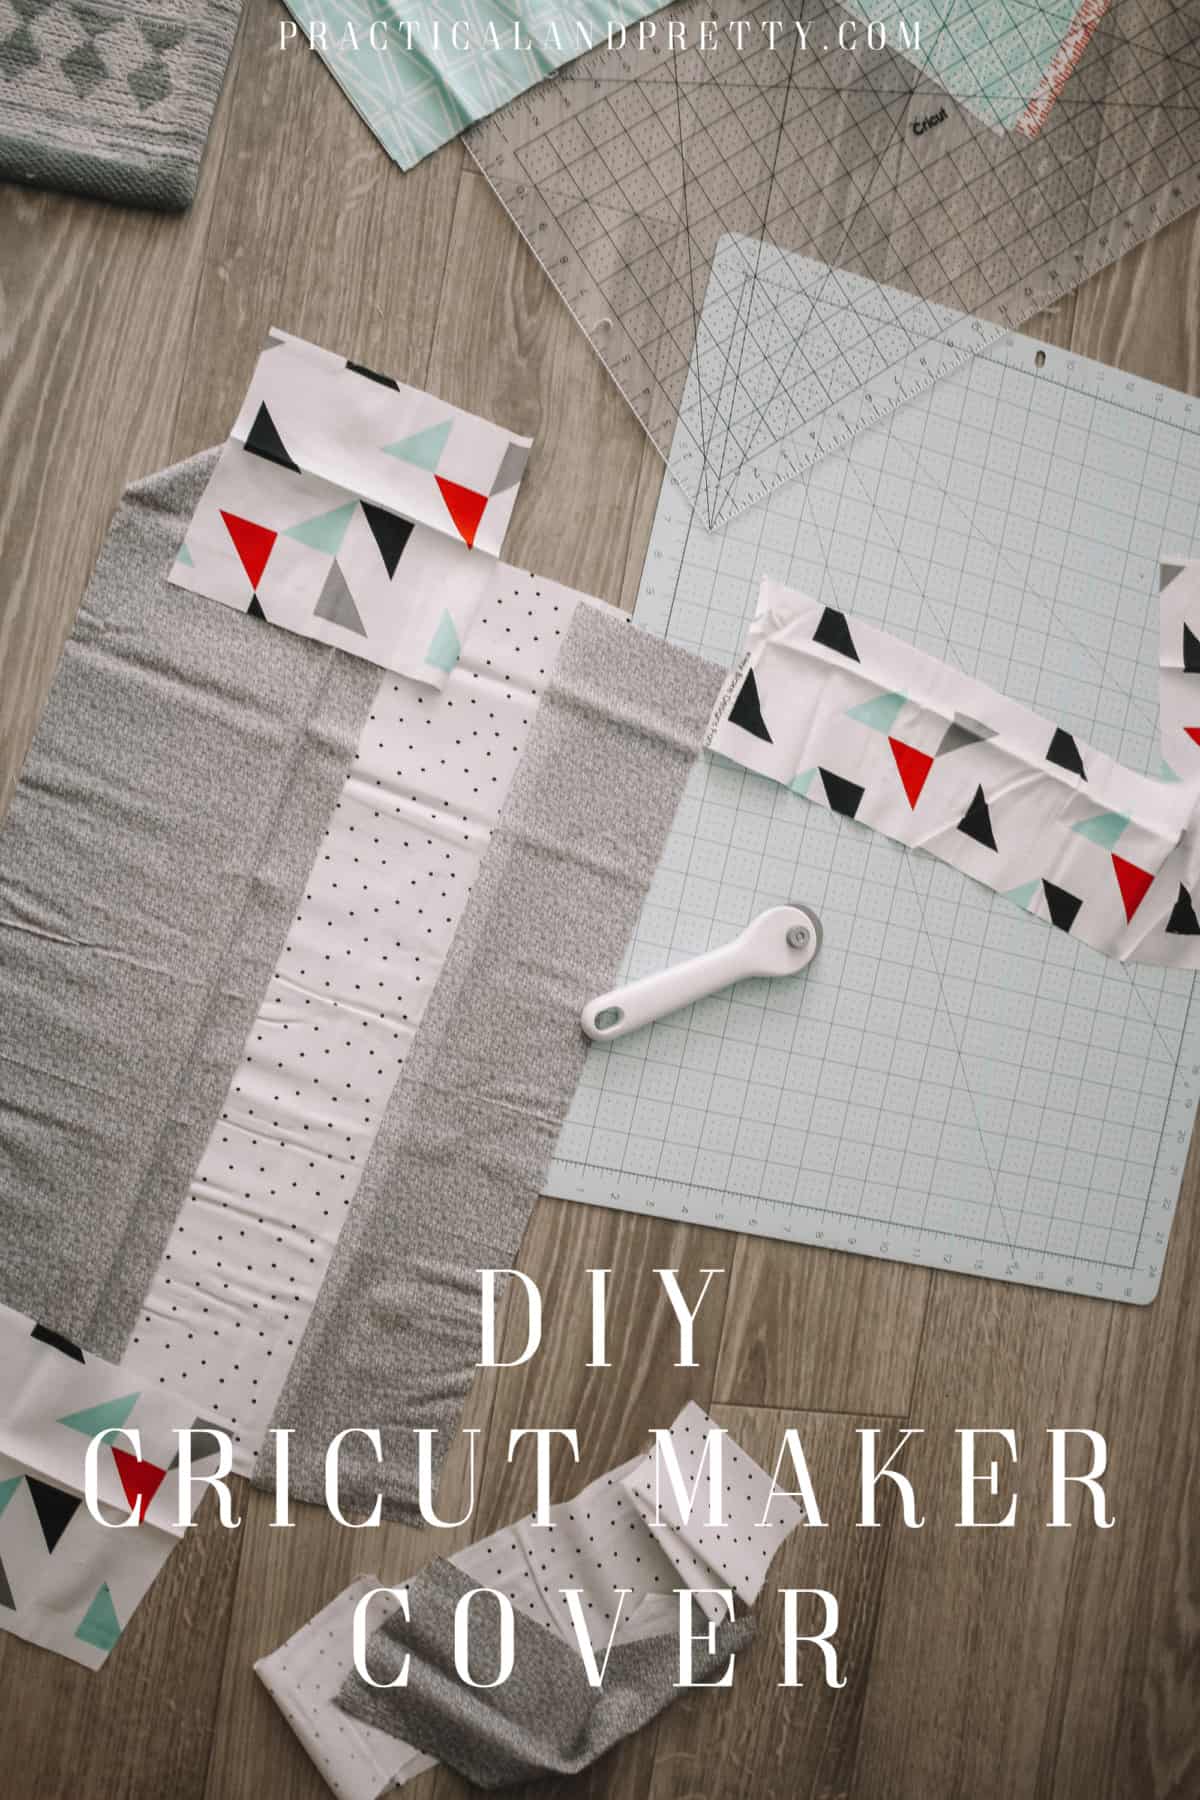
The Cricut maker has the ability to not only cut fabric but you can also use a washable fabric marker IN YOUR Maker to mark fabric! That’s a game-changer in my opinion. Also, you can cut in fast mode with vinyl, iron-on, and paper which is so nice if you’re in a pinch. The writing tools can also go 2 times quicker!
2.
Of course, I needed to make my EasyPress a cover so it didn’t feel left out. (If you don’t have an EasyPress stop what you’re doing and get one. This thing has changed my life. And I mean that with all my heart!!) Here is the post for the EasyPress cover.
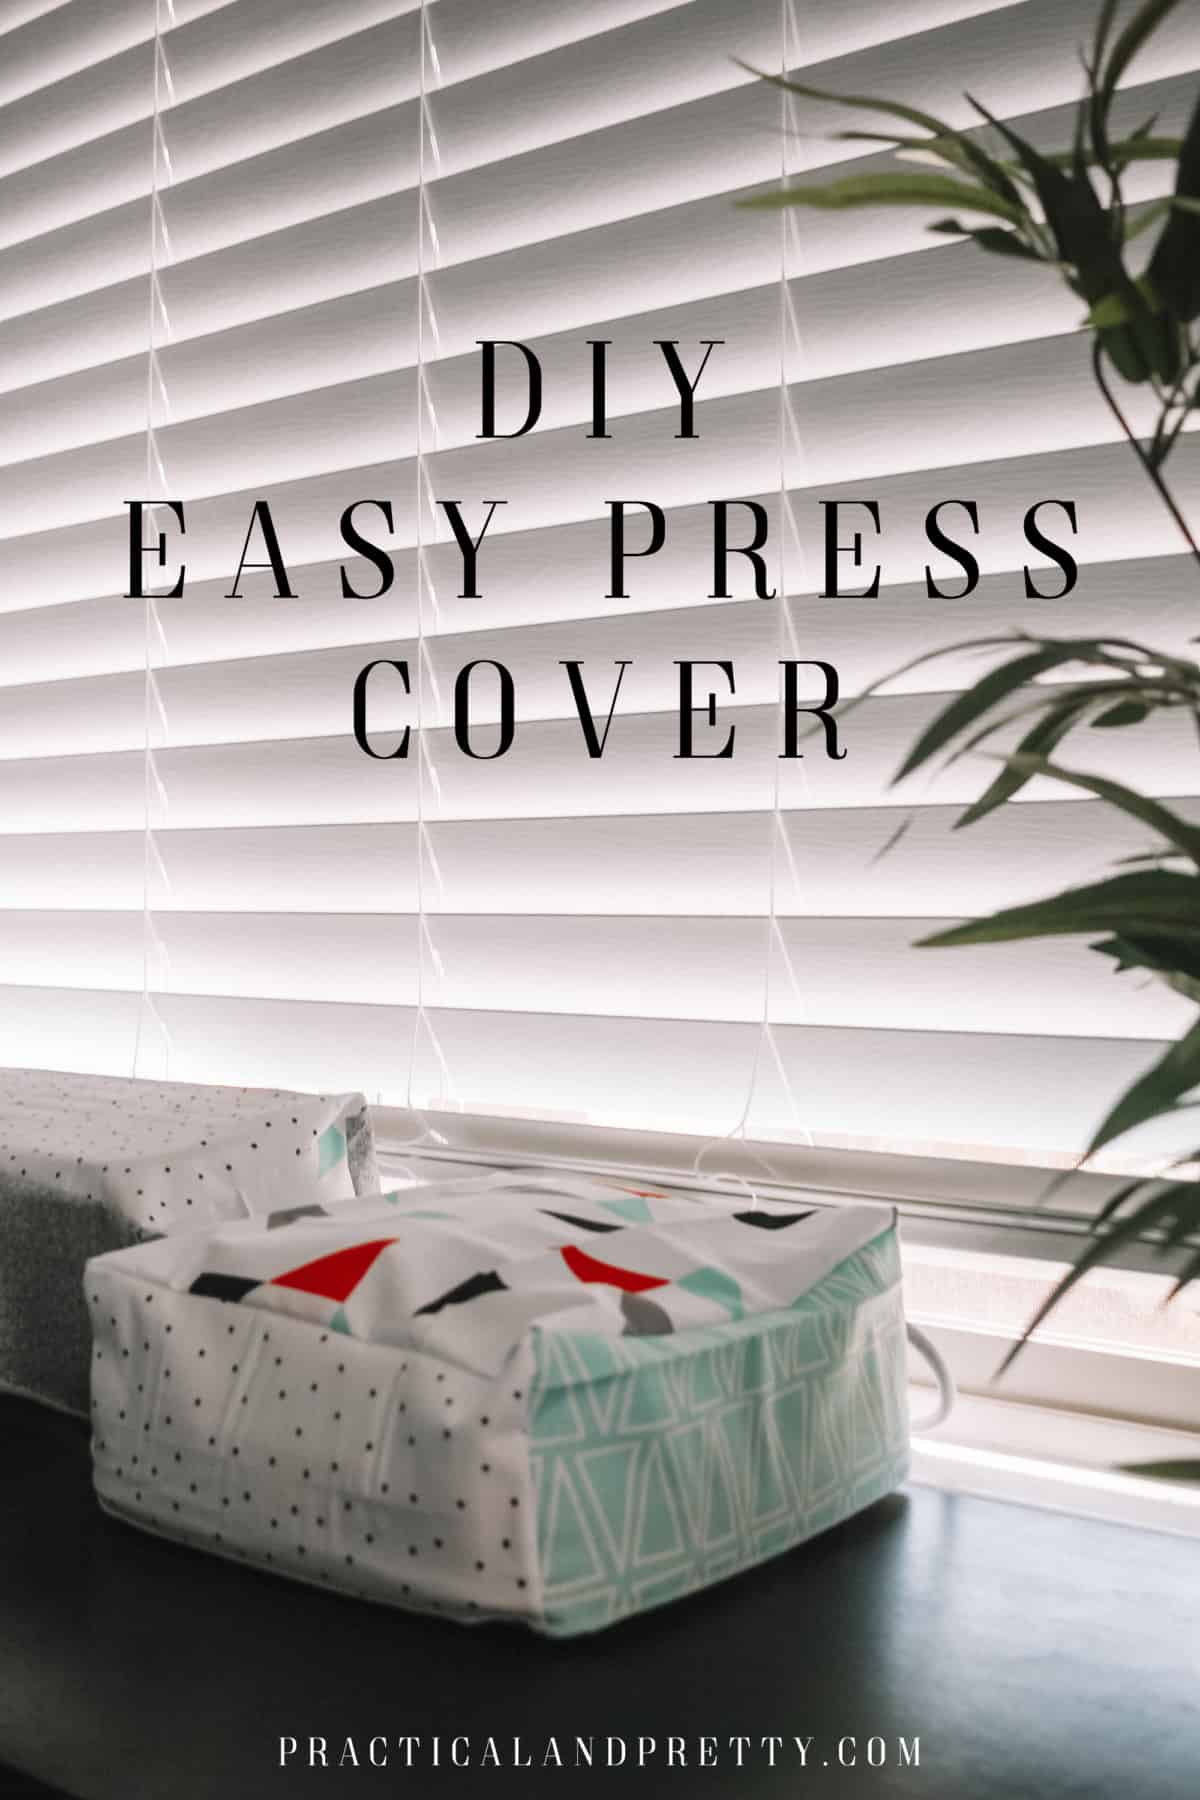
I used a few different Cricut tools for these two covers such as the rotary blade and cutting mats. They are the best cutting mats I’ve ever used!
3.
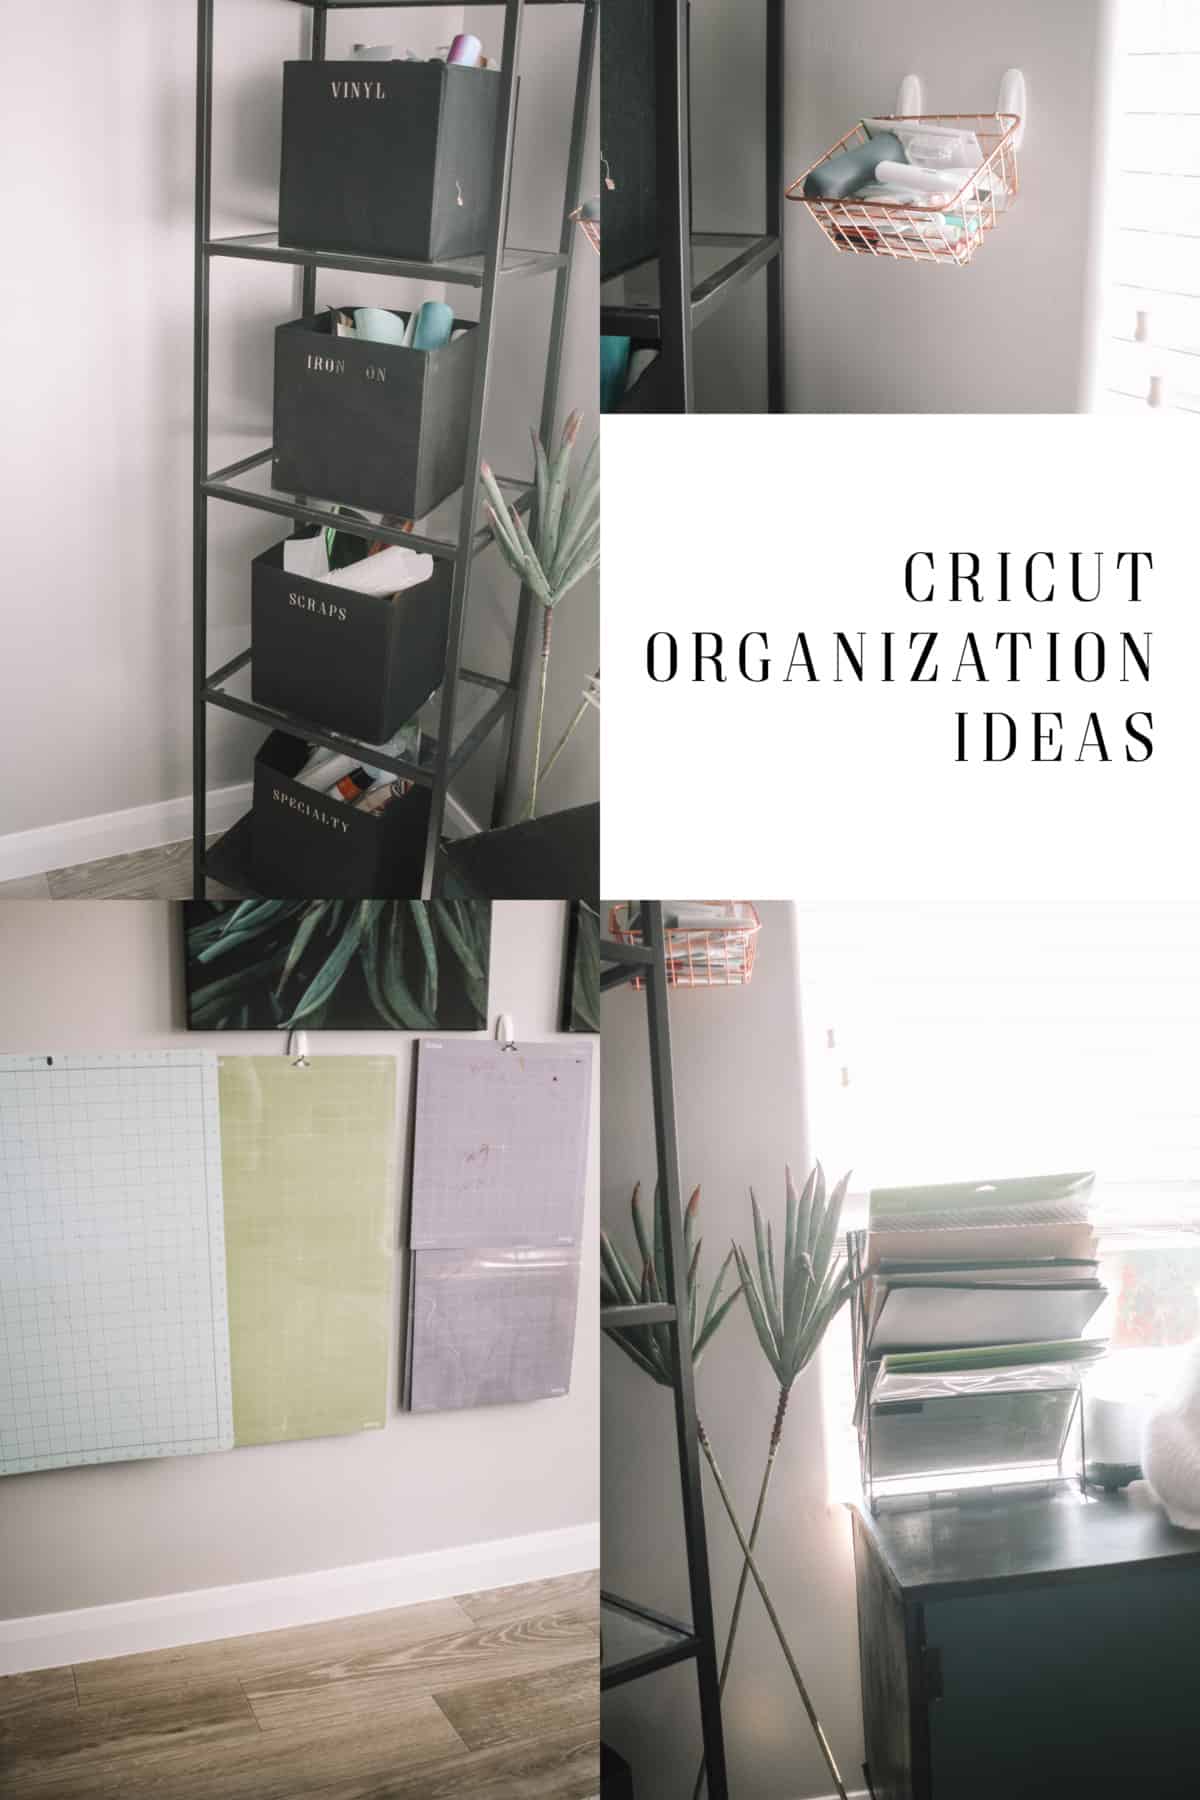
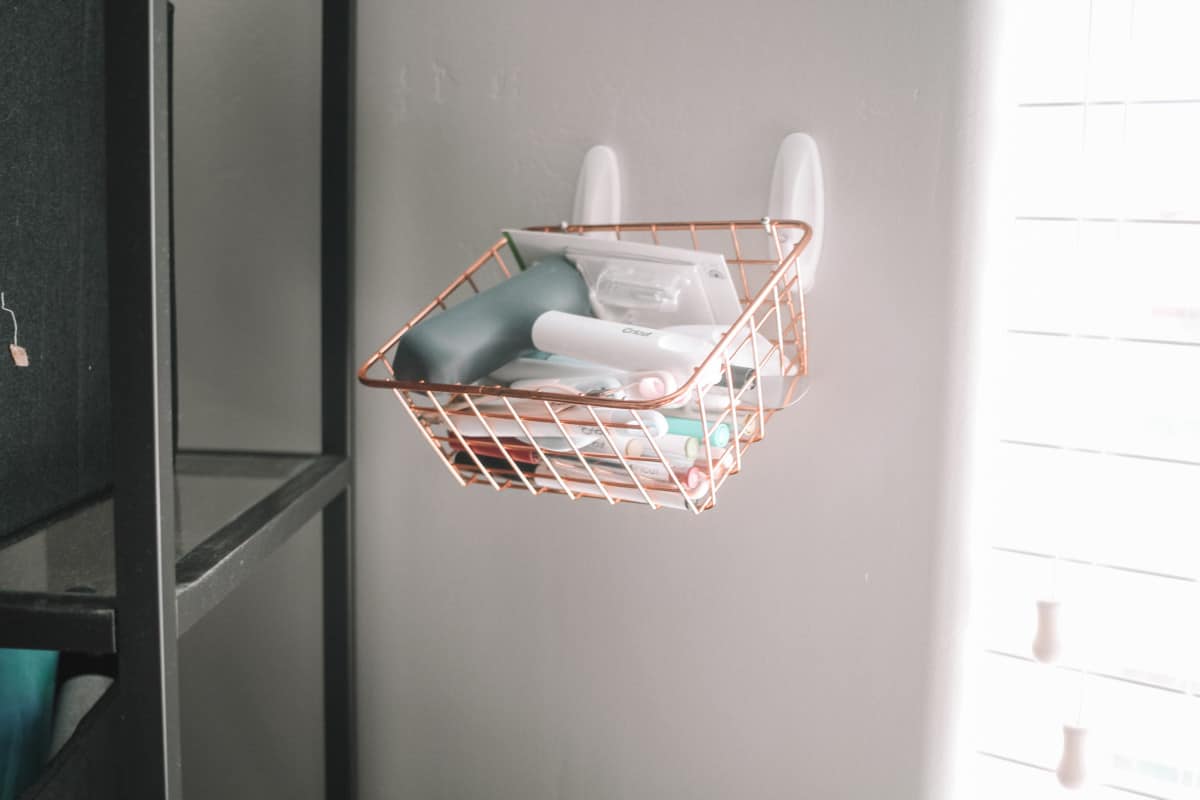
Next, I wanted to have easy access, but out of the way from the toddler, a way to keep my tools organized. I got a simple wire basket and put some command hooks on the wall. Whether you have a ton of pens or just a simple tool kit, this is a perfect way to have your materials easily accessible.
4.
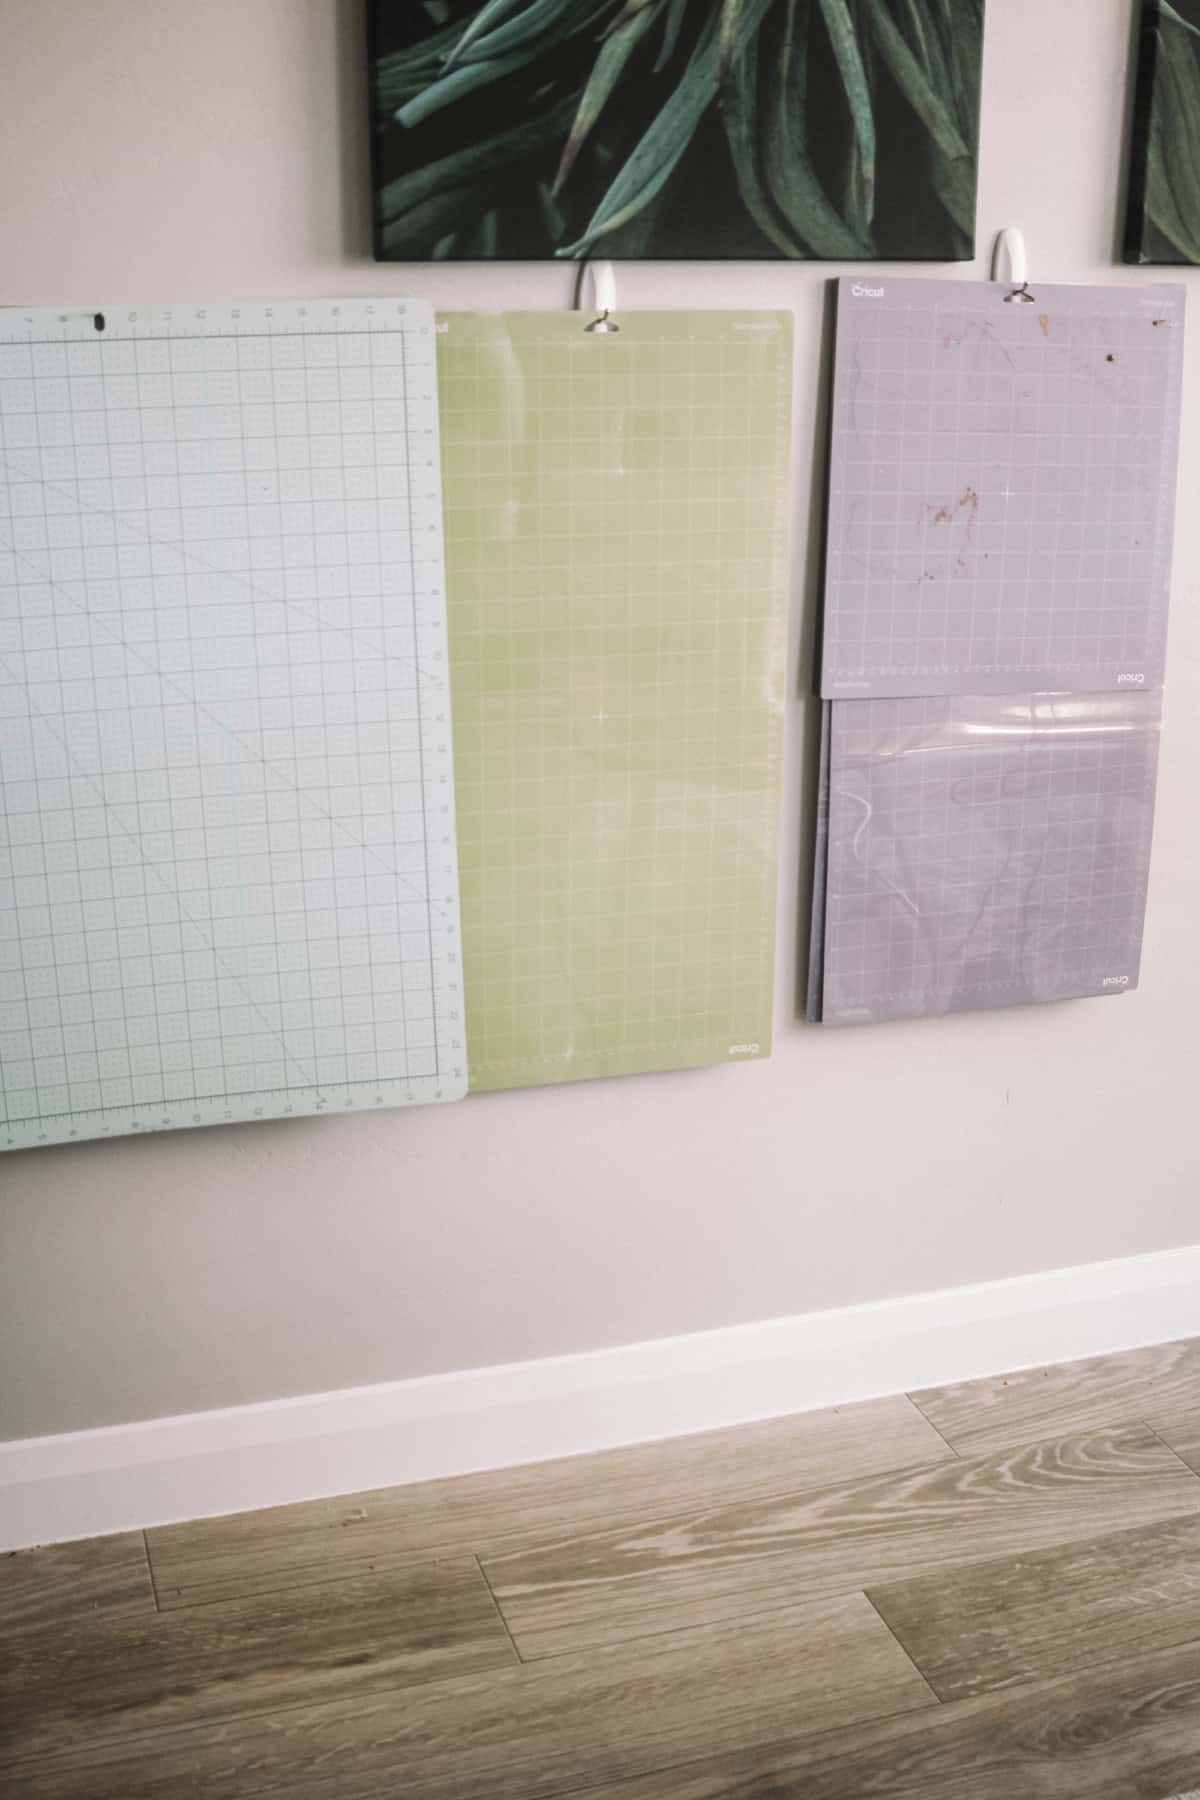
Along the same lines, I decided to hang up all my mats on the wall. Keeping them on the floor just isn’t practical and can ruin them before you even use them! Plus you need all the table space you can get in your craft room. I sorted mine by type and because I don’t have many light grip mats I also decided to put my cutting mat on that hook!
5.
Of course, you need a way to store your vinyl!! I bought these inexpensive boxes off of Amazon and used gold foil vinyl to label them. I love how they turned out. Also just for reference, these shelves are just the simple shelves from Ikea! I’ve got them all over my house. They fit these boxes really well.
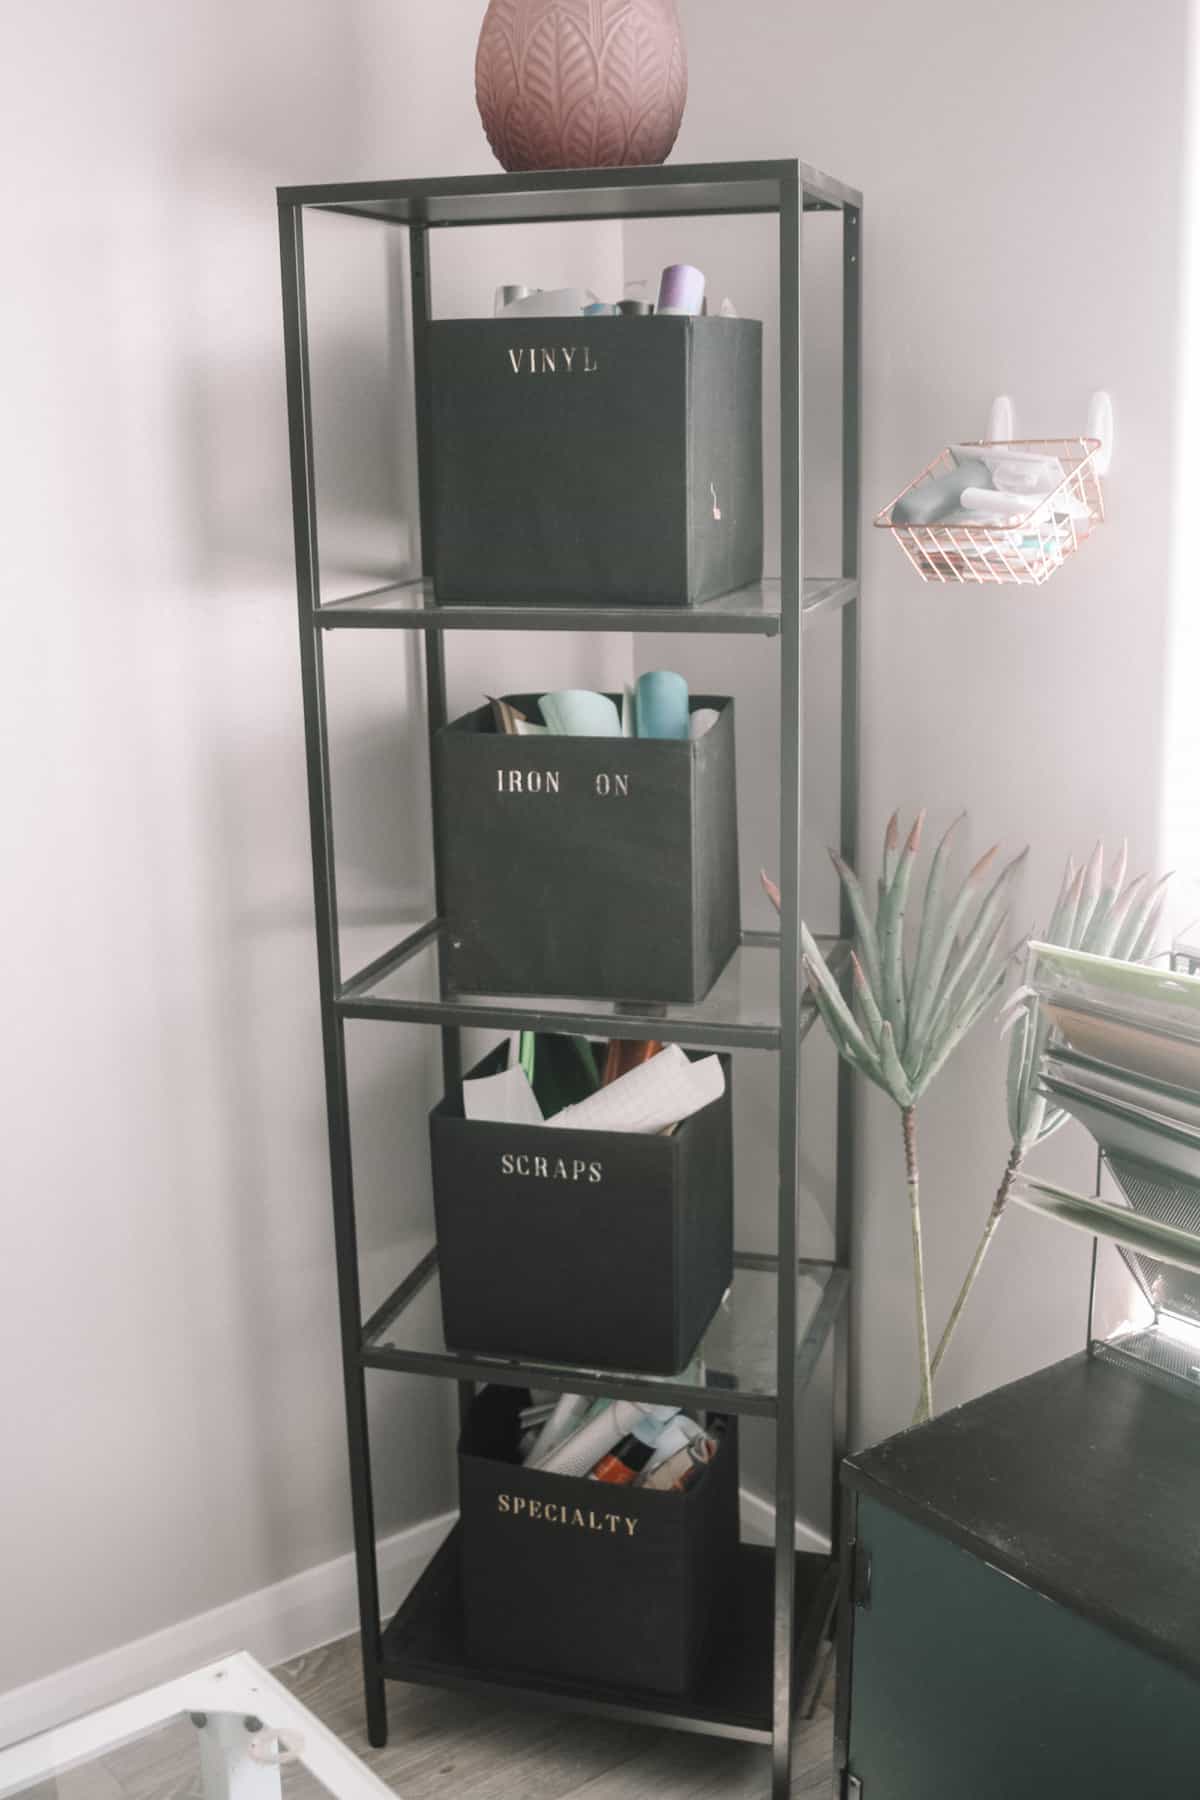
In the specialty bin, I have things like leather, window clings, and extra transfer tape. The scraps are just a big assortment of scraps I have from all my projects. I hate throwing that stuff away!
6.
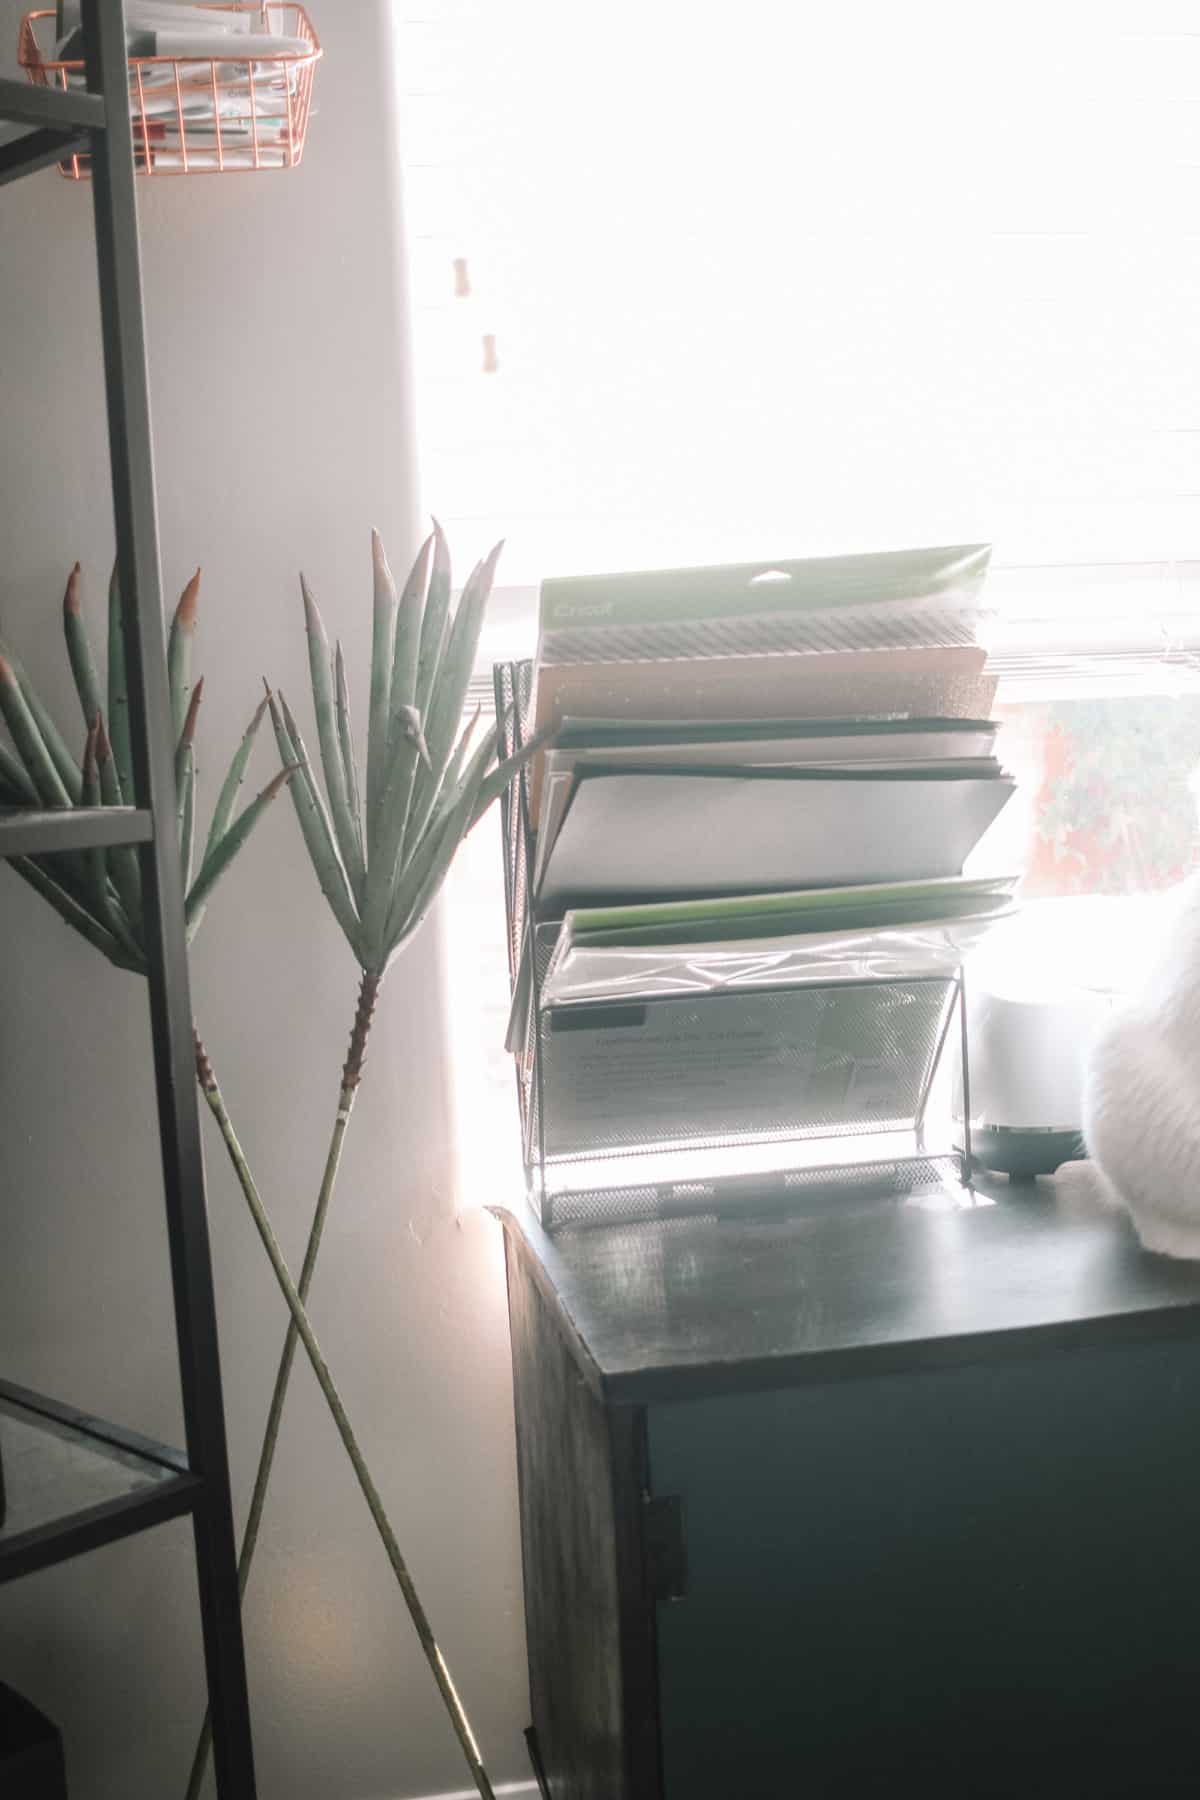
These bins are about 11″x11″ so they don’t fit my paper products very well! For that reason, I got this paper organizer and put in everything that is flat. Things such as chipboard (MY FAVORITE MATERIAL RIGHT NOW!! The Maker has completely changed my crafting game), Foil Acetate, and Kraft board all fit in this rack.
That was all I did for MY craft room but I also found a few brilliant ideas that might fit your needs a bit better.
Craft Organizing Ideas from Other Blogs
7.
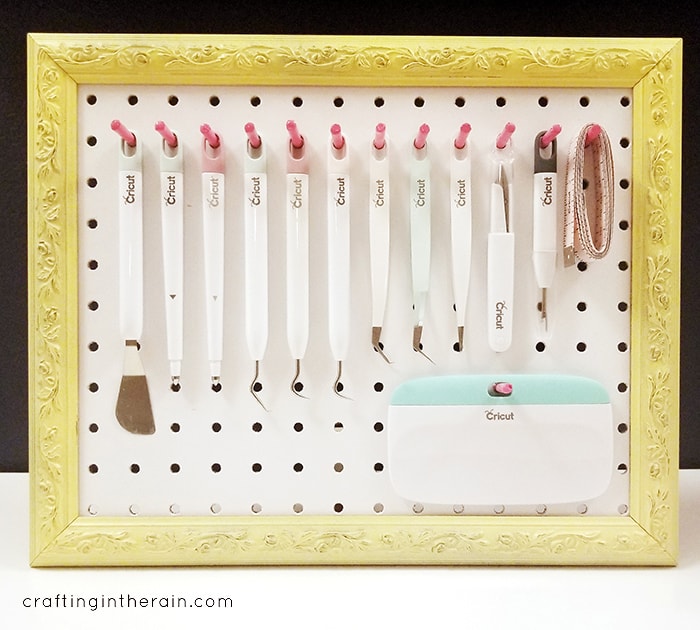
This tool peg board is BRILLIANT! If you need quick access to your tools this is perfect. I mostly just wanted to get mine out of the way and didn’t have leftover pegboard like this lovely lady but this project is in my future for sure.
8.
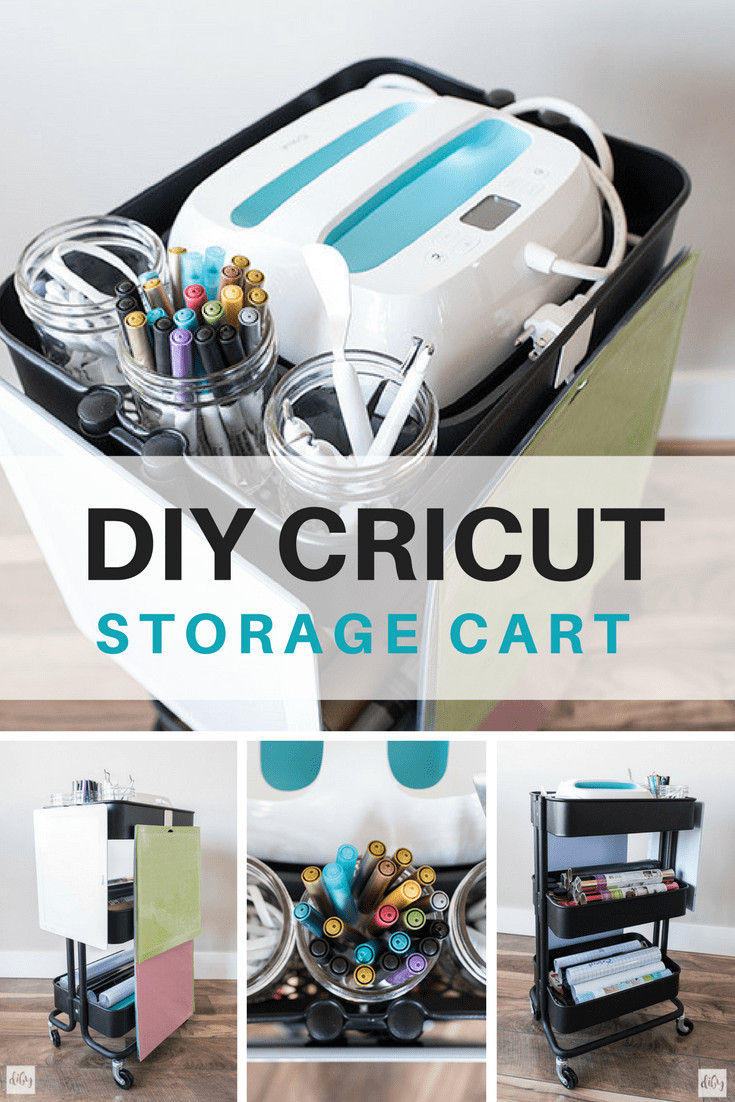
This cart is really cool. If I didn’t have a toddler (or a door in my craft room) I’d be all over this!
9.
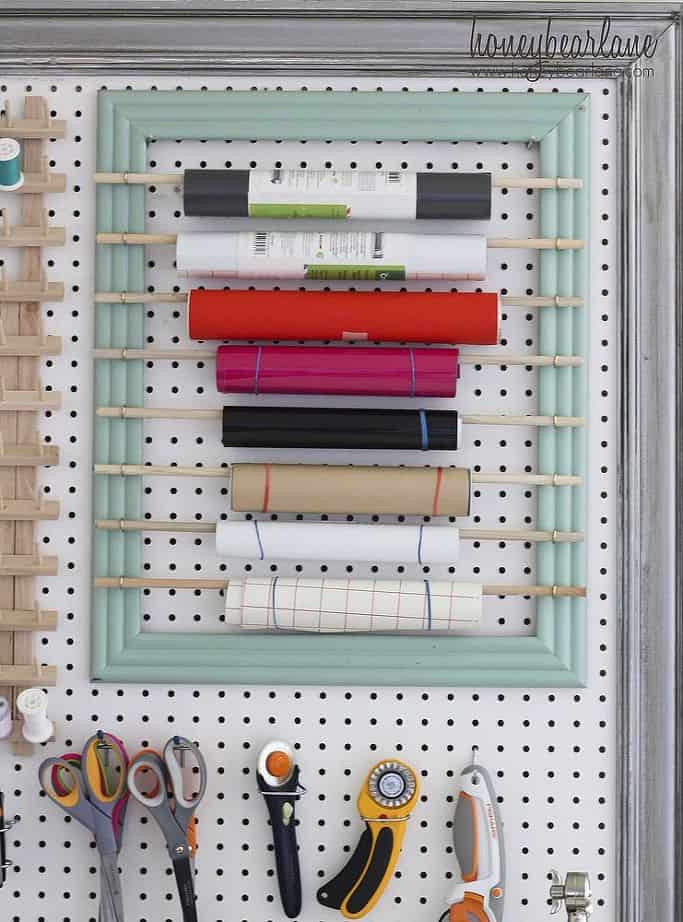
Here is another pegboard option but this one is for your Vinyl! (and everything else!)
10.
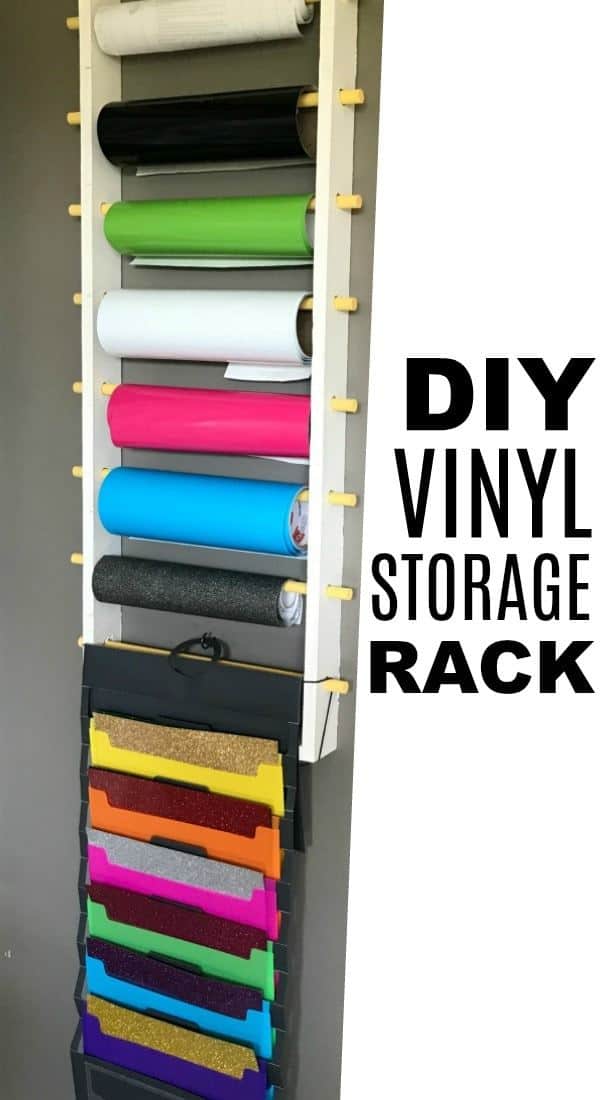
If you’re in a building mood this is a great way to store vinyl so you can easily see all your colors at once! Details here.
