Keeping your Cricut EasyPress dust-free can be simple with this tutorial that will only take you about an hour!
If you want to make a t-shirt check out this post! I walk you through all the steps. And if you’re interested in iron on you also might be interested in my post with directions about Cricut infusible ink.
First and foremost, if you don’t know what an EasyPress is, it’s basically a DIY game changer. I use it for all of my iron-on projects and it makes it SO much more simple than using an iron and ironing board. So if you don’t have one, the first step is to get one!
I opted to use the prepackaged fabric that Cricut sells that comes in 12″x26″ pieces. If you are using fabric you already have, you only need about 1/2 a yard for this simple project.
What you Need for your EasyPress Cover
- Fabric
- Serger/sewing machine (If you’re in the market for a sewing machine I put together this little comparison for you here!)
- EasyPress
- Rotary cutter
- Cutting Mat
Cricut EasyPress Cover Instructions
First I started by cutting my fabric. You will need one 11″x11″ piece and four 11″x7″ pieces. I mixed up the colors for a little bit of fun or you can just use one piece for the entire project.

Next, you will sew your 11″x7″ to one of the 11″x11″ sides. Make sure you keep the right sides together!
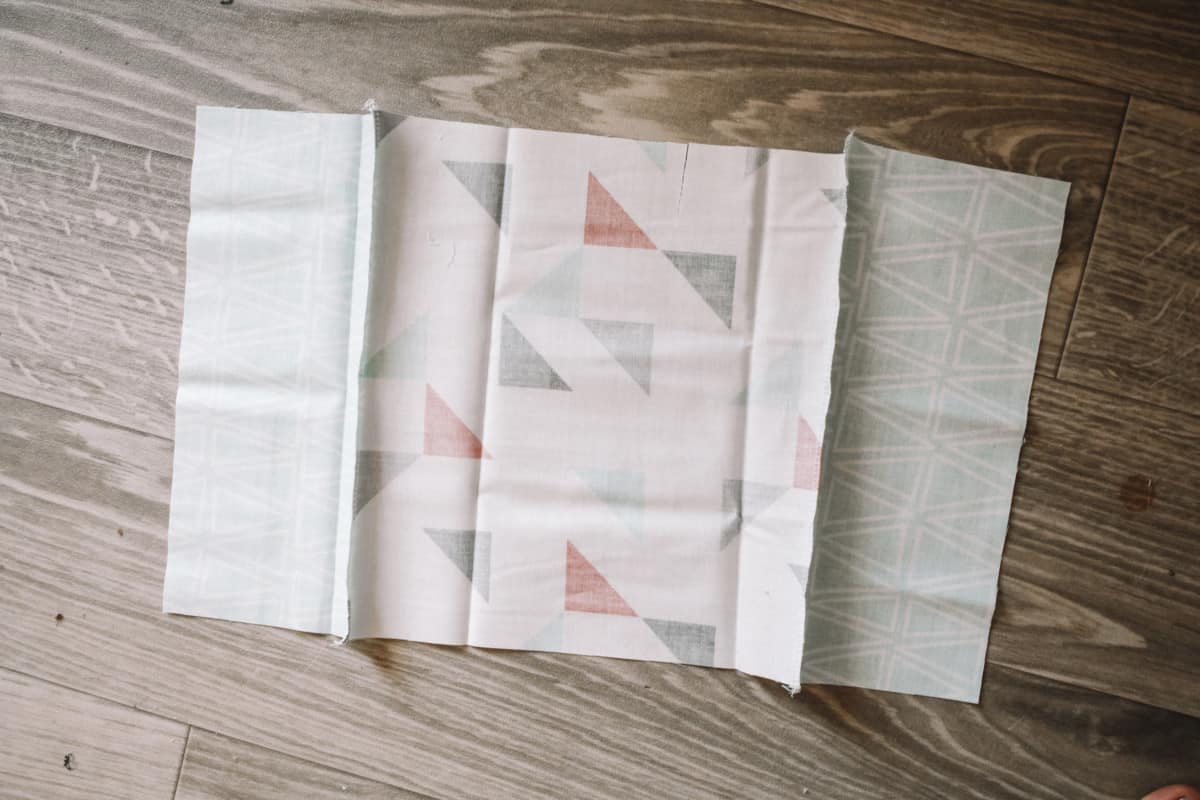
Continue sewing each 11″x7″ piece to the 11″x11″ piece until it looks like the below picture.

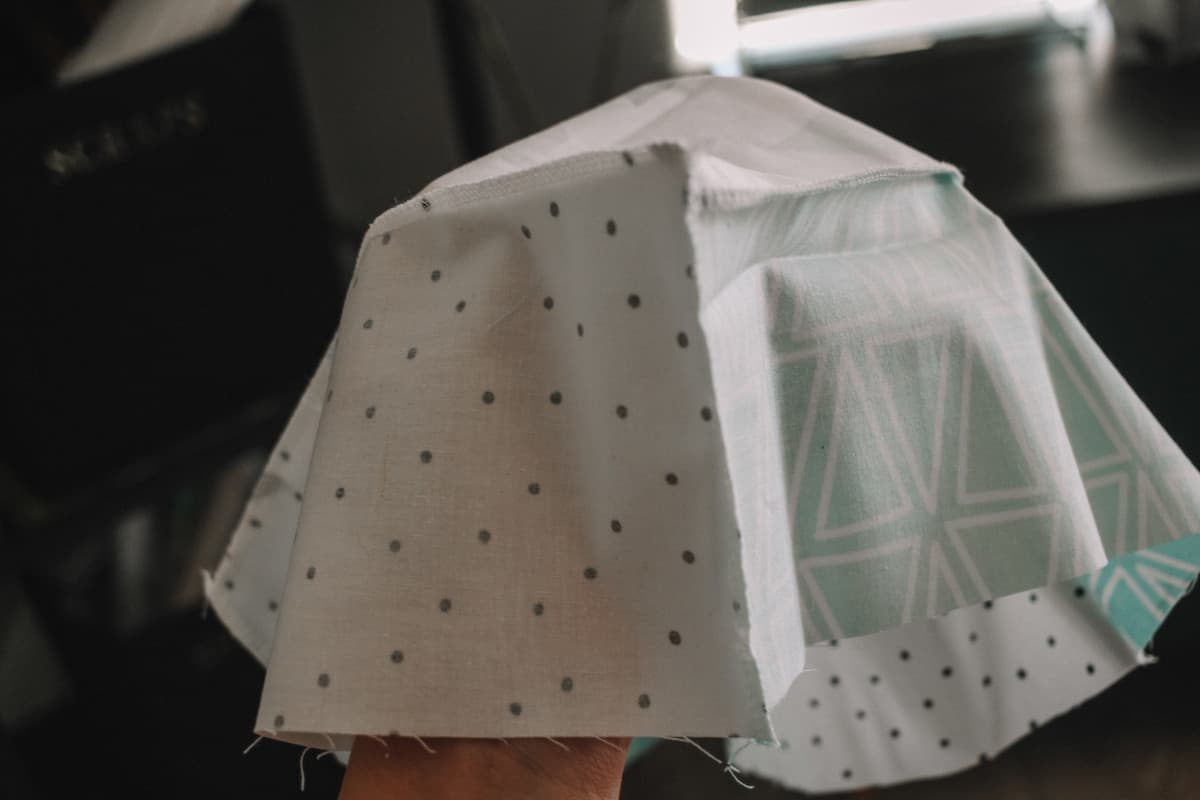
Then you will sew together the 7″ sides to each other to complete the cube.
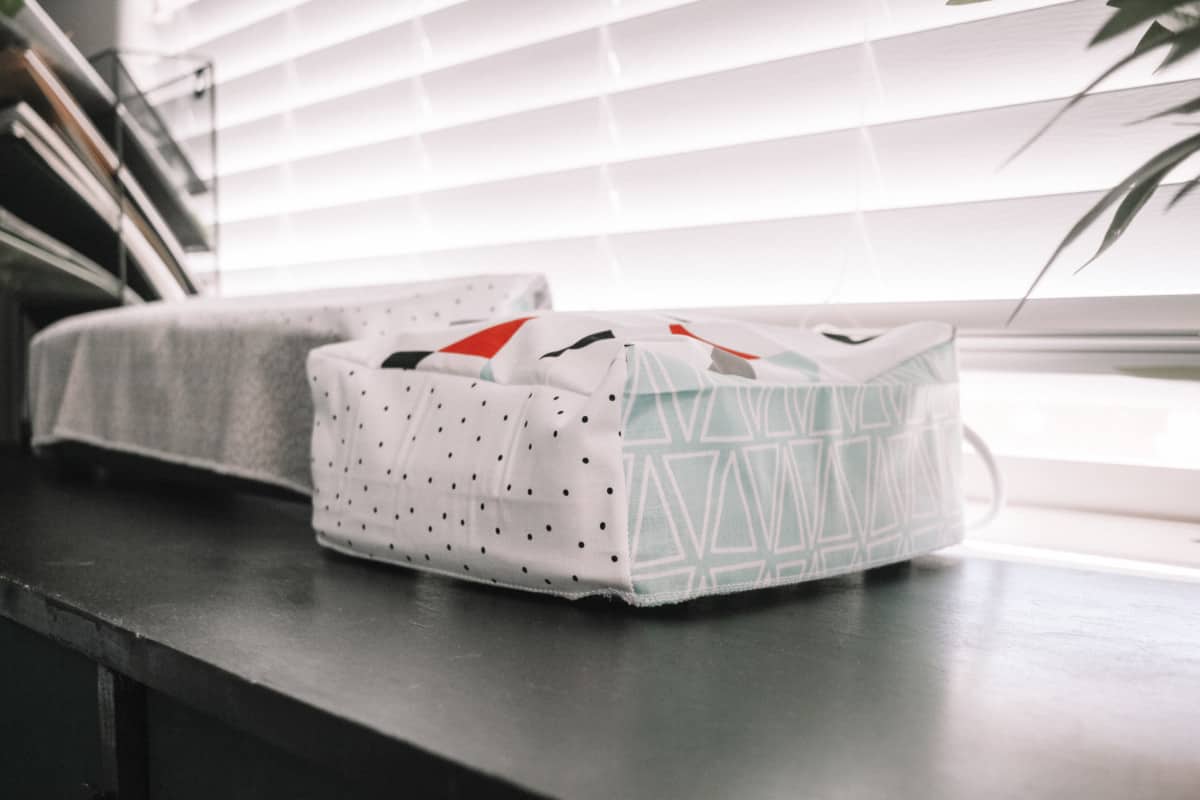
After I did this I also decided to serge the bottom of the cover for a cleaner look. If you don’t have a serger you can always just iron it up 1/4″ and sew a straight stitch.

That is it! Can you believe how simple that is?! If you wanted to make it more detailed and ornate you totally could but I personally loved the simplicity of this design.
Is Cricut EasyPress worth the money?
If you’re not doing iron-on projects often, I’d say just use a regular iron. But if you plan to do iron-on projects once a month or more, get the EasyPress. It heats up faster, has a timer, you don’t have to move it, and the heat is even. If you want to mass-produce stuff, I suggest a heat-press.
What can you do with an EasyPress?
You can use iron-on (sometimes called heat transfer vinyl) and also sublimation materials like Cricut infusible ink.
Cricut EasyPress Cover
Keeping your Cricut EasyPress dust free can be simple with this tutorial that will only take you about an hour!
Materials
- Fabric
Tools
- Serger/sewing machine
- EasyPress
- Rotary cutter
- Cutting Mat
Instructions
- Cut your fabric into one 11"x11" piece and four 11"x7" pieces. I
mixed up the colors for a little bit of fun or you can just use one piece for the entire project. - Sew your 11"x7" piece to one of the 11"x11" sides. Make sure you keep the right sides together!
- Continue sewing each 11"x7" piece to the 11"x11" piece until it looks like the below picture.
- Sew together the 7" sides to each other to complete the cube.
- After I did this, I also decided to serge the bottom of the cover for a cleaner look. If you don't have a serger you can always just iron it up 1/4" and sew a straight stitch.
Recommended Products
As an Amazon Associate and member of other affiliate programs, I earn from qualifying purchases.


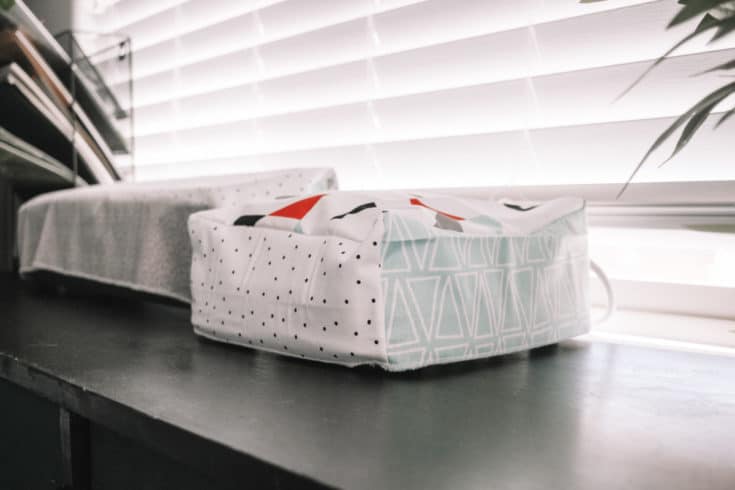
You can see a little sneak peek in the back there of the cover I made for my Cricut Maker as well! Stay tuned and follow along with my Instagram to see that tutorial.
If you liked this post you might also like this checklist sheet on how to not mess up your iron-on vinyl and this tutorial on how to fix messed-up letters!


