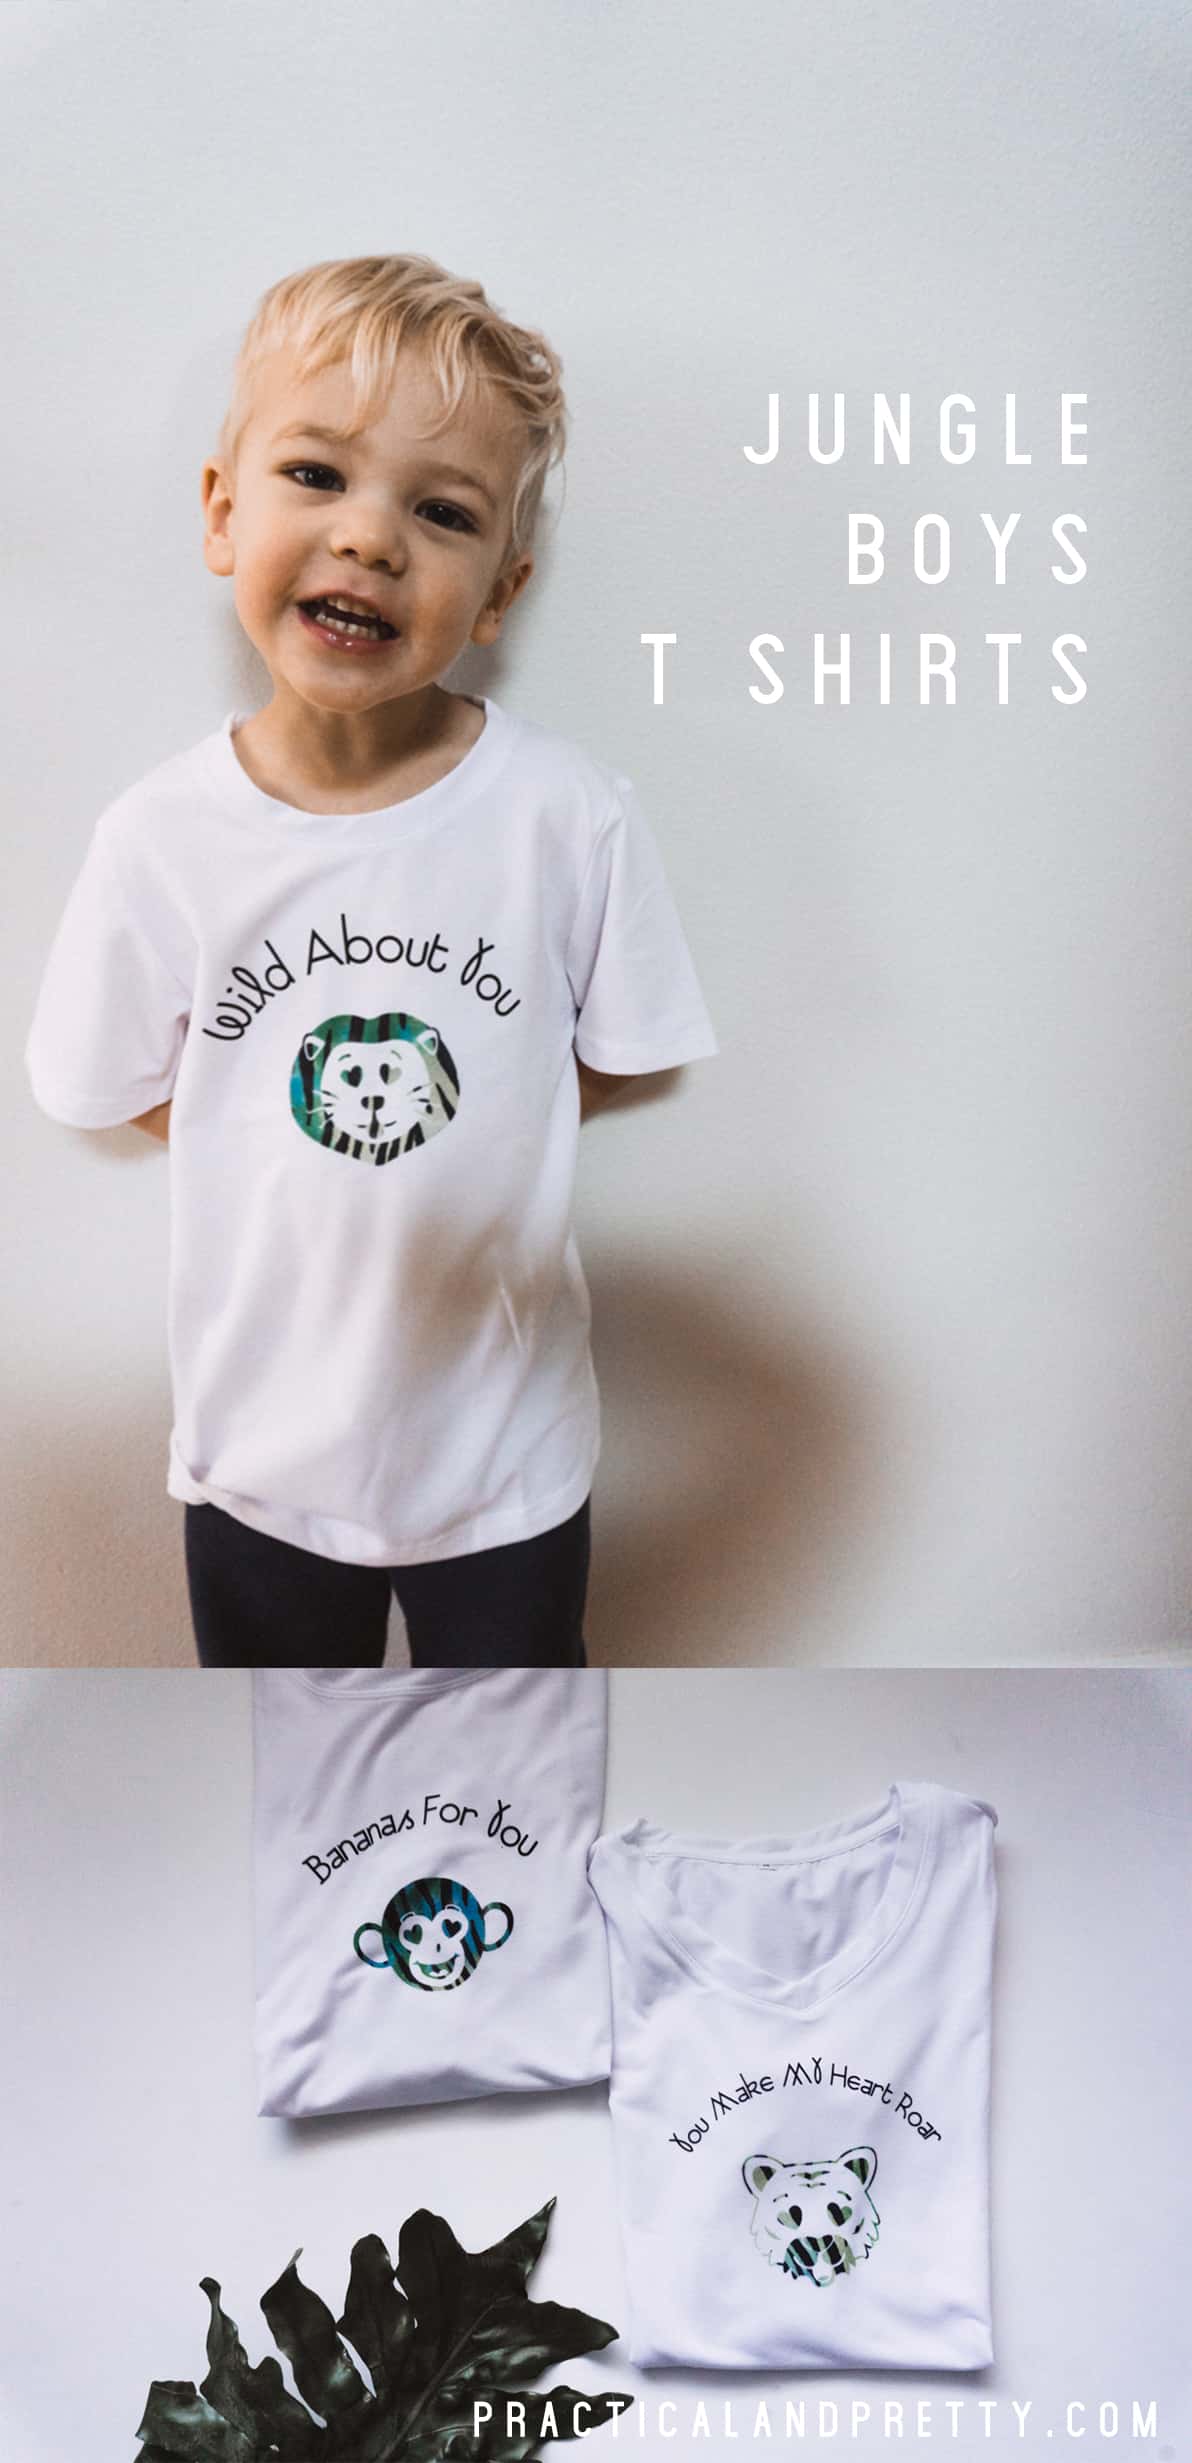
These boys t shirts are perfect for your favorite little jungle lover. I have three designs for you to choose from sure to fit the style of your little one.
I have been on a crusade to make some shirts that can be worn for Valentine’s Day by boys BUT are also year round darling shirts. Who wants to make a shirt just for one holiday? Well I do. But sometimes that’s impractical and I understand that!
What you’ll need for your Jungle Boys T Shirts
Butcher Paper (Comes with your Infusible Ink Transfer Sheets if that’s what you’re using!)
Jungle Patterened Infusible Ink Sheet
This cut file here.
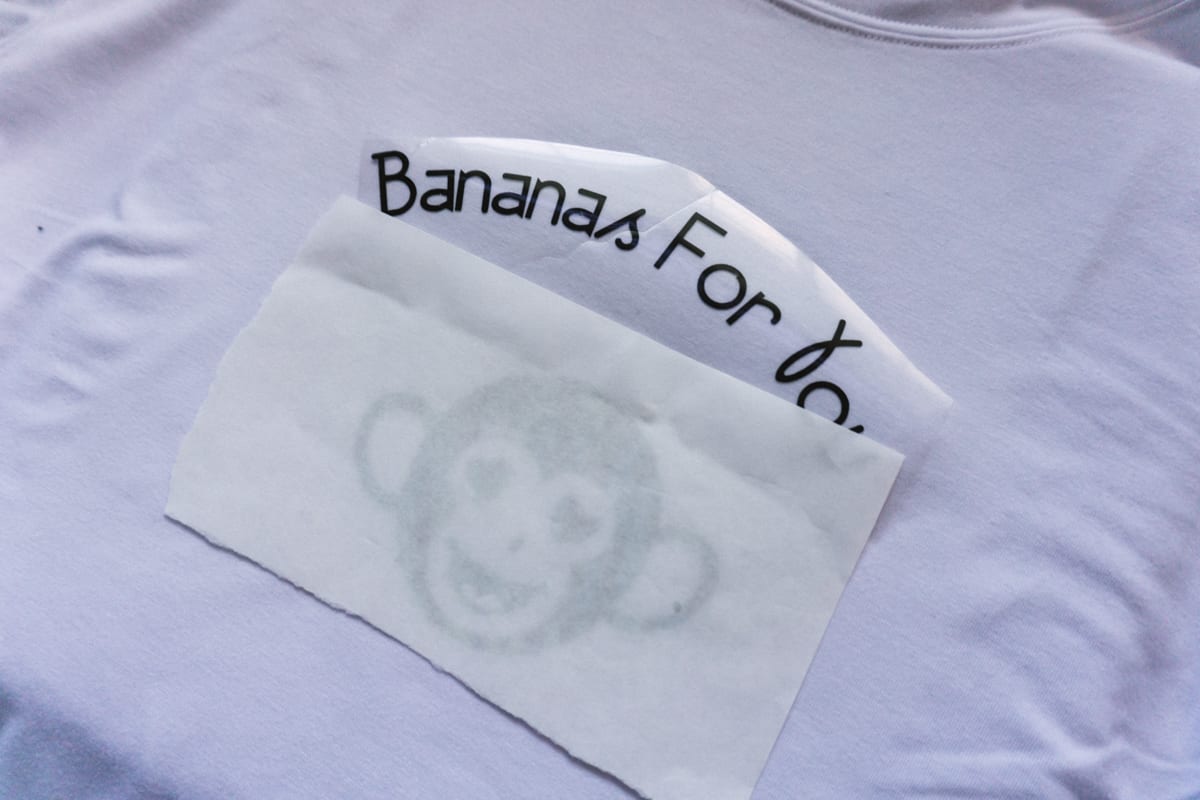
Load up the project linked above and be sure to click ‘Mirror for iron on’. I have a screenshot below of what that looks like.
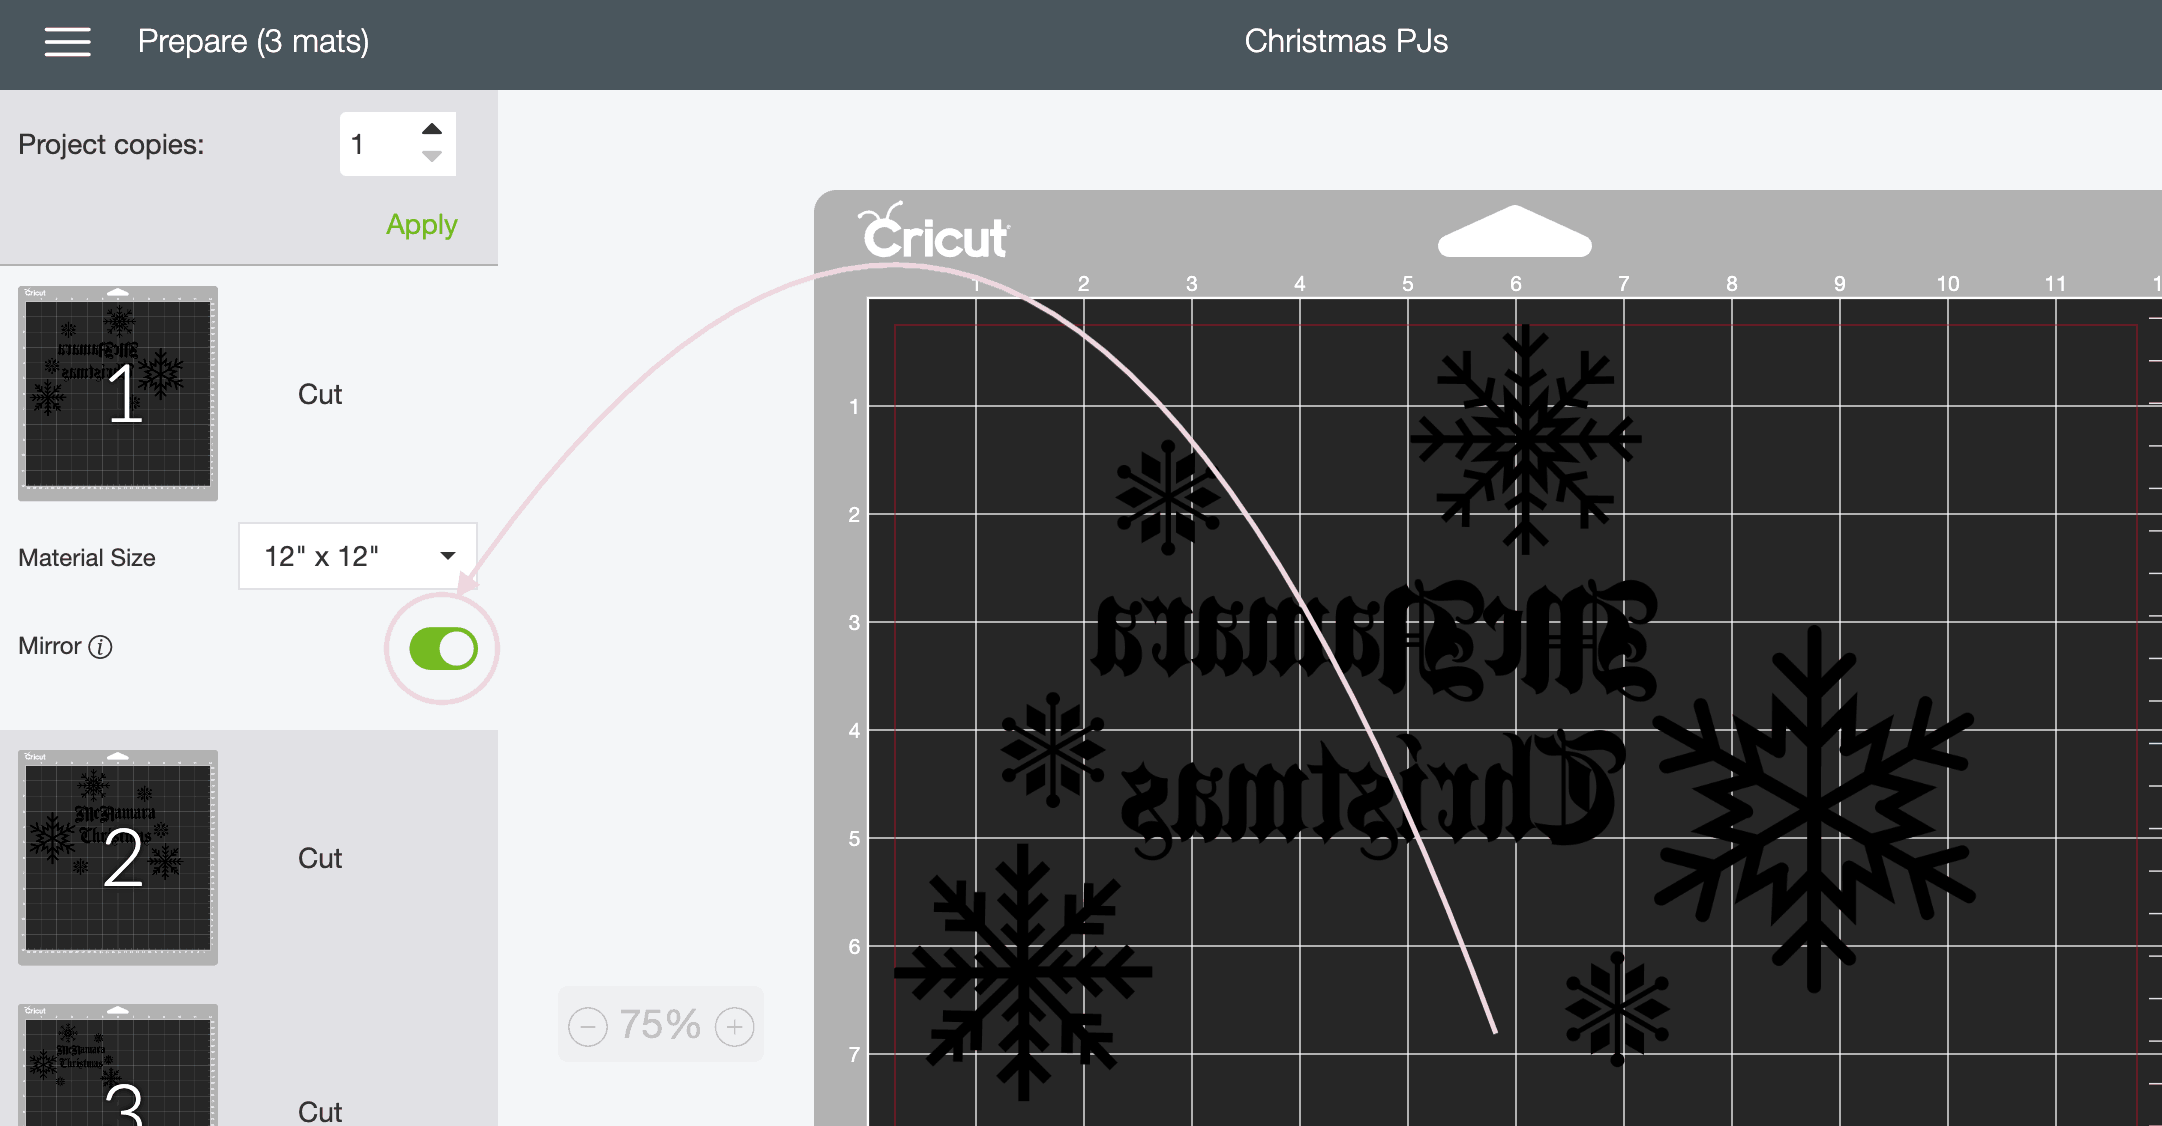
Set your smart dial to ‘Custom’ and then follow the prompts to set your material to ‘Infusible Ink’ for those canvases and then you will turn your dial to ‘Iron On’ for the canvas with words. You will ‘Load’ and then press the Cricut button and watch it work it’s magic!
After your file is drawn I like to cut out the empty space around the file for easier weeding.
Grab your Infusible Ink T Shirt and place the piece of cardstock inside of the shirt. This protects the design from transferring onto the back of your shirt.
Next you will place your infusible ink sheet face down on your shirt where you’d like it to go. Make sure the side with the ink is the side touching the shirt. It is VERY important that you do this step before the regular iron on!
Place your butcher paper on the top of the paper.
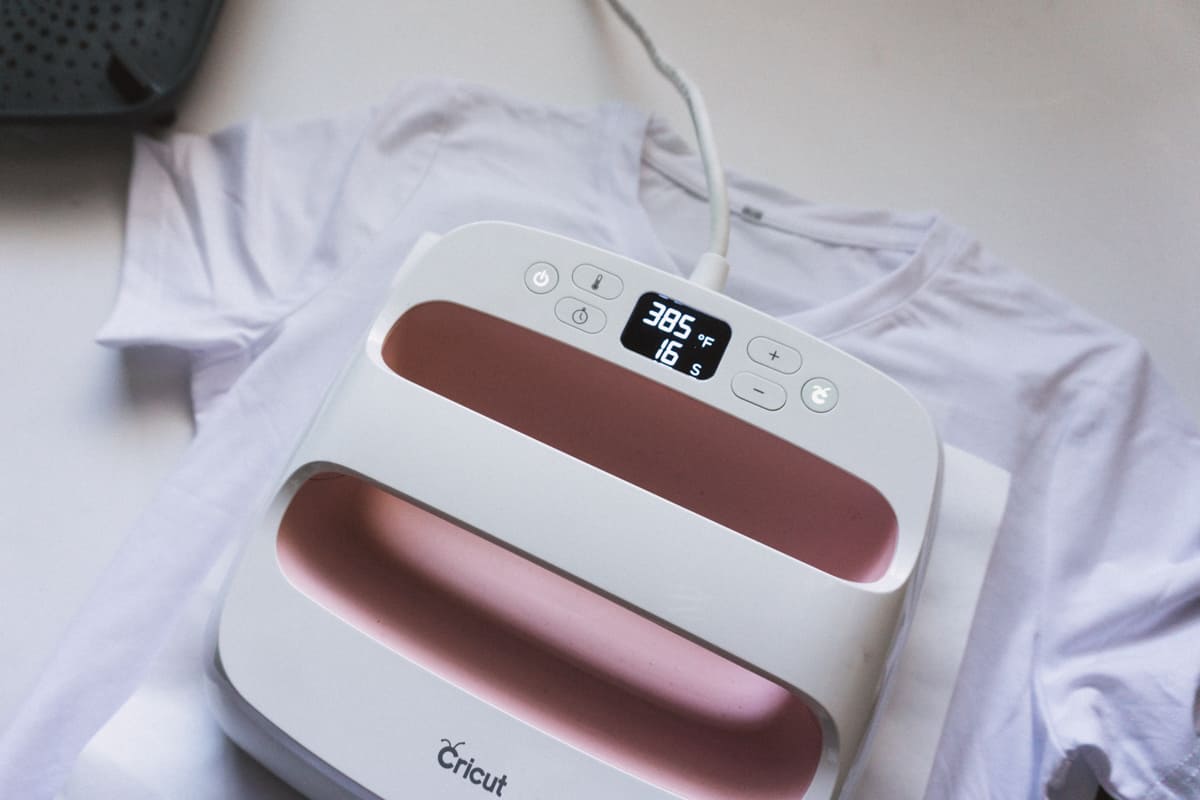
Heat your EasyPress 2 to 385 degrees and place it over the butcher paper for 40 seconds.
Take care not to move the iron, shirt or sheet or you may end up with a smudgy looking image. Once the timer has ended, lift the iron straight up. Your ink and shirt are still hot so you could still mess up the ink if you move things around too much.
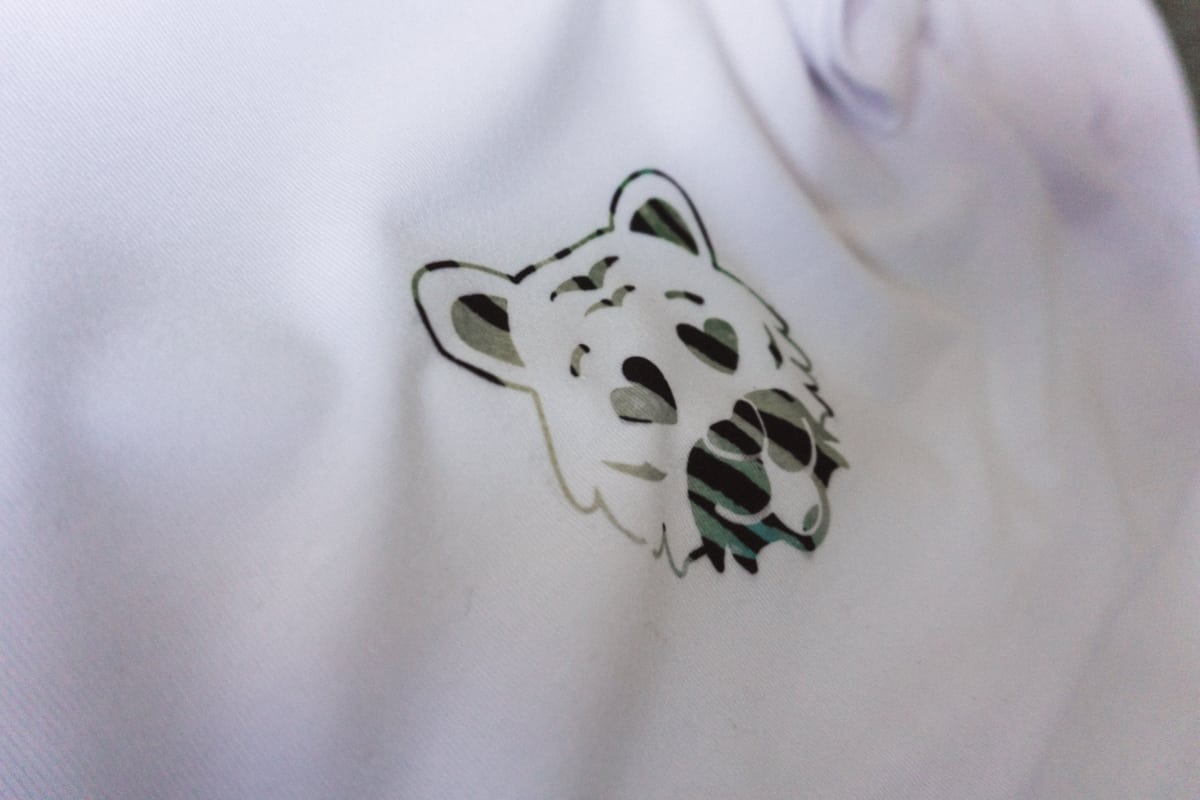
Once the paper has cooled, remove the butcher paper and sheet with the ink on it. You should be left with a sharp looking design like pictured below.
Using Iron on After Infusible Ink
Next, you will iron on your Everyday Iron On. Set your EasyPress 2 back down to 330 degrees and the timer will only be set for 30 seconds.
Please the iron on where you’d like it to go with the sticky side of the paper touching the shirt.
I cut out a small piece of butcher paper to cover the infusible ink portion of the shirt. You could also just place the entire piece of butcher paper over the entire surface but I didn’t want to waste extra butcher paper!
Place the EasyPress 2 on for 30 seconds and remove the iron. Wait until the plastic is warm not hot to the touch and carefully remove the plastic and butcher paper.
Now you’re all done! These turned out so cute. If you’re wondering why I didn’t just use Infusible Ink for both portions, I tried it first! I found weeding the small letters so difficult. I have since learned a trick to use latex gloves while you weed which makes a lot of sense! If I had done that I may have just had only Infusible Ink on the shirt but it was fun to practice this mixed media method.

Make sure to go check out these other science shirts for boys I made for your favorite scientist.


