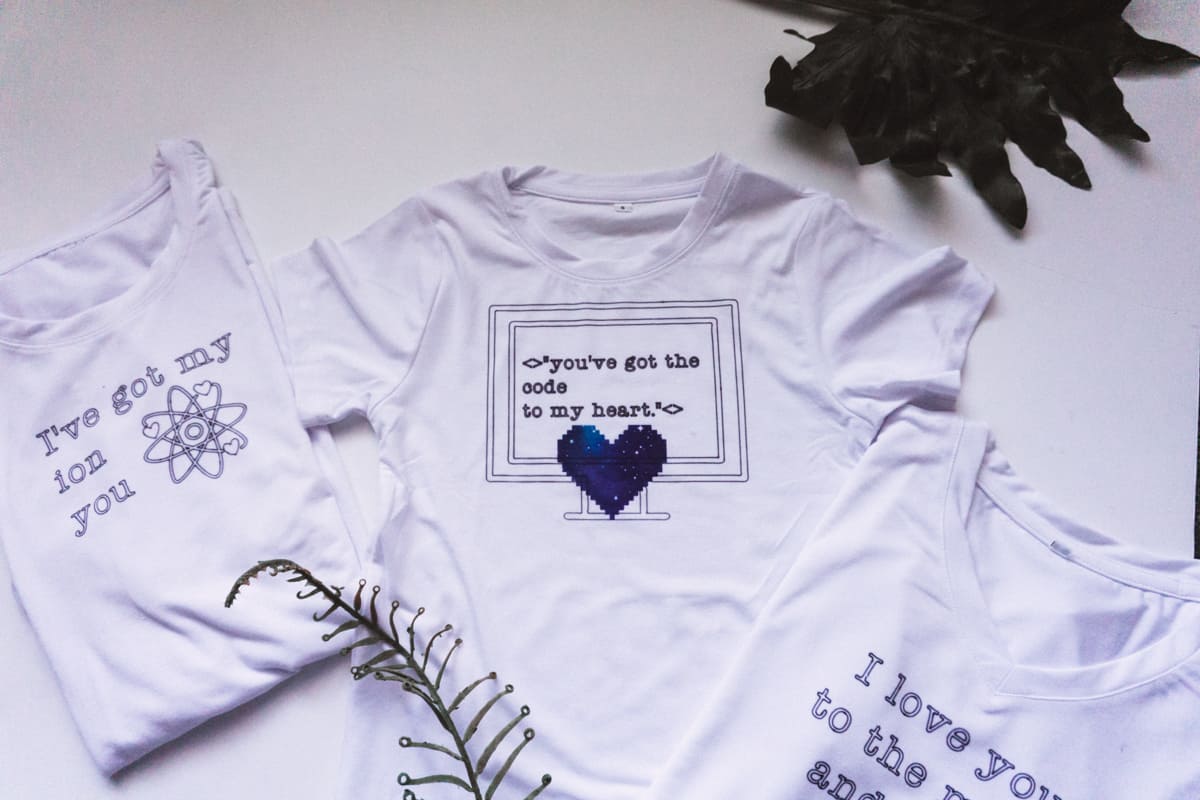
Make these shirts for your budding scientist. Who doesn’t love finding some unique shirts for boys? My son loved all three and they’re really easy!
I am a sucker for all things STEM (Science Technology Engineering and Math). Instilling these things subliminally into my son has become a pastime of mine. I made him these tee shirts for Valentine’s Day but had to share because they turned out so cute. You will also learn how to layer Infusible Ink Sheets on top of an Infusible Ink Pen design.

What you’ll need for your Science Shirts for Boys
Butcher Paper (Comes with your Infusible Ink Transfer Sheets if that’s what you’re using!)
Plain paper
This cut file here.
Start by loading your plain paper onto a light grip mat and place your Infusible Ink pen in the left cartridge slot.
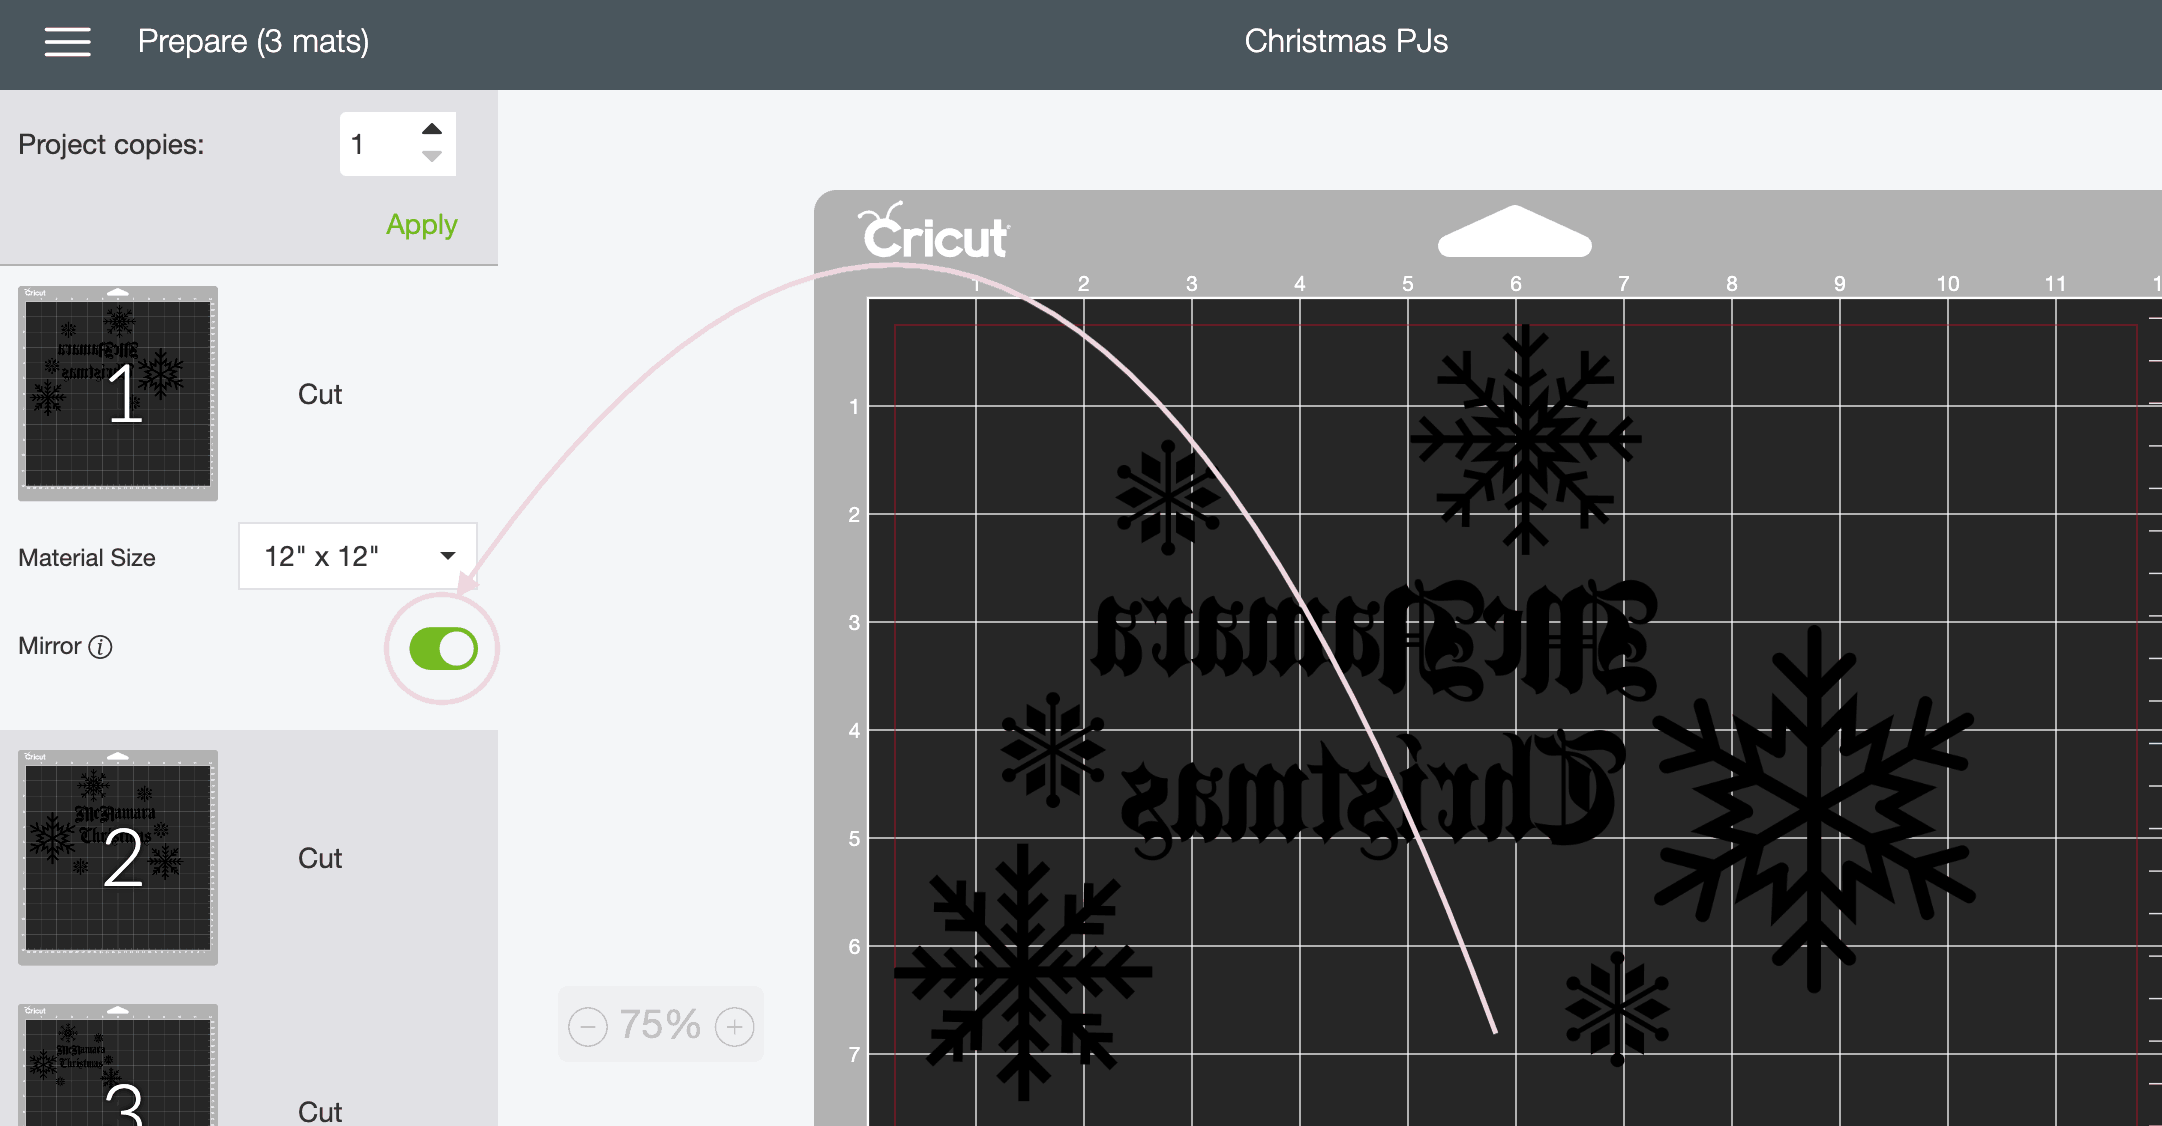
Load up the project linked above and be sure to click ‘Mirror for iron on’. I have a screenshot below of what that looks like.
Set your smart dial to ‘Paper’ and then follow the prompts. You will ‘Load’ and then press the Cricut button and watch it work it’s magic!
After your file is drawn, I like to cut out the empty white space around the file.
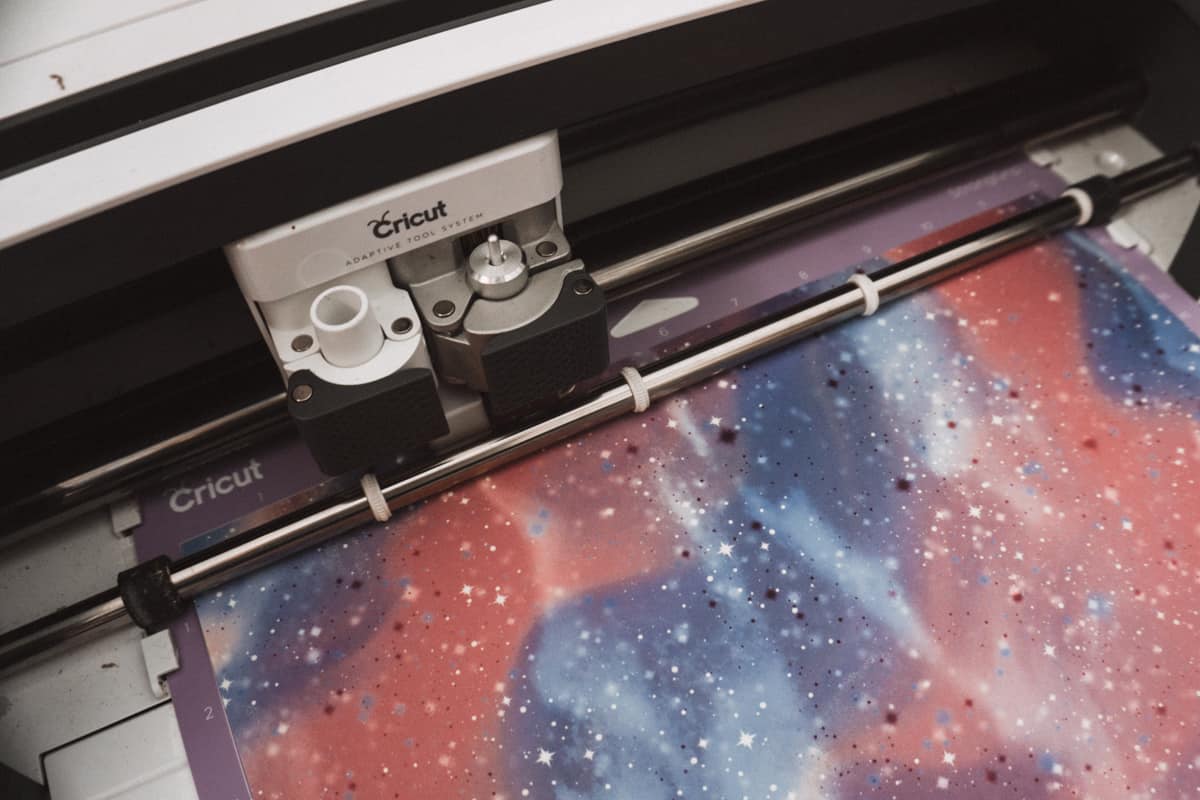
You will also see a digital looking heart design. Once that page comes up as the next sheet, load your galaxy print on your standard grip mat with the ink side facing up.
Grab your Infusible Ink T Shirt and place the piece of cardstock inside of the shirt. This protects the design from transferring onto the back of your shirt.
Next you will place your paper that you used your pen on face down on your shirt where you’d like it to go. Make sure the side with the ink is the side touching the shirt.
Place your butcher paper on the top of the paper.
Heat your EasyPress 2 to 385 degrees and place it over the butcher paper for 40 seconds.
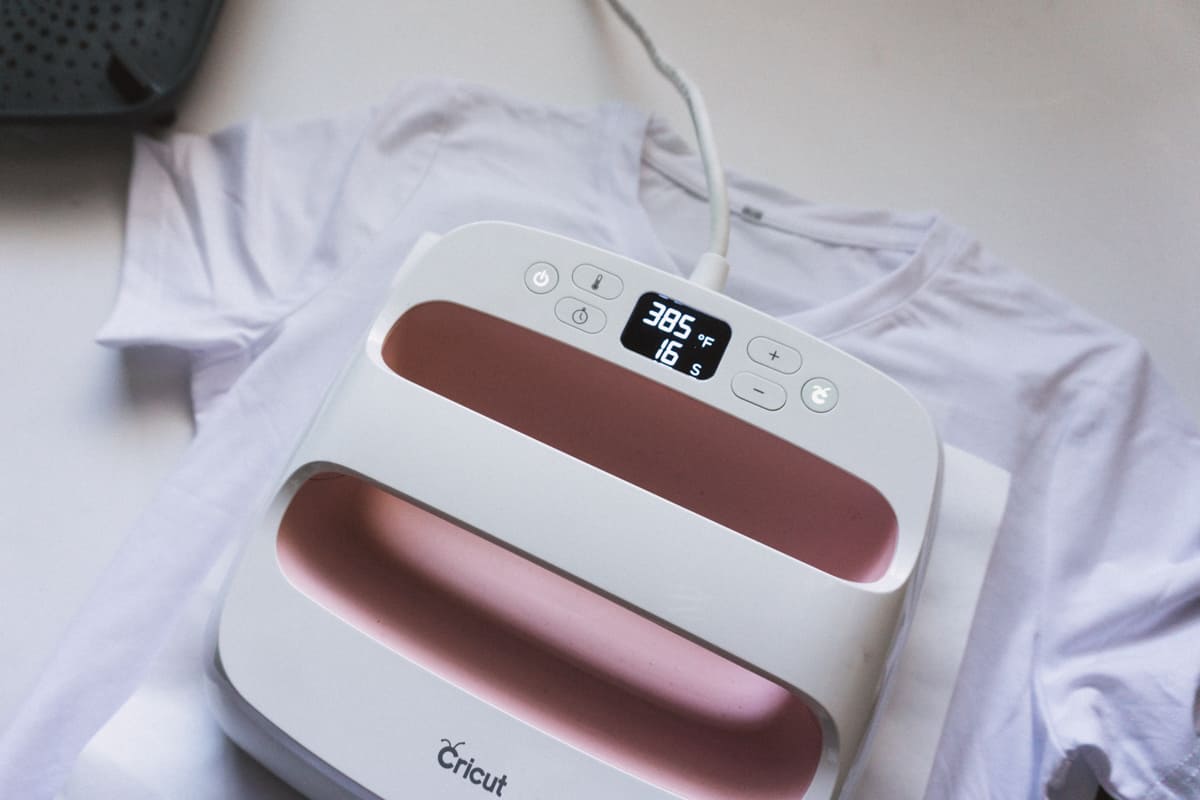
Take care not to move the iron, shirt or paper or you may end up with a smudgy looking image. Once the timer has ended, lift the iron straight up. Your papers and shirt are still hot so you could still mess up the ink if you move things around too much.
Once the paper has cooled, remove the butcher paper and sheet with the ink on it. You should be left with a sharp looking design like pictured below.

Layer Infusible Ink over Infusible Ink Pens
Now you will weed out your heart. Or maybe you did it while you were waiting for your paper to cool off!
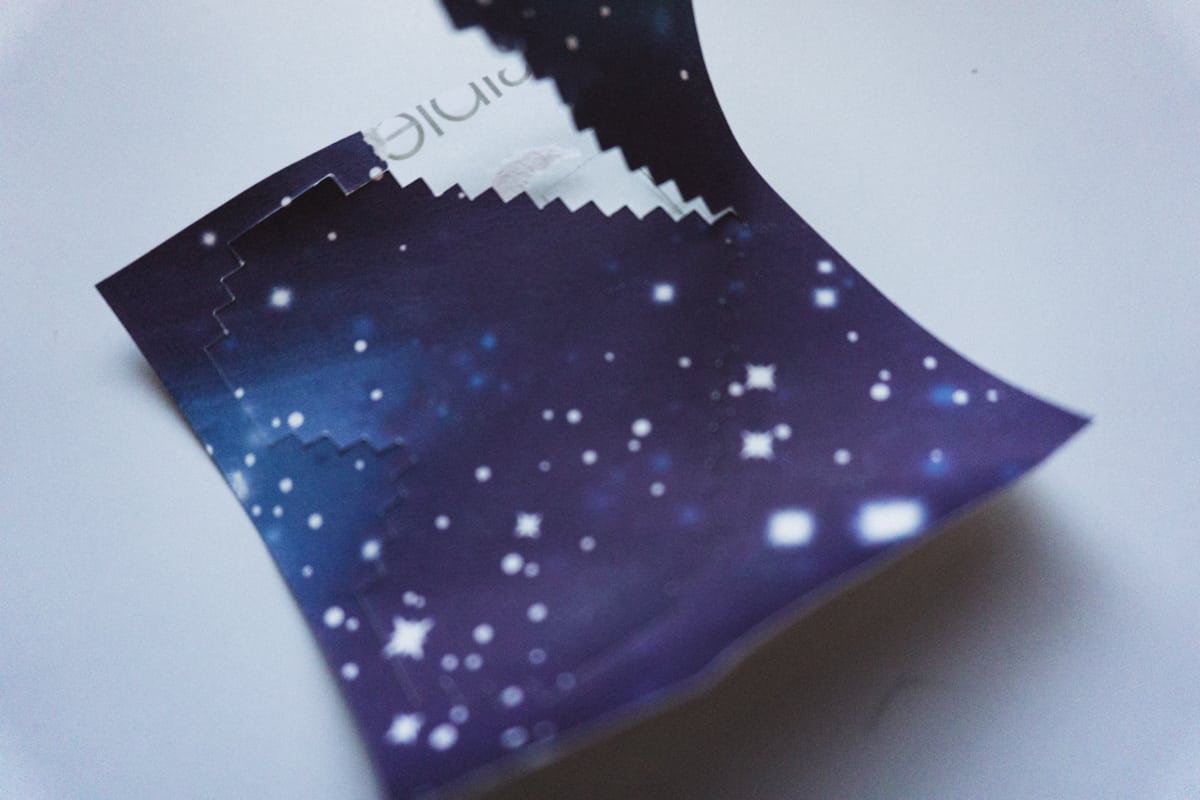
Always use your fingers when you use infusible ink! My friend Pam at Over the Big Moon had the brilliant idea to use latex gloves so it doesn’t smudge. That’s smart! This design is pretty little though it shouldn’t smudge too much and the weeding is pretty straight forward.
Place the heart where you’d like it on the tee shirt with the galaxy print facing toward the shirt. Place the butcher paper back on top. Make sure the butcher paper covers the whole design! Your infusible ink will fade if it gets too hot even if it’s already on your shirt. You don’t want it fading!
Place your EasyPress 2 on for another 40 seconds. Wait for that to cool and remove the paper and plastic sheet and you are all done!
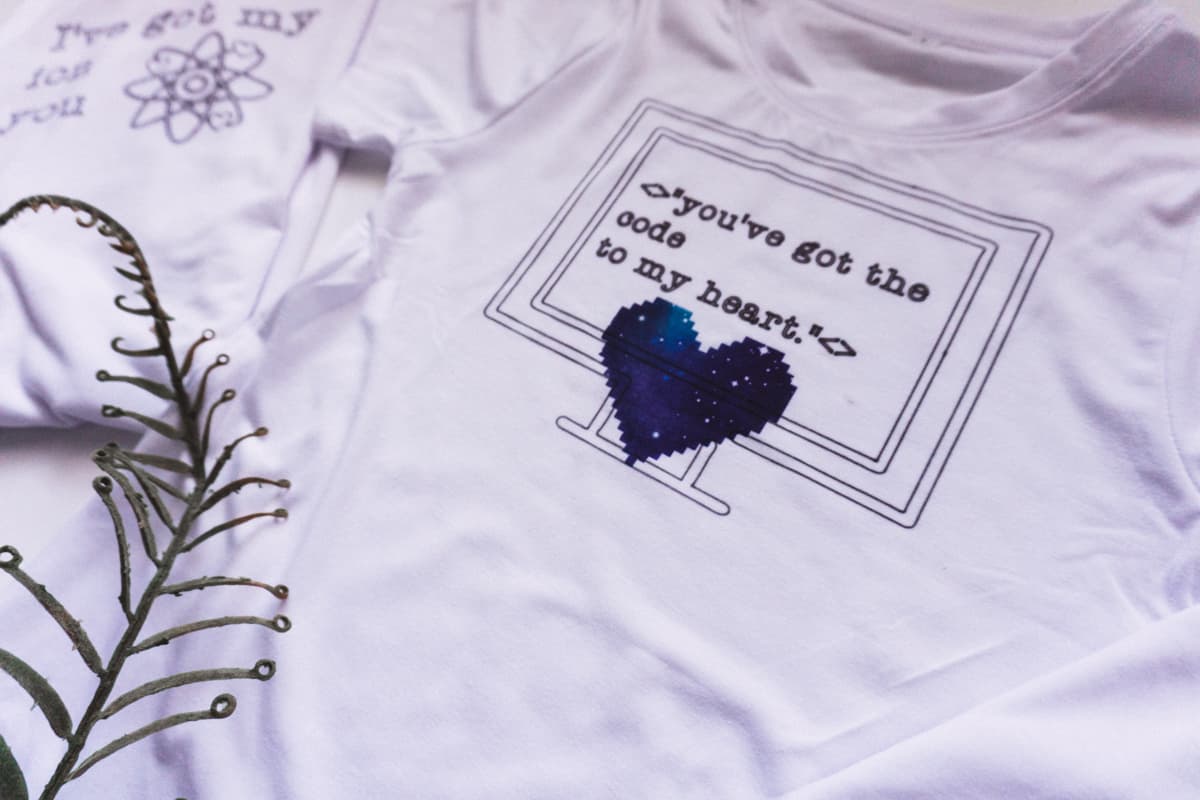
I’m so pleased with how these turned out!