These fun minimalist Disney magnets are great for any Disney lover. They also make a great party favor or gift topper for your friends.
We are heading to Disneyland and I wanted to make something magnetic because I bought a wire gift basket and I thought they’d be cute to put on it. However after making them, they’re now my favorite fridge magnets because they’re so minimalist but remind me of Disney. Doesn’t get much better than that! You can make them any color you want. You can even make them polka dot if you want. Clay allows you to be super creative. I show how I make a marbled look in this DIY spoon holder.
This project is a part of the Inspire My Creativity Link party! The theme this month is to use things that you have laying around. I have so much random clay and if you do too, this is a perfect thing to do with whatever you have left. You don’t need a specific color or even a specific number of them to make it so it’s perfect for scraps.
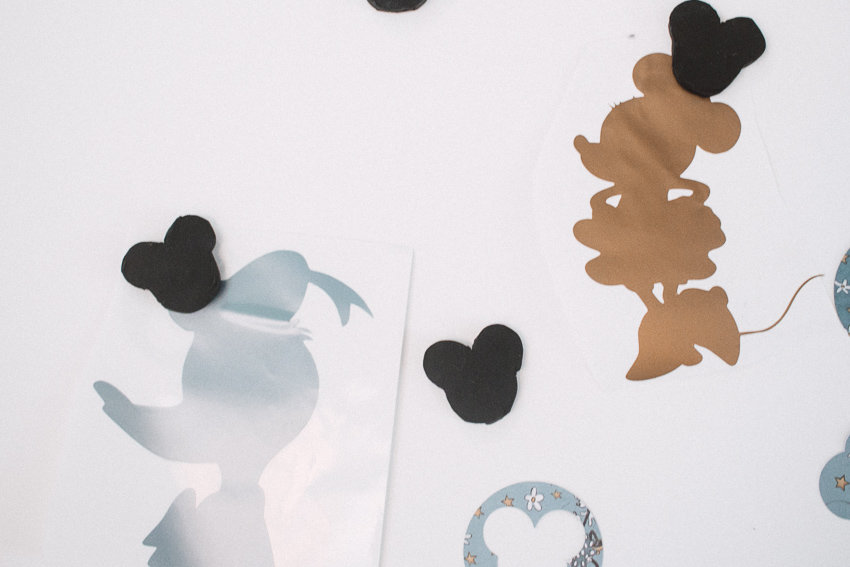
What I Used to Make my Disney Magnets
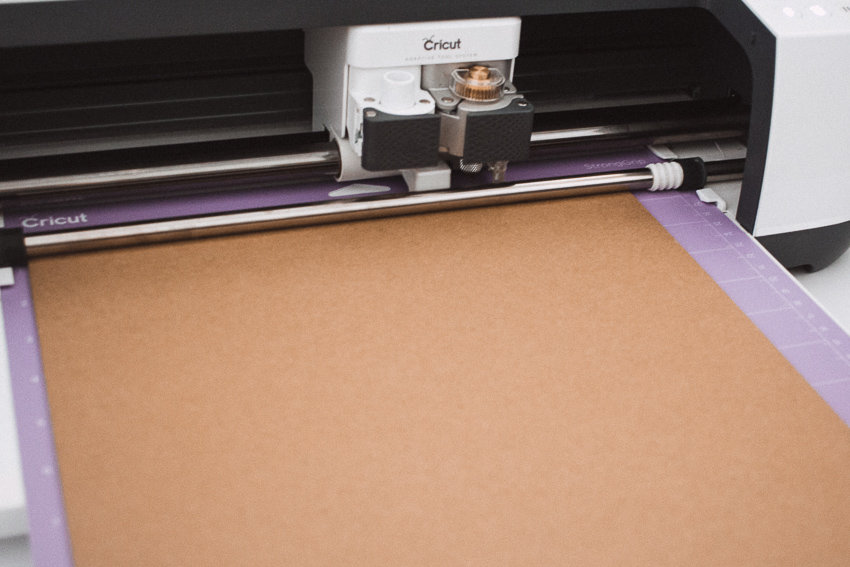
This first step is totally optional if you want really sharp lines. I tried to use cardstock first and was struggling so ended up using my Cricut and chipboard which gave me much more accurate lines.
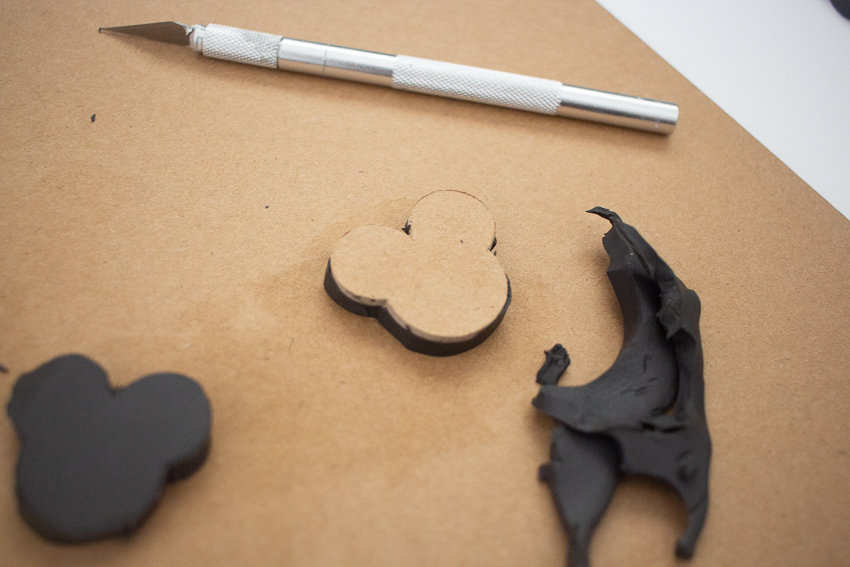
Flatten out your clay as much as possible so the stencil covers the whole piece. Try to keep it between 1/4″ and 1/2″! I used my craft knife to cut around the edges.
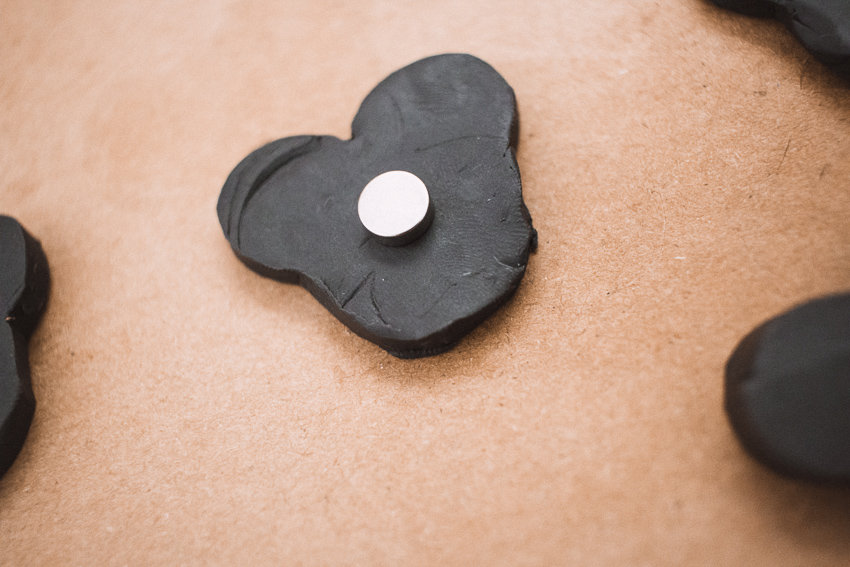
Take your magnet and press it into the clay. You will be baking the magnet into the clay so do this before you bake them if you want the magnet flush with the clay.
Bake the clay according to the instructions on the package. Mine baked for 15 minutes at 215.
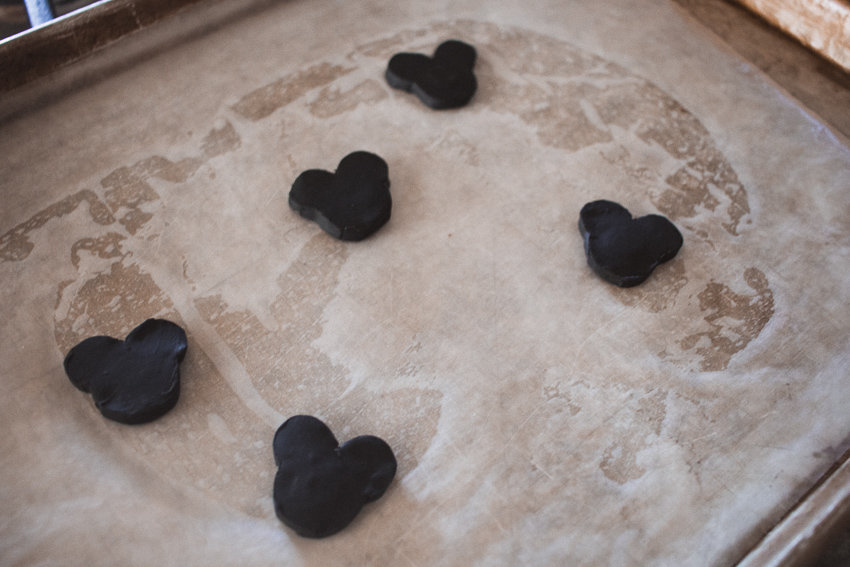
When they cool, you are all done! If you are having trouble with the magnets falling out (one of mine has fallen out), simply put a dab of super glue inside and let it sit.
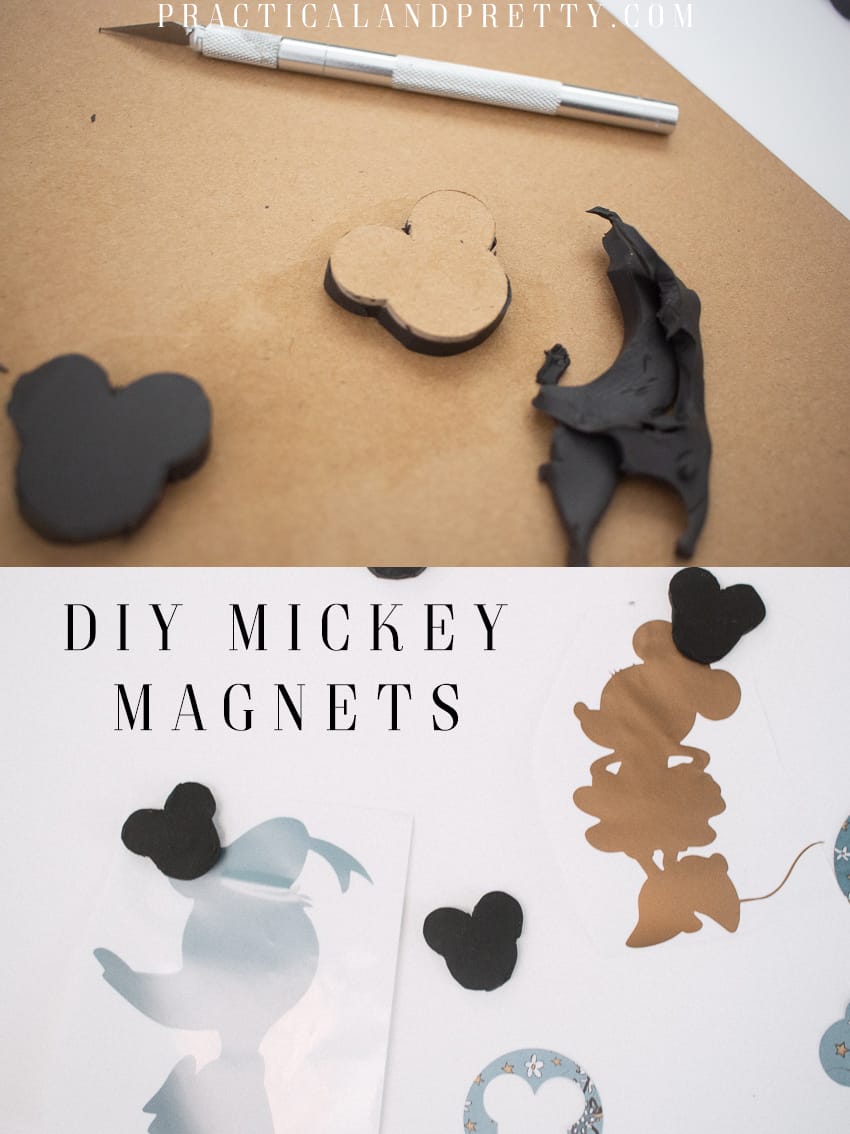
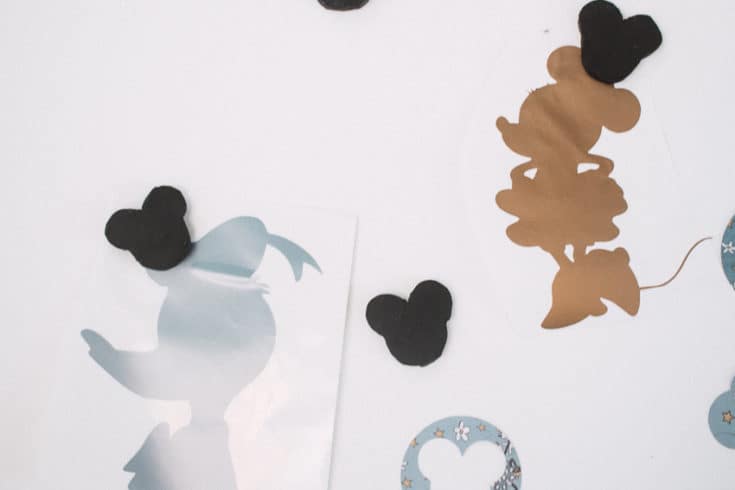
DIY Disney Magnets
These fun minimalist Disney magnets are great for any Disney lover. They also make a great party favor or gift topper for your friends.
Materials
- Chipboard
- Clay
- Magnets
Tools
- Cricut Maker
- Hobby Knife
Instructions
- This first step is totally optional if you want really sharp lines. I tried to use cardstock first and was struggling so ended up using my Cricut and chipboard which gave me much more accurate lines.
- Flatten out your clay as much as possible so the stencil covers the whole piece. Try to keep it between 1/4" and 1/2"! I used my craft knife to cut around the edges.
- Take your magnet and press it into the clay. You will be baking the magnet into the clay so do this before you bake them if you want the magnet flush with the clay.
- Bake the clay according to the instructions on the package. Mine baked for 15 minutes at 215.
- When they cool, you are all done! If you are having trouble with the magnets falling out (one of mine has fallen out), simply put a dab of super glue inside and let it sit.
Recommended Products
As an Amazon Associate and member of other affiliate programs, I earn from qualifying purchases.
-
 COMIART Precision Hobby Cutting Caving Knife Sculpture Tool
 -
 Sculpey III Polymer Oven-Bake Clay, Black, Non Toxic, 1 lb. bar, great for modeling, sculpting, holiday, DIY, mixed media and school projects. Great for kids & beginners!
 -
 Cricut Champagne Maker
 -
 Cricut Heavy Chipboard - 11”x11” - 5 Sheets - Brown


