See how I use Cricut’s BrightPad to make my crafting life a little brighter. See why this is the best crafting light pad on the market.
I’m so excited to share this new tool I’ve added to my Cricut accessories arsenal. It’s a game changer. I’m going to share just one project here with you today about a more traditional way to use the BrightPad but stay tuned because I’ve got an amazing project on the way you’re not going to expect.
What is a BrightPad?
The BrightPad is super lightweight, making it super portable. Don’t be worried about packing it with you though because it’s very durable. There are 5 brightness settings, about 400, 1300, 2200, 3100, and 4000 lumens. I really like this feature because sometimes I need a LOT of light and sometimes I really just need a tad extra light so I can adjust to the needs of my project.
The full area of the lit surface is 9×11.5″ and it has the base has little grippers so it won’t move around on you. It does need to be plugged in as there is no battery BUT the cable is 6ft so you can pretty much use it anywhere, and I do.
Anyway, enough with all of the stats and details, let’s see it in action.
I really wanted to show you a project that you could not do without this tool. It’s super intricate so a crafting light pad is a MUST.
I designed a cut file for you right here. It is a floral USA cutout!
What I used for my Crafting Light Pad Project
- Cricut BrightPad
- Everyday Iron on in White
- Steele Cardstock Sampler
- EasyPress 2 in 9×9″
- Cricut Maker
- Weeding Tool
- Standard Grip and Light Grip Mat
- This cut file
The first thing you will do is cut out your file. I opted to do iron on instead of permanent premium vinyl, why? I find it much easier to weed and apply! It’s basically like built in transfer tape. The only tricky thing with doing this method is that you have to mirror for iron on.
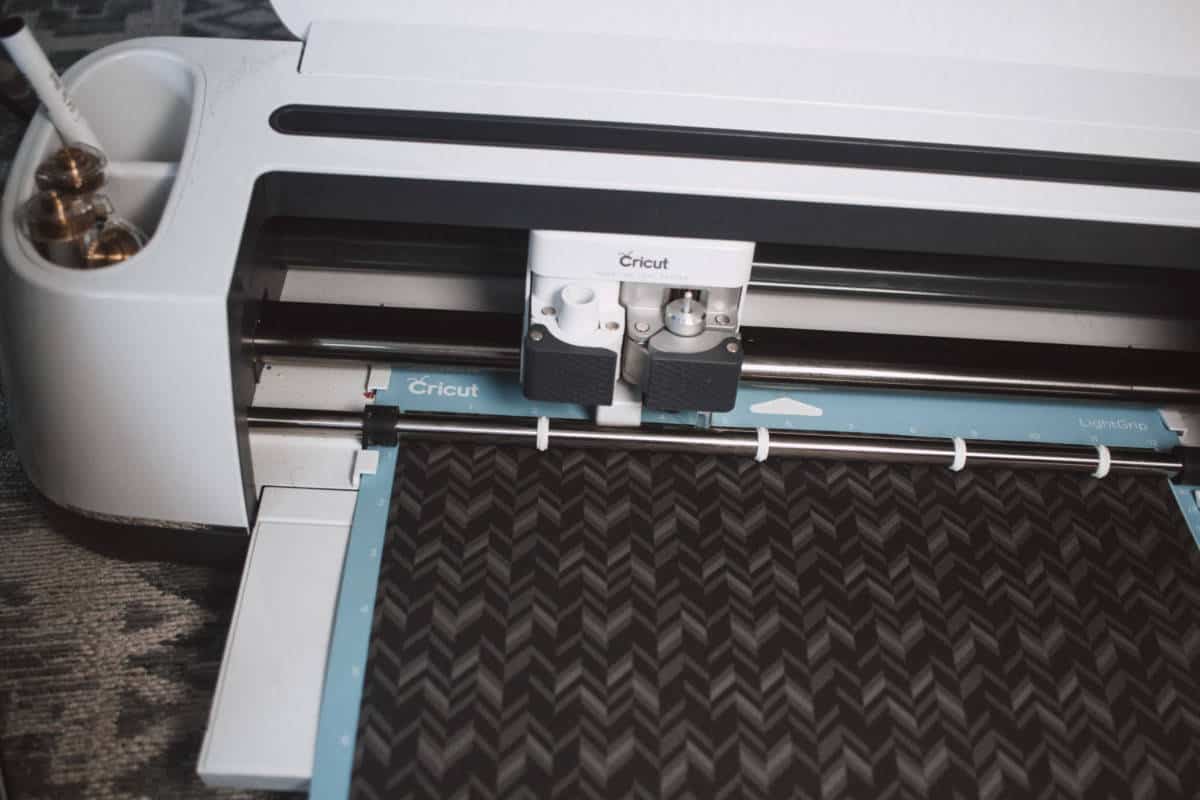
I also cut out the background and out of the deluxe paper using a neat chevron pattern from the Steele Deluxe Paper Sampler.
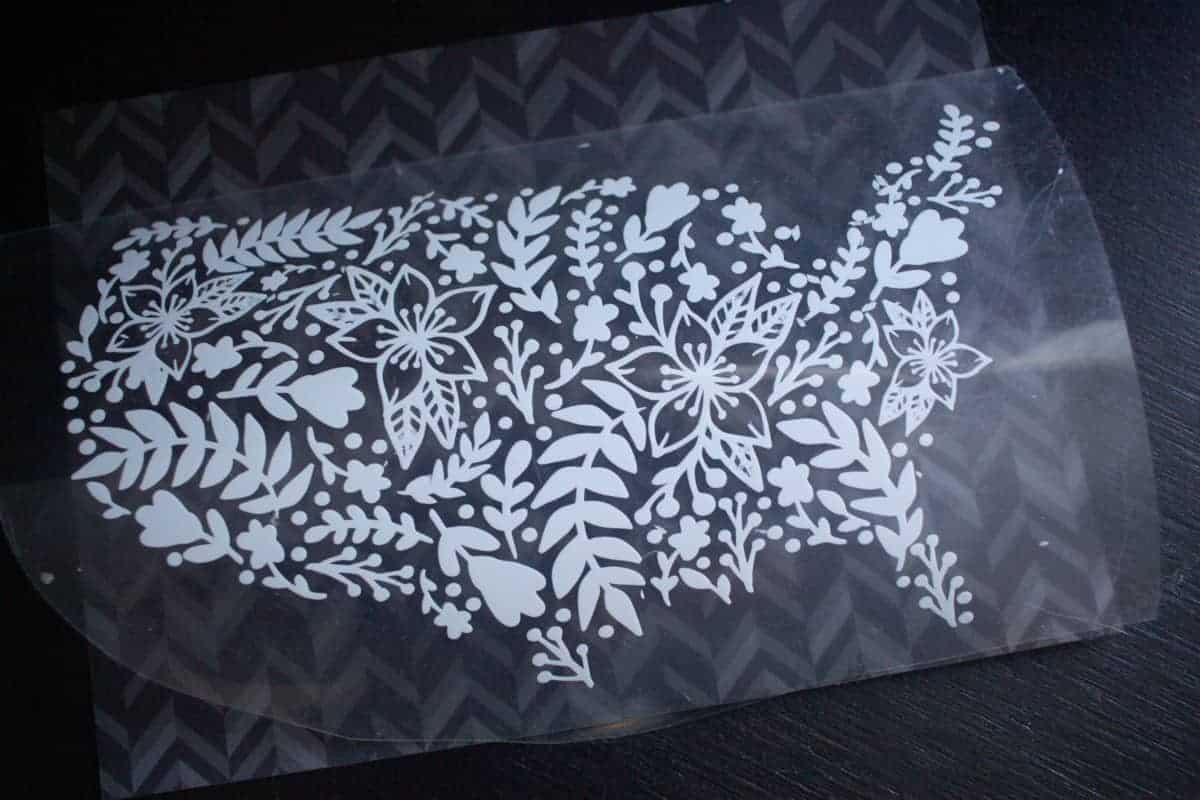
Now you will weed your floral image. I started by removing the outer edge of the design.
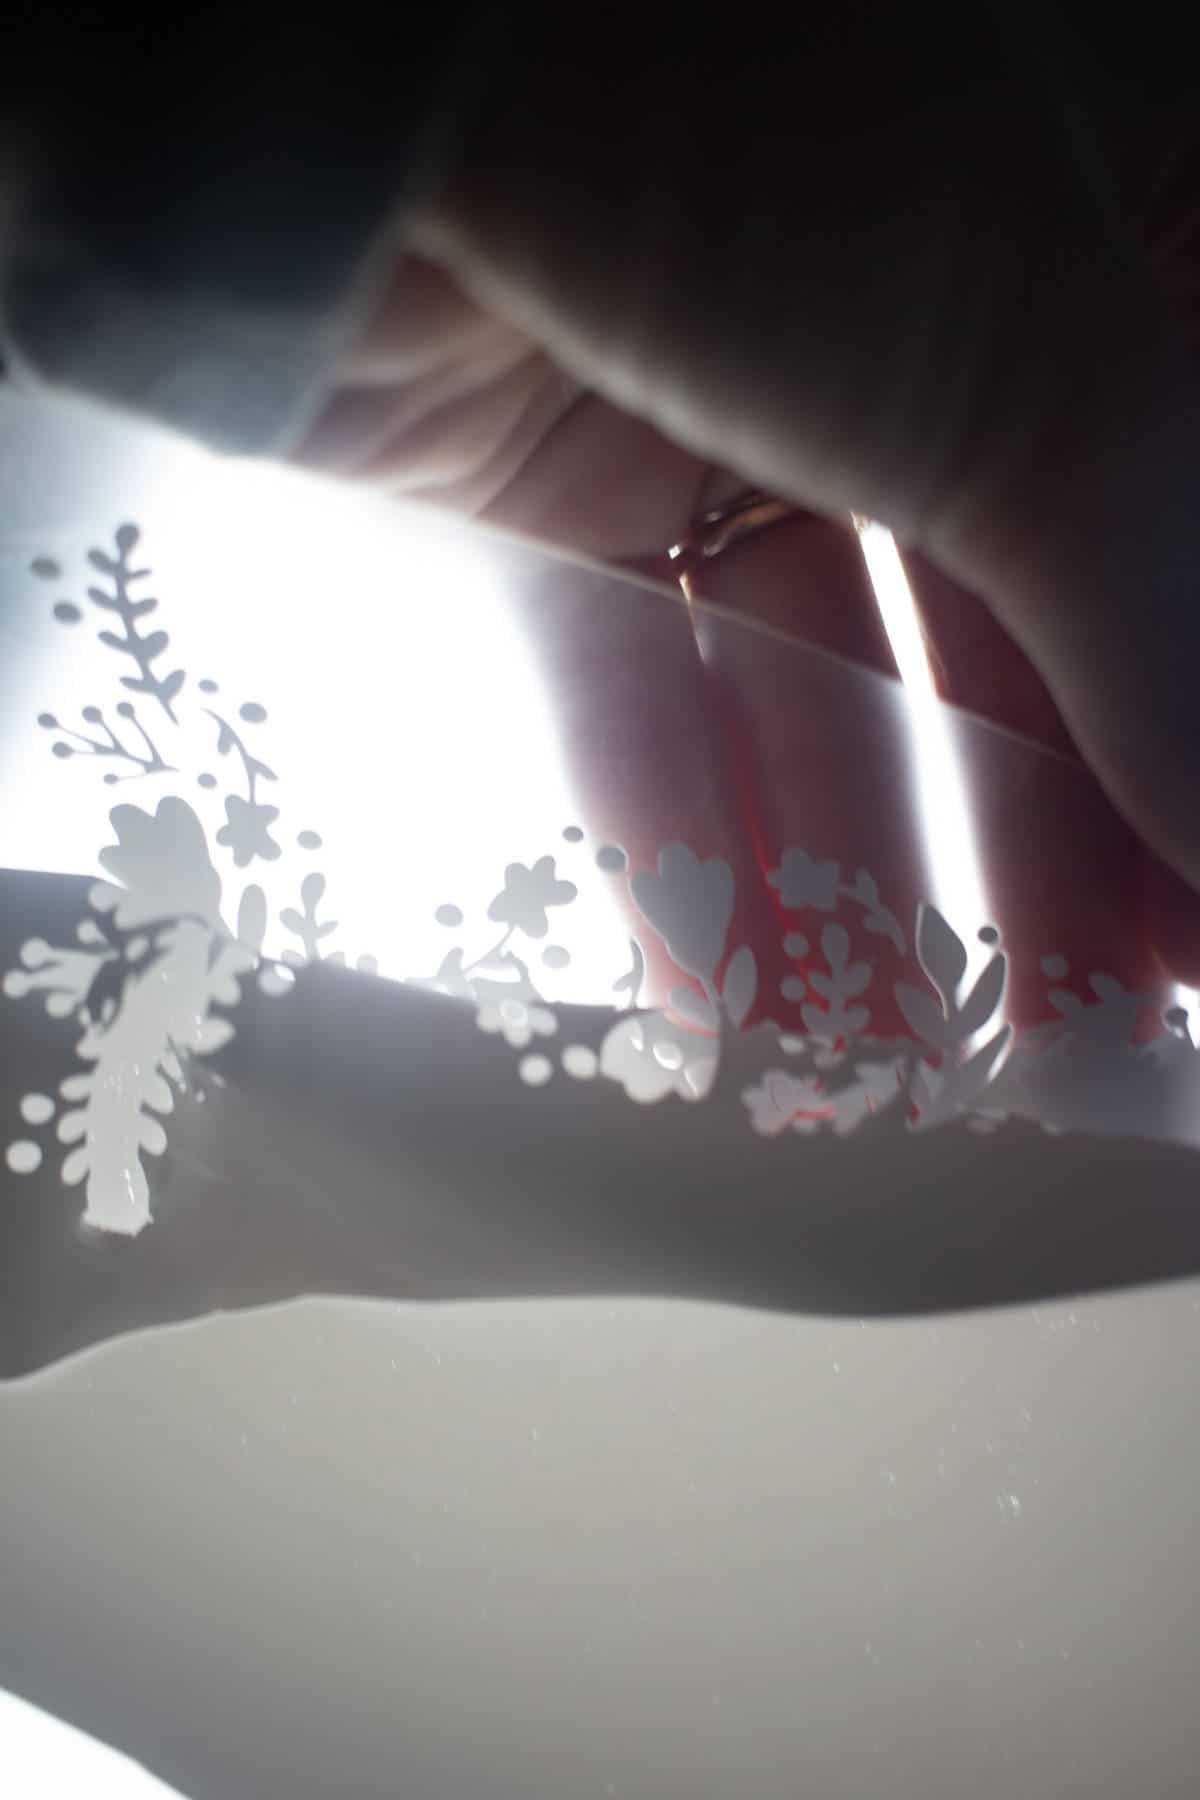
I needed the BrightPad for that part, but this next part is where you will see exactly how integral this crafting light pad really is.

Use the lit surface to find the negative space and gently weed it away.
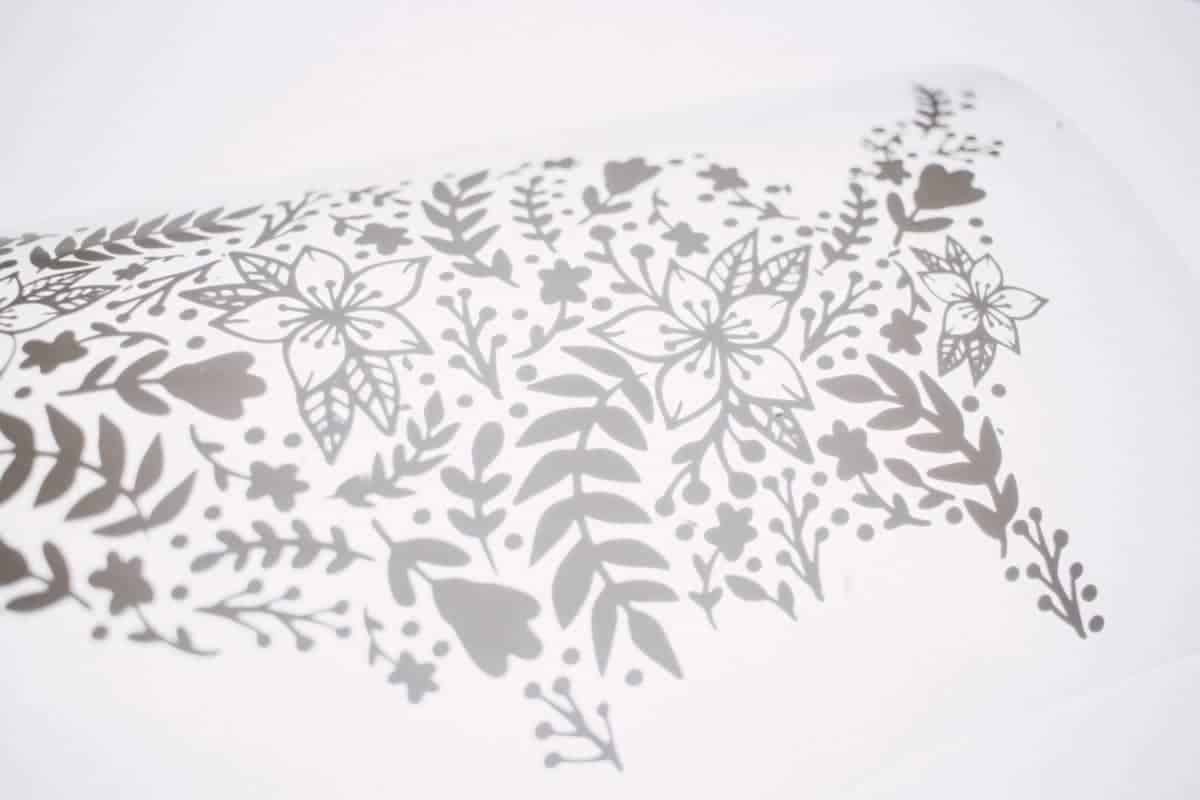
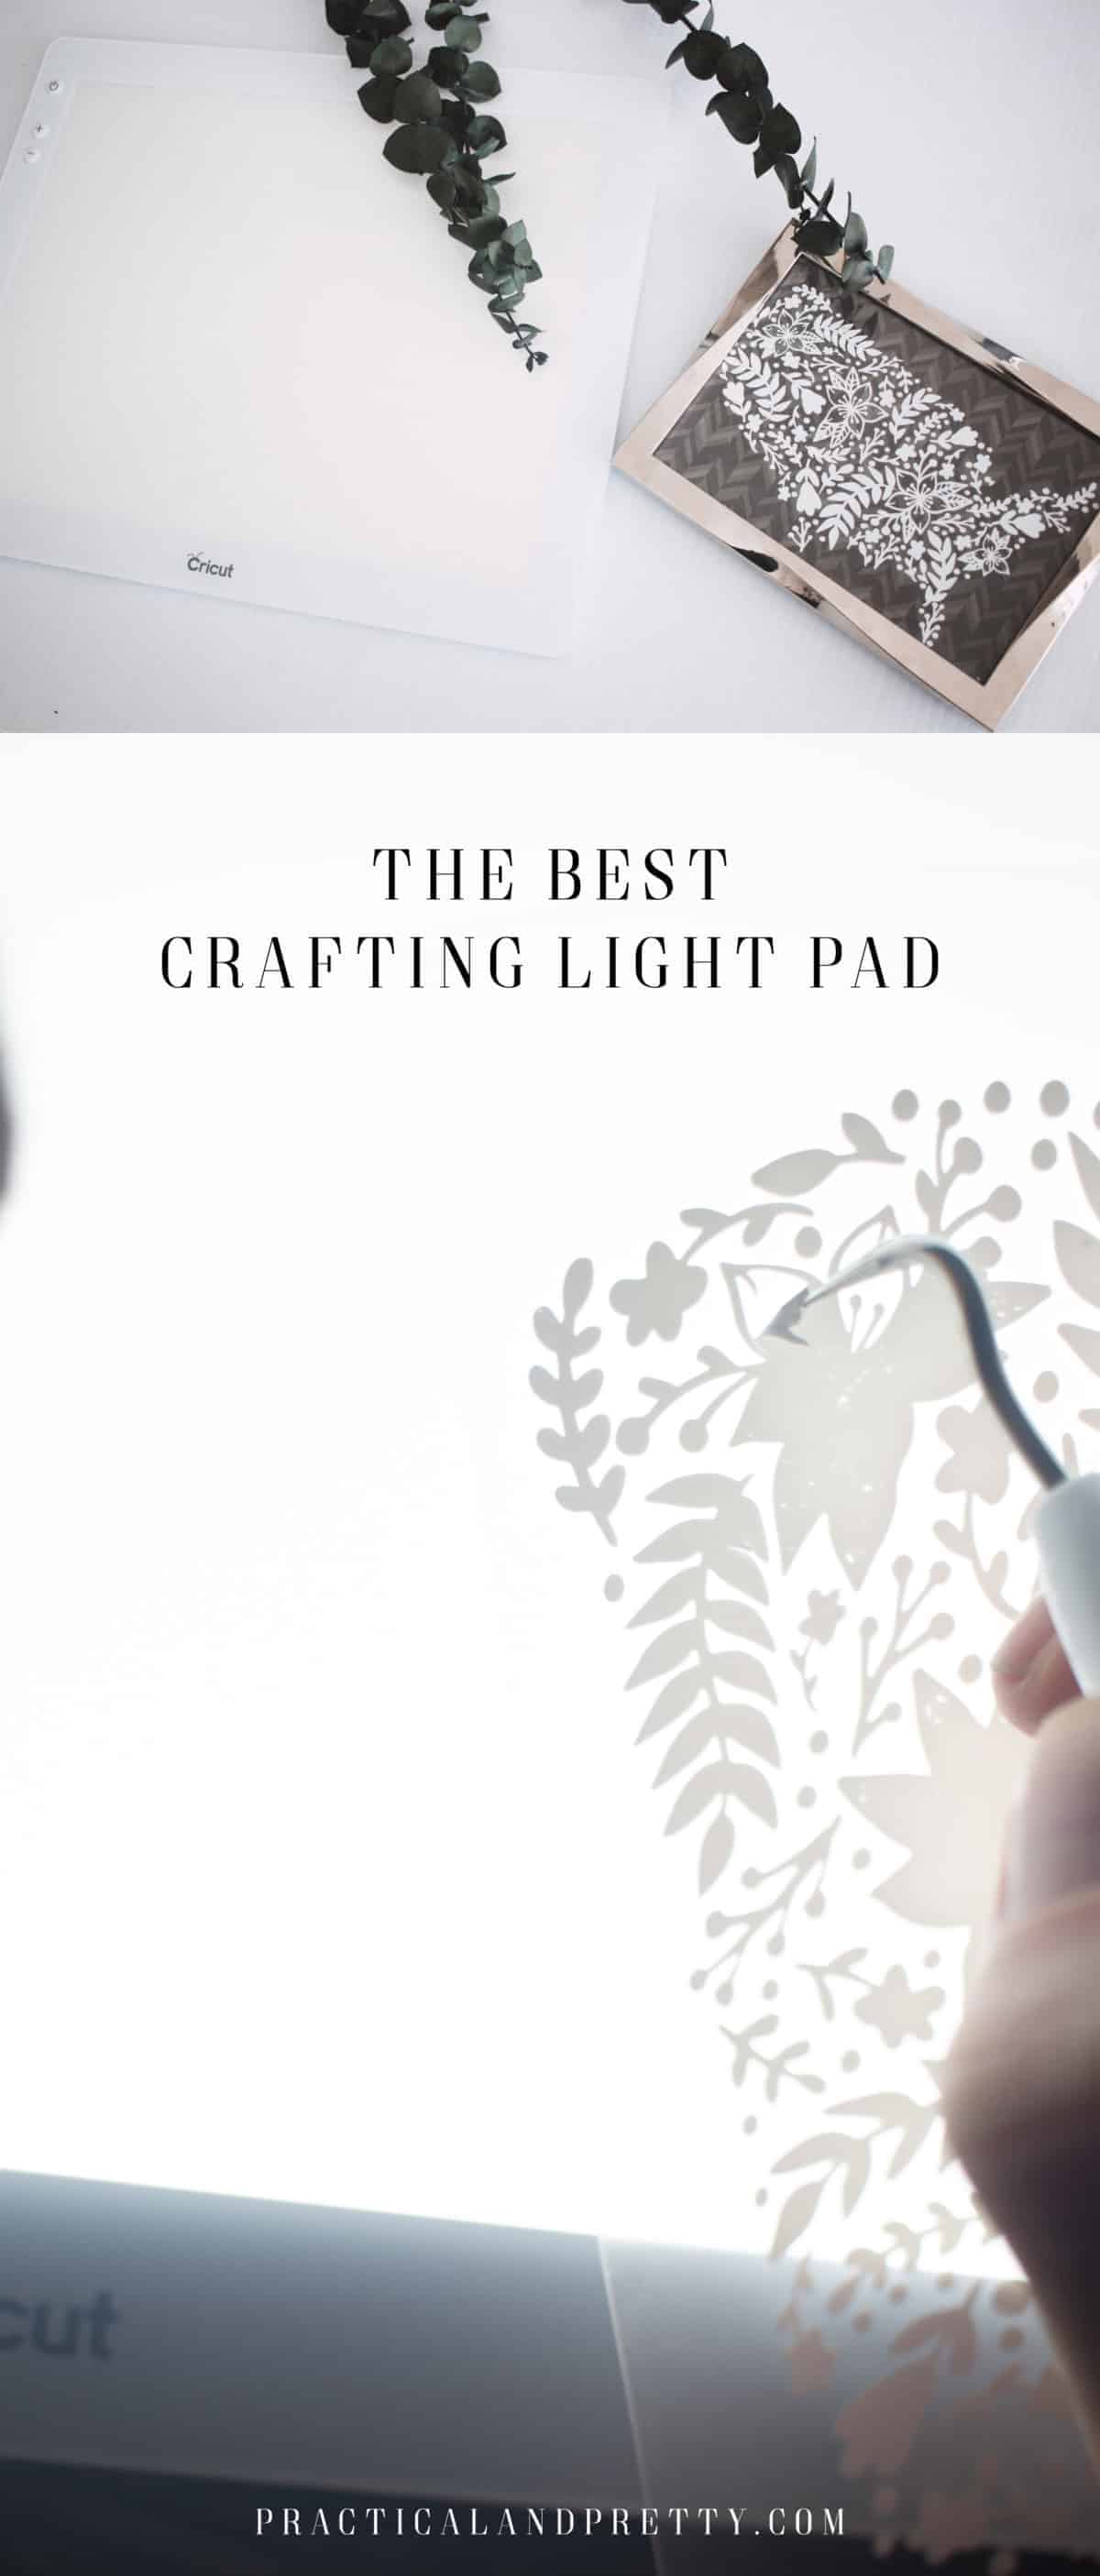
Here is what your final design will look like. Place this where you’d like it to go on your deluxe paper you cut earlier.
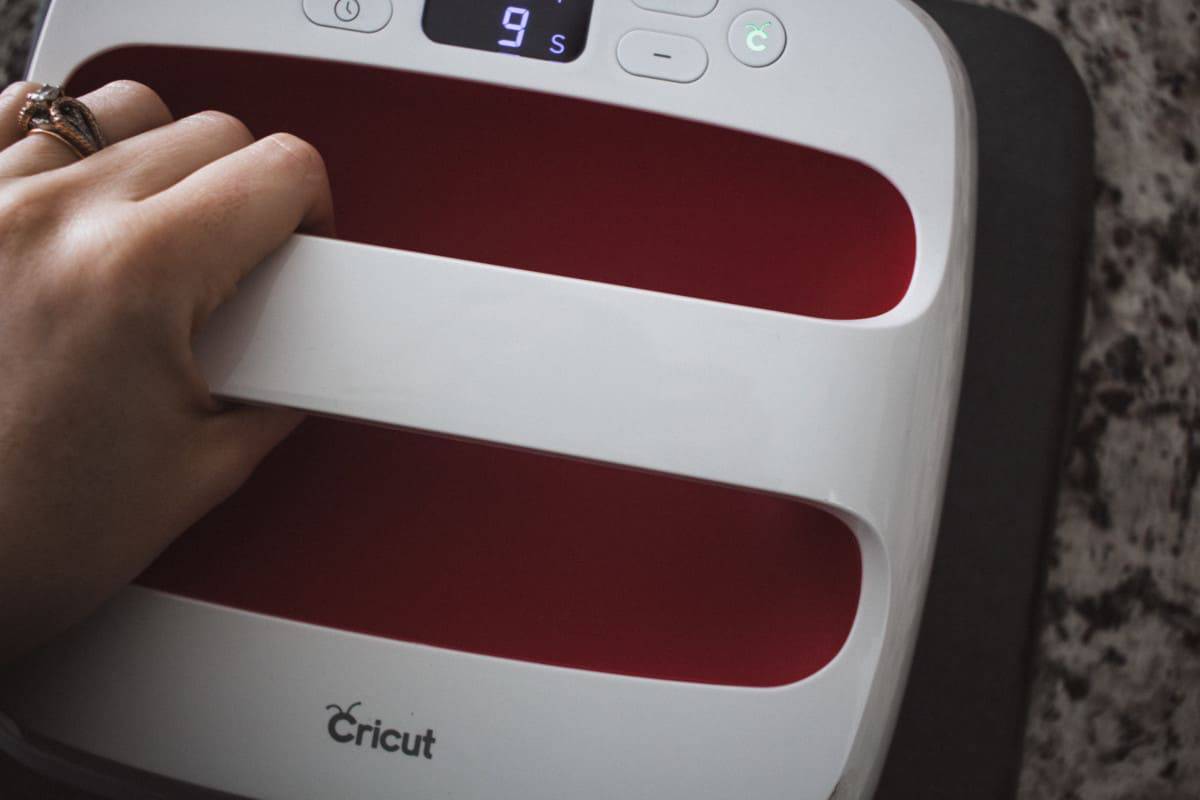
Heat your EasyPress 2 to 250 and press for 30 seconds.
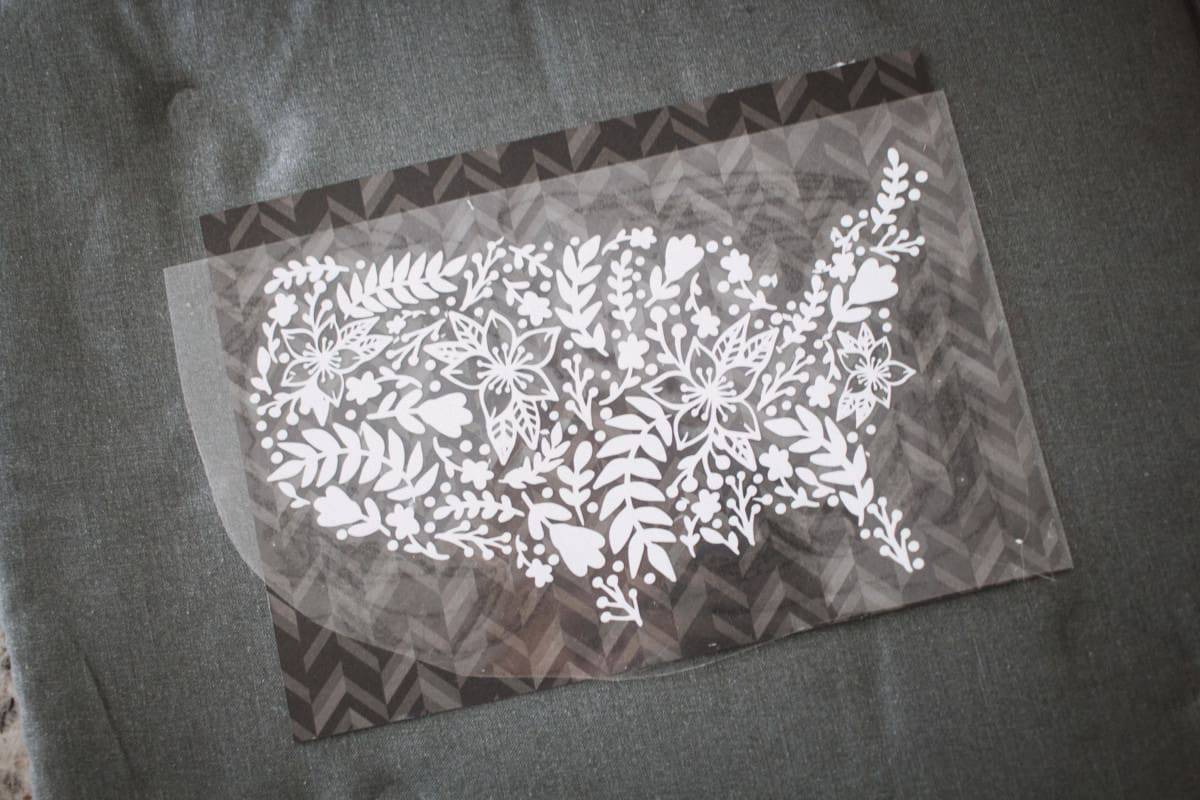
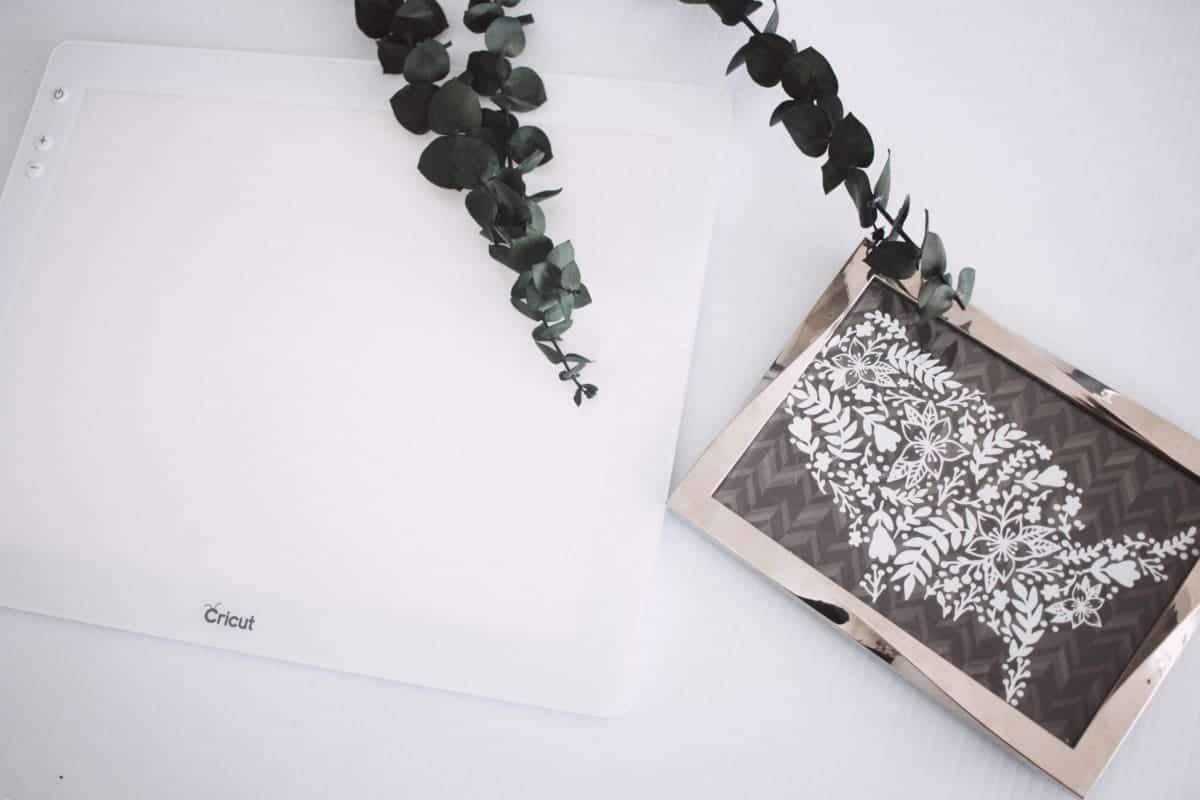
Remove the plastic slowly and frame it however you’d like! I formatted this for 5×7″ specifically for you!
This is a sponsored conversation written by me on behalf of Cricut. The opinions and text are all mine.
See how I use Cricut’s BrightPad to make my crafting life a little brighter. See why this is the best crafting light pad on the market.
I’m so excited to share this new tool I’ve added to my Cricut accessories arsenal. It’s a game changer. I’m going to share just one project here with you today about a more traditional way to use the BrightPad but stay tuned because I’ve got an amazing project on the way you’re not going to expect.
What is a BrightPad?
The BrightPad is super lightweight, making it super portable. Don’t be worried about packing it with you though because it’s very durable. There are 5 brightness settings, about 400, 1300, 2200, 3100, and 4000 lumens. I really like this feature because sometimes I need a LOT of light and sometimes I really just need a tad extra light so I can adjust to the needs of my project.
The full area of the lit surface is 9×11.5″ and it has the base has little grippers so it won’t move around on you. It does need to be plugged in as there is no battery BUT the cable is 6ft so you can pretty much use it anywhere, and I do.
Anyway, enough with all of the stats and details, let’s see it in action.
I really wanted to show you a project that you could not do without this tool. It’s super intricate so a crafting light pad is a MUST.
I designed a cut file for you right here. It is a floral USA cutout!
What I used for my Crafting Light Pad Project
- Cricut BrightPad
- Everyday Iron on in White
- Steele Cardstock Sampler
- EasyPress 2 in 9×9″
- Cricut Maker
- Weeding Tool
- Standard Grip and Light Grip Mat
- This cut file
The first thing you will do is cut out your file. I opted to do iron on instead of permanent premium vinyl, why? I find it much easier to weed and apply! It’s basically like built in transfer tape. The only tricky thing with doing this method is that you have to mirror for iron on.
I also cut out the background and out of the deluxe paper using a neat chevron pattern from the Steele Deluxe Paper Sampler.
Now you will weed your floral image. I started by removing the outer edge of the design.
I needed the BrightPad for that part, but this next part is where you will see exactly how integral this crafting light pad really is.
Use the lit surface to find the negative space and gently weed it away.
Here is what your final design will look like. Place this where you’d like it to go on your deluxe paper you cut earlier.
Heat your EasyPress 2 to 250 and press for 30 seconds.
Remove the plastic slowly and frame it however you’d like! I formatted this for 5×7″ specifically for you!
This is a sponsored conversation written by me on behalf of Cricut. The opinions and text are all mine.


