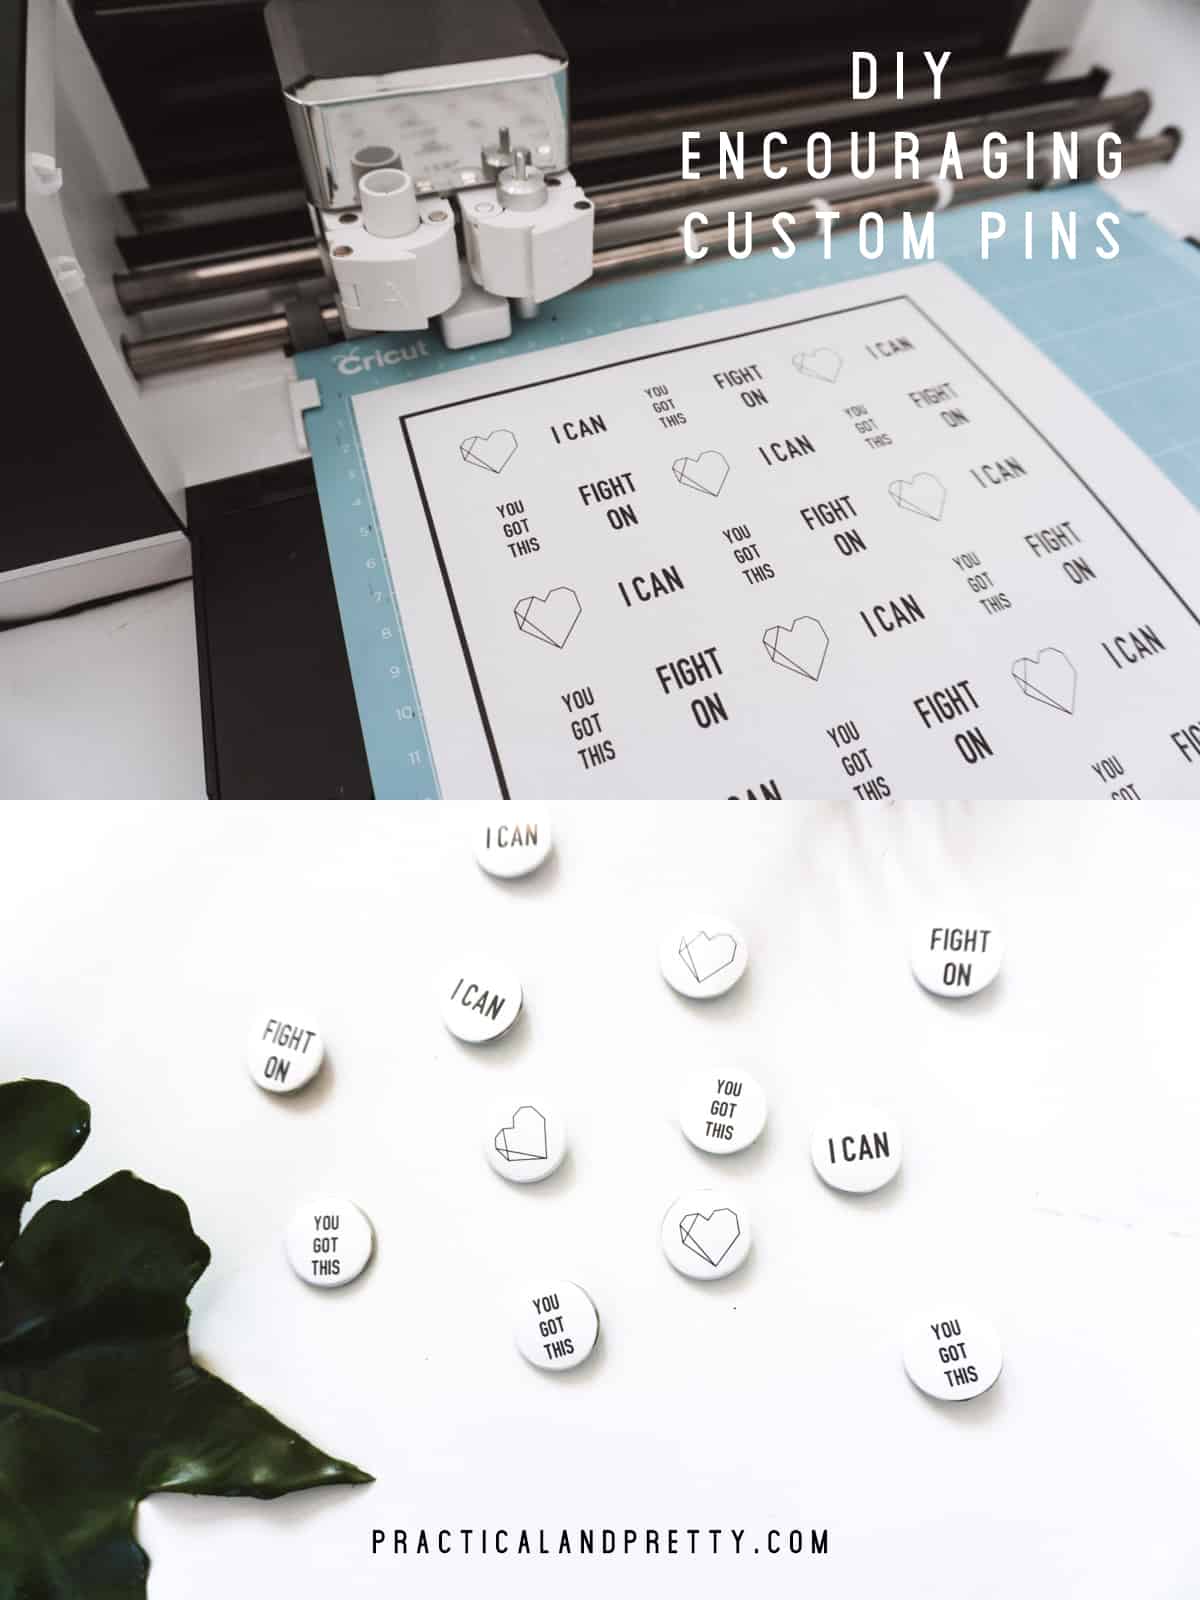
Spread kindness and encouragement with custom pin buttons. I have the free cut file for you here and then give you a tutorial of how to make the pins.
In this tutorial I’m going to show you how to make a custom pin of any kind. BUT I have also included a free cut file for you to make these specific pins. i wanted to make something I could easily share with random people on February 17th for Random Acts of Kindness Day!
Materials for Custom Pin Buttons
- Cardstock
- Light Grip Mat
- Button Maker (This button maker comes with all parts you need to make the buttons)
- Button Parts
- Explore Air 2
- Cut File
If you don’t have a Cricut, I have the file for you here and you can use a 1″ circle punch to cut the circles.
Open up the cut file and load it onto your light grip mat. The border around this print is so that your Explore Air can identify where to cut each circle so every button is centered. If you were curious! You will watch your Cricut start by looking for this border using a blue/white light.
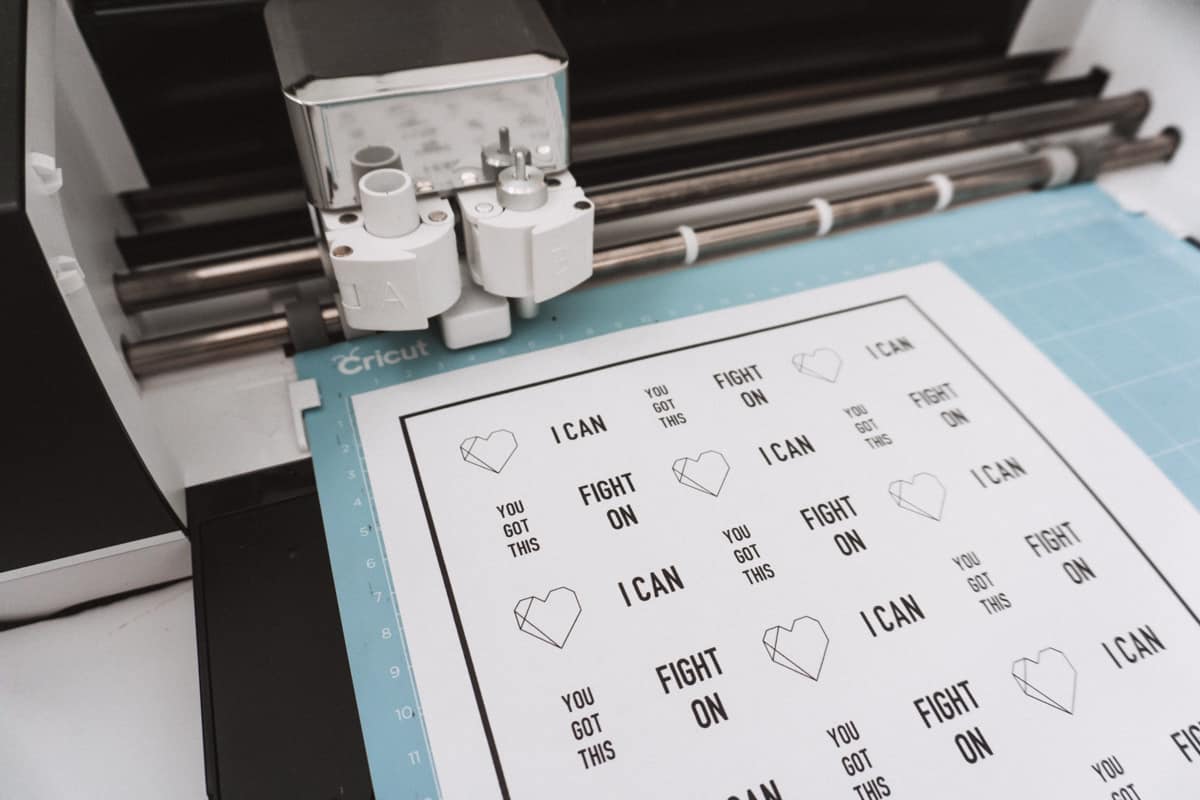
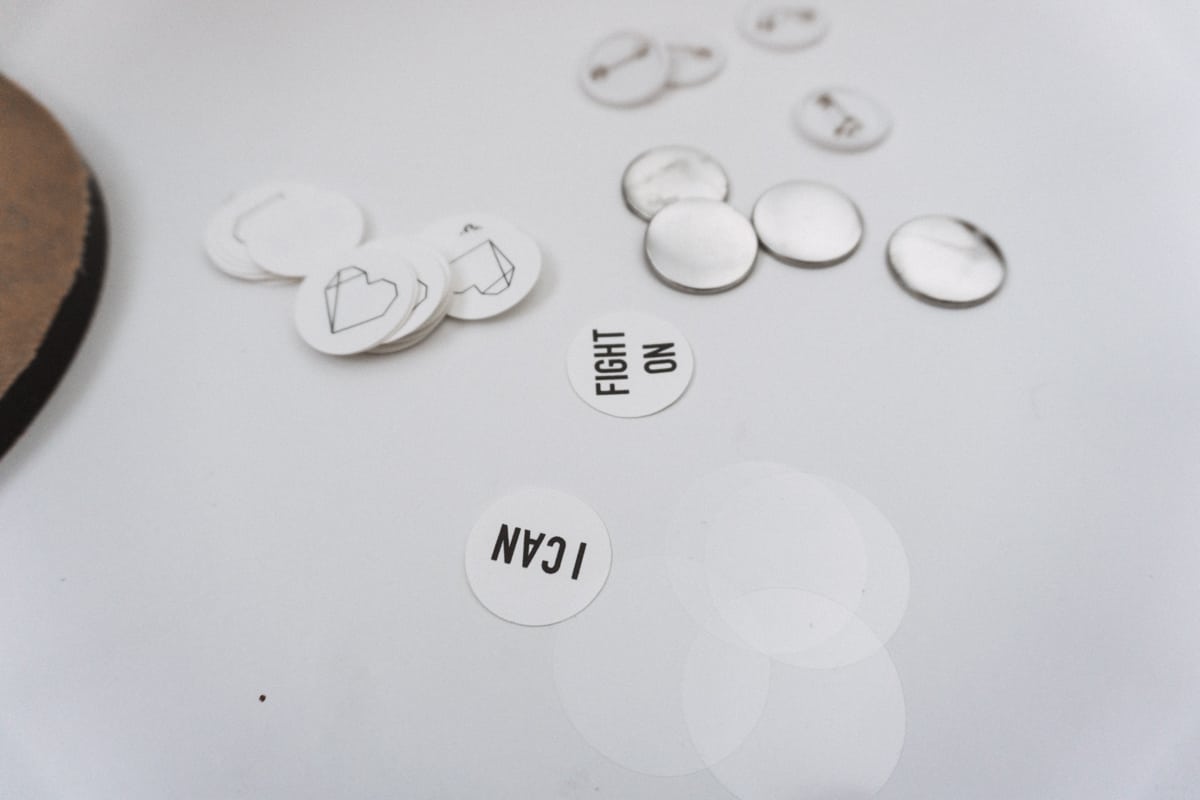
Carefully remover each circle from the mat to begin making your button. If you would prefer to use regular paper it won’t affect the look of the end product but the cardstock is so much easier to work with because it doesn’t curl or fold as easily.
If you have never made a button before I will outline each step here and if you are curious or more visual will show you the step by step photos below coordinating with each step.
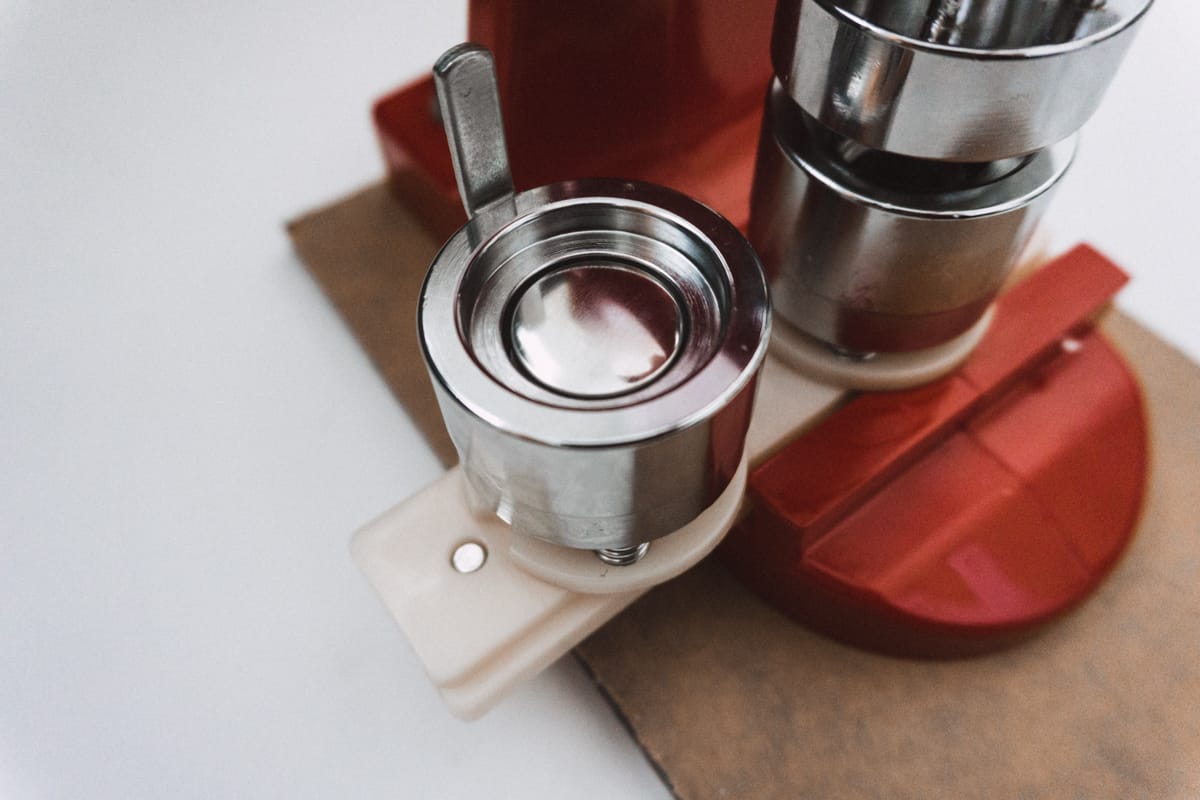
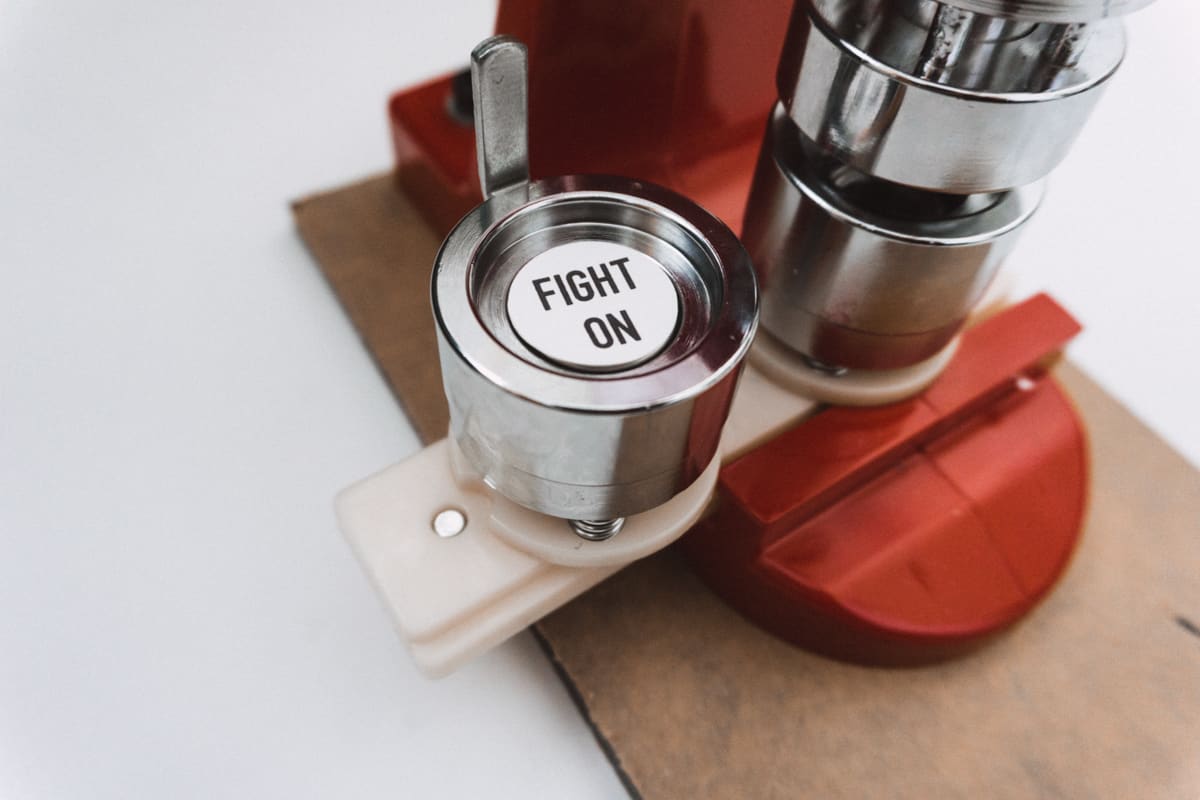
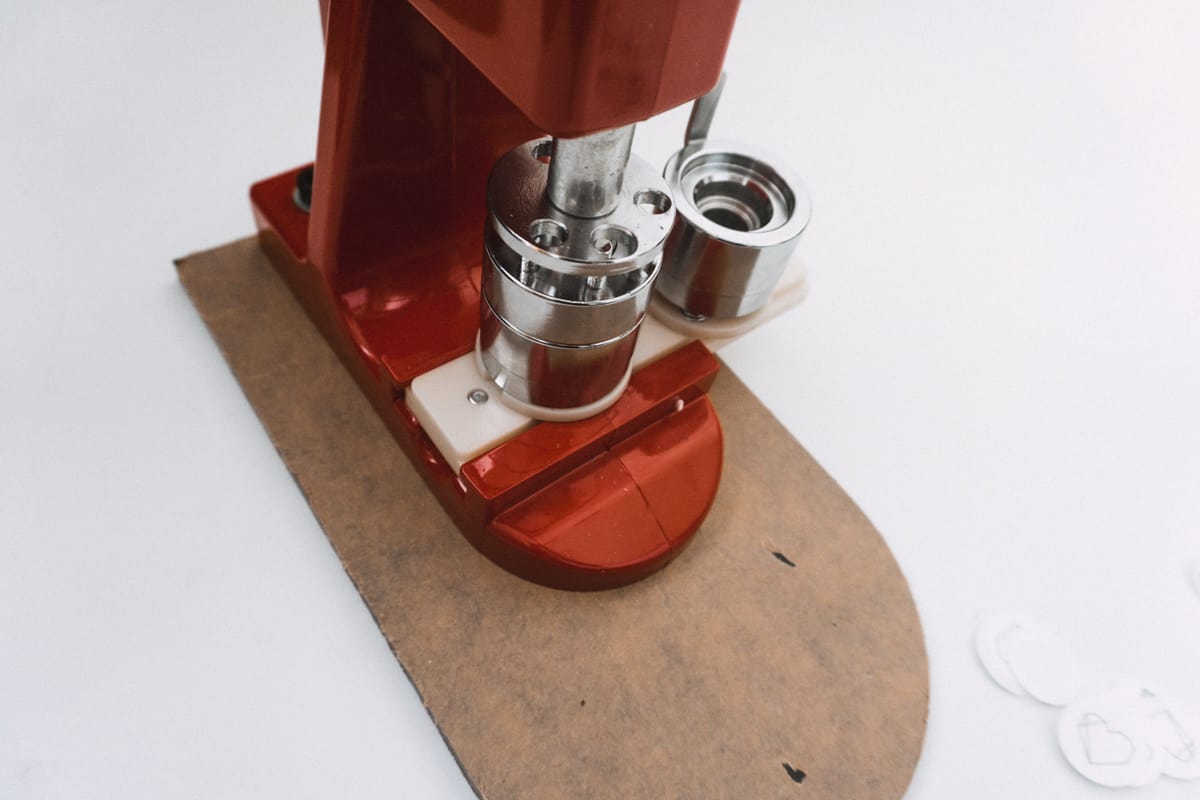
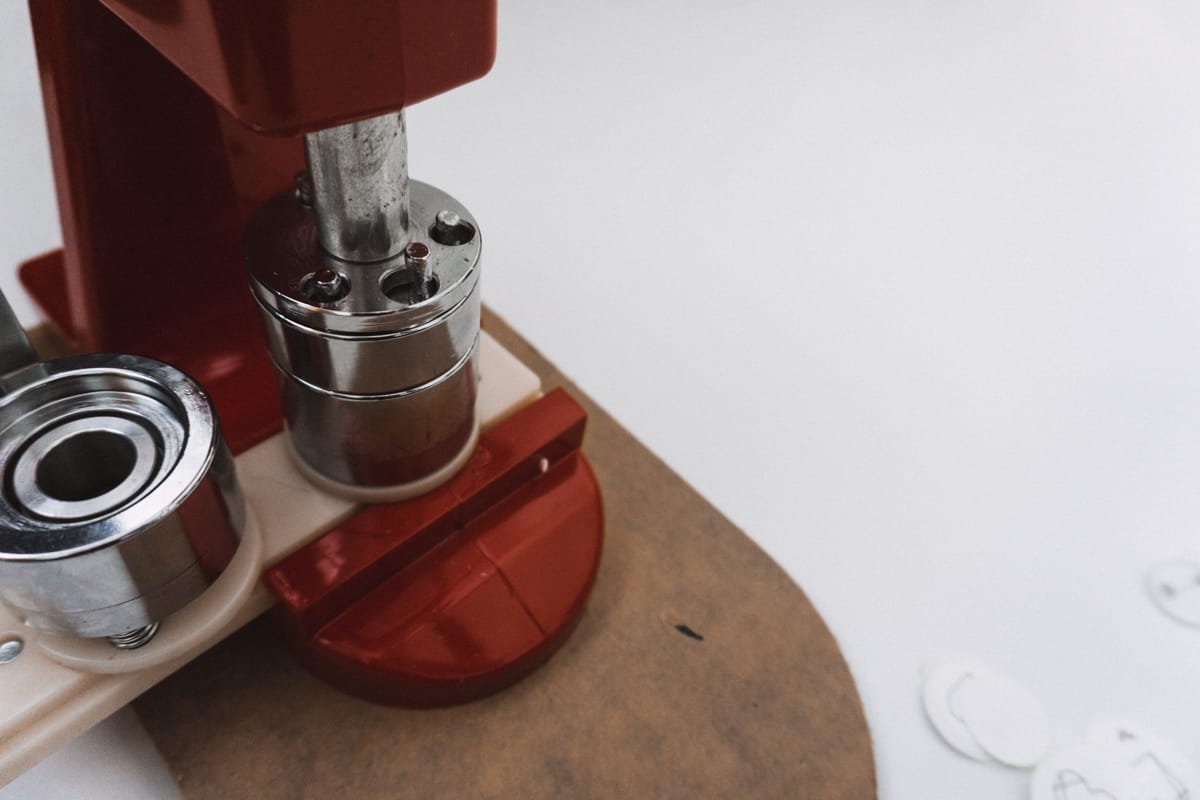
- On the left plate of your button maker you will load the pieces in this order. Silver piece, then the printed circle, then the plastic film
- Slide the plate to the right and push down on the handle.
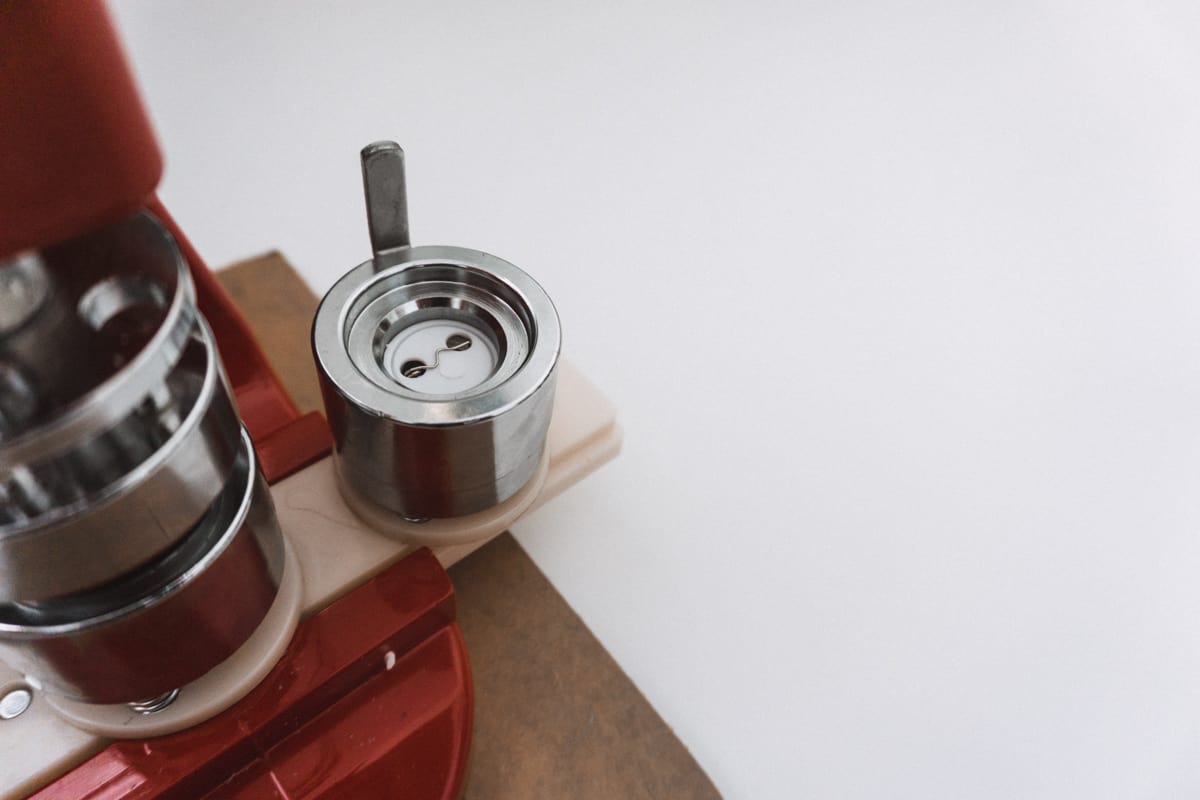
- Load the white, backer piece into the right plate.
- Slide it to the left and press the lever down as hard as you can.
Then you are all done! I suggest placing all pieces where you’d like them on the final button. You can’t really turn or shift the individual pieces at the end. So if you want them to appear straight, place them in the plates straight.
These turned out so cute and are quick to throw together to spread a LOT of kindness!

If you’re looking for other ideas to spread kindness whether it’s for random acts of kindness day or beyond, I’ve got a big list coming up for you!


