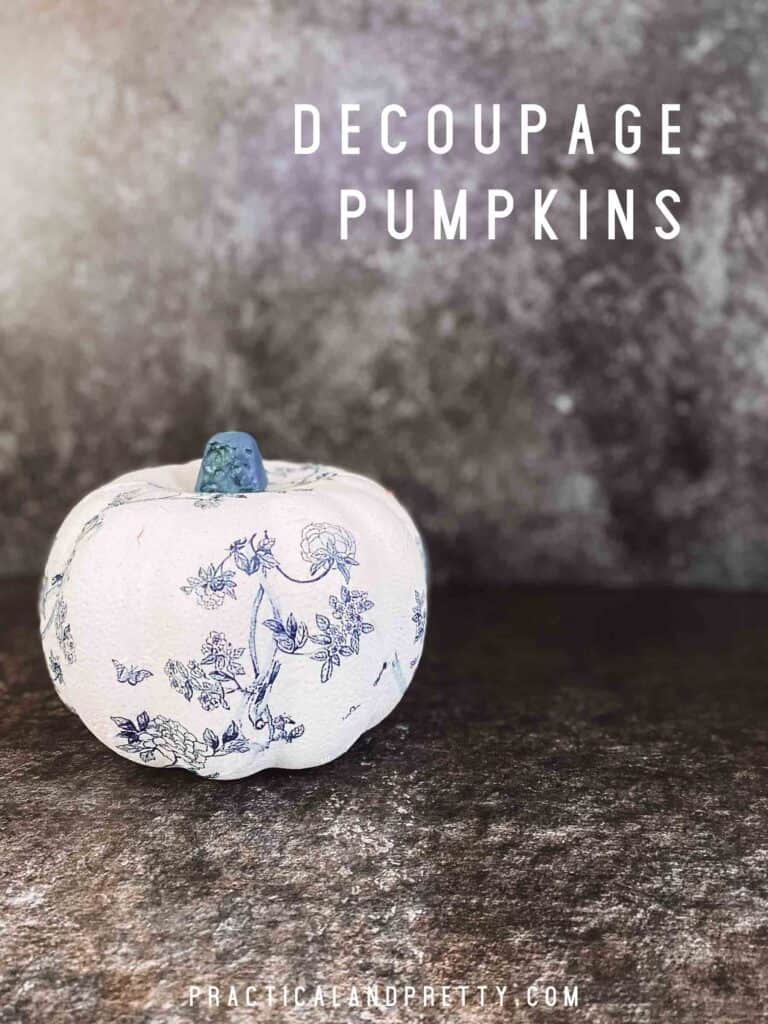
Want an easy, budget-friendly fall craft? Learn how to make decoupage pumpkins with napkins—the perfect DIY project to create elegant, spooky, or whimsical autumn décor.
If you love DIY projects and Halloween crafts as much as I do, this simple decoupage tutorial is a must-try. Whether your style is farmhouse, minimalist, or full-on spooky, these pumpkins can match any vibe. If you’re looking for more seasonal inspiration, don’t miss my Halloween tie-dye ideas or my DIY Coco Guitar project.
Why You’ll Love These Decoupage Pumpkins
These pumpkins are:
- Beginner-friendly—no special tools required.
- Customizable—choose any napkin print or color palette.
- Reusable décor—perfect for Halloween, Thanksgiving, or all-season neutral fall decorating.
Supplies You’ll Need
- Foam or craft pumpkins (white works best)
- Pretty paper napkins of your choice
- Mod Podge (matte or glossy)
- Small paintbrush or foam brush
- Scissors
How to Decoupage Pumpkins with Napkins (Step-by-Step)
1. Prepare your pumpkin: Wipe it clean and dry completely.
2. Separate napkin layers: Most napkins are 2–3 ply. Carefully peel off the plain backing, leaving only the printed top layer.
3. Apply Mod Podge: Brush a thin layer over a small section of the pumpkin.
4. Press and smooth: Lay the napkin piece on the wet Mod Podge, gently smoothing wrinkles with your fingers or brush.
5. Seal the surface: Once dry, brush a light coat of Mod Podge over the entire pumpkin to protect and give it a finished look.
That’s it! Allow to dry for a few hours before displaying.
Napkin Patterns I Love
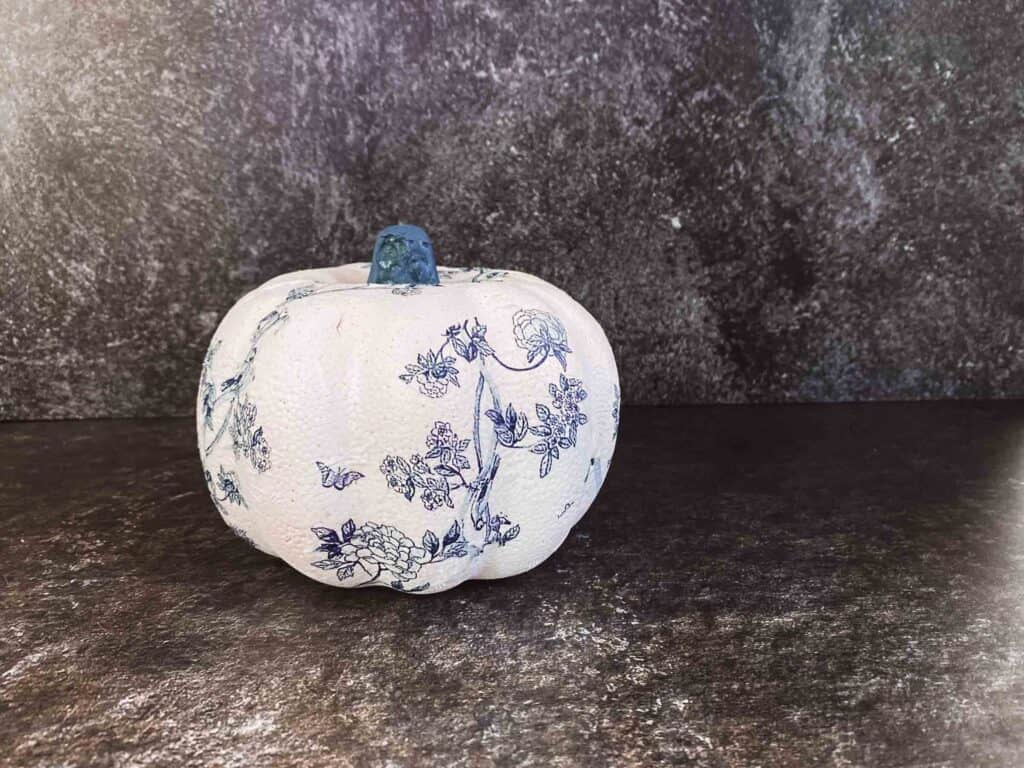
I picked neutral napkins for a soft fall vibe, but you can go bold and spooky too. Here are some of my favorites (affiliate links):
- Fall Leaves
- Minimalist Fall Watercolor
- Decorative Day of the Dead
- Cutsie Halloween
- Orange Spiderwebs
- Cute Day of the Dead
- Coco Day of the Dead
- Polkadots
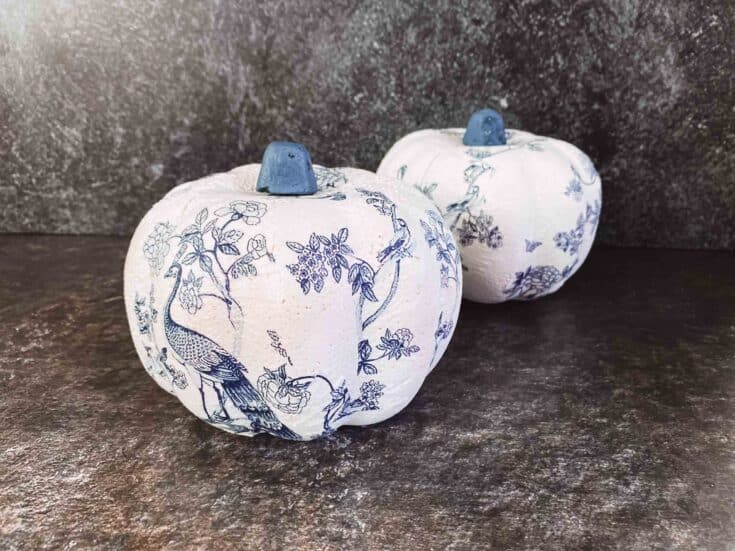
Decoupage with Napkins Pumpkin DIY
Decoupage with napkins is so simple and you can make these pumpkins as fancy, spooky or cute as your heart desires.
Materials
- Decorative Napkins
- Pumpkin (Mine is from the dollar store!)
- Spray paint
- Modpodge
Tools
- Foam brush
Instructions
- Begin by spray painting your pumpkins if your base is a different color than your napkin.
- Cut your napkin into smaller, more manageable pieces.
- Paint a thin layer of mod podge on your pumpkin where you'd like the napkin piece to lay.
- Carefully place the napkin on the sticky area of the pumpkin and use your fingers to gently lay it flat.
- Place another thin layer of mod podge on top of the napkin by starting at the center and gently brushing to the edges so the napkin doesn't crumple or rip.
FAQs About Decoupaging with Napkins
Absolutely! Just work gently so the thin paper doesn’t tear. A foam brush helps keep things smooth.
Yes! You don’t need special “decoupage napkins.” Any pattern you love can work, from fancy florals to Halloween skeletons.
Amazon is my favorite source (see links above), but you can also find unique prints at craft stores, party supply shops, or even the dollar store.