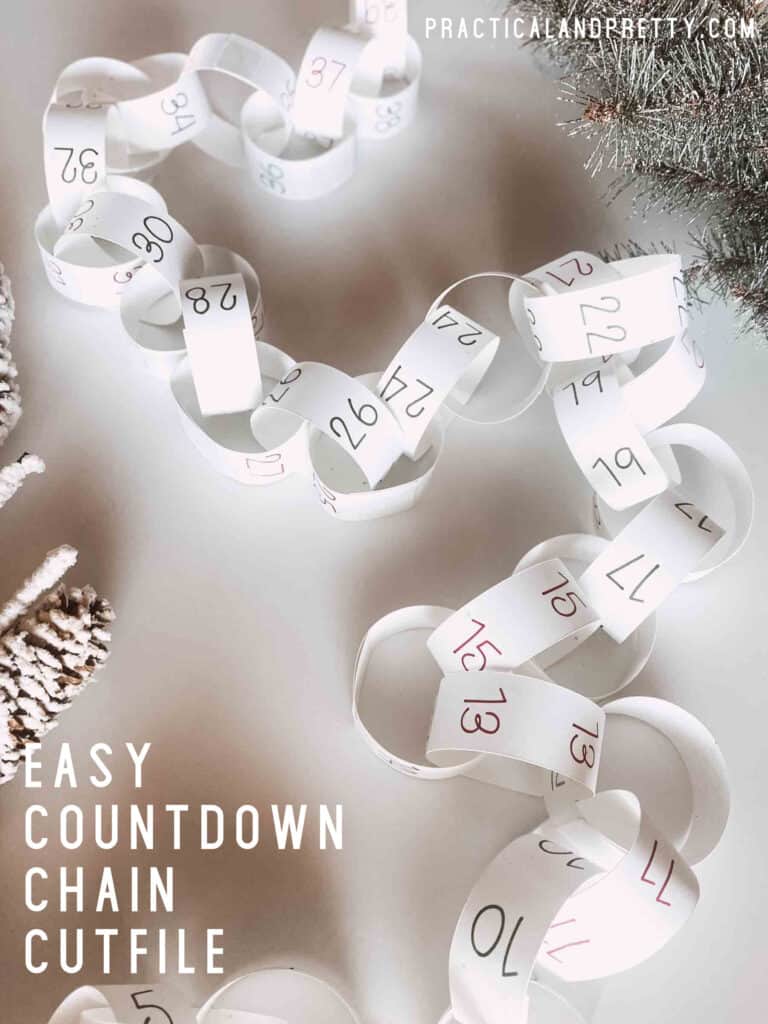
Looking for a fun way to mark the days until something exciting? A paper chain countdown is a simple, kid-friendly DIY that works for Christmas, birthdays, vacations, or any special occasion. This project is so easy (and reusable!) that you’ll want to make one for every celebration.
I feel a little silly making this post because it seems so simple, but this is something we are going to use multiple times a year and I figure some of you may benefit as well.
We countdown to everything. Birthdays, vacations, holidays, you name it. I got tired of cutting little strips of paper and decided “I’m going to make my Cricut do this”. I created this cut file so you can use it for any occasion, but it’s currently set to have two types of pens (I did red and green). You can also always add and delete strips as you wish. You’ll see I currently have 39.
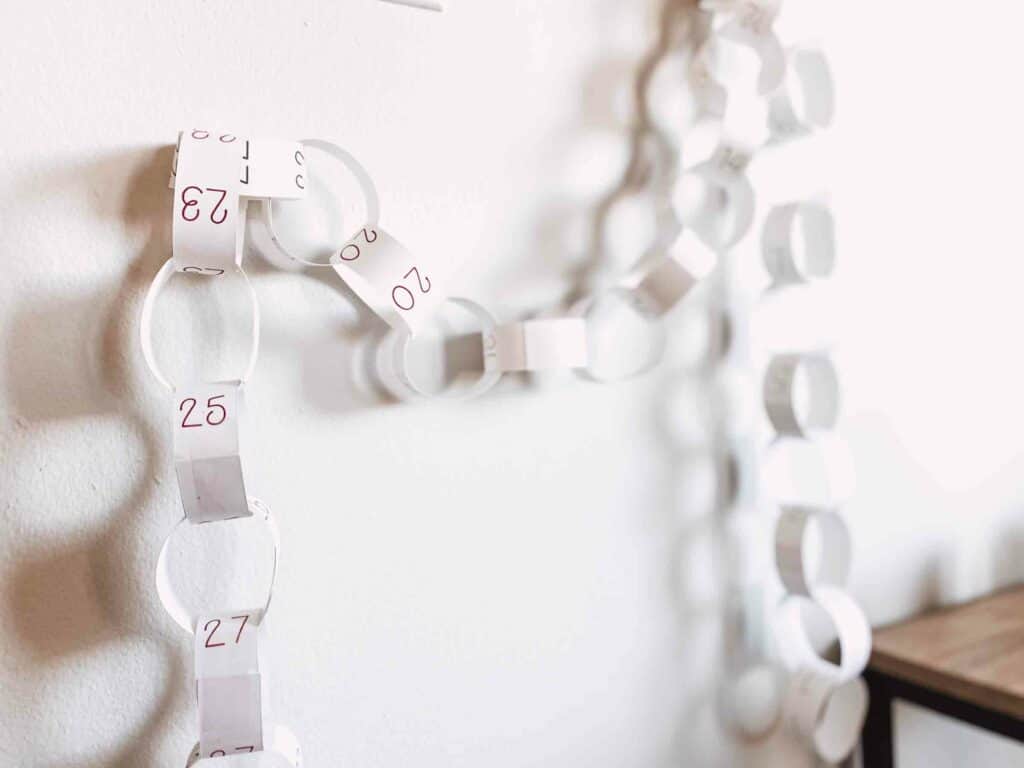
Having the numbers on the paper chain countdown has made it a lot of fun. When we miss a day or two, we can easily place where we should be on the countdown.
Watch the video to see the process if you prefer!
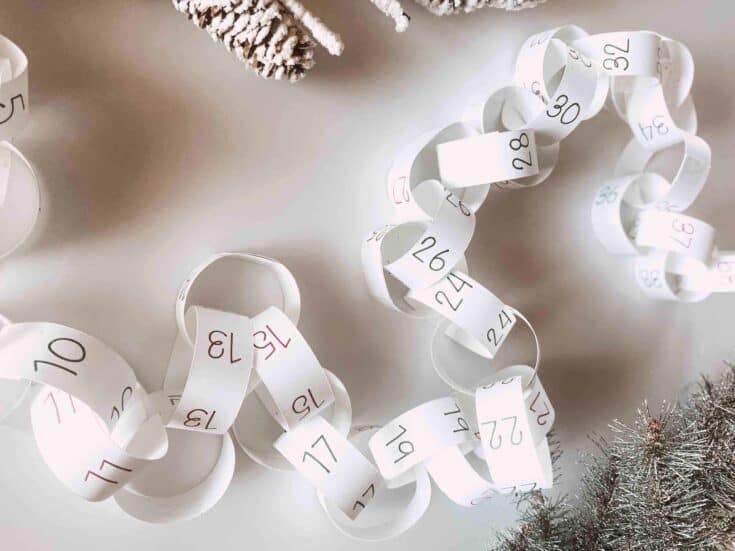
Paper Chain Countdown for Any Occasion
This countdown chain is perfect for every countdown occasion. Any anticipated event is more fun with a way to mark the days away.
Materials
- Cardstock
- Tape
- Cricut Pens
Tools
- Cricut
- Light grip mat
Instructions
- Open the file and customize it to your event.
- Follow the instructions on your Cricut Design Space to cut and draw the file.
- Remove the strips from the mat.
- Start by looping the number one strip and tape
into a circle. - Loop each additional number through the previous loop to create a chain.
- Enjoy the anticipation!
Recommended Products
As an Amazon Associate and member of other affiliate programs, I earn from qualifying purchases.
-
 Nicapa Light Grip Cutting Mat for Cricut Maker 3/Maker/Explore 3/Air 2/Air/One (12x12 inch,3 Mats) Light Adhesive Sticky Blue Quilting Replacement Cut Mats
 -
 Cricut Explore Air 2, Mint
 -
 Cricut Ultimate Fine Point Pen Set, 30 Pack, Assorted
 -
 Scotch Facet Design One-Handed Dispenser, with 3/4 x 350 Tape Roll, 1" Core, Copper (C17-CP)
 -
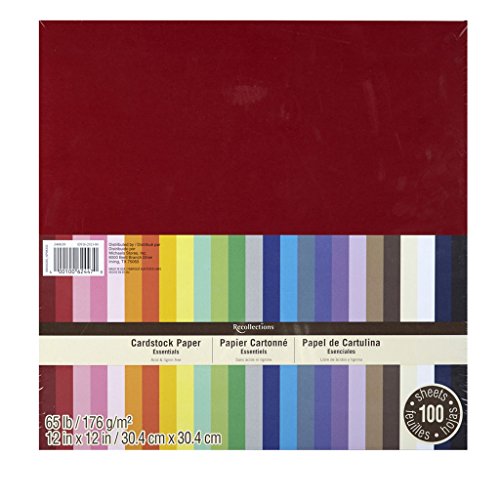 Recollections Essentials 12 inch x 12 inch 100 Sheets of Cardstock Paper
What is a paper chain countdown?
Countdown chains are a way to countdown to an event using a chain made out of paper. They can be used for counting down to any event and are super customizable.
How to Make a Paper Chain Countdown Step by Step
- Start by taping one strip of paper into a loop.
- Loop the next strip through the existing circle and tape that closed.
- Continue in this way for as long as you’d like your chain to be!
Christmas Paper Chain Countdown Idea
This paper chain is the perfect project for putting together a quick way to count down to Christmas. Just change the text color to green and red or even use green and red paper and a metallic marker!
More Occasions You Can Use a Paper Countdown Chain
Man when CAN’T you use a countdown paper chain?! Back to school, birthdays, vacations, retirement, someone fun coming into town. So many options.
It’s never too early to use a countdown chain. This cut file has 39 days but you can always go longer.
If you save your papers, you could easily restaple or retape your chain back together. Maybe you could even laminate it if you really don’t want to make another.
Cardstock! Regular paper is pretty flimsy and doesn’t hold up super well. Some people like to use that colored cardstock paper too and that works. This is just plain white cardstock.
Other DIY ideas to get your creative juices flowing