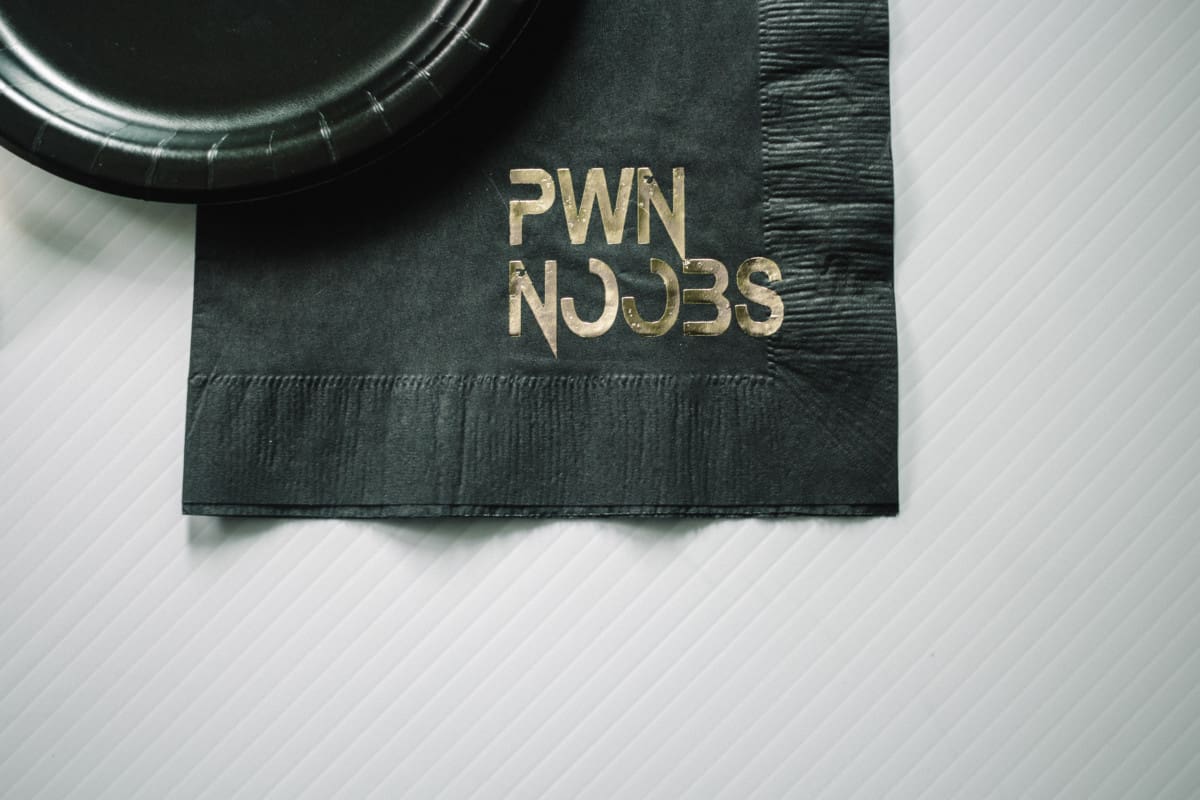
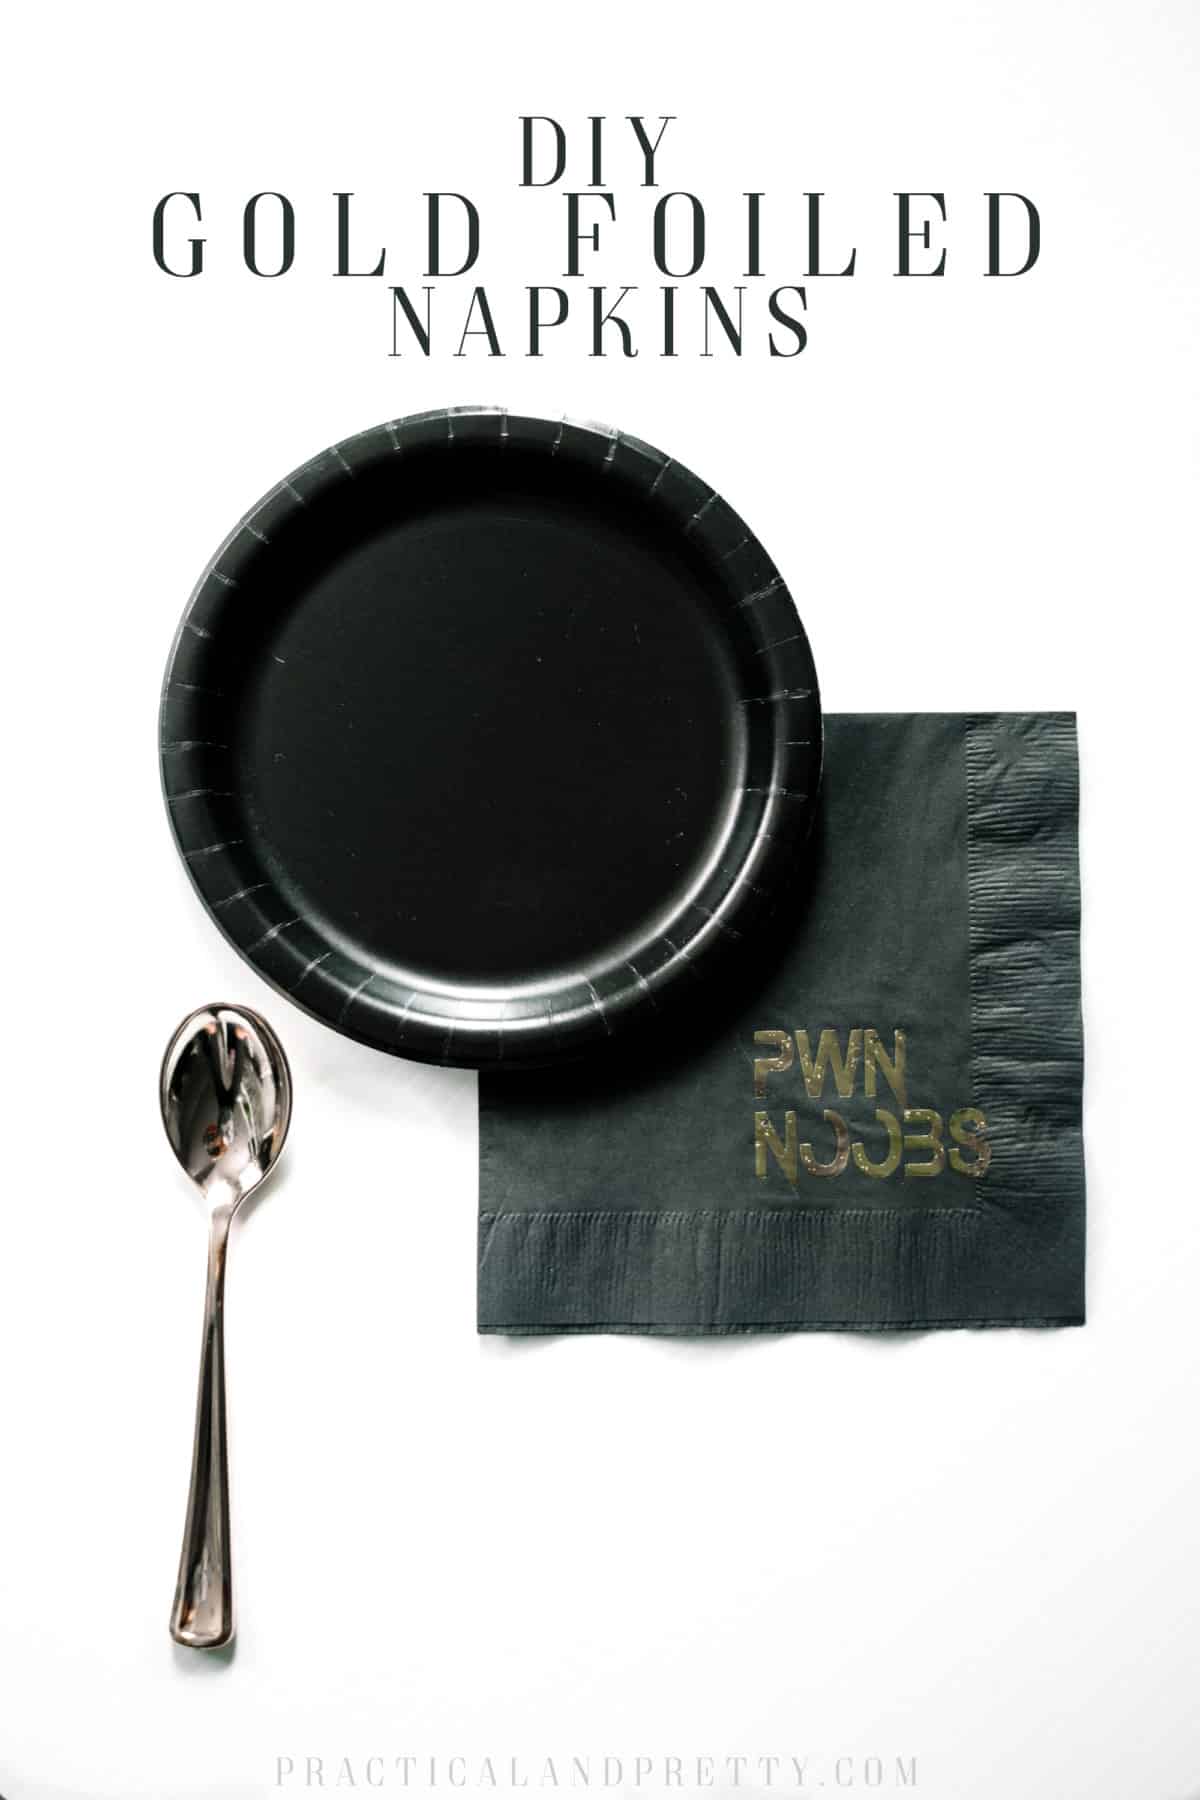
Gold foiled napkins with any custom message with this super simple tutorial for the fanciest or most casual occasion.
Did you know you can iron on napkins?! Because you can. I went to the Cricut Makeathon last July and learned this super fun trick so I wanted to share it with you too.
What you need for your DIY gold foiled napkins
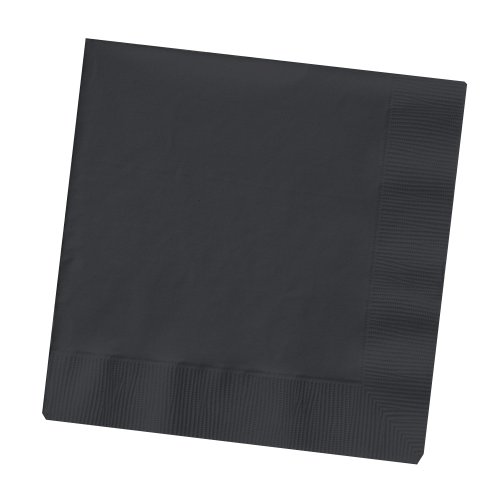
- Napkins
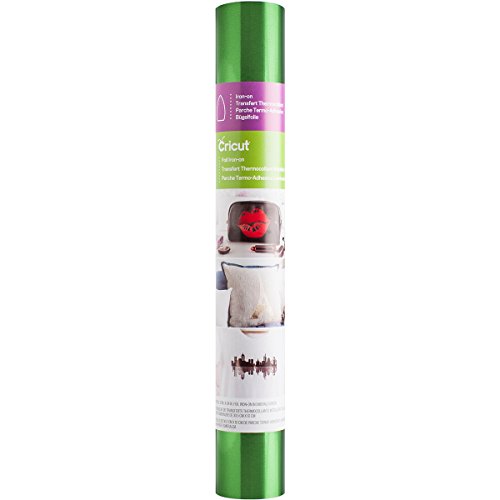
- Metallic iron on
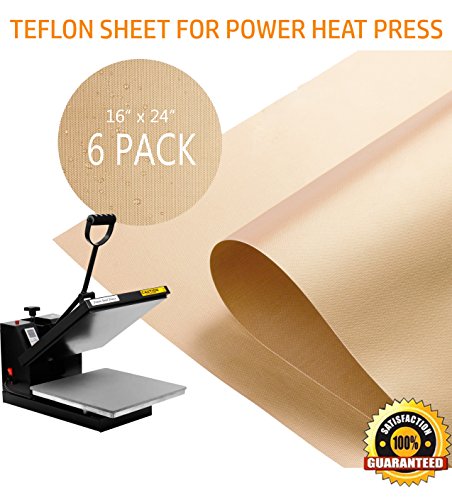
- Iron on Protective sheet
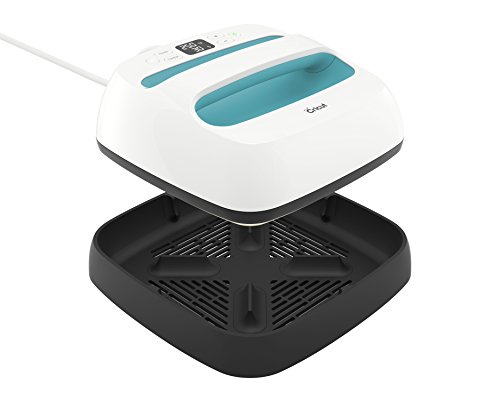
- 5”x5” EasyPress 2
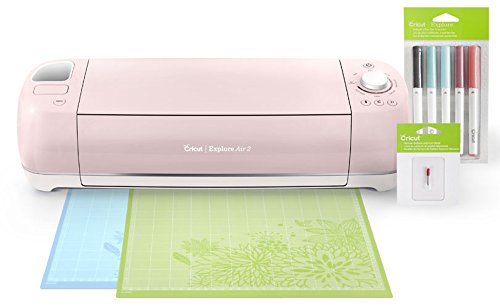
- Cricut
Shop this Post!
These are affiliate links! I earn a small commission if you purchase through them at no cost to you.
Creative Converting Touch ofBuy NowFI-3494 FOIL IRON-ON-EMERALD GRBuy NowPowerPress 6 Pack TeflonBuy NowCricut EasyPressBuy NowCricut Explore Air 2,Buy Now
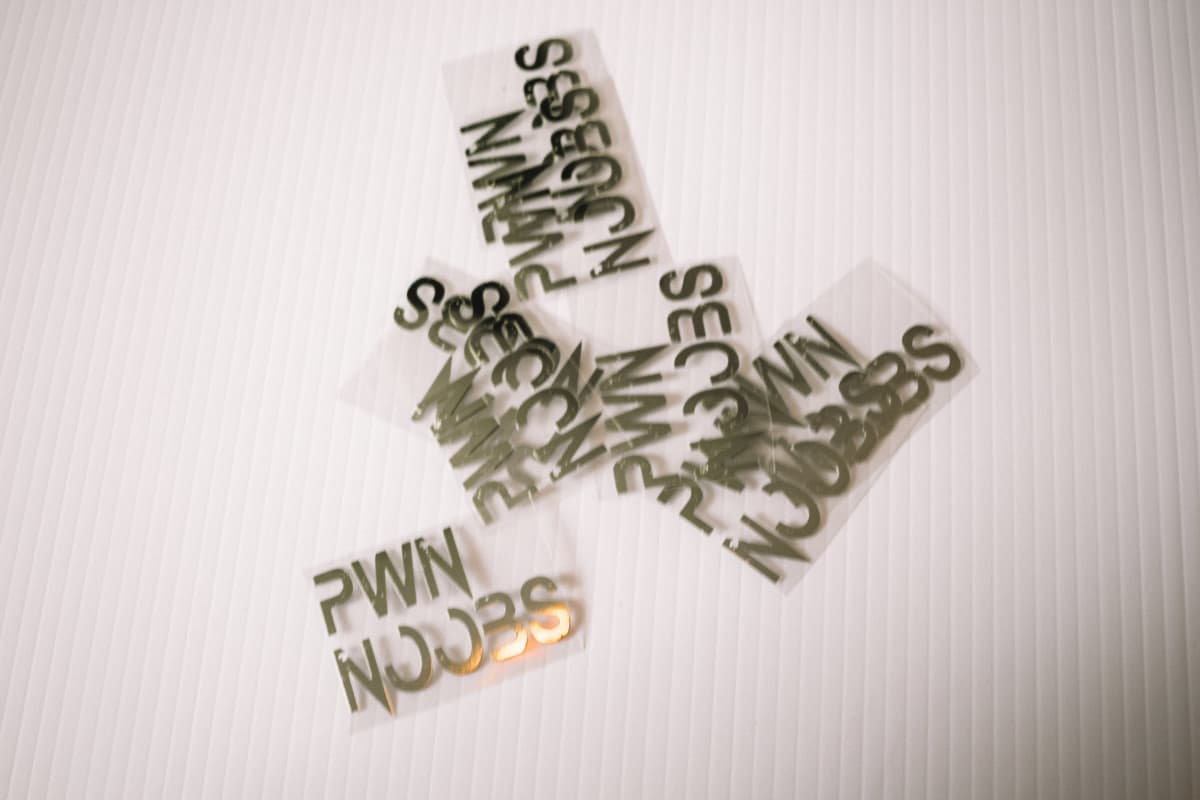
First you will want to design your project in Design Space. I created this file for my napkins for a ‘Gamer’s Paradise’ birthday party I threw for my husband that you are welcome to use! All you need to do is download this font here.
Be sure you mirror for iron on before you start cutting! The Cricut Maker makes it pretty simple to cut everything because you just type in what material you are cutting and it will adjust the settings for that specific material.
After you’ve cut your material you will then weed it.
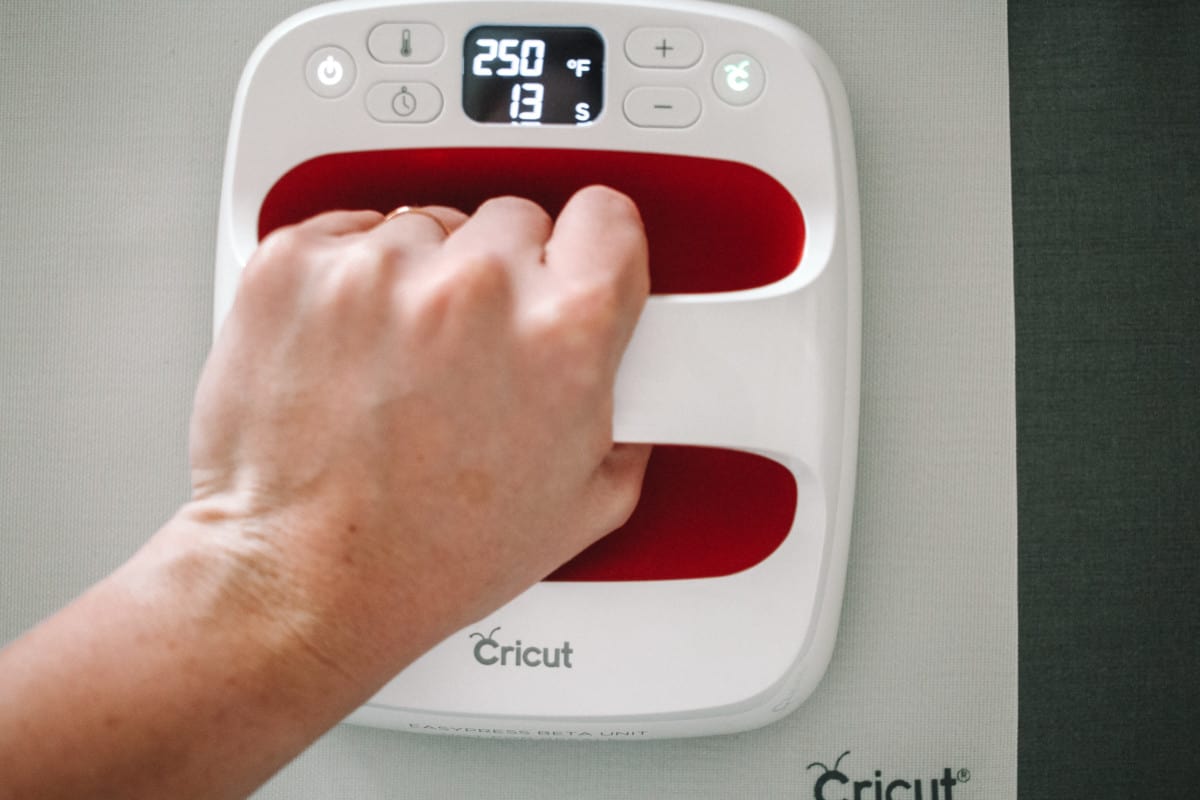
Once weeded is when you get to iron on the napkins. (The best part obviously) Set your EasyPress to 250 degrees.
Place your iron on where you’d like it to go on your napkin, then place the protective sheet over the top of it. Put your heated up EasyPress on top for 20 seconds.
Let the plastic cool and then slowly remove the plastic covering over the iron on. It should come off and leave the beautiful foil!
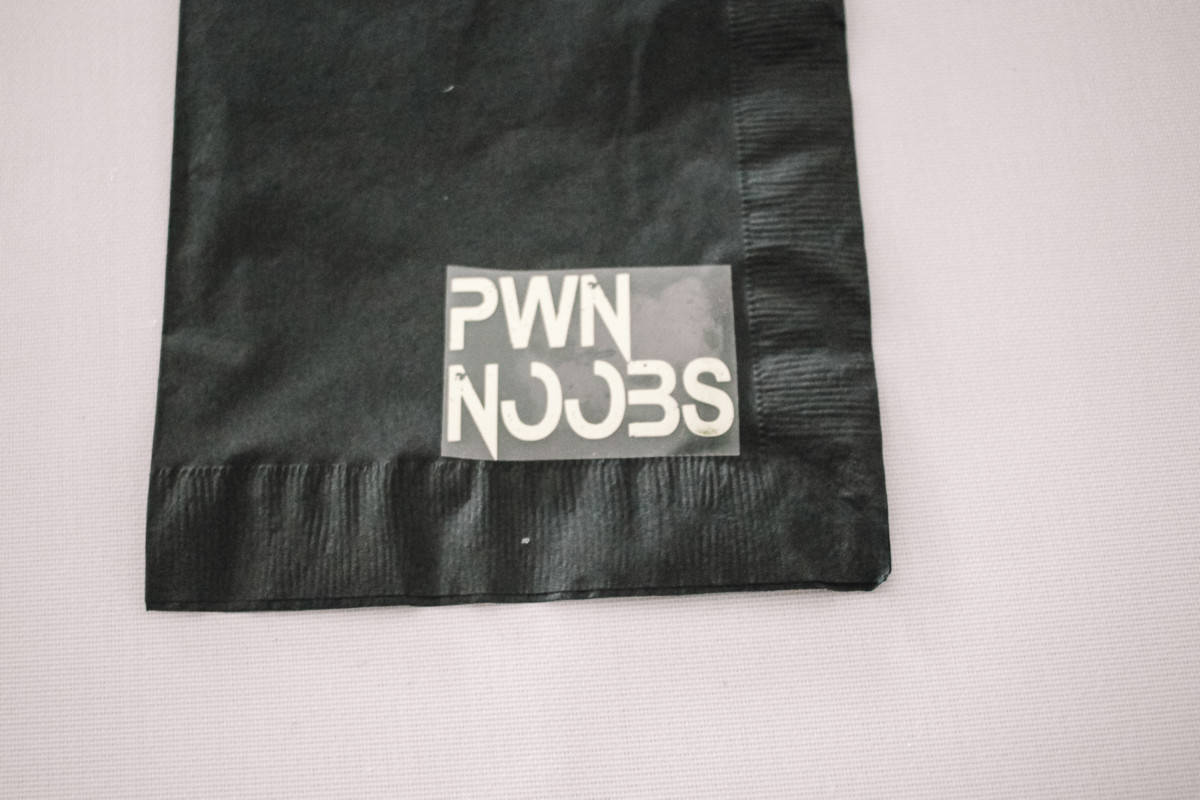

I loved doing this for a fun little custom touch. You could do them all unique with people’s names as placeholders or just do them all the same like I did here!