• Skip to main content
  • Skip to primary sidebar
  • Skip to footer

Practical and Pretty logo

  • HOME
  • DYEING
  • DIY
  • PARTIES
  • CRICUT
  • ABOUT
You are here: Home / DIY / DIY Tucked Pillow Cover

December 11, 2017

DIY Tucked Pillow Cover

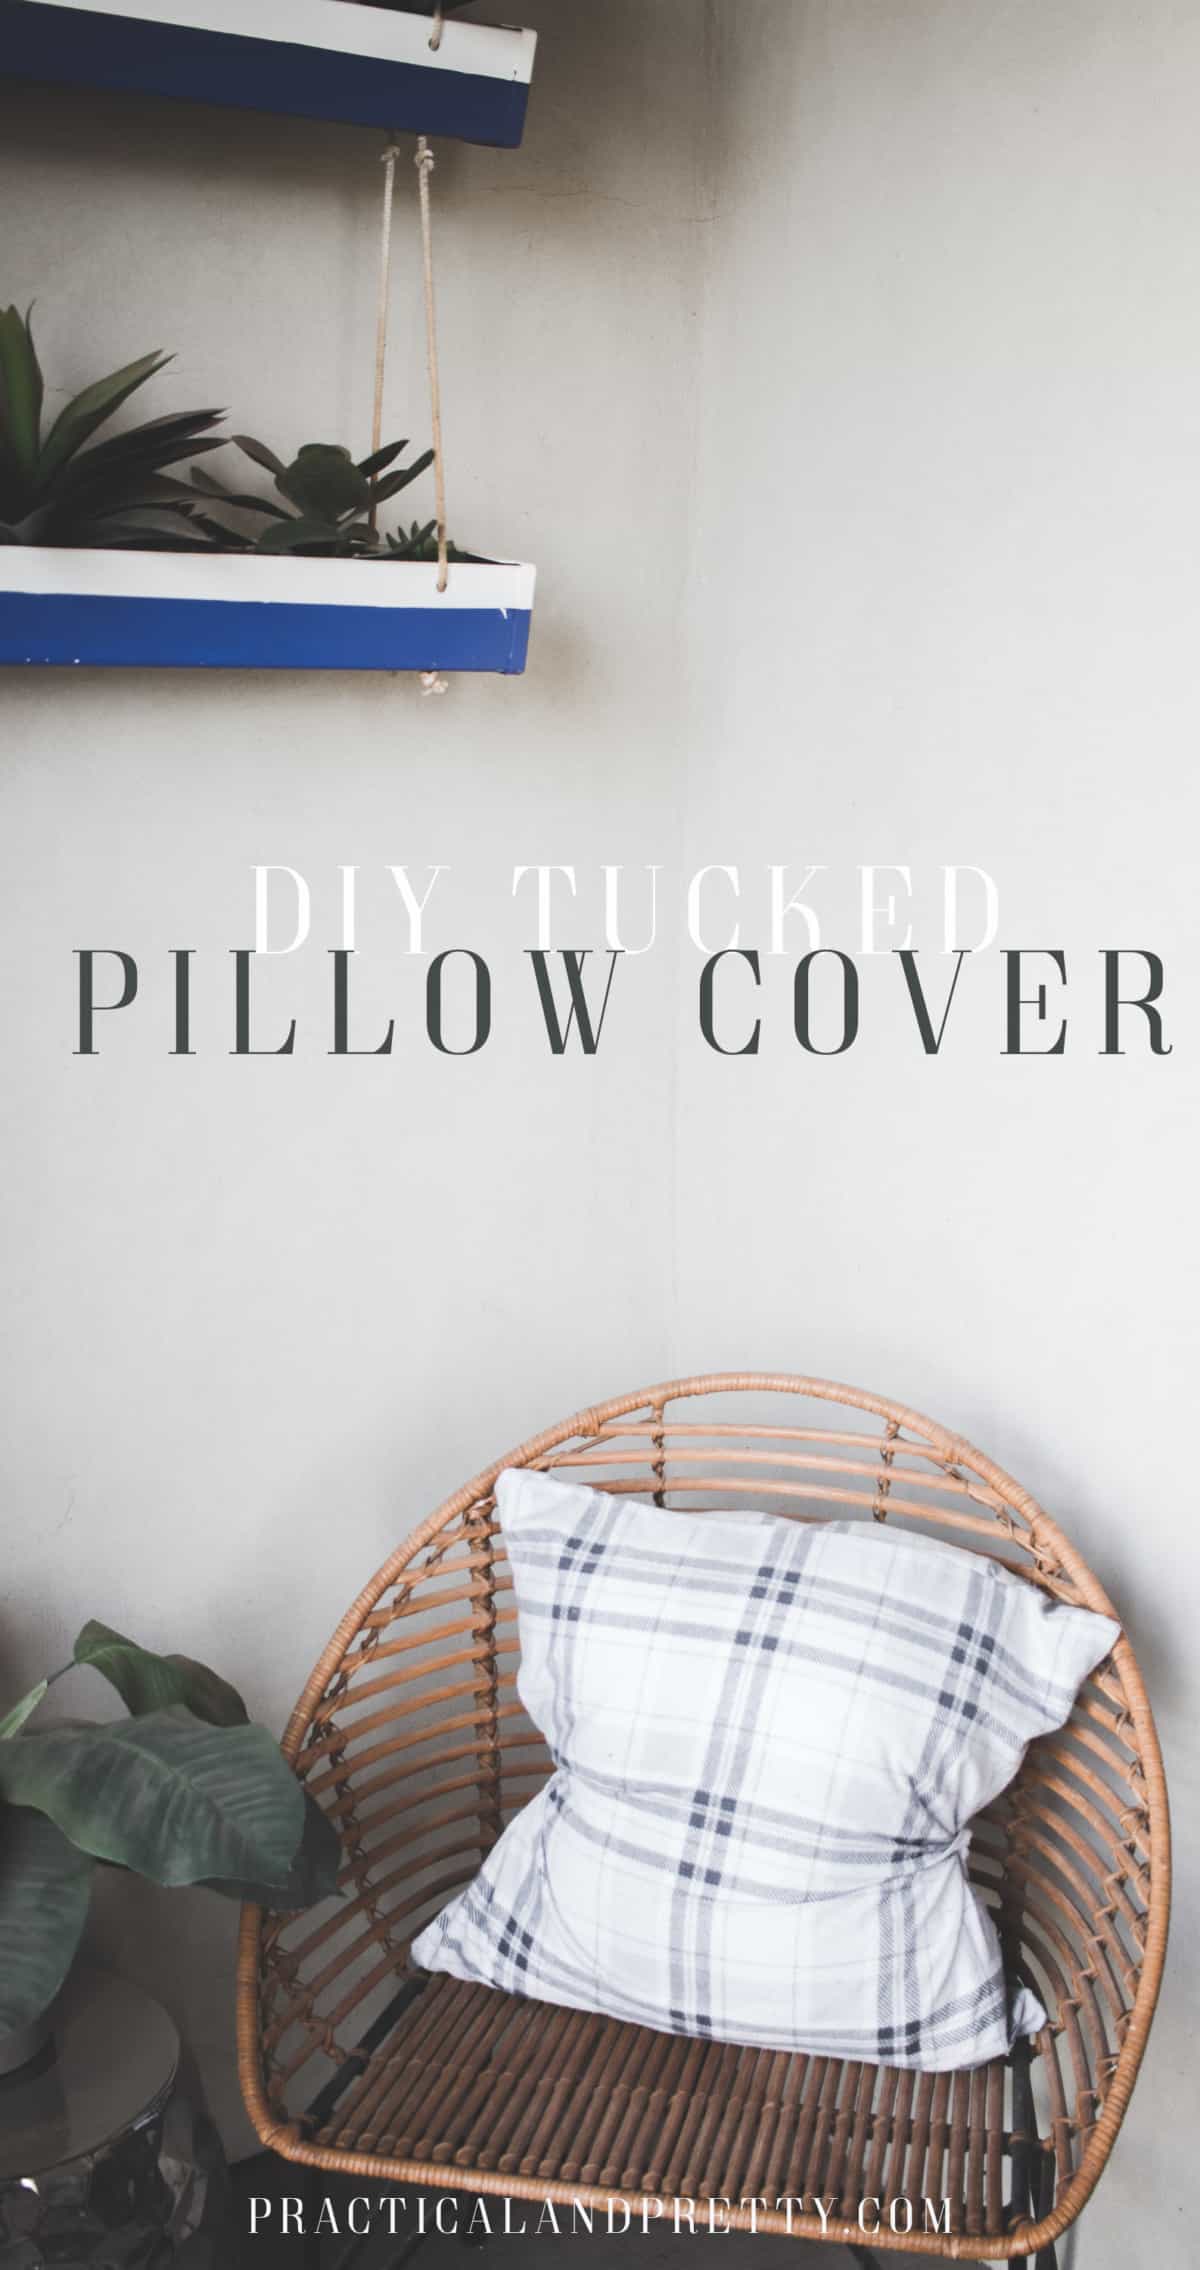
Any sewing machine and any fabric can be used to make these pillows that you won’t even have to fluff yourself! DIY some tucked pillows!

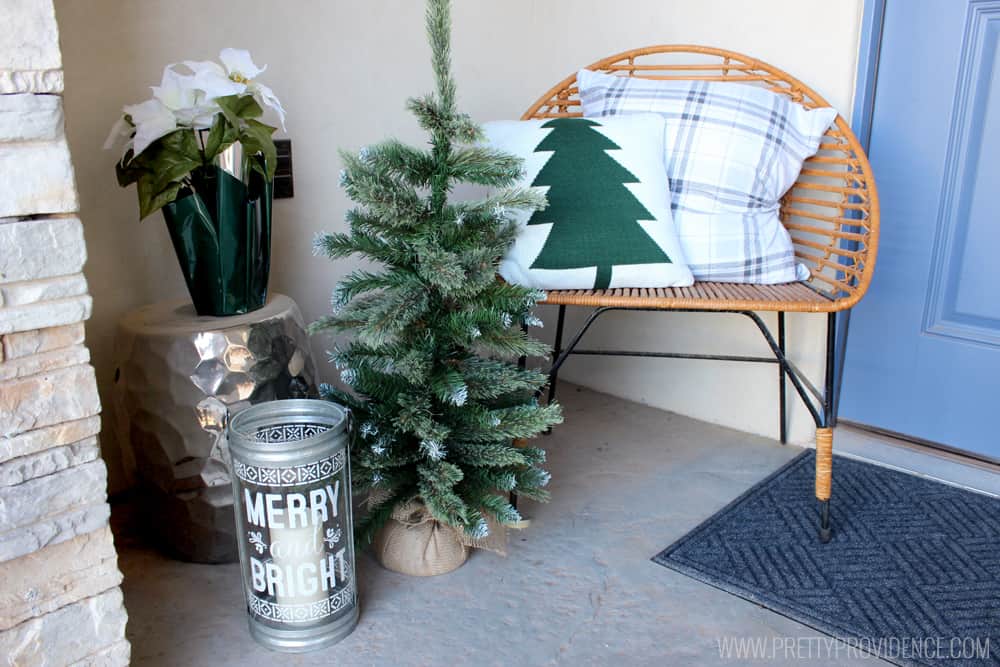
My good friend and I were shopping at Joann the other day and she was on the hunt for all things Christmas for her porch! They have some darling pillows but there just weren’t any she fell in love with for the occasion. Joann was having a sale on flannel and they had the cutest patterns so we decided we would make them for her!

She had some 20″ pillows from Ikea and so we knew we would need the pillow covers to fit over that size. I got 1 yard of flannel per pillow so the total for these two pillow covers was about $7! The best part is I can make more covers for every occasion and just slip them on over the forms.

This tutorial is a no fail way to make your own pillows that don't need to be fluffed!

What you need for your tucked pillow cover
  • 1 yard of fabric
  • Thread
  • Pillow form
  • Scissors

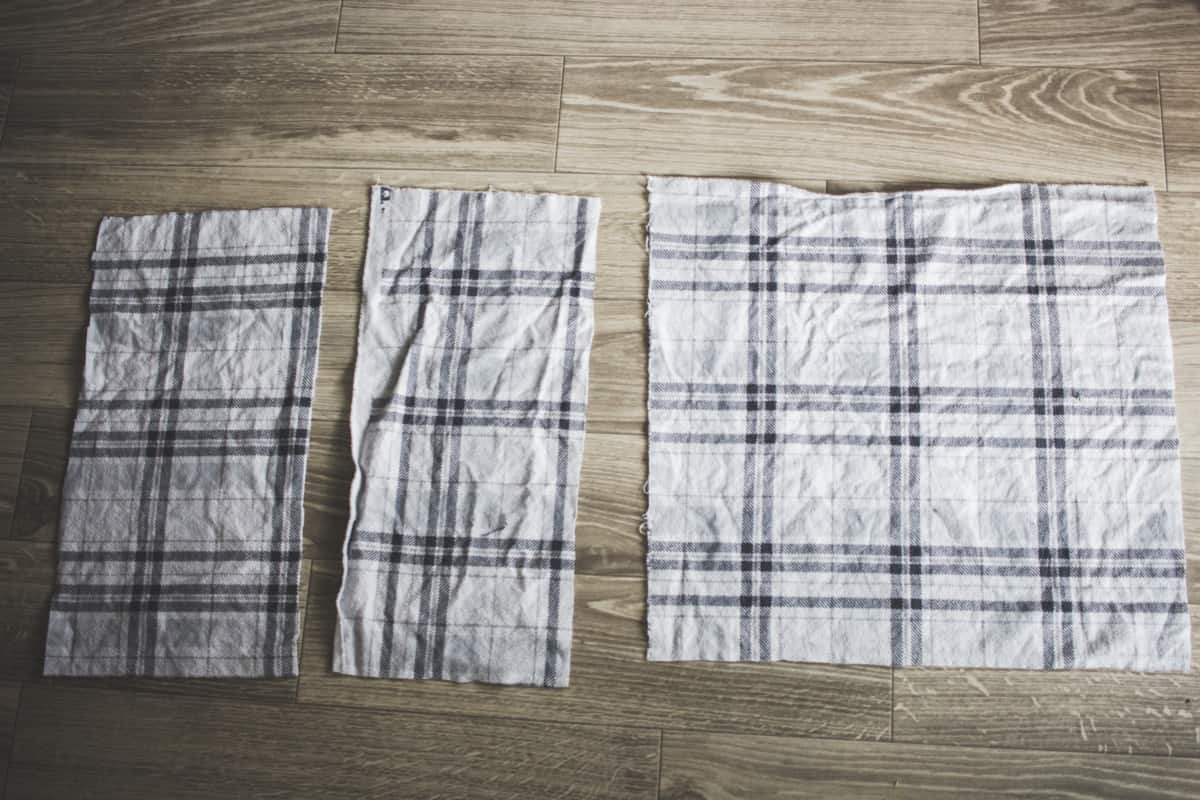
Cut out 1 21″x21″ square of fabric and 2 12″x21″ pieces.

If you have a decorative pillow addiction, let's save you some closet space and create slip covers for you so you can use and reuse them!
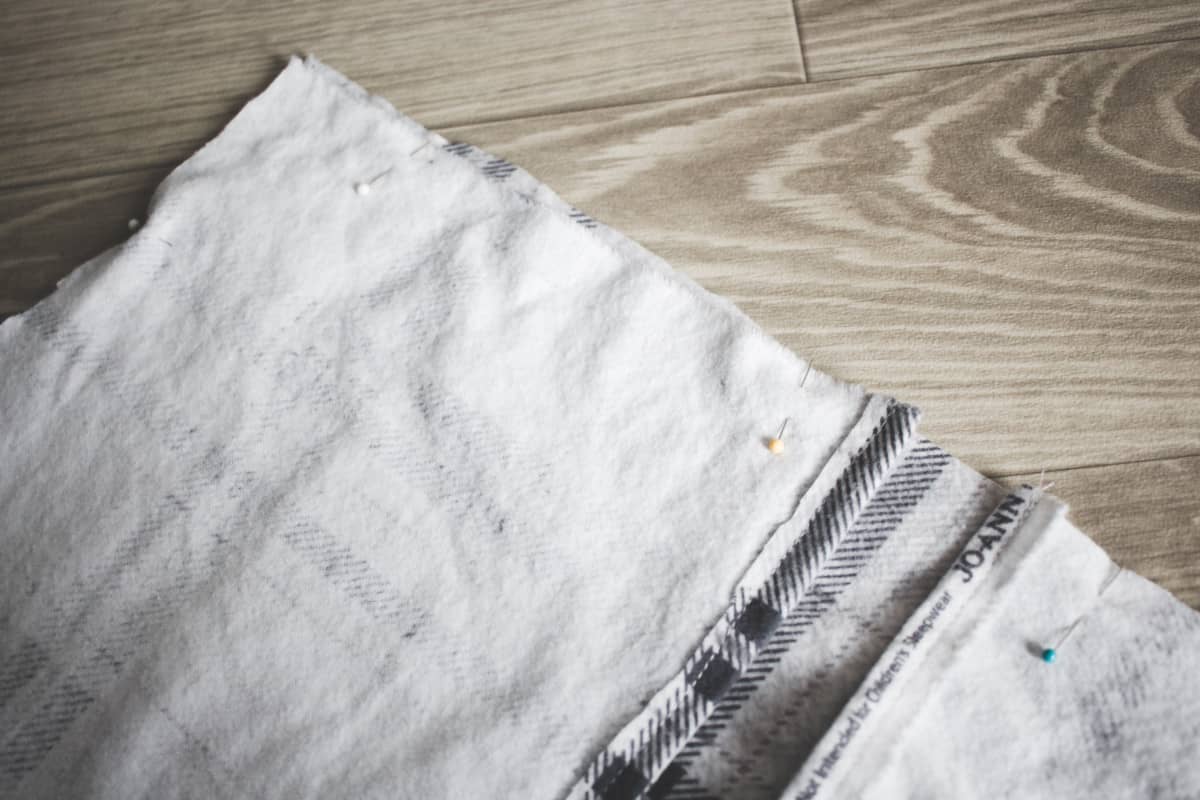
Take your 2 12″x21″ pieces and sew one of the 21″ sides down so it has a nice finished edge. These are the finished edges where you will insert your pillow.

If you have a decorative pillow addiction, let's save you some closet space and create slip covers for you so you can use and reuse them!Place the two pieces with the right side against the 21″x21″ square’s right side.

Next you will pin these three pieces together so you can sew a full square around the outer edge.

If you have a decorative pillow addiction, let's save you some closet space and create slip covers for you so you can use and reuse them!
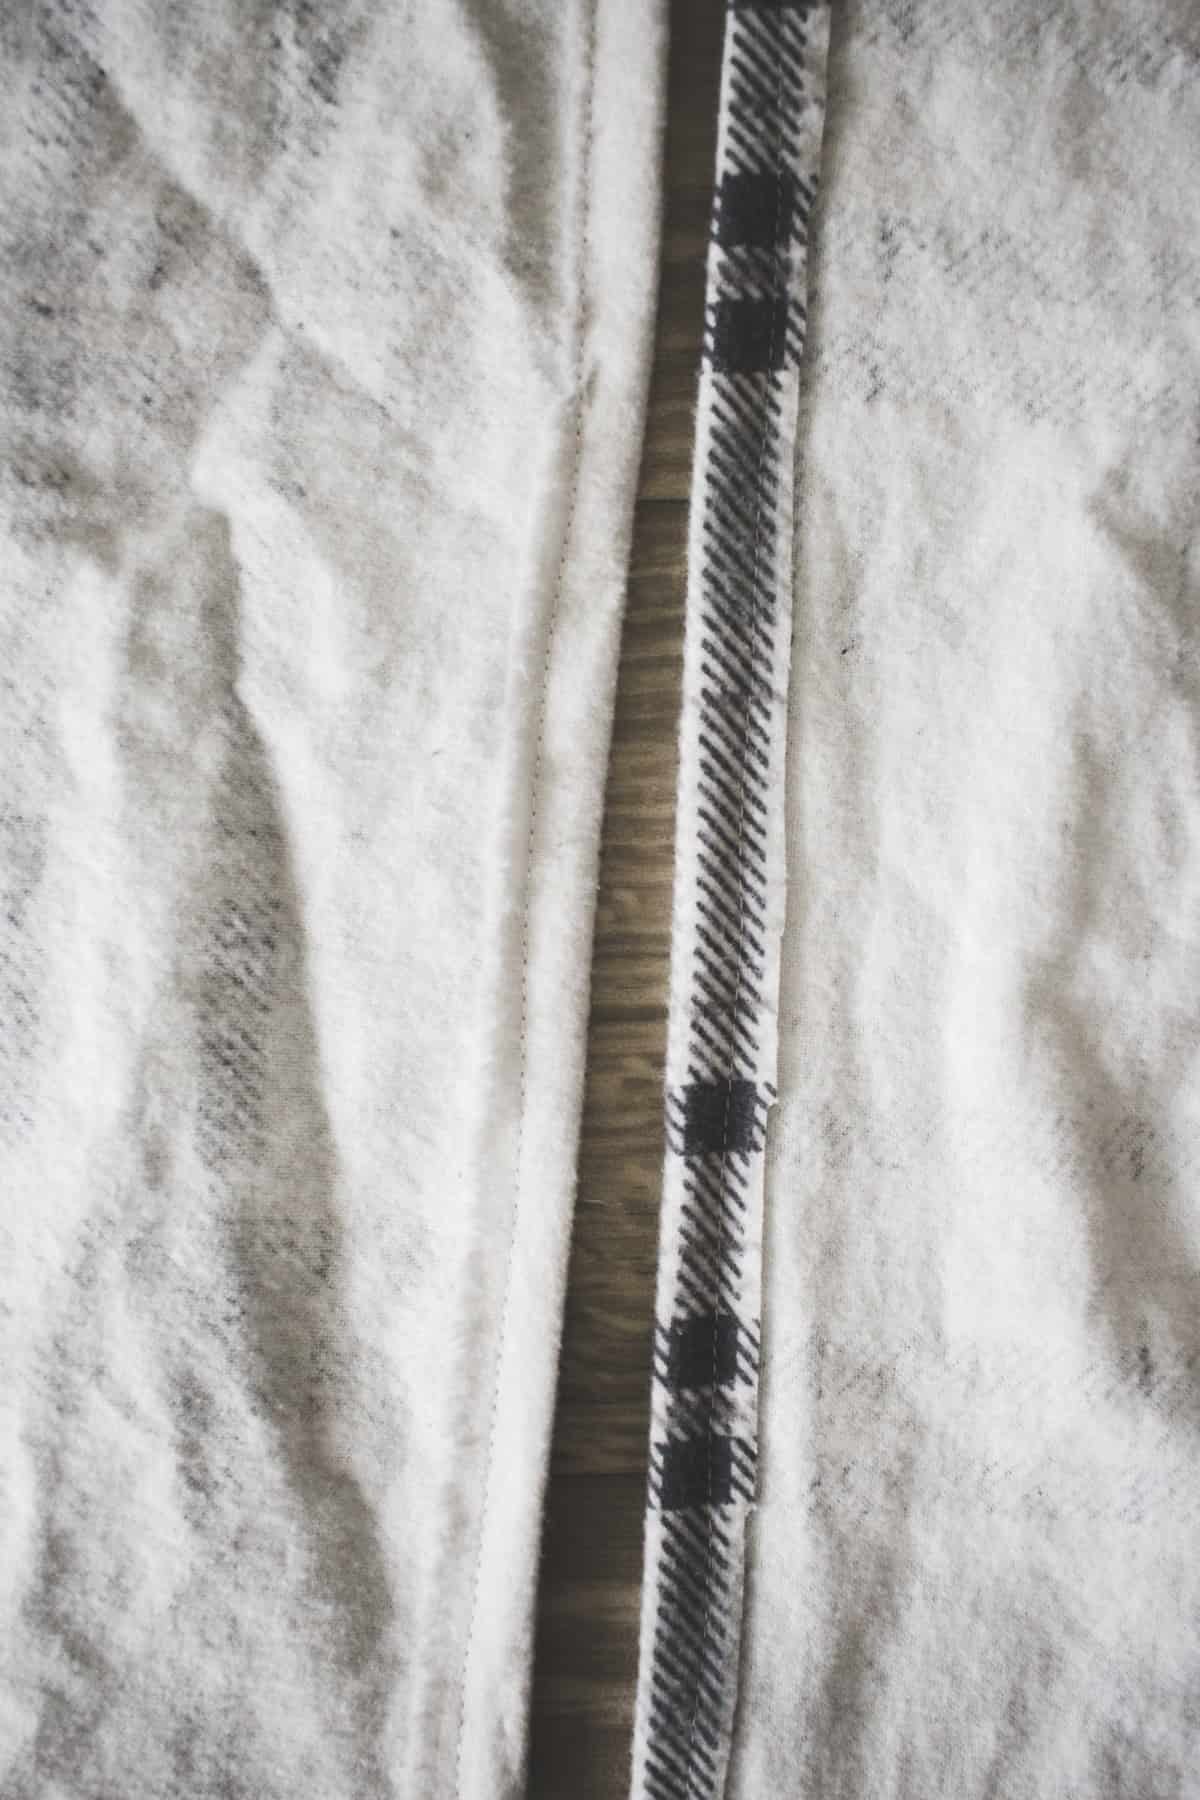
Once this is down, you will fold it in half along the center where there is a slit. Hopefully this picture makes sense!

Then you will sew a triangle along the side. This will create the tuck on the side. This little tuck makes your pillow look permanently fluffed. I kind of love it!

You will flip it right side out now, and fill it with your pillow!

This tutorial is a no fail way to make your own pillows that don't need to be fluffed!

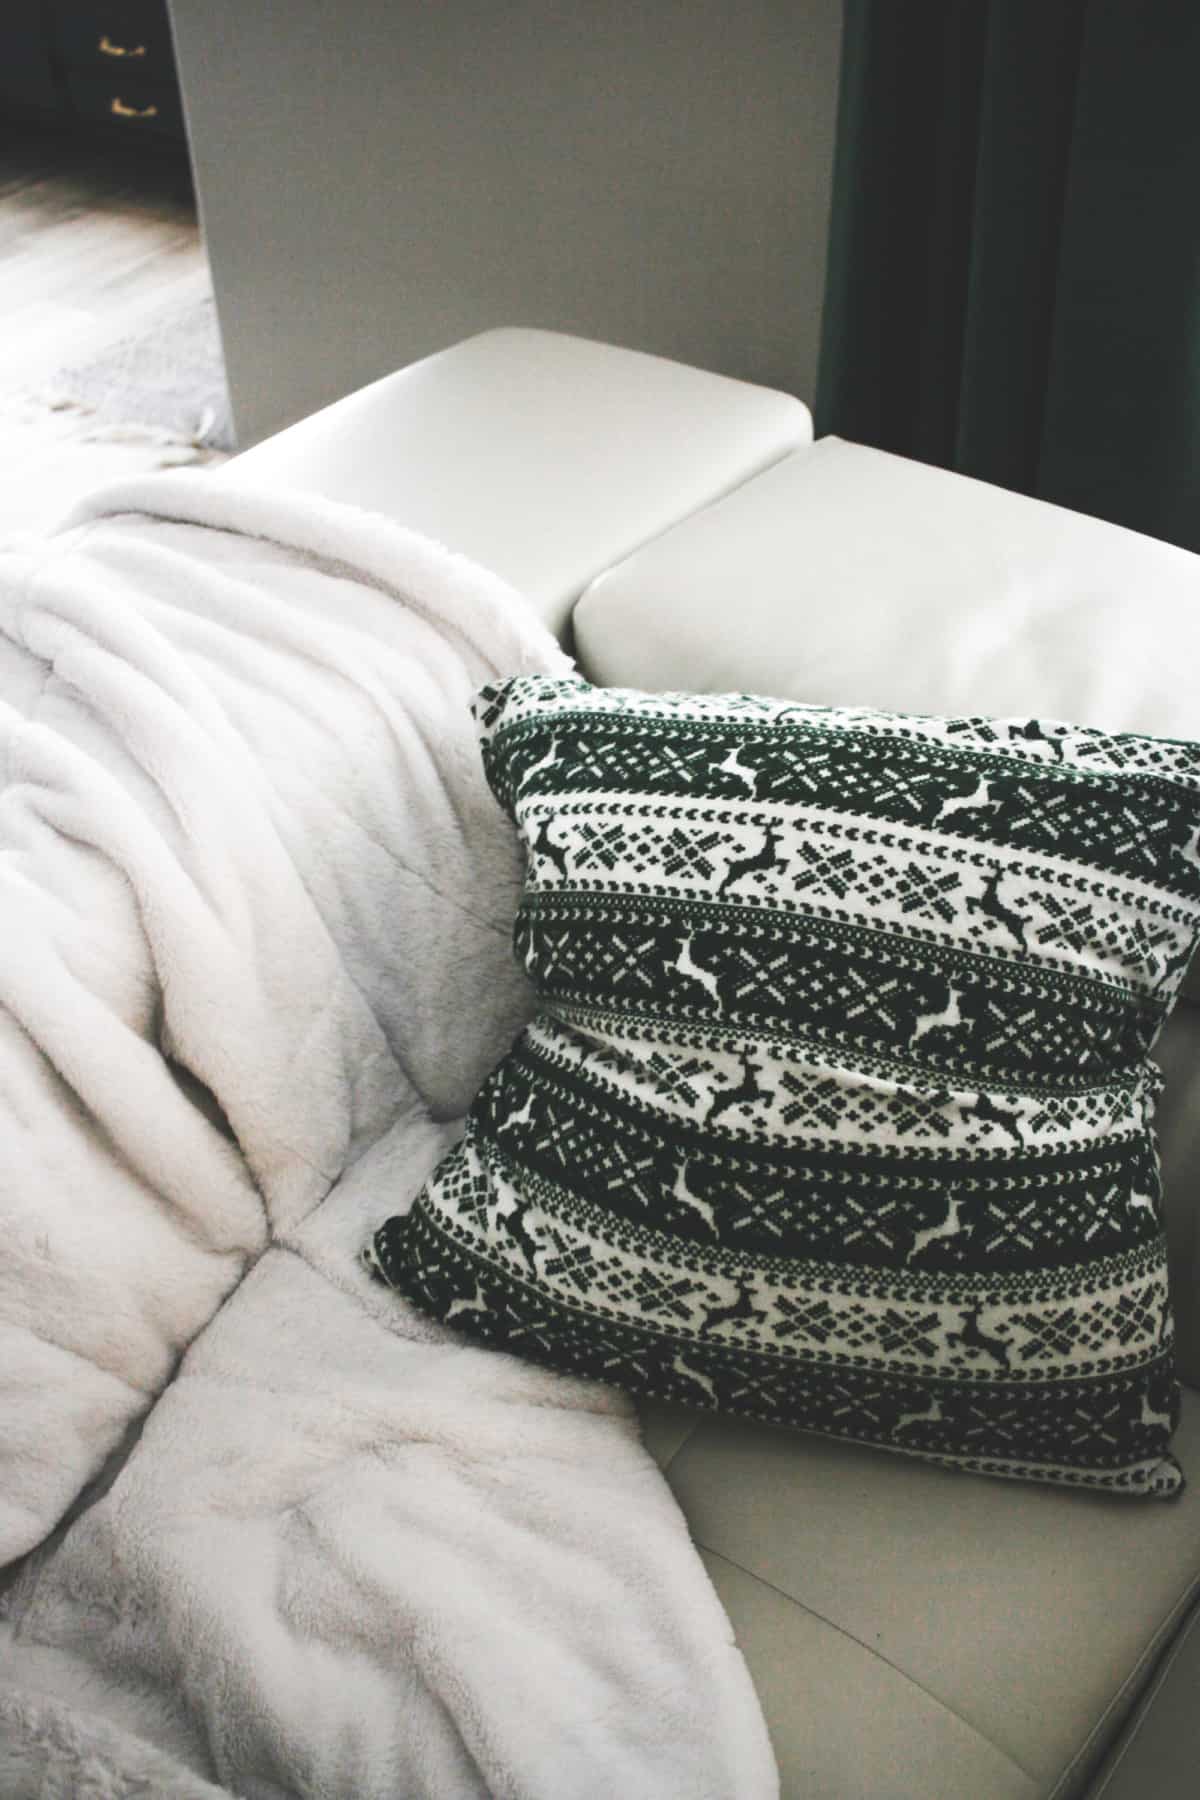
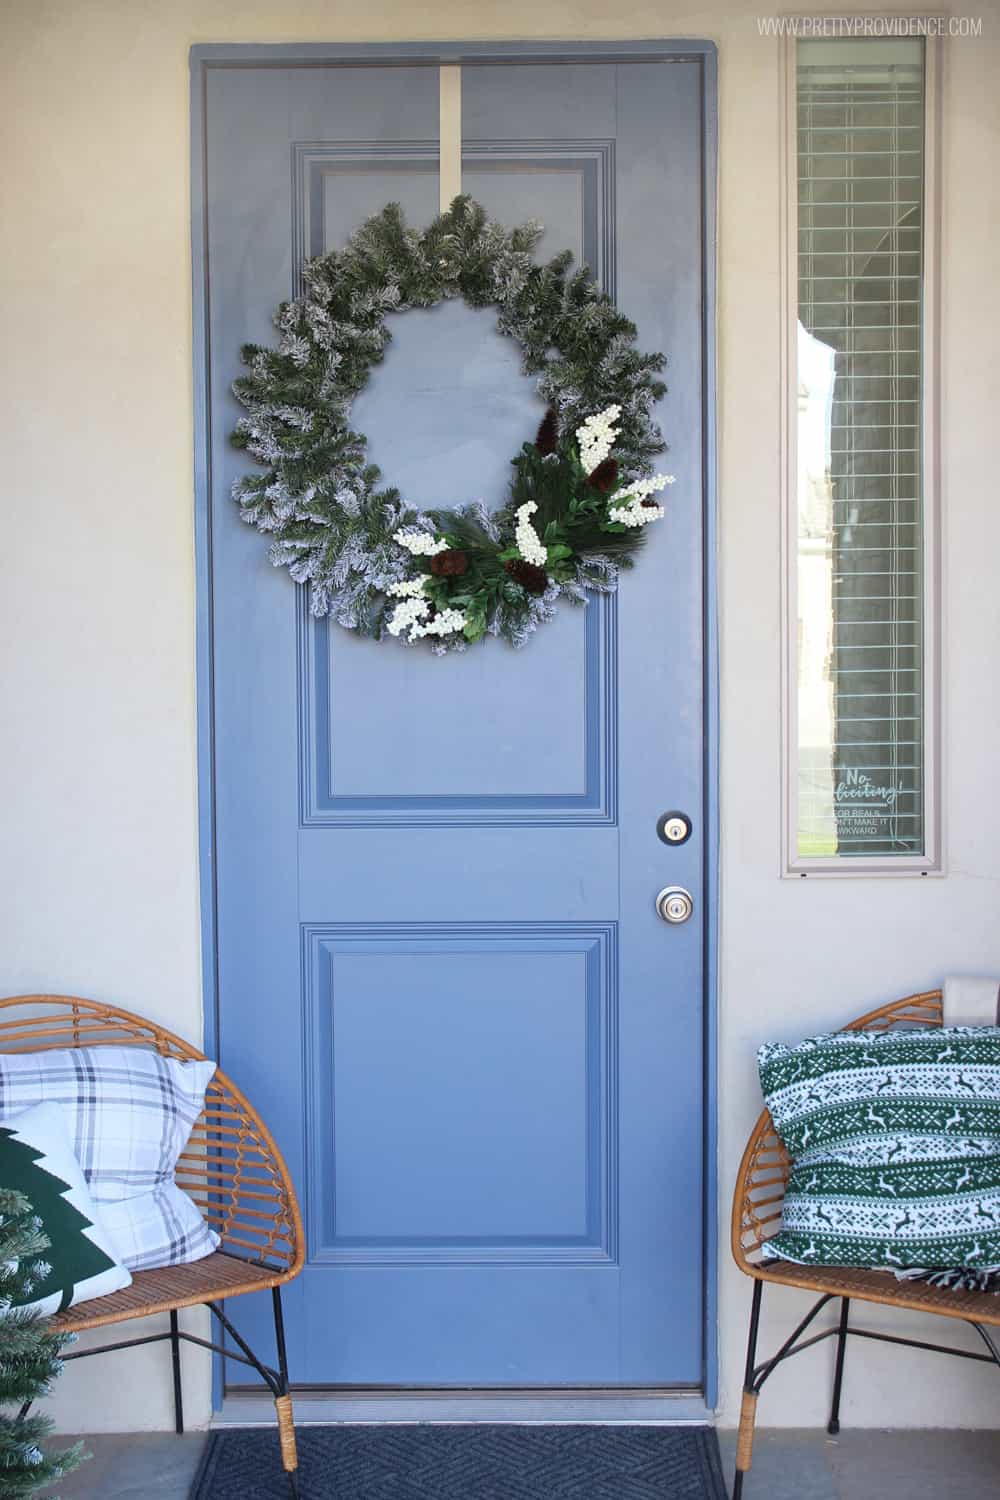
Isn’t that so simple? I did two pillows in probably 20 minutes flat. Doesn’t get much better than that! Don’t they look so cute on my friend’s front porch? She did this entire porch using things from Joann!

This tutorial is a no fail way to make your own pillows that don't need to be fluffed!

https://prettyprovidence.com/christmas-front-porch/#more-20636

Filed Under: Christmas, DIY, Holidays Tagged With: Christmas, quick diy

Primary Sidebar

SEARCH

I’m Anna!

Welcome!

I’m Anna and love practical and pretty things. You will find DIYs here as well as party ideas and of course, natural dyeing tutorials. I’m so glad you’re here.

FEATURED ON

PARTIES

Encanto Party Supplies

You will find lots of Encanto party supplies and even some fun ideas for your next Encanto party! Who doesn't love Encanto after all?

Roblox Party Supplies Ideas

roblox balloons

Minnie Mouse Party Supplies

You can DIY an adorable Minnie Mouse party by yourself full of bows and Hot Diggity Dogs. You will also find some free printables here!

Hot Diggity Dog Bar

Hot dog! Hosting a party? Make it fun with this Hot Diggity Dog bar. I’ve got a couple of DIY aspects or just use them and adapt!

NATURAL DYEING

Dye with Weld Plant

Weld plant gives you a beautiful, vibrant yellow color. I'll guide you through how to get this cool dye stuffs to get you neat results.

Ice Dye with Rit Dyemore

dyemore synthetic dye

Rit Color Remover on Natural Dyes

Color remover works for synthetic dyes, but what about natural dyes? See the difference between my naturally dyed fabric after using color remover!

Red Dirt Tie Dye

This tutorial will walk you through how to tie dye using red dirt. It's as minimal as possible so you can do it while you are camping with minimal supplies.

CRICUT PROJECTS

Paper Chain Countdown for Any Occasion

This countdown chain is perfect for every countdown occasion. Any anticipated event is more fun with a way to mark the days away.

Easiest Halloween Banner Ever

https://practicalandpretty.com/miguel-coco-costume/

Minnie Mouse Party Supplies

You can DIY an adorable Minnie Mouse party by yourself full of bows and Hot Diggity Dogs. You will also find some free printables here!

Hot Diggity Dog Bar

Hot dog! Hosting a party? Make it fun with this Hot Diggity Dog bar. I’ve got a couple of DIY aspects or just use them and adapt!

Footer

Copyright © 2022 Practical and Pretty on the Brunch Pro Theme