Dyeing with madder is one of the best places to start if you have never tried natural dyeing before. I am going to walk you through the whole process, from mordanting your fabric to that beautiful coral color at the end, using madder root powder. Even if this is your very first natural dye project, dyeing with madder root is simple enough to follow step by step.
What Is Madder Root?
Madder root is a natural dye that has been used for centuries to create reds, corals, and pinks on fabric. I used ground madder root from Dharma Trading Co for this project, about 50 grams, which was half of a package that cost around $5. That is really reasonable pricing when you consider what a bag of natural dye stuff can run you. You can also grab madder from Etsy! It comes in a root form as well as an extract form. For this tutorial, I used extract.
What You Will Need
- Fabric to dye (I used a bamboo gauze swaddle, but cotton works great too)
- Madder root powder (about 50g for a t-shirt sized piece)
- Alum, about 20g per t-shirt you are dyeing
- Soda ash, about 5g
- A large pot you can dedicate to dyeing
- Sinew or string, if you are folding your fabric
Step 1: Mordanting With Alum and Soda Ash
Before you dye with madder root, your fabric needs to be mordanted so the color actually sticks. Start with about 20g of alum per t-shirt you are dyeing, and boil that in water. Once the water has boiled, add about 5g of soda ash. Be careful here, because this will bubble up quite a bit, so make sure your pot has room to spare and will not overflow.
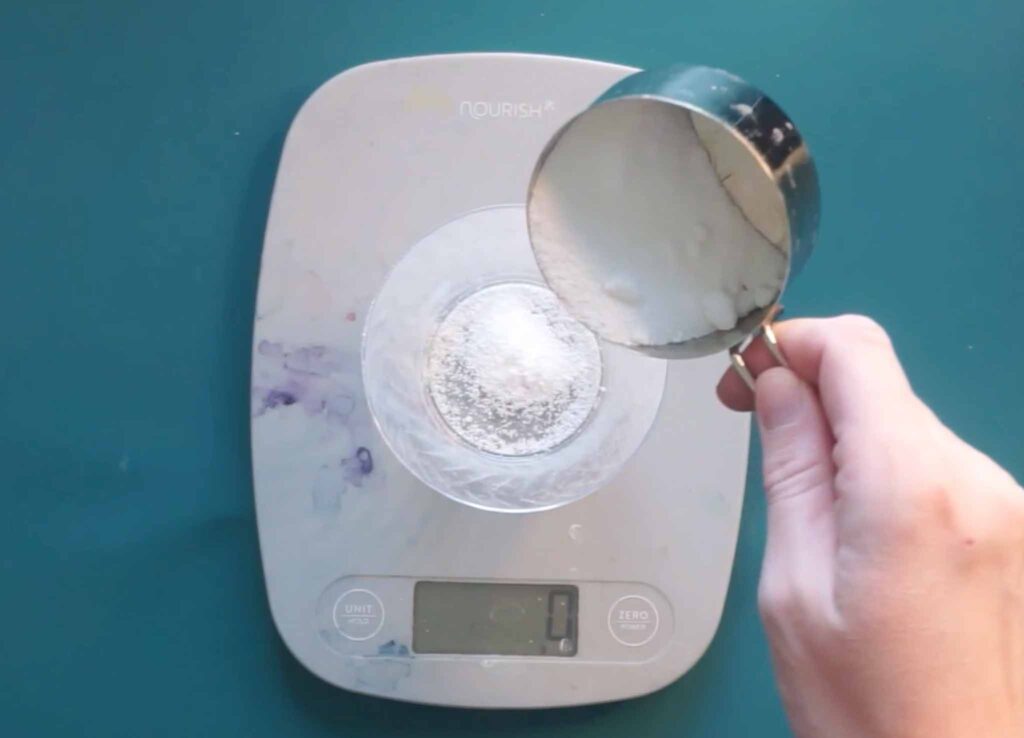
You will notice the mixture takes on a milky consistency once the soda ash is added. That is exactly what it is supposed to look like. Let it sit for at least an hour, then let it cool and sit for a full 24 hours before rinsing out with cold water the extra mordant.
Step 2: Prepping Your Fabric With a Geode Fold
For this project I used a bamboo gauze swaddle, weighed to match the same fabric weight as an extra large cotton t-shirt. If you are using a t-shirt, those are the numbers to go by too.
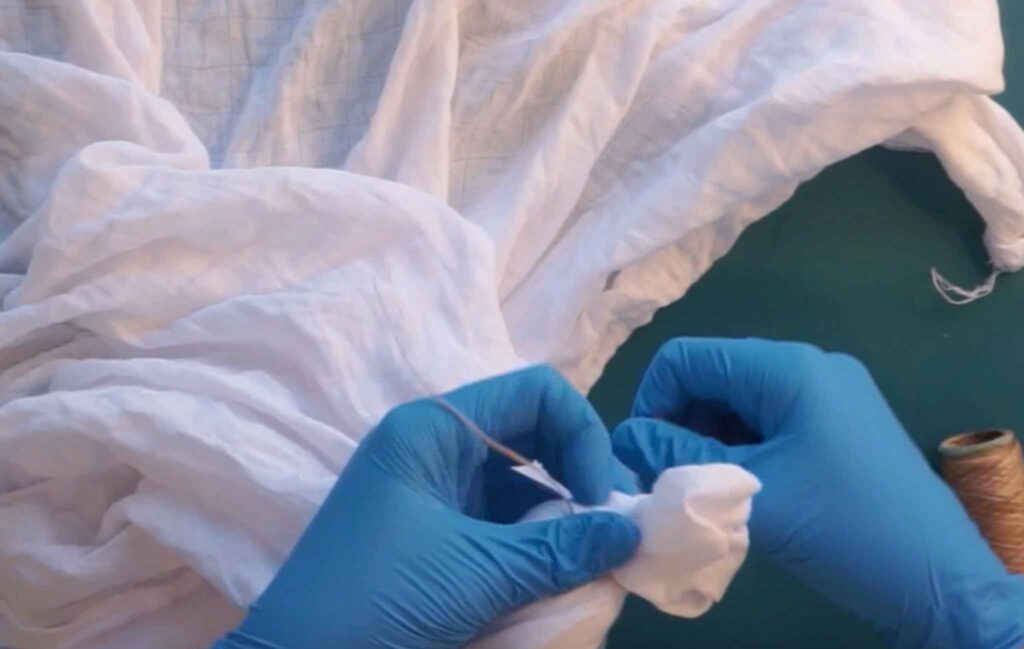
I went with a geode fold, which just means grabbing a random area of fabric and wrapping it tightly with sinew three to five times before pulling it snug. Bamboo and rayon are more fragile than cotton, so try not to get them too wet before folding or you risk splitting the fabric. If you are working with those fibers, fold while the fabric is dry.
A quick note if you normally use fiber reactive dyes: since we already did the soda ash mordant bath, you do not need a separate soda ash soak for this natural dye process. Continue your sinew pattern around the fabric. A tighter pattern with more ties gives you more of those beautiful sinew lines once it is dyed, but you can loosen it up if you prefer fewer lines.
Step 3: Preparing the Madder Root Dye Pot
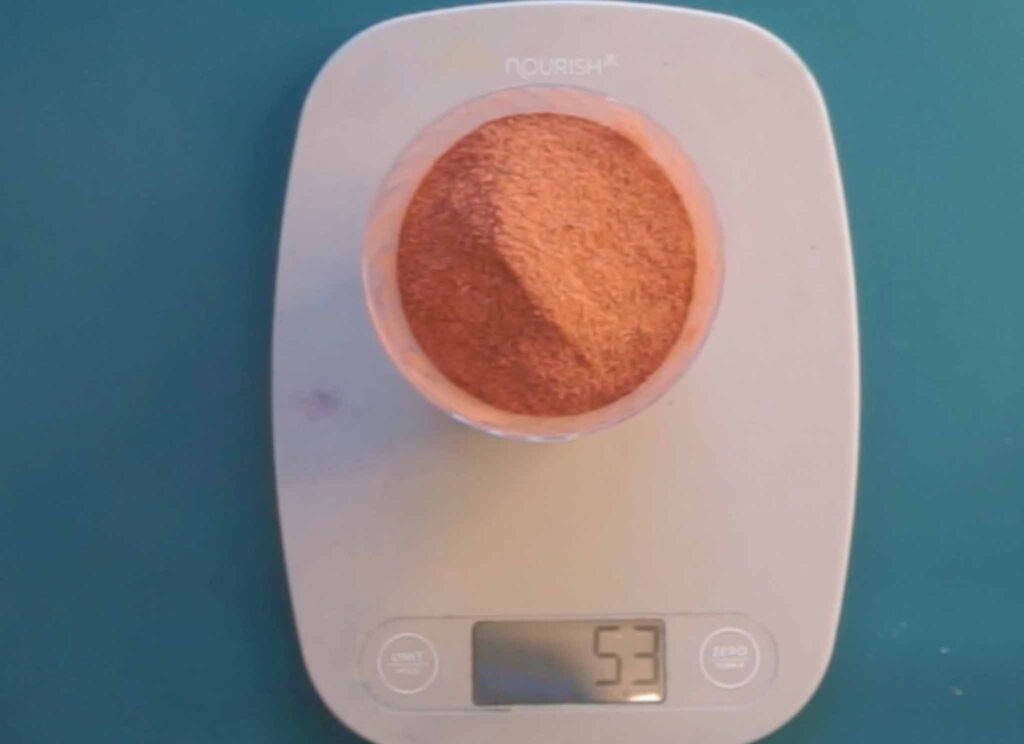
Here is the madder root dye recipe I used. Heat your water to under 160 degrees, I like to keep mine between 130 and 150 degrees. Add your madder root powder into the water and stir until it is fully dissolved, which takes a little patience. Once it is mixed in, put the pot back on the stove.
Step 4: Adding Your Fabric and Simmering
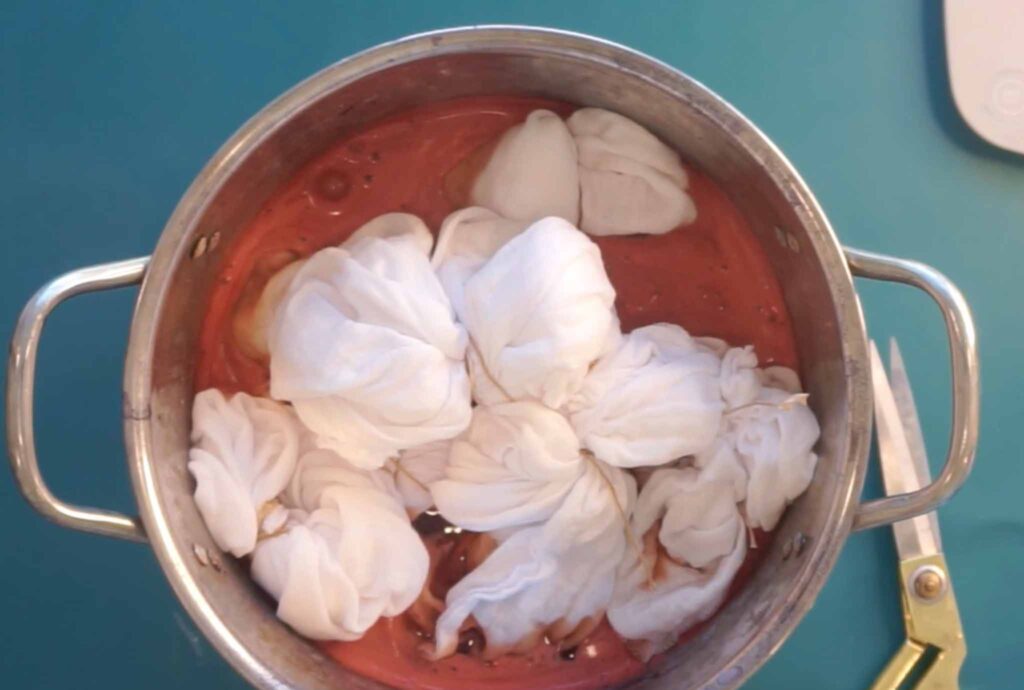
Add your folded fabric to the dye pot and keep the heat on low, around 150 degrees. Stir it every five minutes or so to make sure nothing is burning on the bottom of the pot. This is not a process you need to babysit constantly, just check back on it regularly while it simmers.
Step 5: Cooling, Rinsing, and Washing
Once your fabric has simmered, turn off the stove and let the water cool completely, usually around 24 hours or overnight. After that, pull your fabric out, rinse it, and let it sit for another 24 hours before finally running it through the washing machine.
I know that is a lot of steps and a lot of waiting, but it will all make sense the first time you try it yourself.
The Final Result: A Beautiful Coral
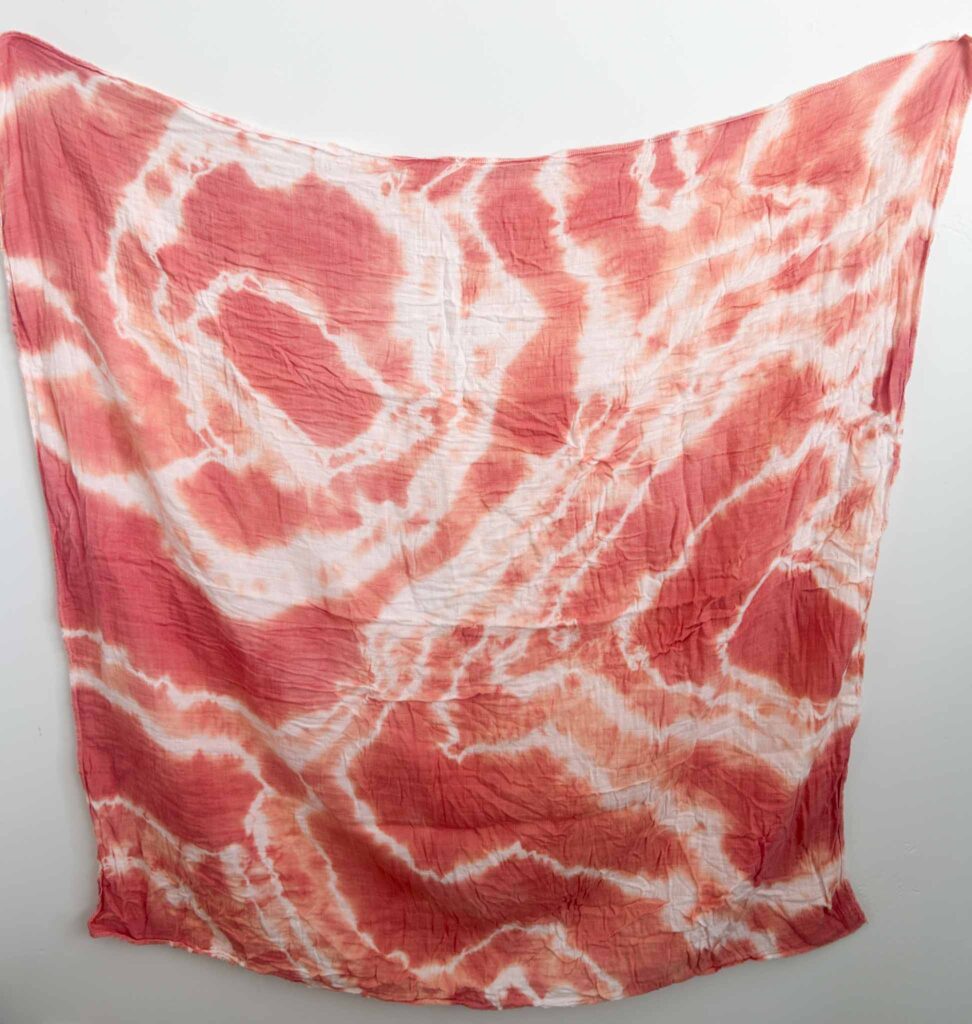
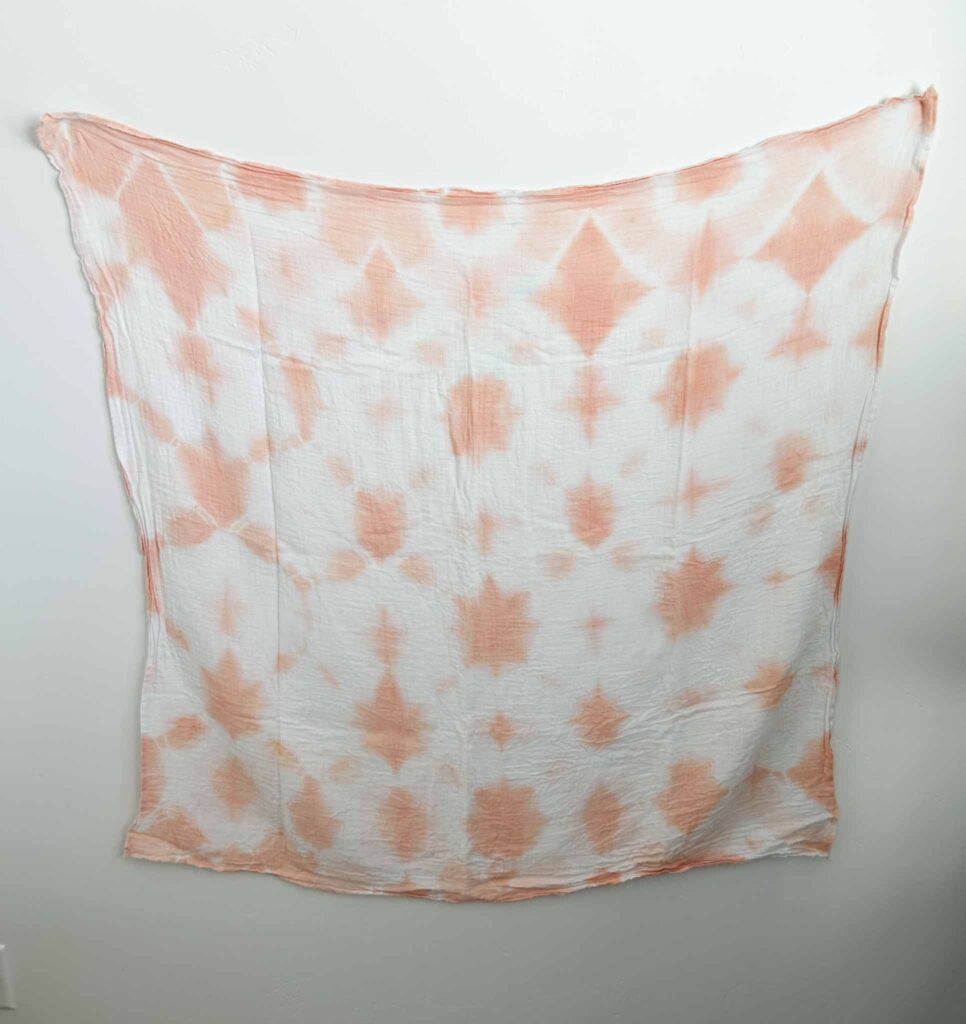
After all that waiting, the payoff is worth it. This madder root natural dye process gave me a beautiful coral color, and the sinew lines from the geode fold turned out stunning. It is one of my favorite ties to do in a dye vat.
Can you reuse the dye vat?
Yep! Here’s what it looked like. When I reheated the water and put another swaddle in.
Can You Reuse a Madder Root Dye Bath?
Yes. I reused the same dye vat water for a second round of dyeing, and it still produced a lovely result. If you have leftover dye bath, do not pour it out right away, it still has color left to give.
Want more fold ideas to try in your next dye vat? Grab my free guide, 12 Tie Dye Folds, and start experimenting with patterns beyond the geode fold.
Where to Buy Madder Root for Dyeing
Madder comes in a few different forms, and it helps to know which one you are shopping for. Ground madder root powder is the easiest to work with and is what I used in this tutorial. You can also find whole madder root pieces, madder root extract, and even madder leaves, though the powder dissolves the most evenly for a stovetop dye pot. I buy mine from Dharma Trading Co, and a $5 bag goes a long way since you only need about 50g per project.
Frequently Asked Questions About Dyeing With Madder
What color does madder root dye produce?
Madder root typically produces shades of red, orange, and coral, depending on your water temperature, mordant, and how long you let the fabric simmer.
Do you need to mordant fabric before using madder root dye?
Yes. Mordanting with alum and soda ash helps the dye bond to the fabric so the color lasts and does not wash out.
How hot should the water be for a madder root dye pot?
Keep your water under 160 degrees, ideally between 130 and 150 degrees, before adding the madder root powder and your fabric.
Can you reuse a madder root dye bath?
Yes, a madder root dye bath can be reused for a second round of dyeing and will still produce color, though it may be lighter than the first batch.
Is madder root safe to use on delicate fabrics like bamboo or rayon?
Yes, but bamboo and rayon are more fragile when wet, so fold your fabric while it is dry to avoid splitting before adding it to the dye pot.
How do I prepare fabric for dyeing with madder?
Mordant your fabric first with an alum and soda ash bath, let it sit for 24 hours, then rinse before folding or tying it for the dye pot.
Where can I buy madder root for dyeing?
I buy my madder root powder from Dharma Trading Co, though you can also find it through other natural dye suppliers as ground powder, whole root, or extract.
How can I use madder root for natural dyeing on cotton?
Mordant your cotton fabric, dissolve madder root powder in water under 160 degrees, then simmer the fabric in the dye pot on low heat until you reach your desired shade.
Do professional dyers prepare madder dye differently than beginners?
The core process is the same. What tends to change with experience is more precise fabric to dye ratios and closer temperature control, but the mordant, dissolve, and simmer steps stay consistent.
Shop my favorite natural dyeing supplies on Amazon and Walmart.