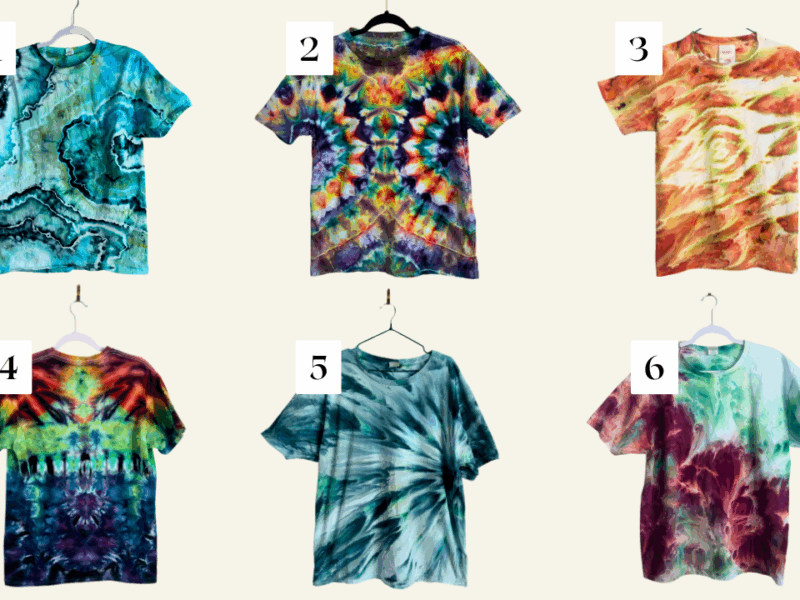
If you feel like you’ve mastered the classic spiral and you’re ready to branch out, this one’s for you. I’m always on the hunt for new folds to try, and these three are some of my favorites lately. All of them use ice dye, but the folding techniques behind them are what really make each design stand out. I’m walking you through each one step by step below, so grab your fabric and let’s get into it.
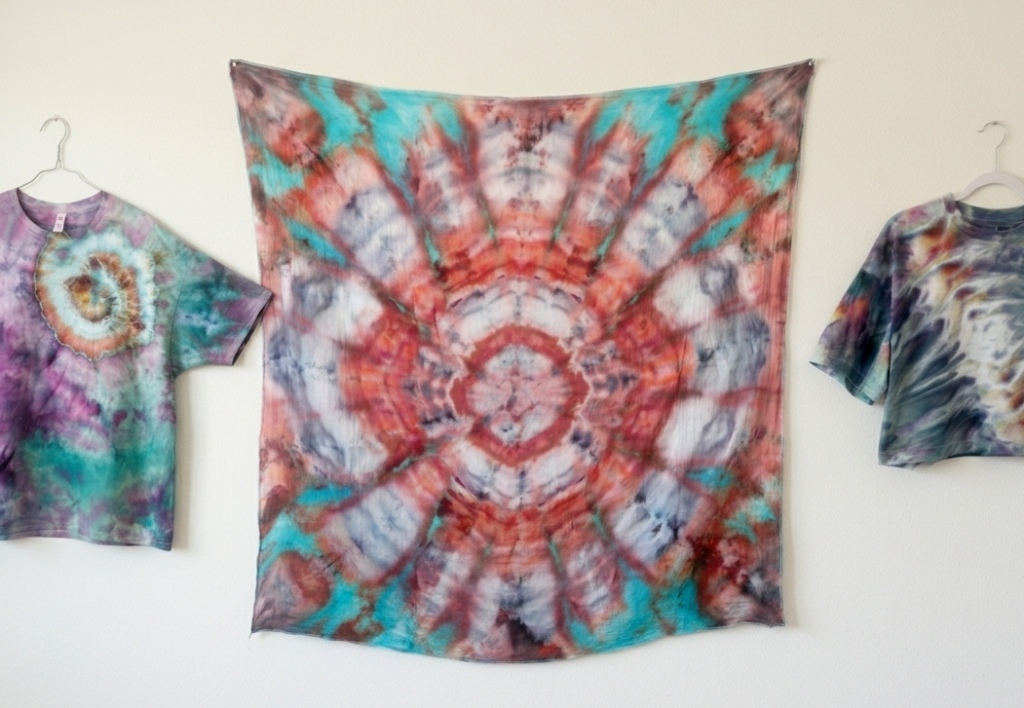
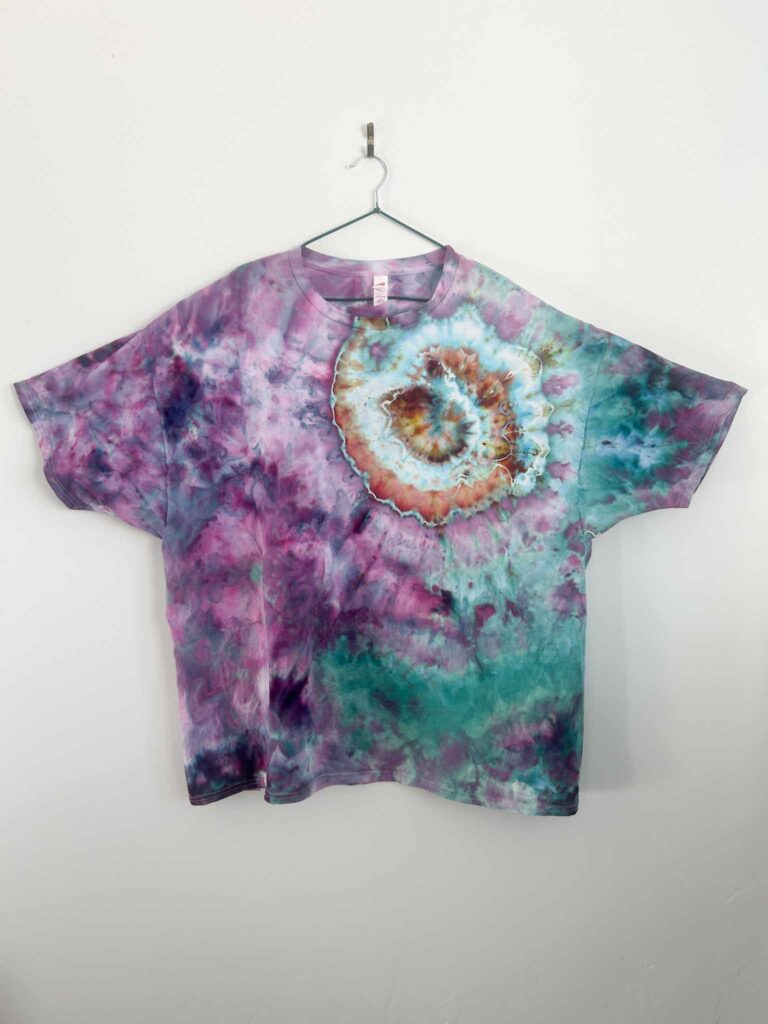
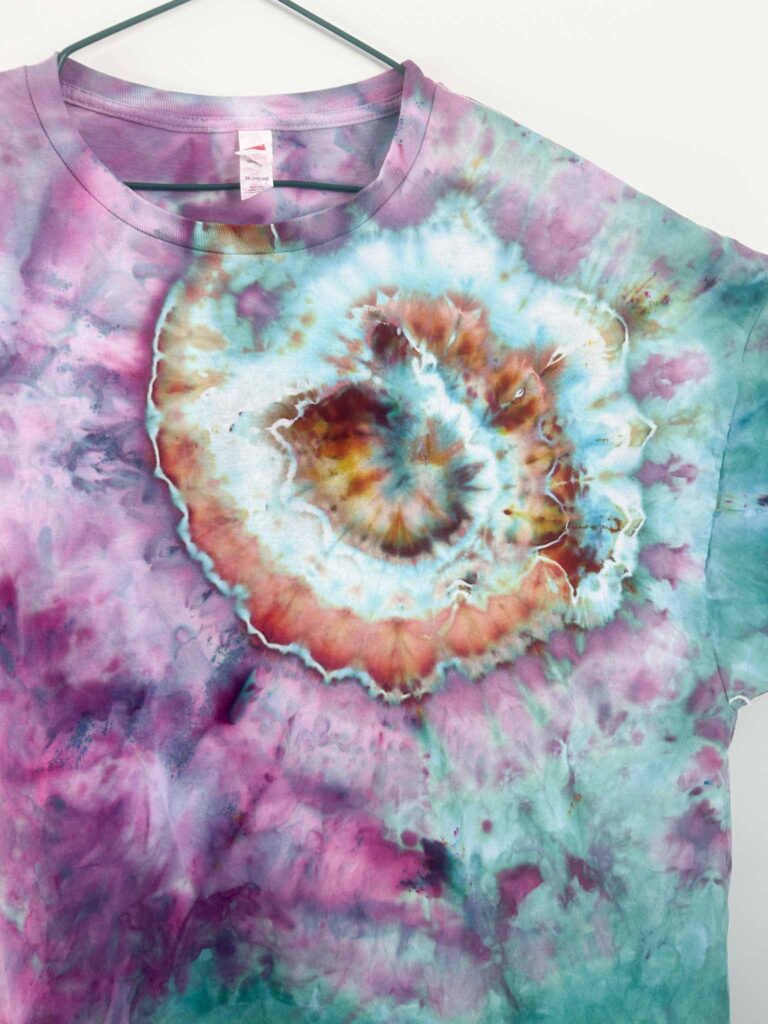
Nautilus Tie Dye Pattern
This one gives you a beautiful shell-like spiral, kind of a cross between a spiral and a mandala fold. It’s simpler than it looks once you get the hang of it.
What You’ll Need
- A blank shirt (or any blank you like to tie dye on)
- Sinew (or your usual tying material)
- A small piece of plastic (optional)
- A letter rack or elevated rack
- A cake pan or tray to catch drips
- Ice
- Dye of your choice
How To Fold It
- Start with a classic spiral. If you want the nautilus to show up on just the front of your fabric, place a small piece of plastic between the front and back layers before you spiral. Skip the plastic if you want the front and back to match.
- Gently unspool the spiral just a bit so it’s less tightly wound and more cone shaped. Skipping this step leaves too much white space in the finished design, so don’t rush past it.
- Wrap sinew around the base of the spiral about three or four times to secure it.
- Zigzag fold the rest, back and forth on a diagonal, just like you would for a mandala fold. First go up on one diagonal, then switch to the opposite diagonal.
- Choose your exterior technique for the rest of the fabric. A scrunch keeps the nautilus as the star of the show. A geode is fun too, but it can compete with the nautilus for attention.
Applying Dye
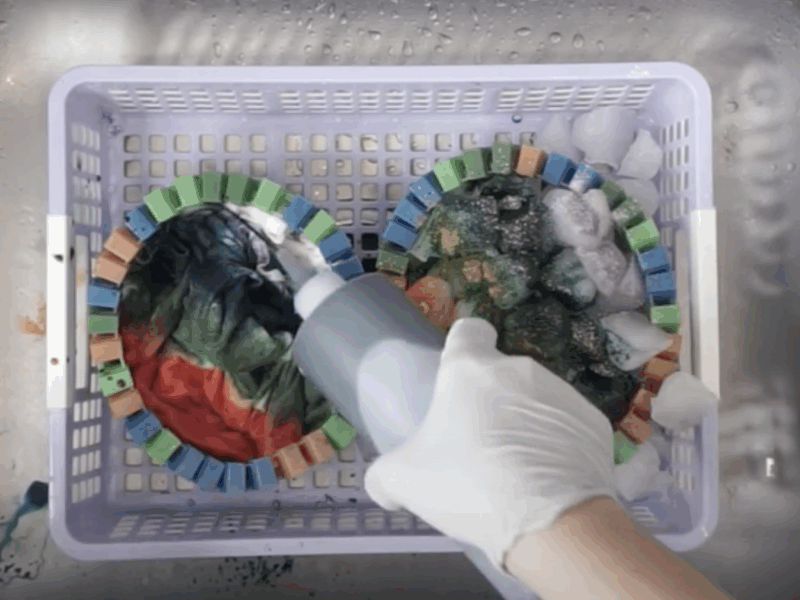
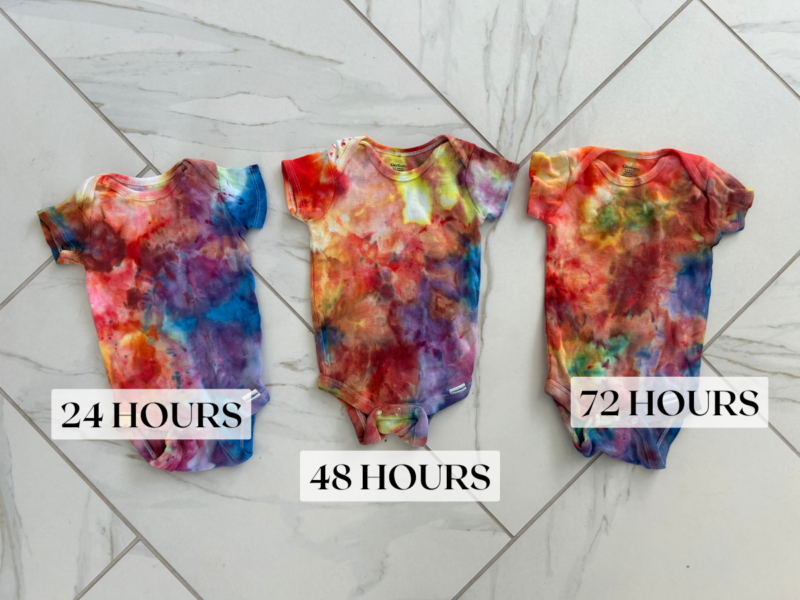
Set your folded piece in a letter rack over a cake pan. Apply your dye, then cover with ice, using extra ice cubes directly on the nautilus area. Let the ice melt and the piece sit for at least 24 hours before rinsing.
Rinsing It Out
Rinse in cool water first, then slowly unwrap while continuing to rinse until the water runs relatively clear. Bump the water up to hot, add a little dish soap and work up a lather, then finish with a machine wash on hot with color catchers.
Kaleidoscope Tie Dye Pattern
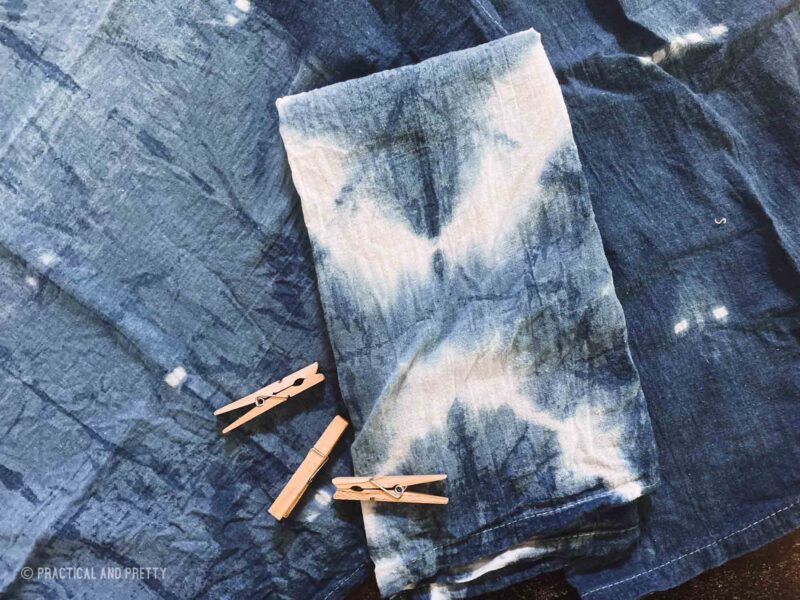
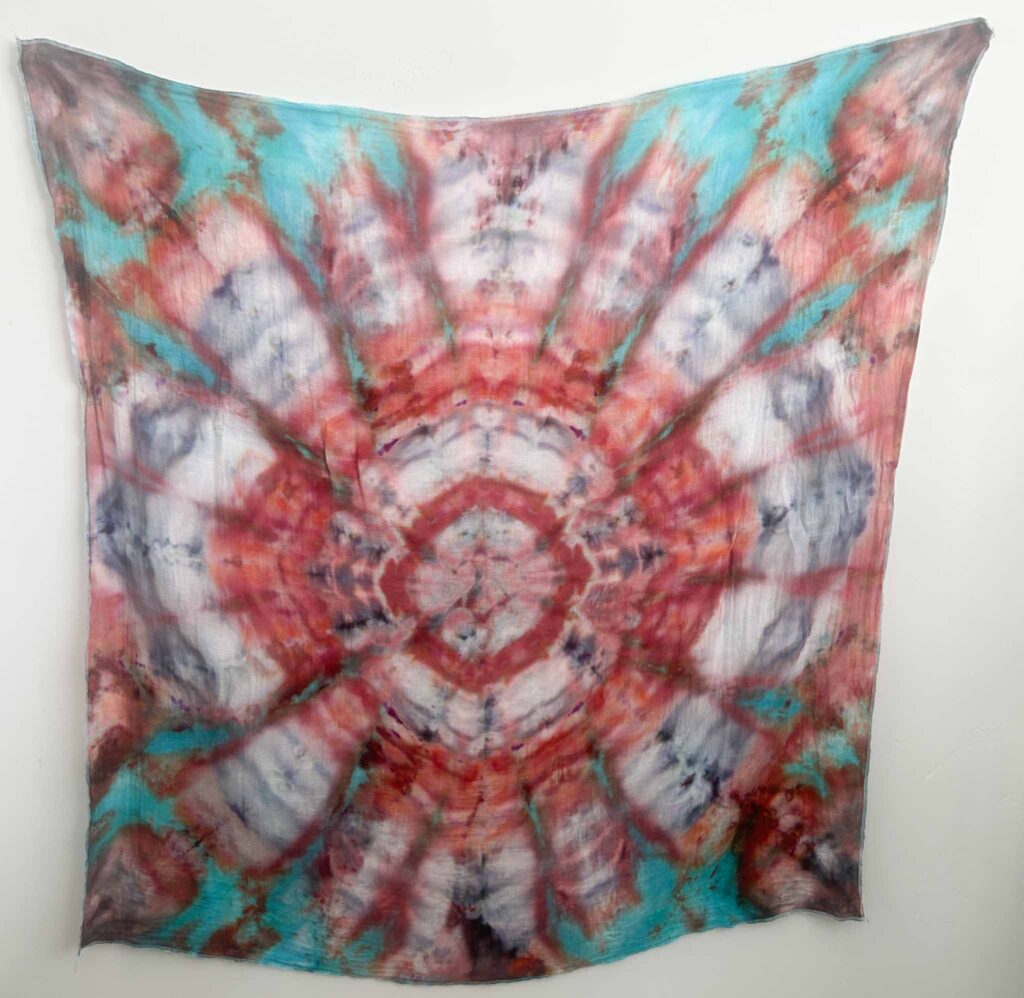
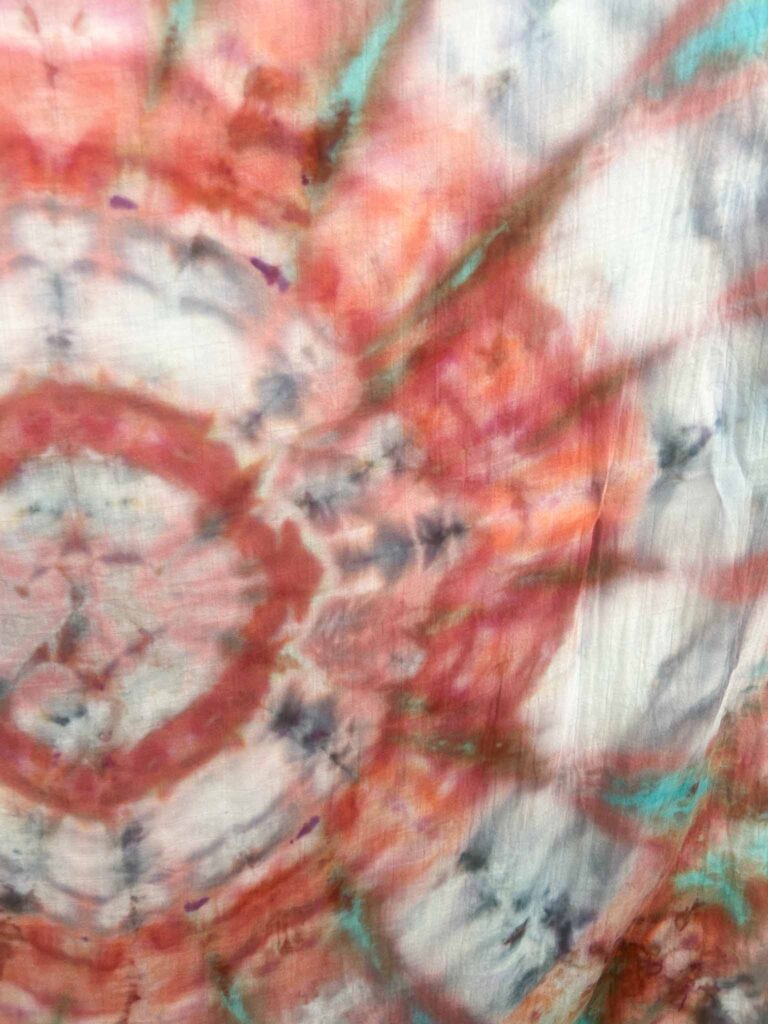
This one starts as a circle fold and turns into two totally different looks depending on which folding method you use. I tried it two ways on cotton towels so you can compare the results.
How to fold it
- Fold your towel in half, then in quarters.
- Fold it like a paper airplane. Fold one corner in, then the other, then pinch through the center and fold again. Repeat the fold once more so it ends up fairly skinny once rolled.
- Starting from the tip, roll the fabric in on itself, keeping it as smooth as possible.
- Wrap magic tracks around the outside to hold everything in place.
- Add ice on top. If your piece is small and dense, you may need to reapply ice partway through since it can melt through faster than expected.
Applying Dye
For the airplane fold towel, apply one color to one half of the circle and a second color to the other half for a clean, half-and-half look. For the accordion fold towel, try applying your colors more sporadically instead, sprinkling them in stripes rather than splitting the design evenly. Both approaches work beautifully, it just depends on the look you’re going for.
Let the ice melt and the piece sit for at least 24 hours before rinsing.
Rinsing It Out
Rinse in cold water first, then bump up to hot water and add a little dish soap to help release the rest of the dye. These towels are especially easy to rinse out compared to a lot of other fabrics, so this step tends to go quickly. Finish with a machine wash and either tumble dry or air dry, whichever you prefer.
Psychedelic Roll Tie Dye Pattern
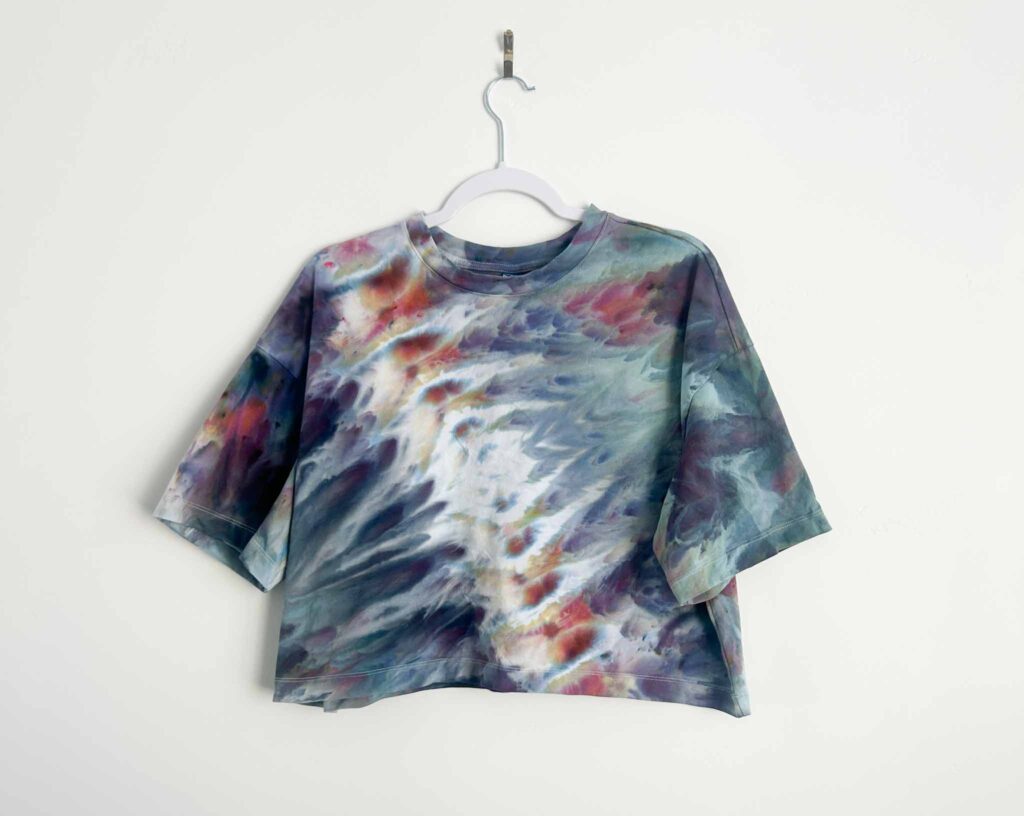
This one’s technically called a psychedelic roll, so that’s the term to search if you want to find more projects like it. It uses a gravity ice dye setup, which just means you’re dyeing top down instead of flat, and the fold itself creates a really cool eye-like effect where the colors meet.
What You’ll Need
- A blank shirt
- A gutter (or another gravity dye setup)
- A pool noodle to hold your fabric in place
- Ice
- Dye of your choice (I used Black Ice, a newer color that’s a mix of purple and black)
How To Fold It
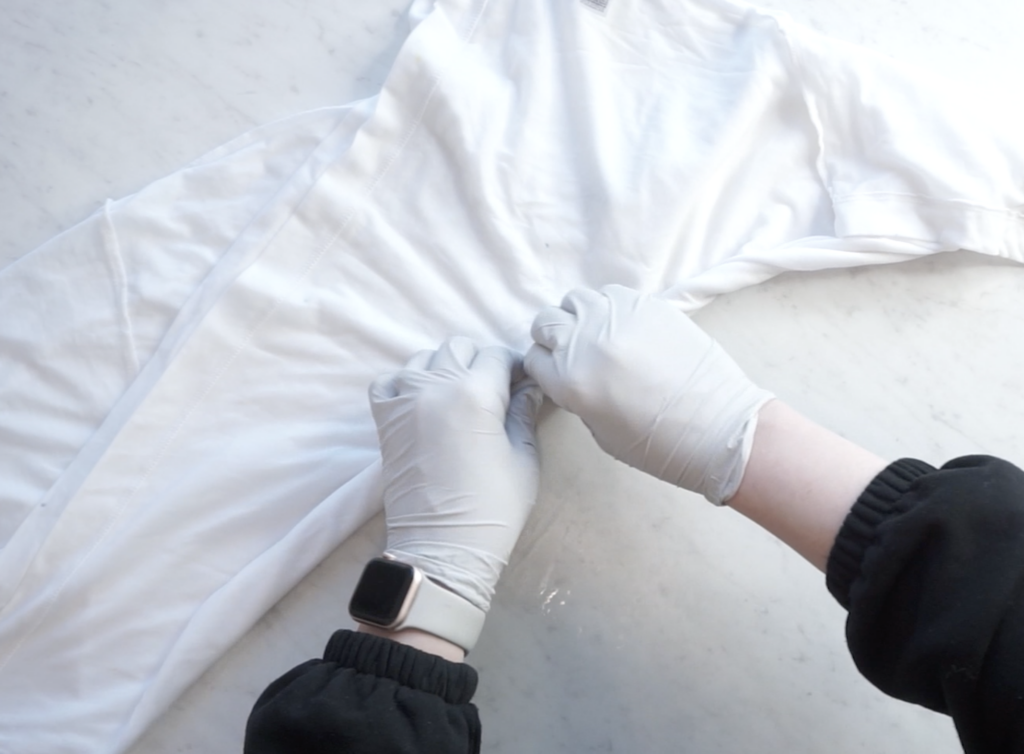
- Fold your shirt in half using a special method that keeps the front and back matching so one half doesn’t end up lighter than the other. To do this, find the center of your shirt, pull one sleeve in through the other, and fold it in half that way so the front and back both end up on the outside.
- Starting right at the armpit, roll a tight little roll across to the other armpit. Angle it slightly upward instead of going straight across for a cool eye effect, though straight across works too.
- Keep that center section tightly rolled, but let the outer edges fold in more loosely as you go.
- As you continue rolling toward the sleeve, the fabric will start folding in on itself. Fold it in half.
- Tuck the ends in and place your folded shirt in your gutter, using a pool noodle underneath to hold it in place so it doesn’t slide down.
Applying Dye
This project uses a gravity dye method, so the ice goes on first, then the dye goes on top of the ice. Since the tightly rolled center section is dense, give it a little extra dye so it can fully penetrate through. Top with a bit more ice, then let everything melt and sit before rinsing.
Rinsing It Out
Rinse in cool water first, getting out as much dye as you can, then bump the water up to hot and continue unfolding and rinsing as you go. Add a little Dawn dish soap to release any extra dye, then finish with a hot machine wash. This rinse process tends to prevent color bleeding onto other clothes, though it’s still a good idea to run a wash or two on their own before mixing them in with the rest of your laundry.
Which Pattern Should You Try First?
If you want something with a clean, structured spiral, start with the nautilus. If you’re drawn to bold color combos and do something simple, the kaleidoscope towel fold is a fun weekend project. And if you love a psychedelic, eye-catching effect with minimal folding fuss, the psychedelic roll is a great one to try next.
Frequently Asked Questions
What is a nautilus tie dye fold? It’s a folding technique that creates a spiral, shell-like design, similar to a mandala fold but shaped into a cone.
What is a kaleidoscope tie dye pattern? It’s a circular fold, made using either an airplane fold or an accordion fold, that creates a radiating pattern once dyed and unwrapped.
Which fold is easier for beginners, airplane or accordion? The airplane fold is easier to keep centered and circular. The accordion fold takes a bit more practice to get the tip centered, but it still produces a beautiful result.
Can I use these folds on shirts instead of towels? Yes, both of these folds work on shirts, towels, or any blank fabric you like to dye.
What is a psychedelic roll tie dye pattern? It’s a rolled fold, tightly wound through the center and loosely folded at the edges, dyed using a gravity ice dye setup. It creates a distinctive eye-like effect where the colors meet.
What is a gravity ice dye setup? It’s a method where your folded fabric is placed in something like a gutter with a pool noodle to hold it in place, so the ice and dye can drip down through the fabric vertically instead of dyeing it flat.
Want even more folds to add to your collection? Grab my free guide, 12 Tie Dye Folds, for even more patterns to try.