Each of these Elf on the Shelf Cricut ideas is so simple you can whip them up even at the last minute. Even though they’re perfect for beginners they still turn out super cute and fun.
It’s 8 pm and you can’t run to the store but just know there’s a way you could make what you’re looking for. I have some ideas for you here to whip up last minute or create them in one big batch like I did and have them all ready!
All of these projects can be used with any Cricut whether you’ve got an Explore, Maker, Joy, or whatever else they came out with this month!
Table of Contents
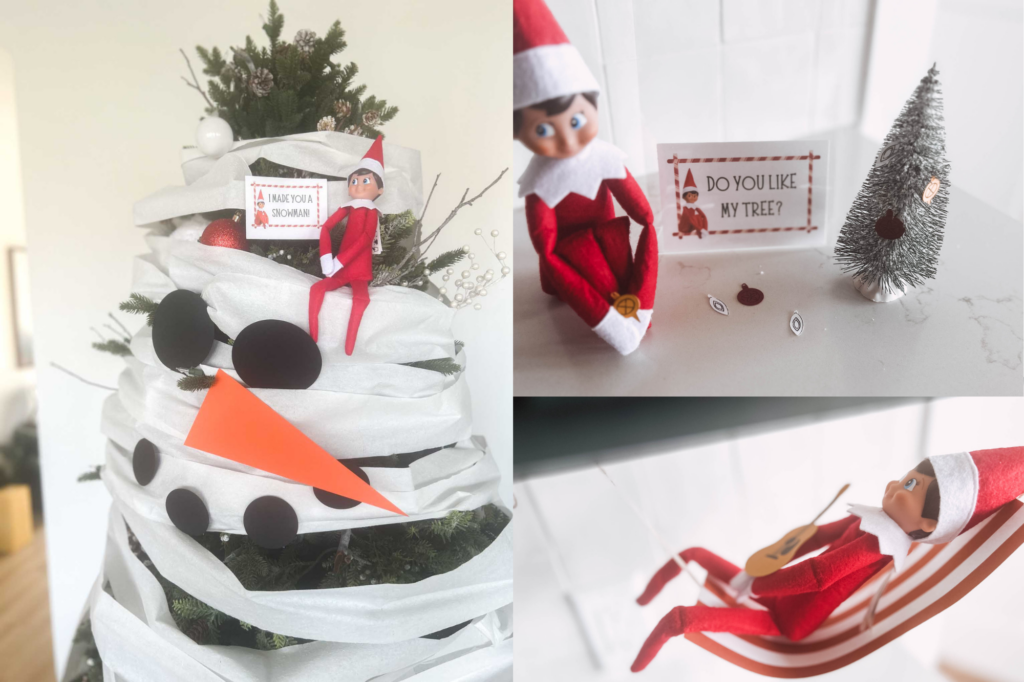
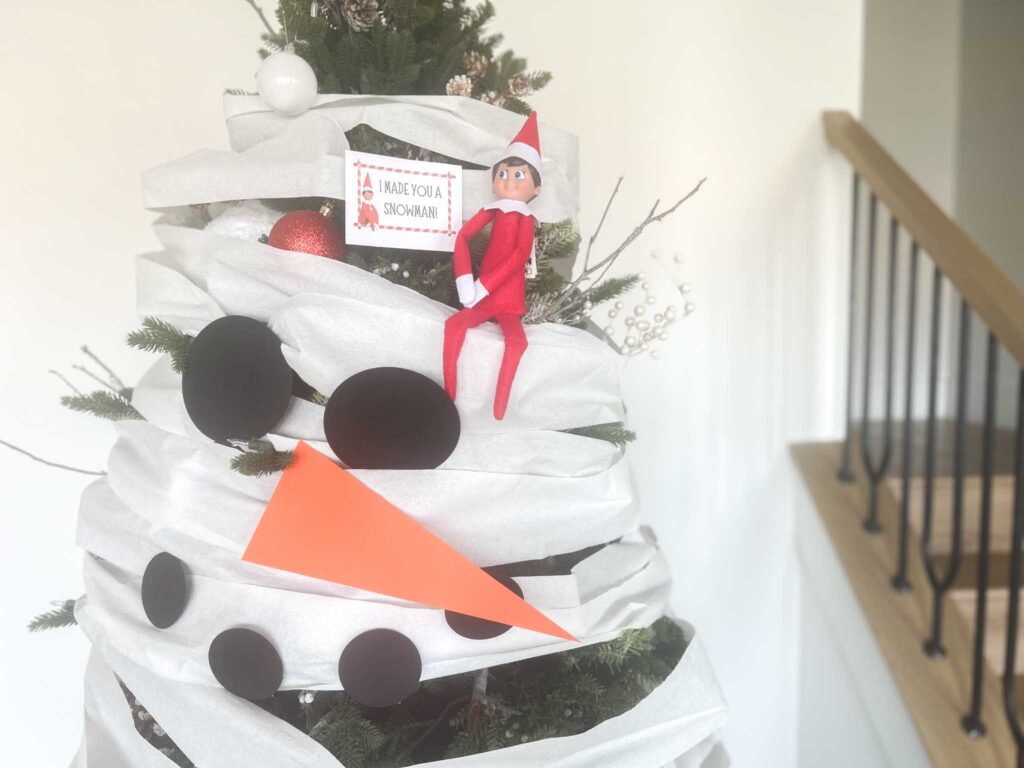
Snowman Christmas Tree Elf on the Shelf Idea
This idea will take you about 10 minutes using just cardstock and toilet paper! My kids love this one and it’s easy for mom. Win-win!
What you Need
- Black cardstock
- Orange cardstock
- Toilet Paper
- Glue dots or tape
- Cricut
- This cut file
Steps to Create The Snowman Christmas Tree
- Open your cut file
- Load your cardstock according to the Design Space instructions
- Press go on your Cricut.
- Now for the fun part! Wrap your Christmas tree in toilet paper. (This was hands down the most time-consuming part. So if you’re doing this last minute, just keep that in mind! When I say it was time-consuming I’m talking maybe 10 minutes.)
- Use tape or glue dots to attach each of your snowman parts onto the toilet paper.
If you’d like the little note you see here, download the free Elf on the Shelf notes template for Canva I created here.
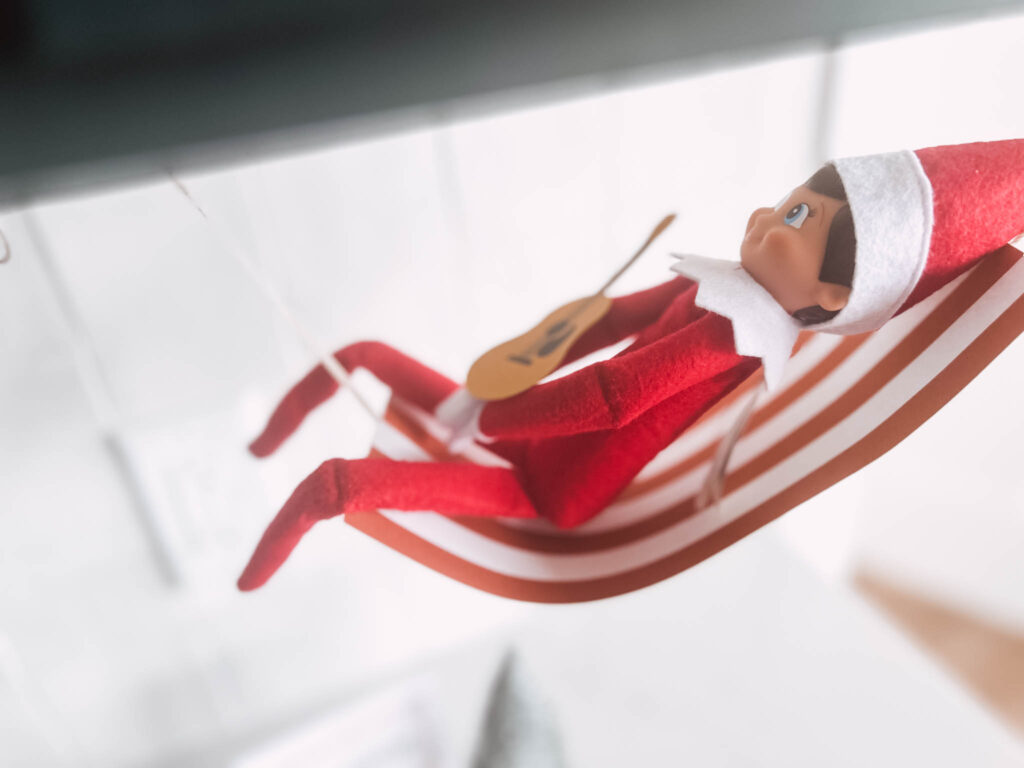
DIY Hammock for Elf on the Shelf
Have your elf hang out for a minute and take a break from some of his antics with this cute little hammock and guitar.
What you Need
- White 8.5×11″ Cardstock
- Printer
- String
- Glue dots or tape
- Cricut
- Design space file
Steps to Create the Elf on the Shelf Hammock
- Open your cut file
- Print off your file onto cardstock using the Design Space prompts.
- Load your cardstock according to the Design Space instructions
- Press go on your Cricut.
- Cut your string to size. Each of my pieces was about 10″.
- Place some glue dots on the back of the hammock and attach the string by placing both edges onto the glue dot.
- Slightly bend the hammock so your elf can hang comfortably.
- Use tape or glue dots to attach the hammock where you’d like your elf to hang.
- Place your elf in the hammock and the guitar on his lap.
The little note you see here from the Elf is a free printable I have for you. You can find that here.
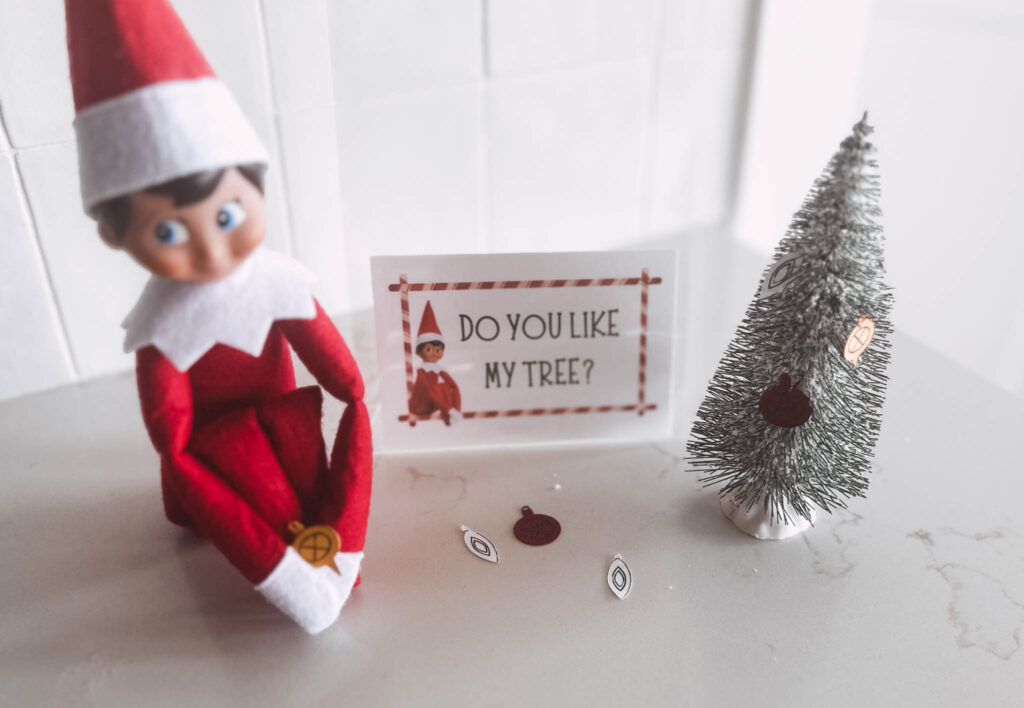
Mini Christmas Tree Ornaments for Elf on the Shelf
These cute little ornaments use just cardstock and an optional pen. You can pull out one of those little bottle brush trees or I also have a cone in the design space file you can utilize as well.
What you Need
- 3 colors of cardstock (I used yellow, maroon, and white)
- Cricut pen
- Cricut
- This cut file
How to Make Mini Christmas Ornaments with Your Cricut
- Open your cut file. (Note if you’re using a bottle brush and don’t want to make your own little Christmas tree, delete that part of the Design Space file.)
- Load your cardstock according to the Design Space instructions.
- Press go on your Cricut.
- If using a bottle brush tree, place your ornaments within the branches
- If you’re utilizing the cone Christmas tree, place some glue dots along the straight edge of the cone and connect it to the other edge of the cone.
The little note that reads ‘Do you like my tree’ you see here from the Elf is a free printable I have for you. You can find that here.
More Elf on the Shelf Cricut Ideas
Even More Elf on the Shelf Christmas Ideas
I've gathered a few of my favorite ideas I've found utilizing your Cricut to make the Elf on the Shelf tradition even more fun this year!
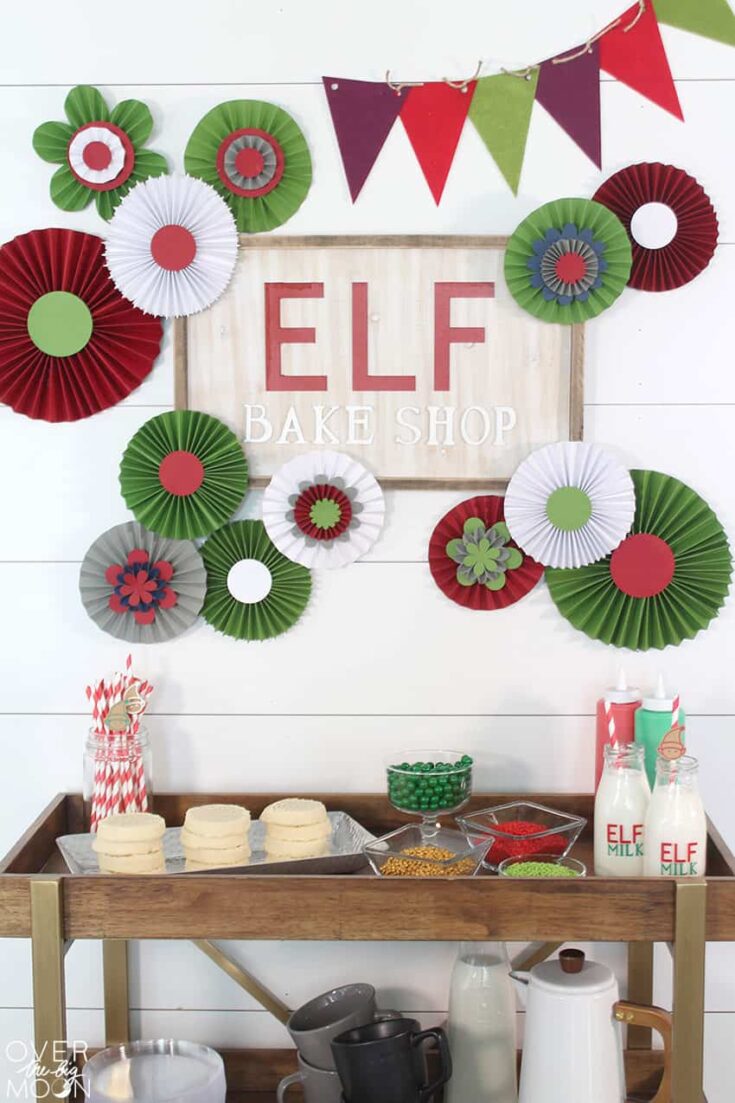
Elf Cookie Station
How amazing is this Elf on the Shelf cookie station?! Pam uses vinyl to create this darling little scene.
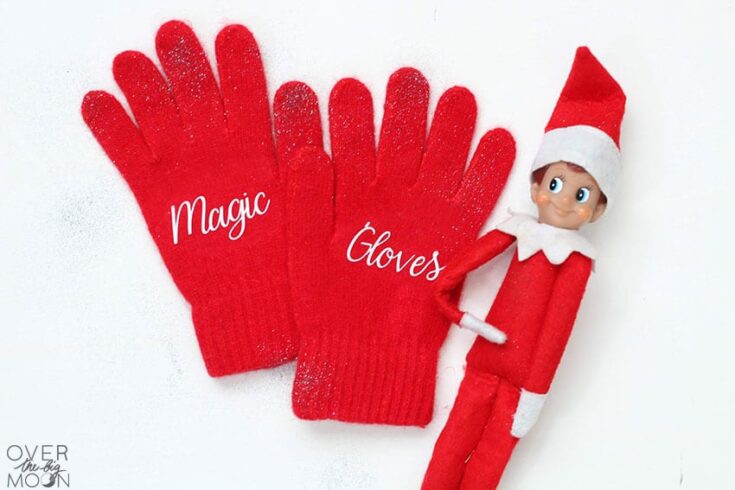
Magic Elf Moving Gloves with Cricut
Give your child the option to move the elf every so often with these magic moving gloves.
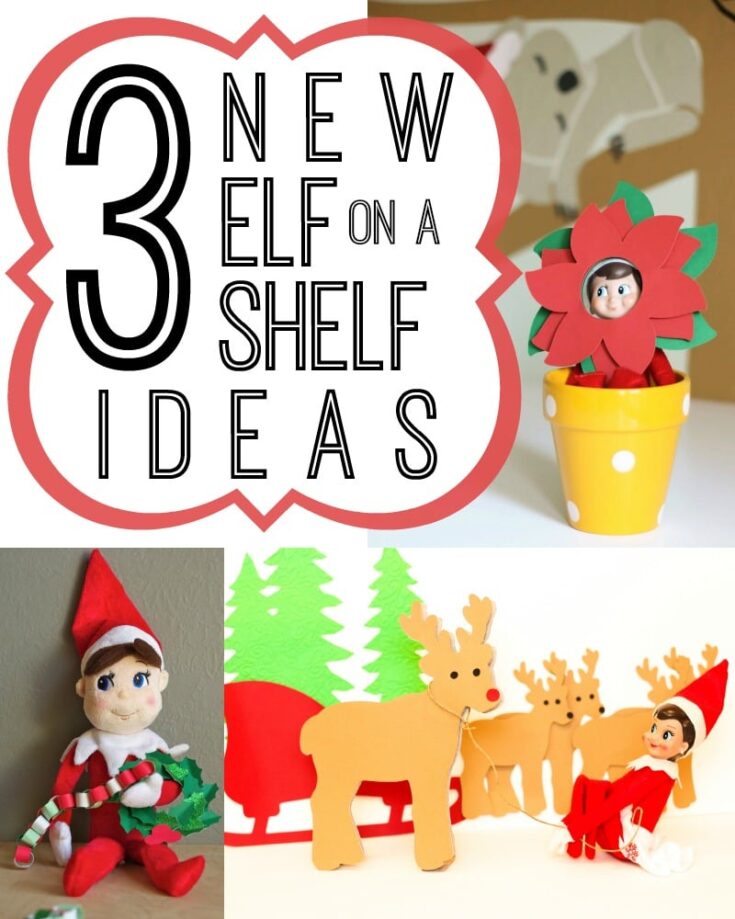
3 Elf on a Shelf Ideas from Remodelaholic
Remodelaholic has 3 different ideas for you that are also super simple.
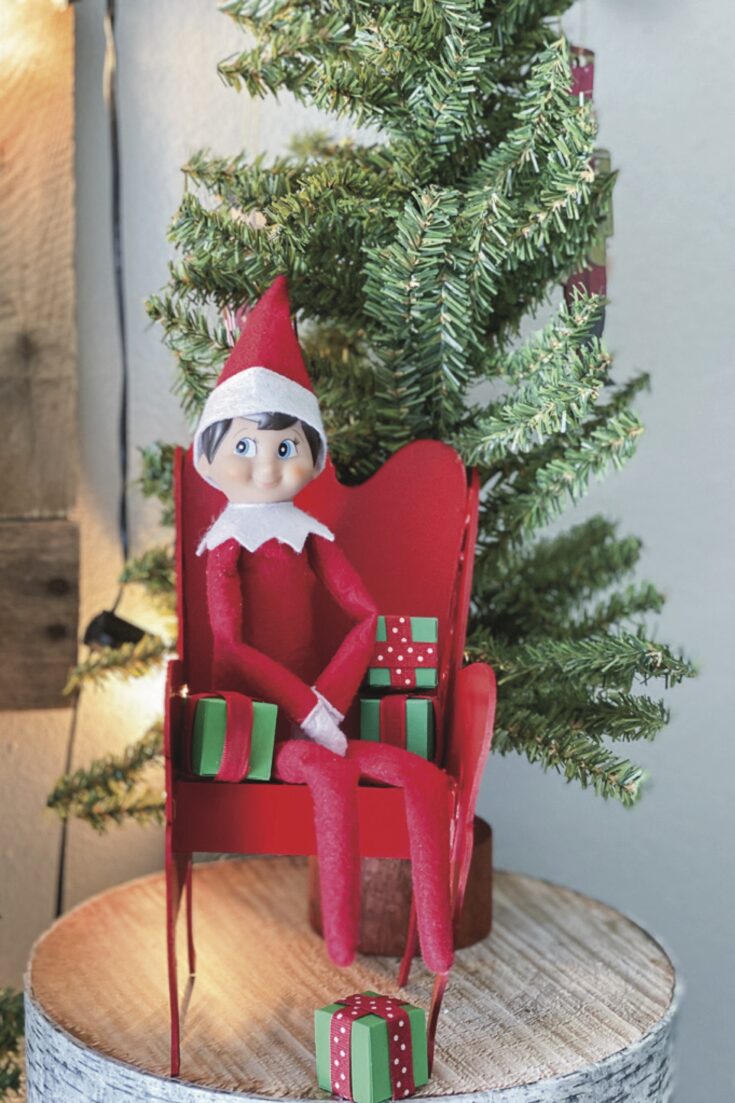
DIY Elf on the Shelf Chair
This cute little Elf chair and presents is a perfect little prop for all sorts of different set ups.

Elf on the Shelf Quarantine Box with Your Cricut
The Elf is around for cold and flu season so even he may need a little space from the sneezes and coughs. This project is so silly and cute.
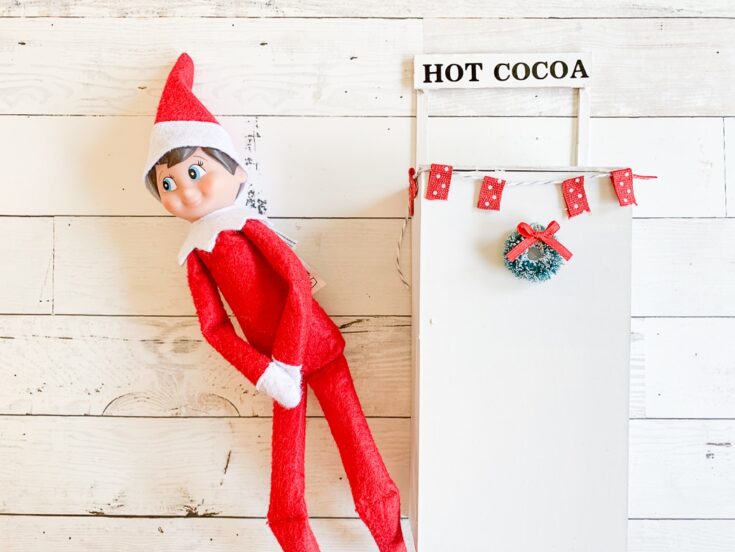
Hot Cocoa Stand for Elf on the Shelf
Clarks Condensed created a cute little hot cocoa stand that is perfectly elf size. Pull out some mini marshmallows and decorate this darling scene.
If you make one or multiple of these I would love to see what you create! I hope you found at least one idea that sparked some ideas for you and your elf this season.


