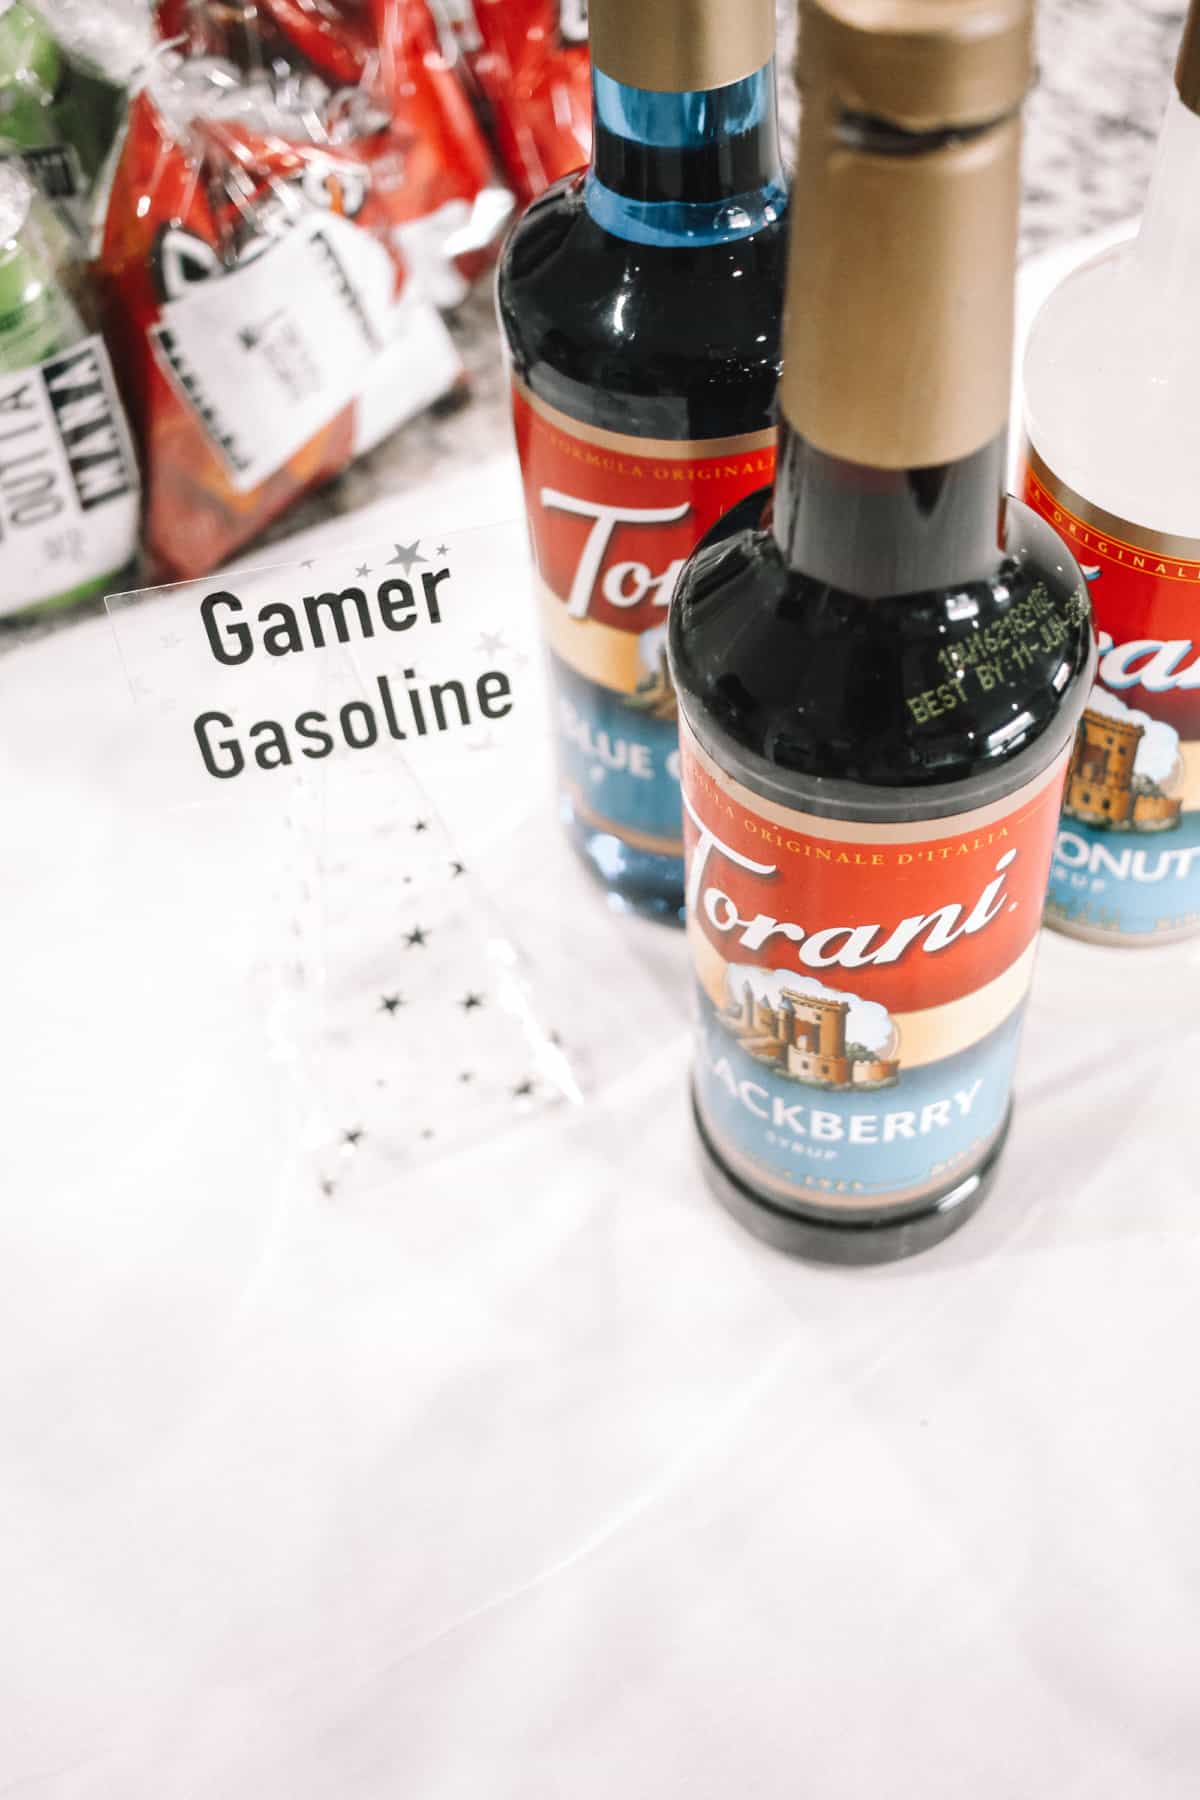
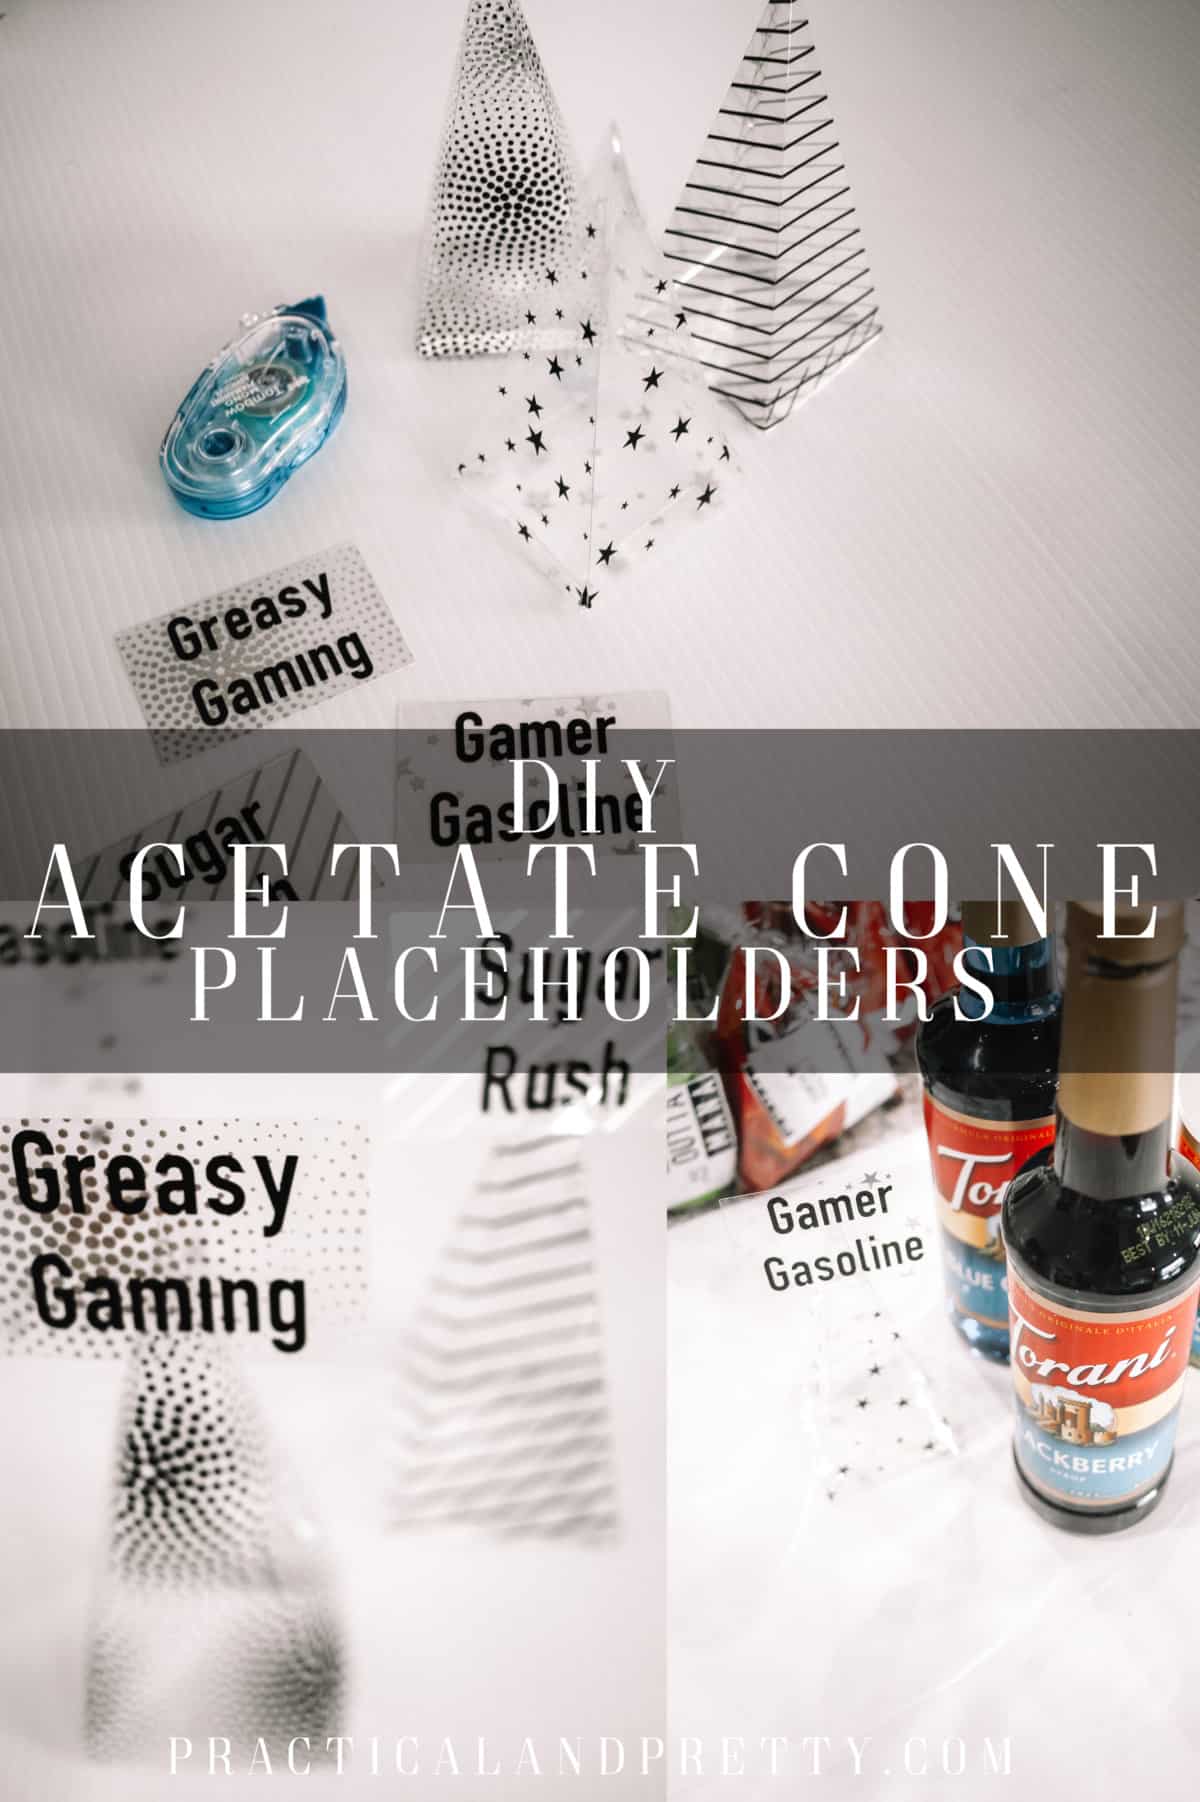
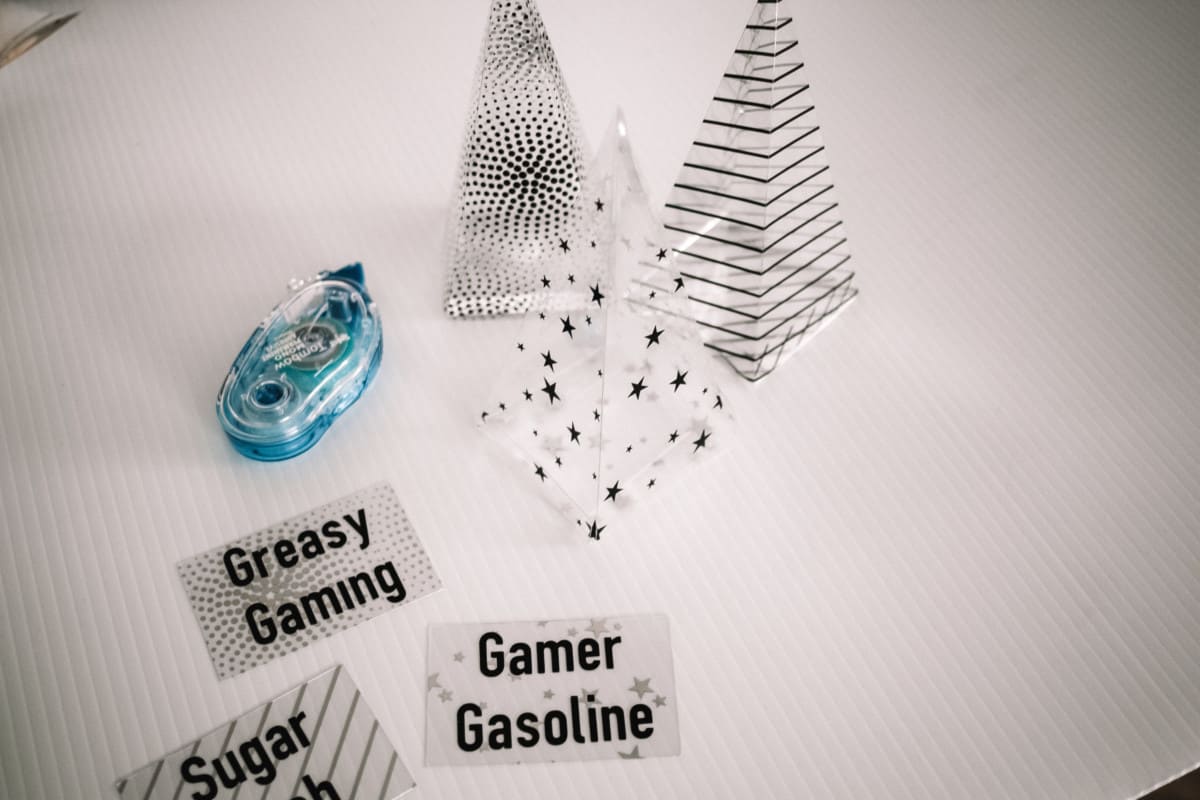
Create these foil acetate placeholders for your favorite gamer and their next party. You can also use the idea and cut file to customize it to your liking!
I recently threw a party for a big milestone birthday party for my husband. He is a big gamer so of course that’s what we needed to make the theme! I put together some fun placeholders for the food. This was my first time using foil acetate and a scoring stylus with my maker. One day I will get a scoring wheel insert for my maker but the stylus will also work for this project!
What you need for your foil acetate placeholders
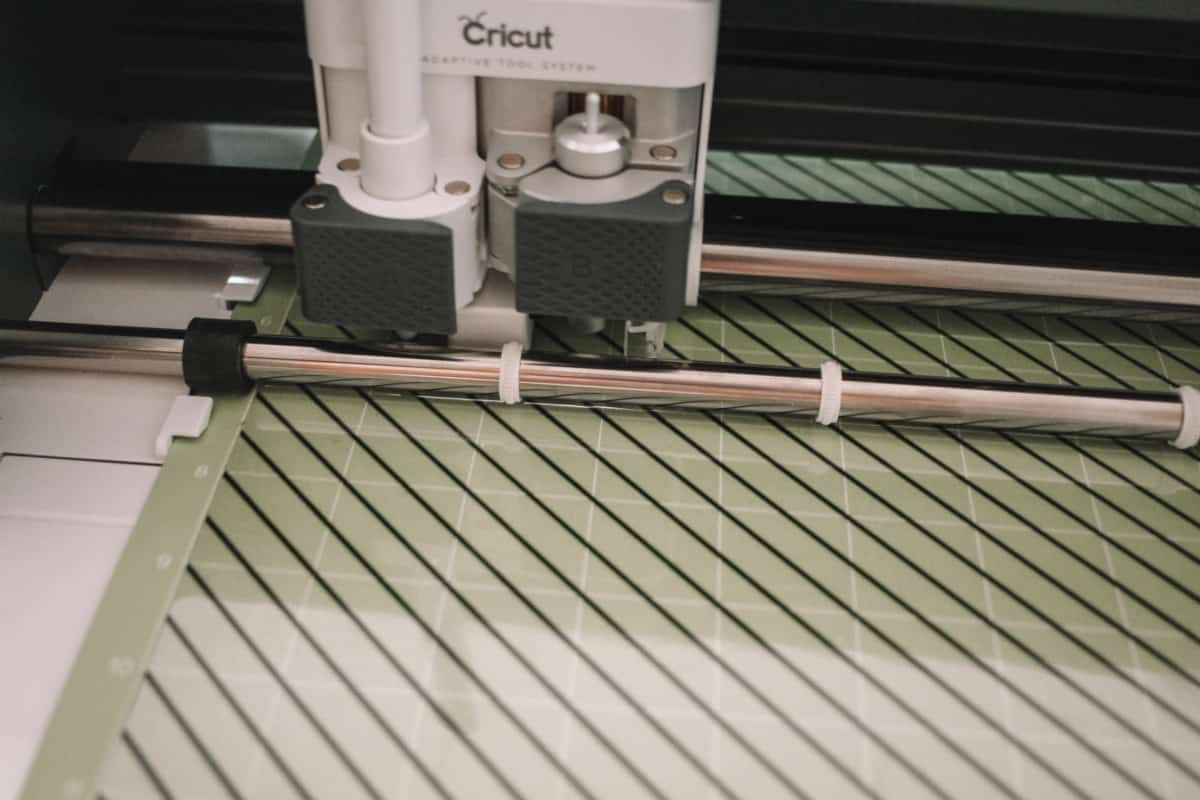
- Cricut Maker
- Scoring Wheel (Preferably, or a scoring stylus)
- Vinyl
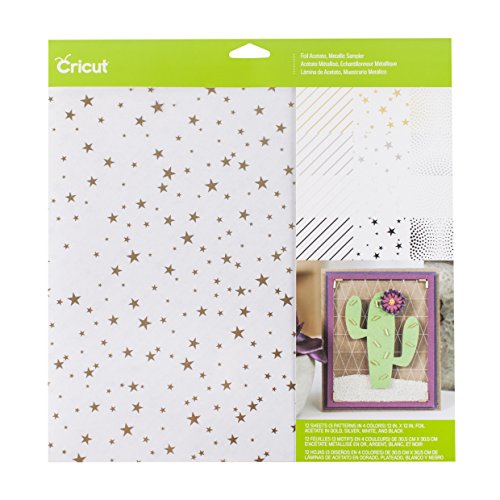
- Foil Acetate
- Glue Tape
- This cut file (You can adjust the text to say whatever you’d like)
Shop this Post!
These are affiliate links! I earn a small commission if you purchase through them at no cost to you!
Cricut Maker, ChampagneBuy NowCricut 2005101 Single ScoringBuy NowCricut 2005182 Vinyl, PremiumBuy NowCricut Foil Acetate MetallicBuy NowTombow MONO Permanent AdhesiveBuy Now


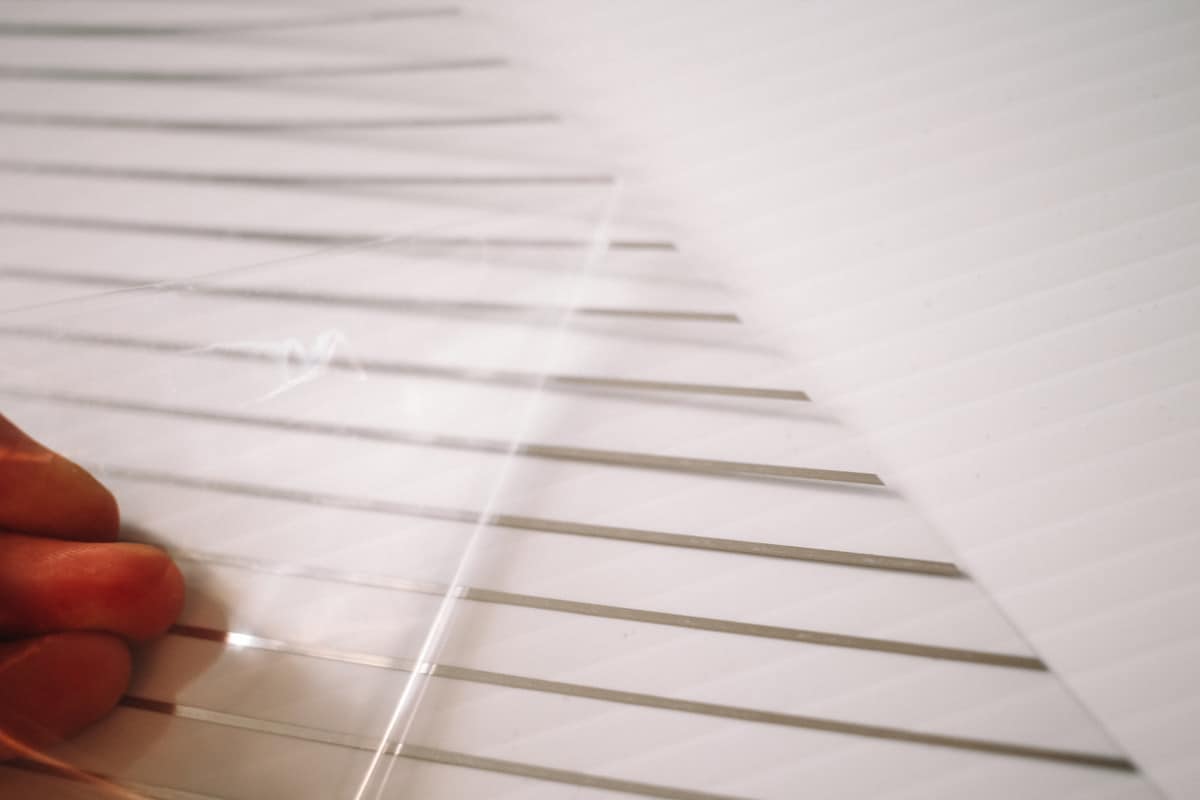
First you will cut your foil acetate according to the instructions on your cut file. There is a film on the acetate so be sure to remove that first!
Once the acetate is cut, start cutting your vinyl and do the following steps.
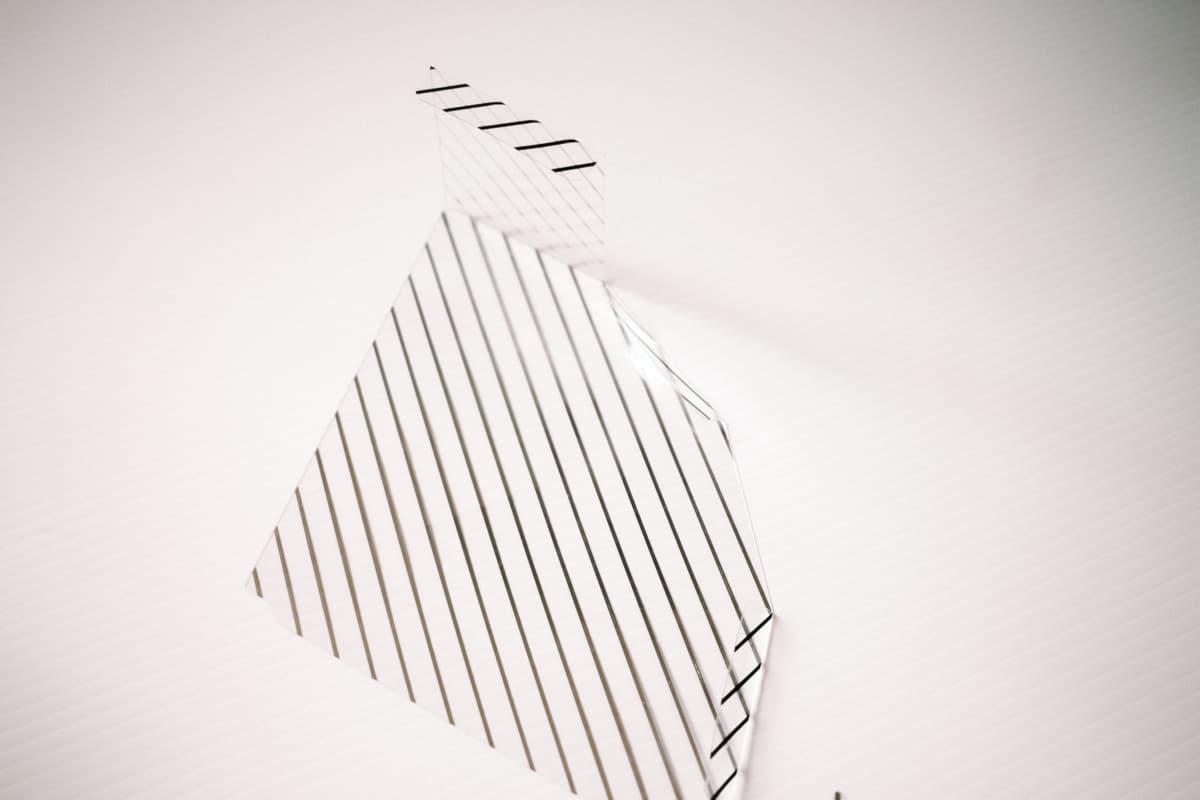
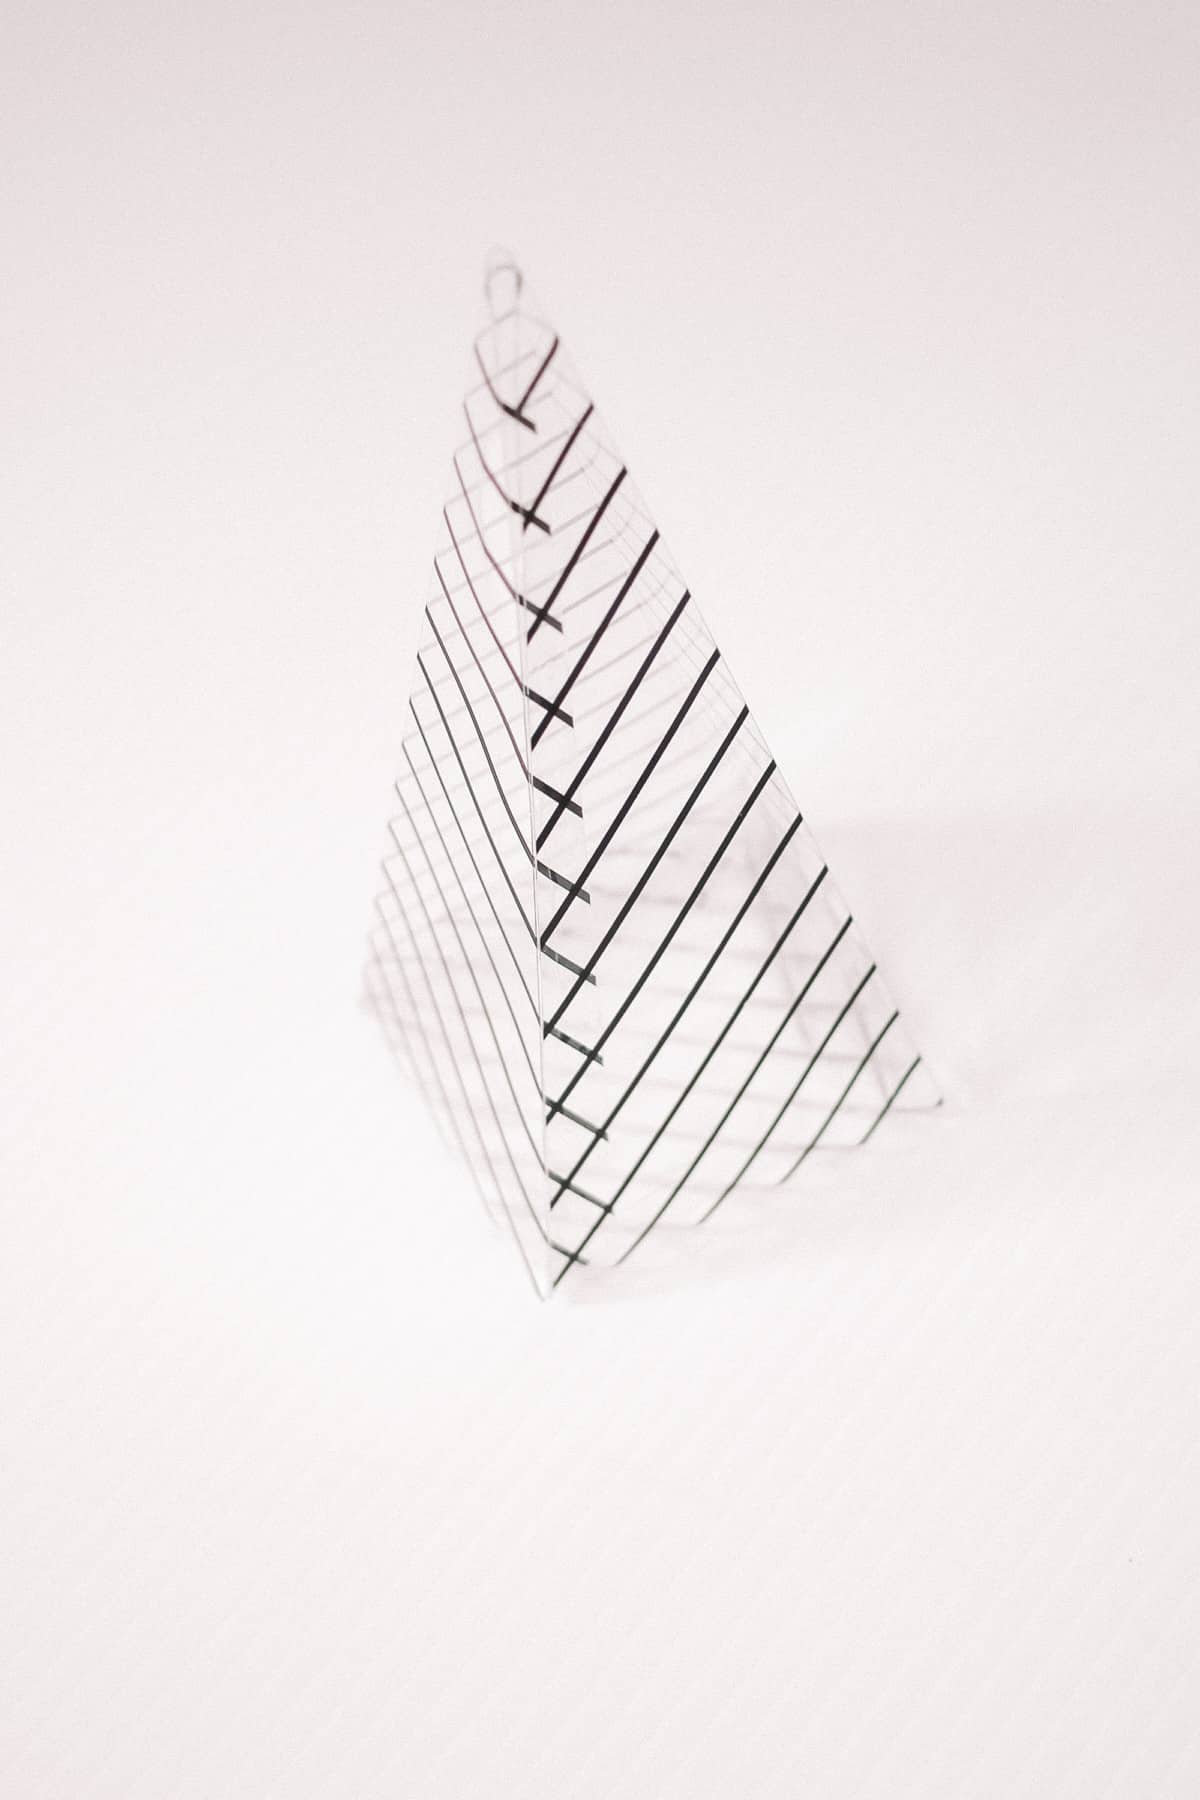
Pick what side of the acetate you’d like the outside to be. I picked the back to face out where I placed the vinyl and the correct side for the pyramids.
Begin folding along each scored line with the wrong sides toward each other. If you fold it the wrong way, it’s not too big of a deal!
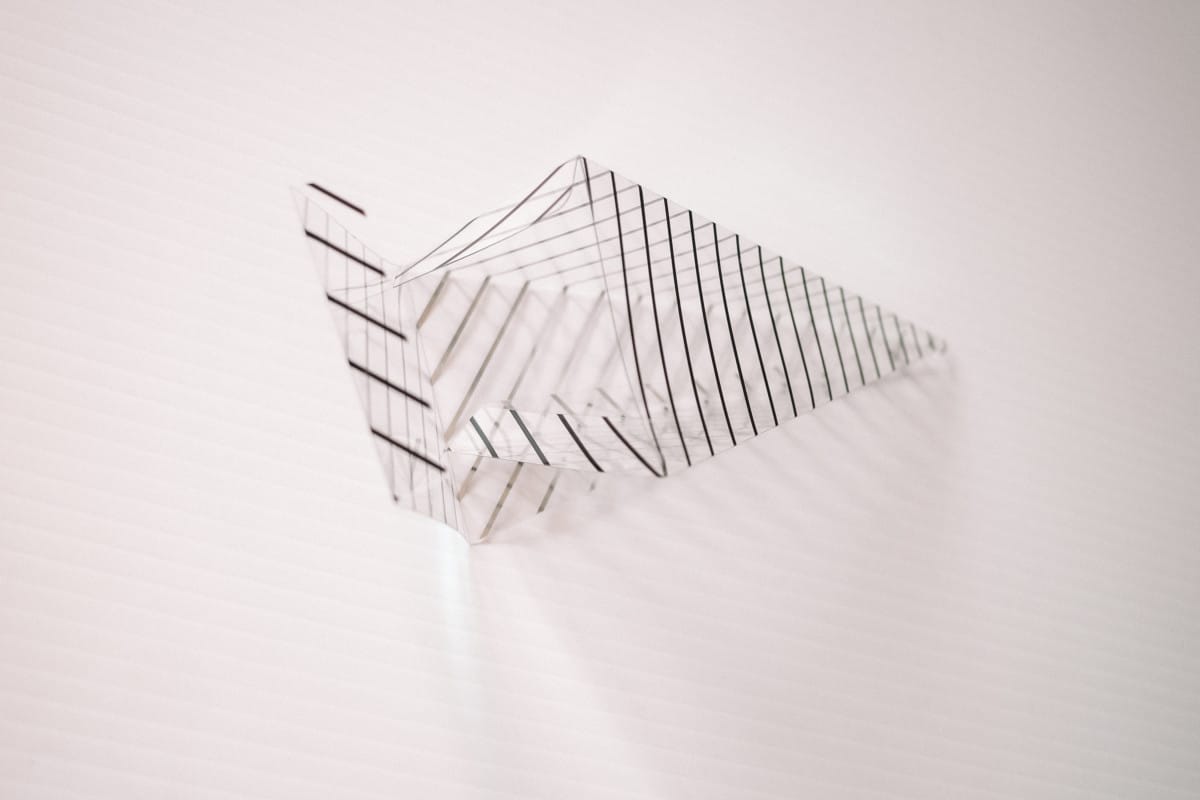
I used glue tape along the folded edges and pushed it together to form the pyramid shape. If it started popping off I would just fold it down again and press it for about 10 seconds and it would stick pretty well.
Now your vinyl should be all cut! Weed the letters and use some transfer tape to get it on the littlest rectangle that was cut out.

From here you will use your glue tape to attach the rectangle to the pyramid and you are all done! If the glue tape isn’t sticking very well to this part you are welcome to put a dab of glue on there too but I found if I held it still for long enough it would stick.
That was it and I was all done! These were a pretty big hit and I had so much fun coming up with the fun sayings! You don’t have to use them the way I used them either you can do whatever you’d like for food!