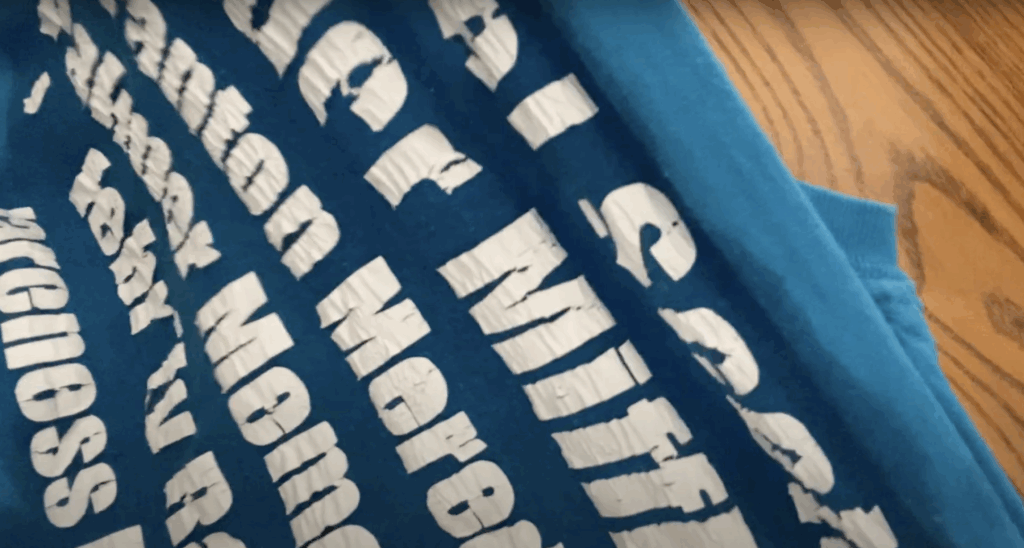
Did your Cricut project not go as planned? Or maybe your favorite shirt is peeling after a few years of wear? Don’t throw it out yet! In this tutorial I’ll show you the fastest and safest way to remove iron on vinyl (HTV) from fabric — without damaging your shirt.
Why You Might Need to Remove Iron On Vinyl
I’m obsessed with iron on vinyl. I use it for every holiday shirt, every toddler graphic tee, and more custom gifts than I can count. But here’s the thing:
- Sometimes I mess up. (Okay, a lot)
- Old vinyl eventually starts to peel or crack.
- Sometimes you just want to re-use a blank shirt for a new design.
Instead of tossing it, you can actually remove the vinyl completely with one simple product.
What You’ll Need
- [VLR Vinyl Remover (Amazon)]
- Parchment paper, cardboard, or a towel (to protect your surface)
- Tweezers (optional, for small details)
- A well-ventilated space (the solvent has a strong smell!)
How to Remove Iron On Vinyl (Step-by-Step)
Here’s my foolproof method. If you’re more of a visual learner, I’ve included a video tutorial too.
Step 1: Flip your shirt inside out
Place parchment paper or cardboard inside to protect your work surface.
Step 2: Apply the VLR solvent
Dab the remover directly behind the vinyl. A little goes a long way!

Step 3: Let it sit
Wait about 30 seconds for the solvent to break down the adhesive.
Step 4: Turn the shirt right-side out
You’ll start to see the vinyl loosening.
Step 5: Stretch the fabric
Pull gently on the shirt so the vinyl begins to crack and lift.
Step 6: Peel off the vinyl
Use your fingers or tweezers to pull away the design. Repeat as needed until it’s gone.
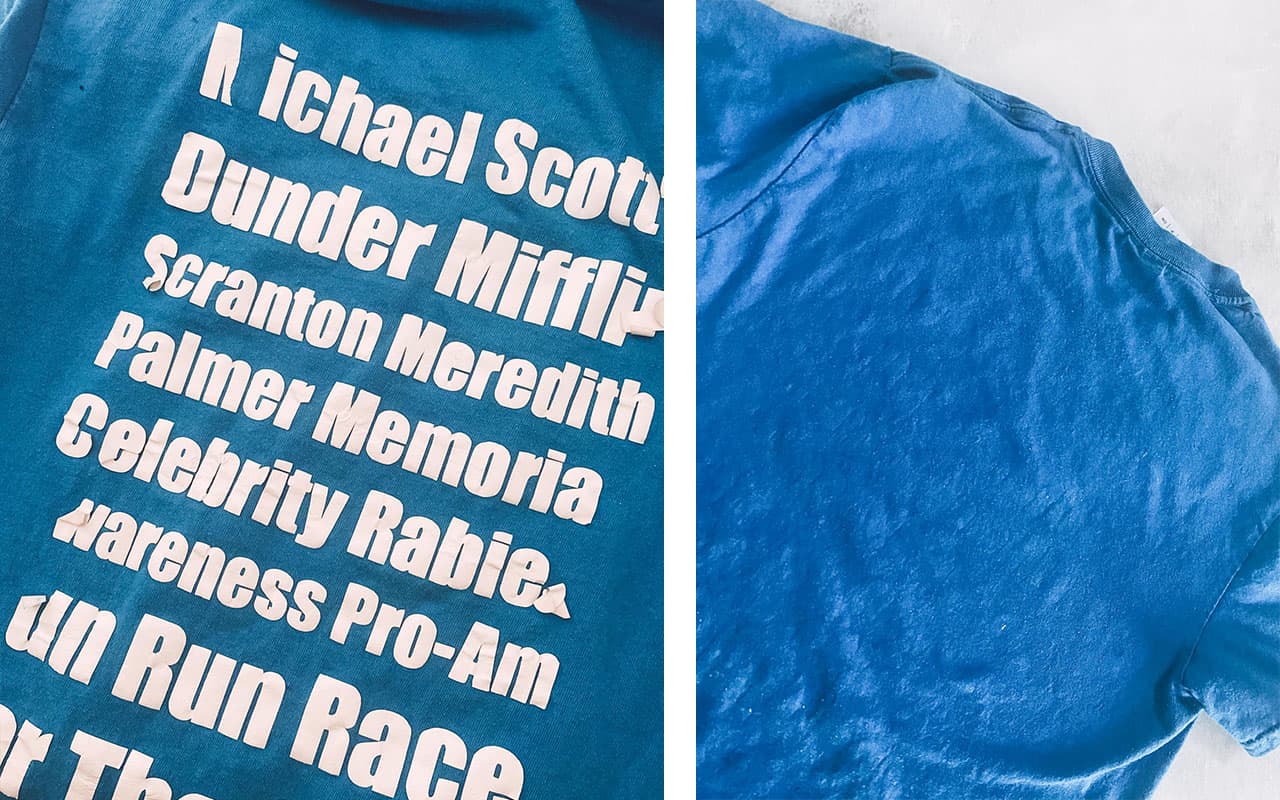
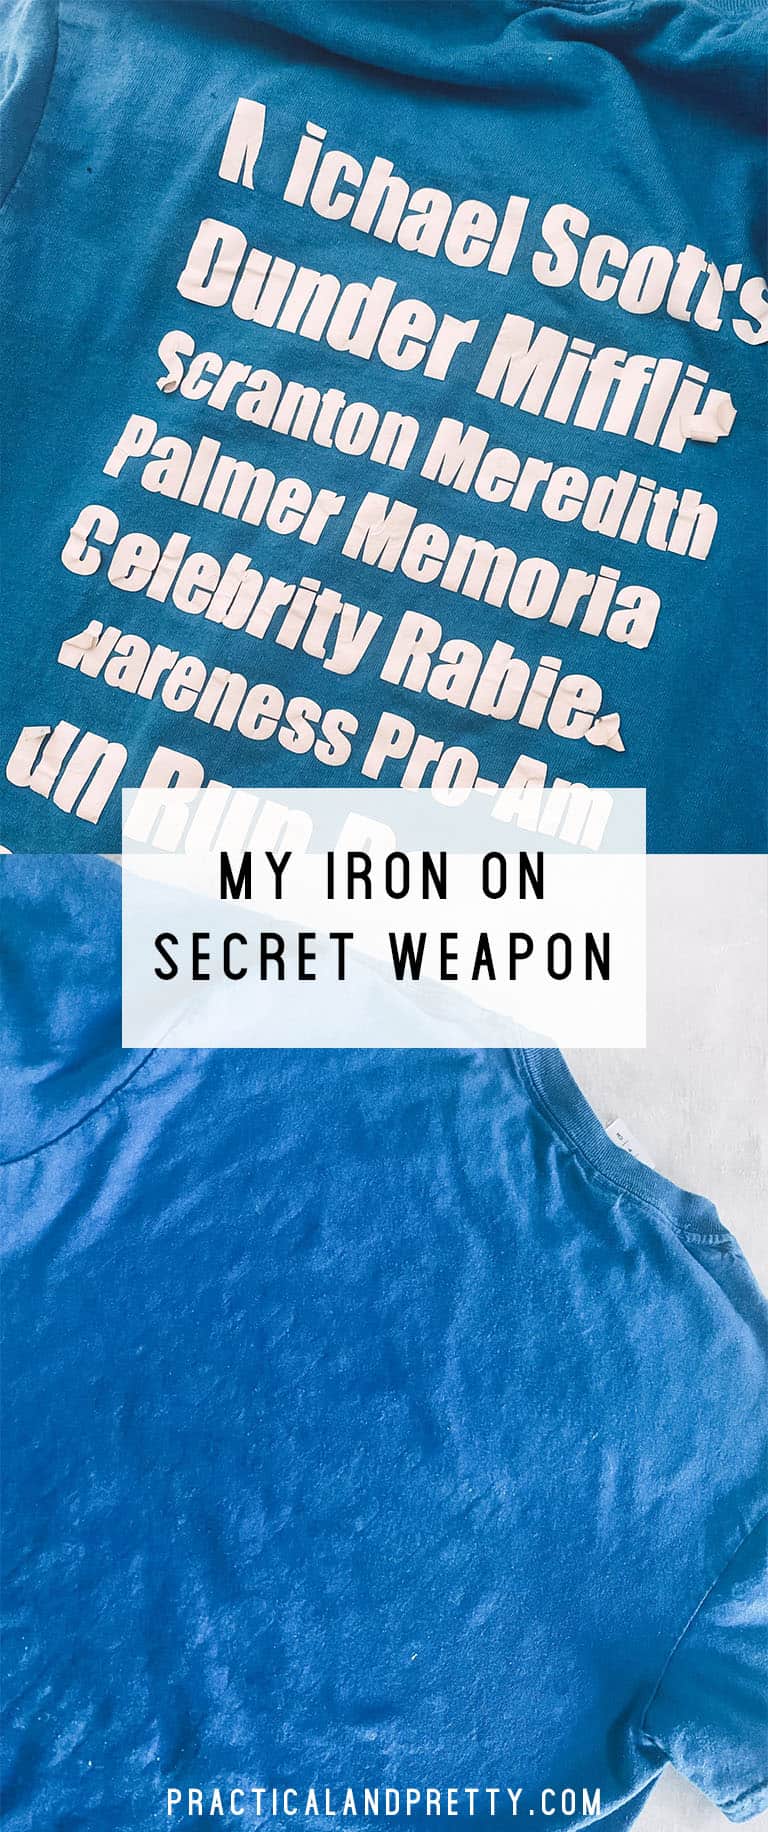
Before & After
Can This Work for Patches Too?
Yes! This method works on iron on patches, printable iron on, and any HTV applied with heat.
FAQs About Removing Iron On Vinyl
Nope — VLR is safe on cotton and poly blends. Just avoid delicate fabrics like silk.
Yes! Once the solvent has dried, your shirt is ready for a brand new design.
You can try heat or peeling, but in my experience it usually makes the vinyl stick harder. VLR is faster and way less frustrating.
What’s Next?
Now that your shirt is blank again:
- Only messed up one letter? 👉 Here’s how to fix iron on lettering.
- Or turn your blank shirt into something new 👉 try one of my tie dye tutorials.
✨ With this method, you can save your shirt, reapply a design, or give it a second life as a tie dye project.
Want to try tie dye? I have some of my favorite folds you can try out here!


I cannot wait to order this stuff and try this! It’s going to save me so many messed up blanks! THANK YOU!
Right!? It’s the best.
I just ordered and tried it out. I did have a residue left that I couldn’t get rid of. Did this happen to yours at all? I wonder if it’s because it was new vinyl vs. older (lots of washes) vinyl. I was also removing from black and navy blue. I was able to use the reverse side but I’d love for your suggestions if you have any troubleshooting ideas
I would probably just try again and see if you can’t get that residue off! For me newer vinyl came off easier than old vinyl.
Thank you so much for this tutorial. I just messed up a shirt with words on it and need to remove the letters. I am curious if you suggest washing the shirt before trying to reapply the letters after using the vinyl adhesive remover?
I don’t think it would matter either way!