In this tutorial I show you step by step instructions for Cricut infusible ink for both coasters and totes. There is video as well as printable instruction.
I really love Infusible Ink but there are so many places you can go wrong and mess up your project. That doesn’t only mean lost materials but the thing you were making is usually trashed by that point to. I’ve share before how to use infusible ink for shirts and coasters before but never in video form.
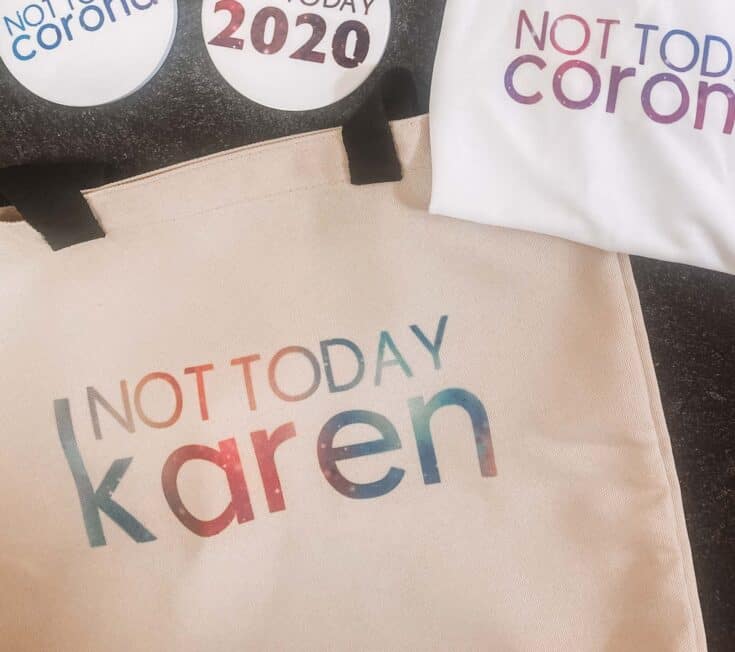
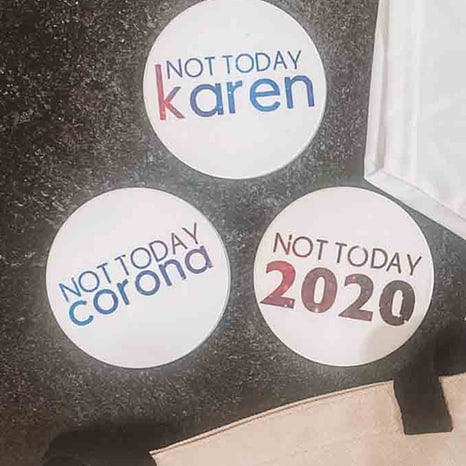
I also wanted to share these cut files because I think they’re really funny. So do with them what you want!

I tried to use my Cricut Joy and it would not cut through the Infusible Ink sheet. This was mid 2020 when I made these so the software may be updated now to fully cut through. From my experience, the Joy doesn’t always give me enough pressure to fully cut through a lot of materials, so I’ve still been using my Maker for most things unless I’m in a hurry.
Below you will find the video where I include steps for both the coasters and the tote. If you need to print these instructions I have them separately for you below.
If you’re wondering if it’s worth investing in the OG Cricut Blanks then read this post about the difference between Infusible Ink Blanks and cotton. Other 100% polyester items will work. Just be careful!
NOT TODAY Cut Files
I made these files specifically for 2020 but as the new year approaches I thought “Hey these are perfect for any year!” 2020 definitely left one to be remembered. You can’t say it wasn’t memorable.
How to Use Infusible Ink on Tote Bags
These instructions are the same as using a polyester shirt!
How to Use Infusible Ink on Tote Bags
Infusible ink is perfect for a fun custom tote bag!
Materials
- Infusible ink
- Infusible Ink tote (If you have another tote read my post about Infusible Ink Blanks. If it's 100% polyester you should be ok. If it's canvas - or 100% cotton - this won't look like mine.)
- Cardstock
- Butcher Paper (This comes in the Infusible Ink packaging!)
Tools
- Standard Grip Mat
- Cricut Cutting machine
- EasyPress (You can use an iron but it will take you quite a bit longer and you might not get it hot enough.)
Instructions
- To cut infusible ink with your Cricut Maker, you will select ‘Infusible Ink’ as your material and place your Infusible Ink transfer sheet with the tape side facing down. There is transfer tape built into each roll (super handy) and as long as that is touching your mat side, you will be just fine.
- DON’T FORGET TO MIRROR FOR IRON ON! Just like our regular iron on tutorials you are going to want to switch the toggle to ‘mirror for iron on’.
- *Once your file has finished cutting, you will weed the sheet.
- **Head over to Cricut’s Heat Transfer Guide for exact instructions on how to iron on your shirt. For Infusible Ink on a tote bag, it told me to heat for 40 seconds at 385 degrees.
- Allow everything to cool before you start lifting it up!
Notes
*Weeding: If you have worked with vinyl before this will feel very different. It almost has a similar texture to cardstock! Start with an inconspicuous area to begin so you can get a feel for how sticky/not sticky the sheet truly is. Don’t use a weeding tool or you’ll scrape off some of the ink. I have started using gloves as well because the ink transfers so easily.
** Heating the sheet: Keep your EasyPress 2 still as it’s heating. Do not move it around. This can ruin the image if it moves. When you lift up the EasyPress lift it straight up. Don’t scoot it to the side.
Recommended Products
As an Amazon Associate and member of other affiliate programs, I earn from qualifying purchases.
-
 New Disposable Latex Gloves, Powder Free Large. (100 Gloves Per Box)
 -
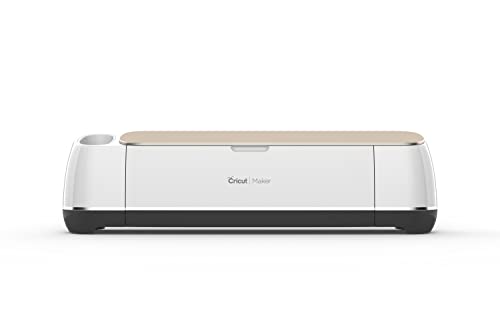 Cricut Maker-Ultimate Smart Electronic Machine-Exclusive Colour-Cuts, Draws, Scores-for Craft, DIY & Sewing, Champagne, One Size
 -
 Cricut Patterned Transfer Sheets, Galaxy Print Infusible Ink
 -
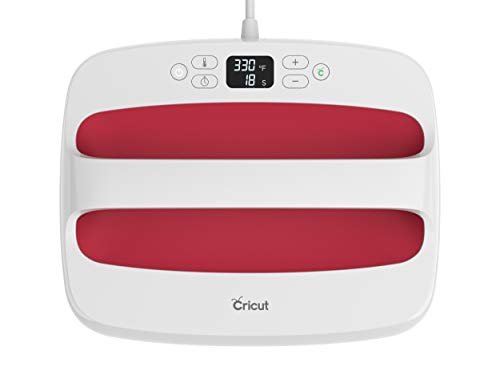 Cricut Easy Press 2 - Heat Press Machine For T Shirts and HTV Vinyl Projects, Raspberry, 12" x 10"
 -
 Cricut 2006830 Tote Bag Blank, Medium Infusible Ink, Canvas
How to Use Cricut Infusible Ink on Coasters
How to Use Cricut Infusible Ink on Coasters
Use infusible ink on coasters for a beautiful store bought look in minutes!
Materials
- Infusible ink
- Infusible Ink Coasters
- Cardstock
- Butcher Paper
- Heat Resistant tape
Tools
- Standard Grip Mat
- Cricut Cutting machine
- EasyPress (You can use an iron but it will take you quite a bit longer and you might not get it hot enough.)
Instructions
First thing you will want to do is mirror for iron on with your cut file. This step is very important!
If you have a Maker you simply select ‘Infusible Ink’ as your material and then start the cutting.
Once your design is cut take care as you weed your design. If you wear gloves while you do it the risk of getting ink where it shouldn’t go is lower. If you’ve weeded iron on or vinyl before this is going to feel different so, take your time until you get the hang of the different texture. The texture is similar to that of a lightly sticky cardstock.
Once you have your design weeded, use your heat resistant tape to secure the design where you’d like it on your coaster. This ensures that you won’t get a ‘ghosting’ effect which happens if the sheet shifts a bit during the heating process.
Place your EasyPress 2 on the design (use the Heat guide if you’re unsure or if your materials differ but for these coasters, I did 385 degrees for 240 seconds.) Allow for your coasters to cool before you handle them, they are very hot!
Remove the tape, plastic and infusible ink sheet.
Recommended Products
As an Amazon Associate and member of other affiliate programs, I earn from qualifying purchases.
-
 Cricut Coaster Blanks, Ceramic Infusible Ink, White
 -
Cricut Patterned Transfer Sheets, Galaxy Print Infusible Ink
-
Cricut Easy Press 2 - Heat Press Machine For T Shirts and HTV Vinyl Projects, Raspberry, 12" x 10"
-
Cricut Maker-Ultimate Smart Electronic Machine-Exclusive Colour-Cuts, Draws, Scores-for Craft, DIY & Sewing, Champagne, One Size
-
New Disposable Latex Gloves, Powder Free Large. (100 Gloves Per Box)