• Skip to main content
  • Skip to primary sidebar
  • Skip to footer

Practical and Pretty logo

  • HOME
  • DYEING
  • DIY
  • PARTIES
  • CRICUT
  • ABOUT
You are here: Home / DIY / Leather Bound Journal with the Cricut Knife Blade

March 14, 2019

Leather Bound Journal with the Cricut Knife Blade

Make your own leather bound journal with this tutorial. I have everything created for you in Cricut Design Space so this tutorial will be simple.

This is a sponsored conversation written by me on behalf of Cricut. The opinions and text are all mine.


My brother asked for a leather bound journal for Christmas and after looking at REAL leather journals I discovered they are EXPENSIVE! Why not make your own? With my Cricut Maker and a Knife Blade in your arsenal, you can make one too. 

Make your own leather bound journal with this tutorial. I have everything created for you in Cricut Design Space so this tutorial will be simple.

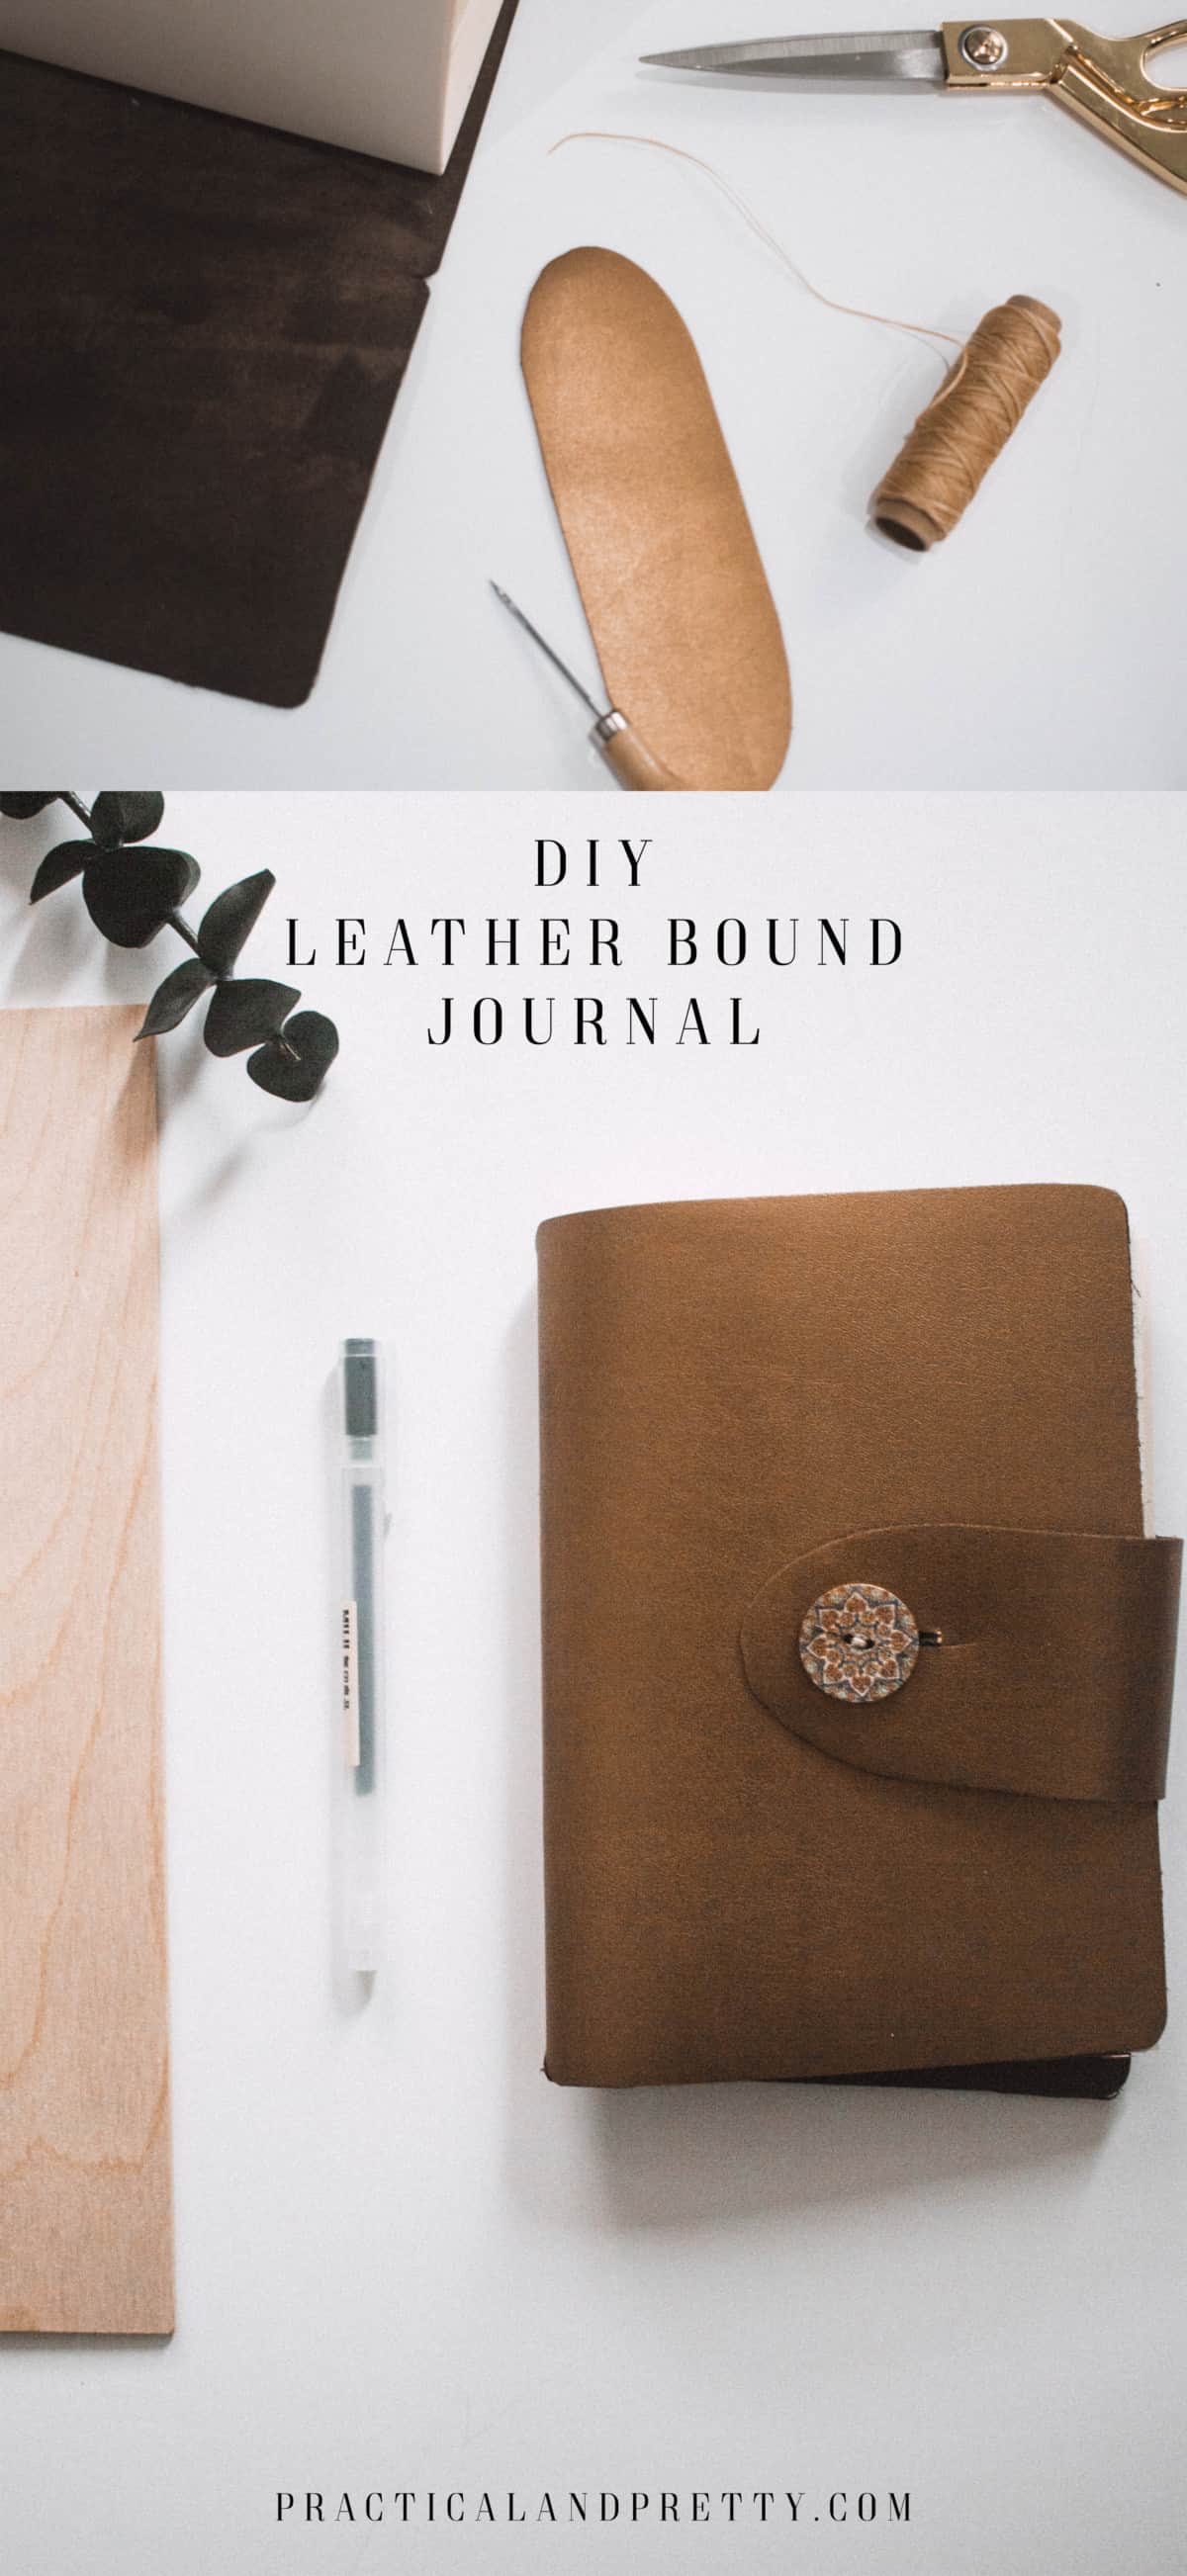
What you need for your leather bound journal
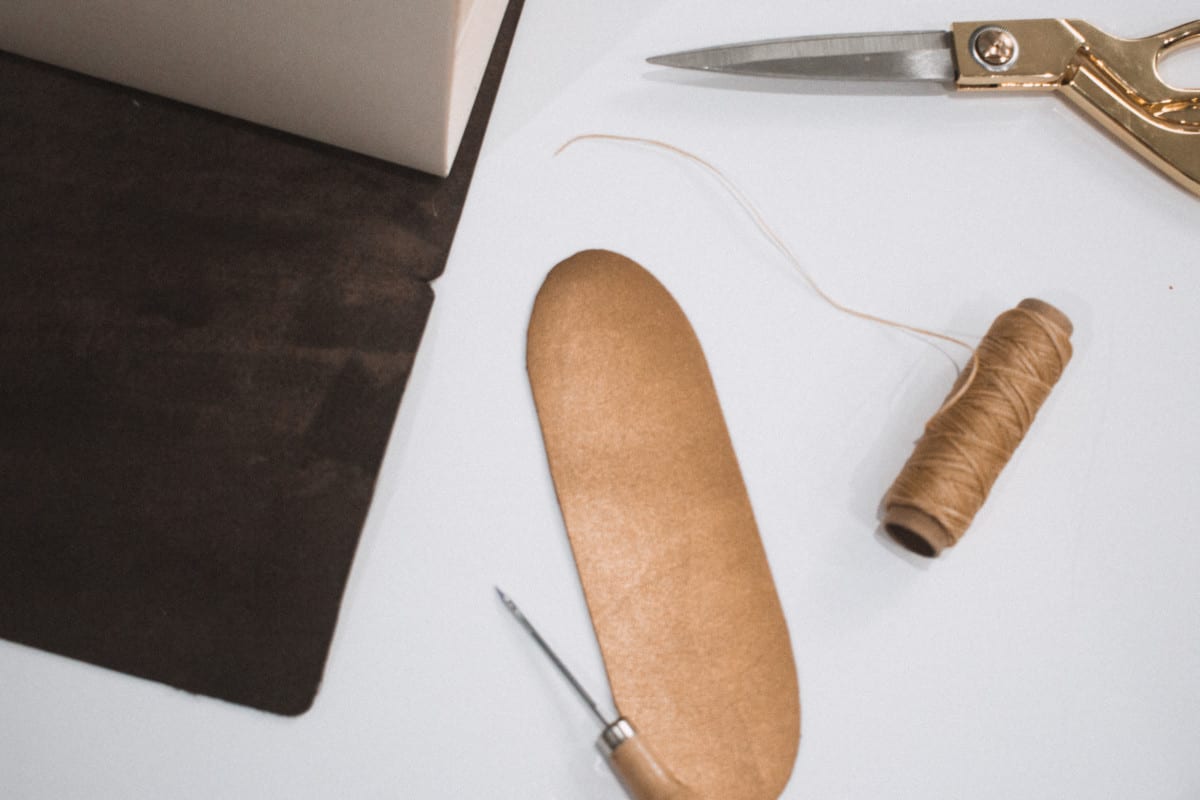
  • Leather
  • Waxed Thread and Leather Needle
  • Cardstock
  • Cricut Maker
  • Cricut Knife Blade
  • Strong Grip Mat
  • Light Grip Mat
  • This Cut File

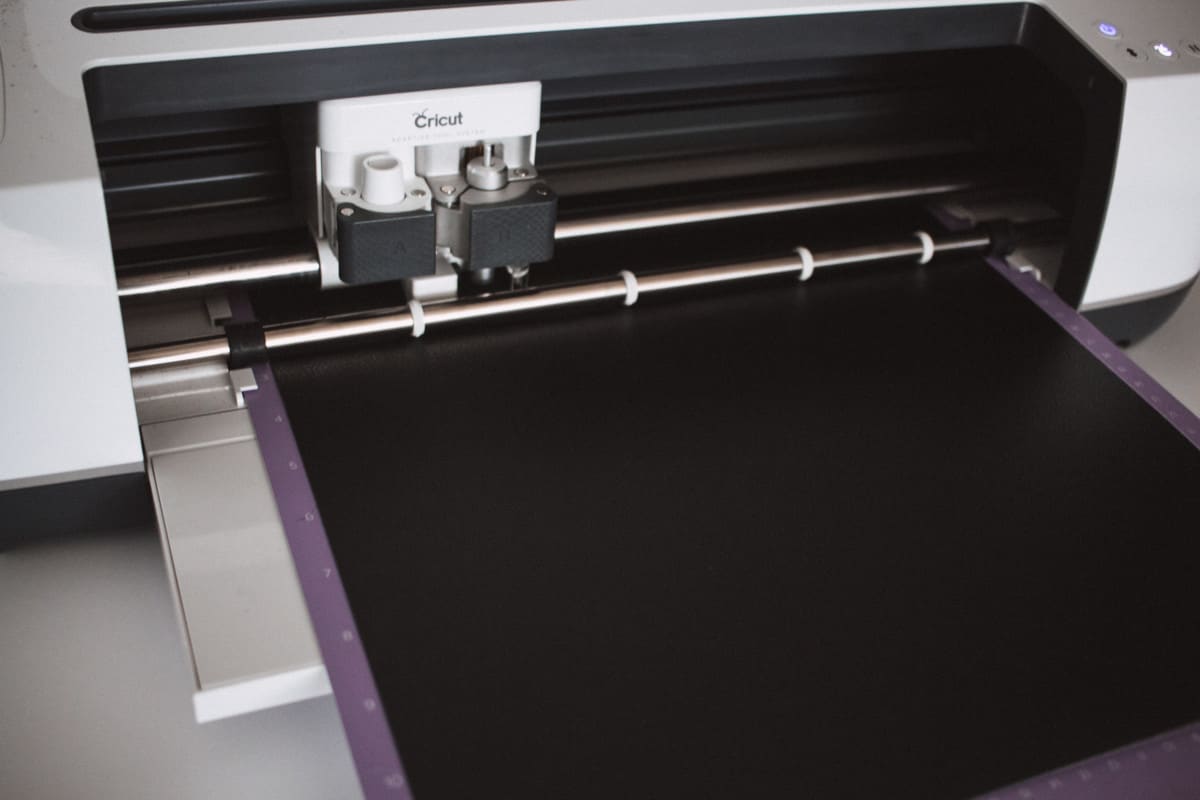
Start by cutting your leather. Have you ever cut leather? It’s pretty simple with your Cricut Maker! Put the leather on your strong grip mat and thread it through your machine. Make sure to move your stars to the edge of the bar so that it doesn’t put stripes through your leather.

Make your own leather bound journal with this tutorial. I have everything created for you in Cricut Design Space so this tutorial will be simple.

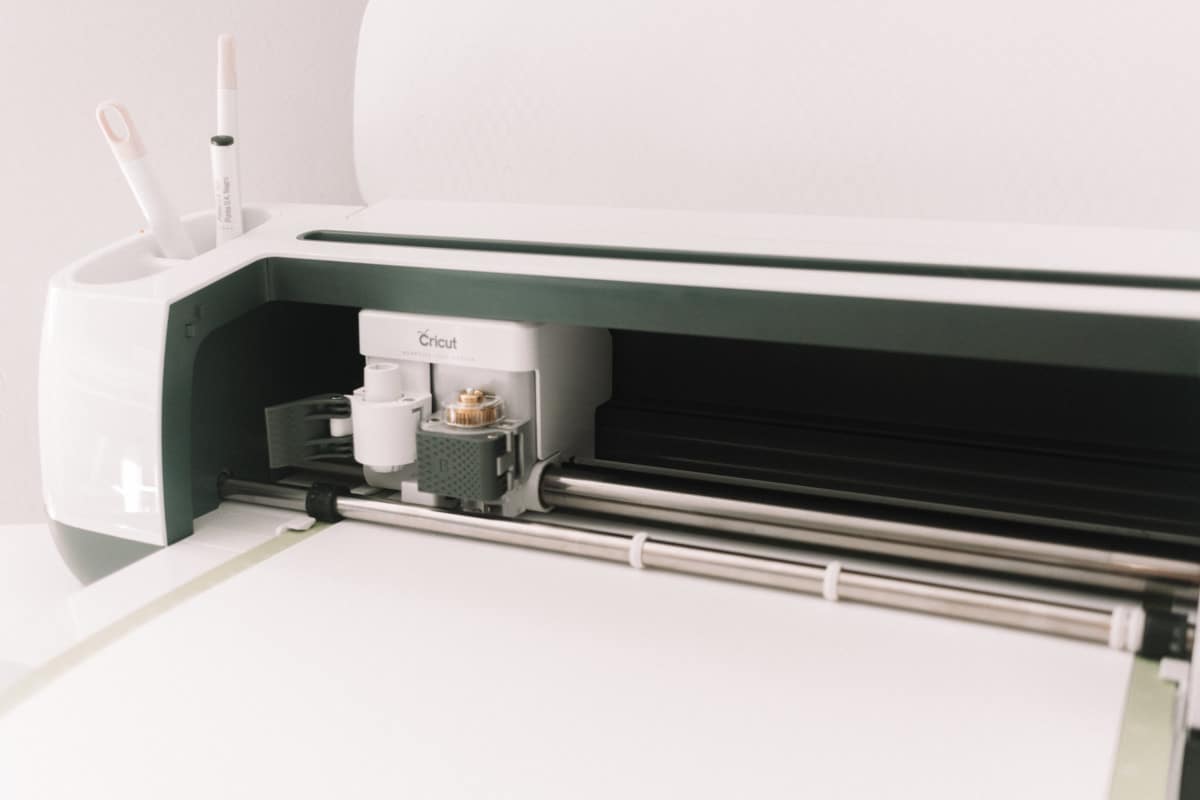
Next you will load on your card stock onto your light grip mat. This is kind of a tedious process because you need to load and unload a lot for the inserts in your notebook but it will be worth it!

cricut cutting cardstock

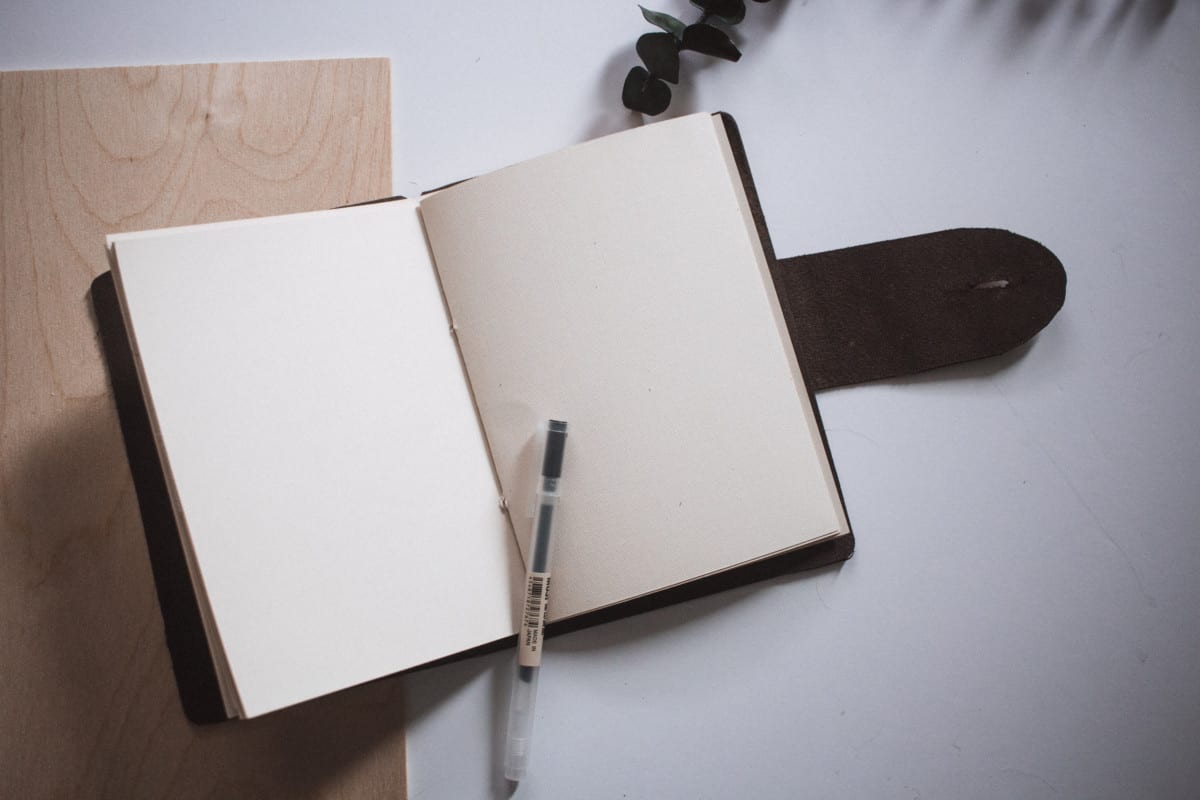
After this you will fold all of your papers in half and put them within the leather. 

Make your own leather bound journal with this tutorial. I have everything created for you in Cricut Design Space so this tutorial will be simple.

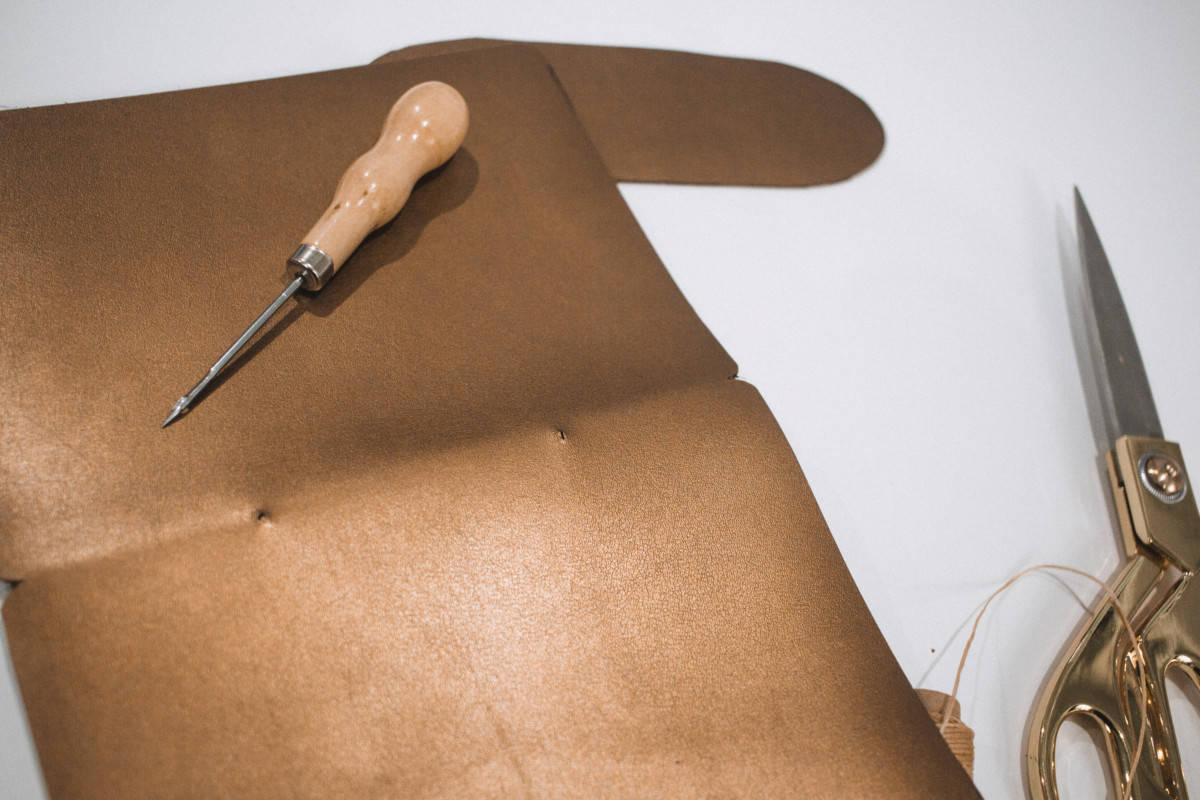
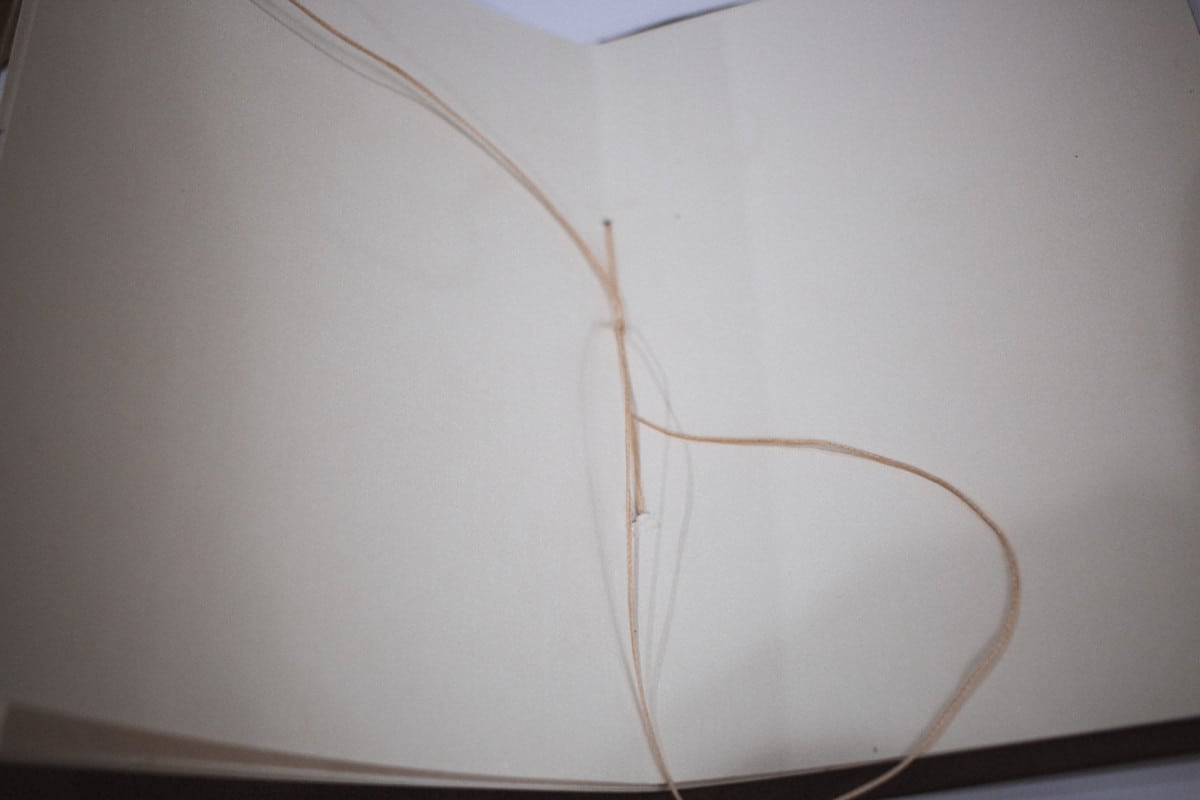
Use your waxed thread and needle to poke a hole through the paper and leather. 

Make your own leather bound journal with this tutorial. I have everything created for you in Cricut Design Space so this tutorial will be simple.Make your own leather bound journal with this tutorial. I have everything created for you in Cricut Design Space so this tutorial will be simple.

You will thread your thread through the two holes you created and tie it in a not on the inside of the book.

After threading in your pages you’ll also want to thread on your strap. Poke two equal holes in the back cover of your book and the strap and thread it on just the same as you did before with one knot on the inside of the cover. 

Make your own leather bound journal with this tutorial. I have everything created for you in Cricut Design Space so this tutorial will be simple.

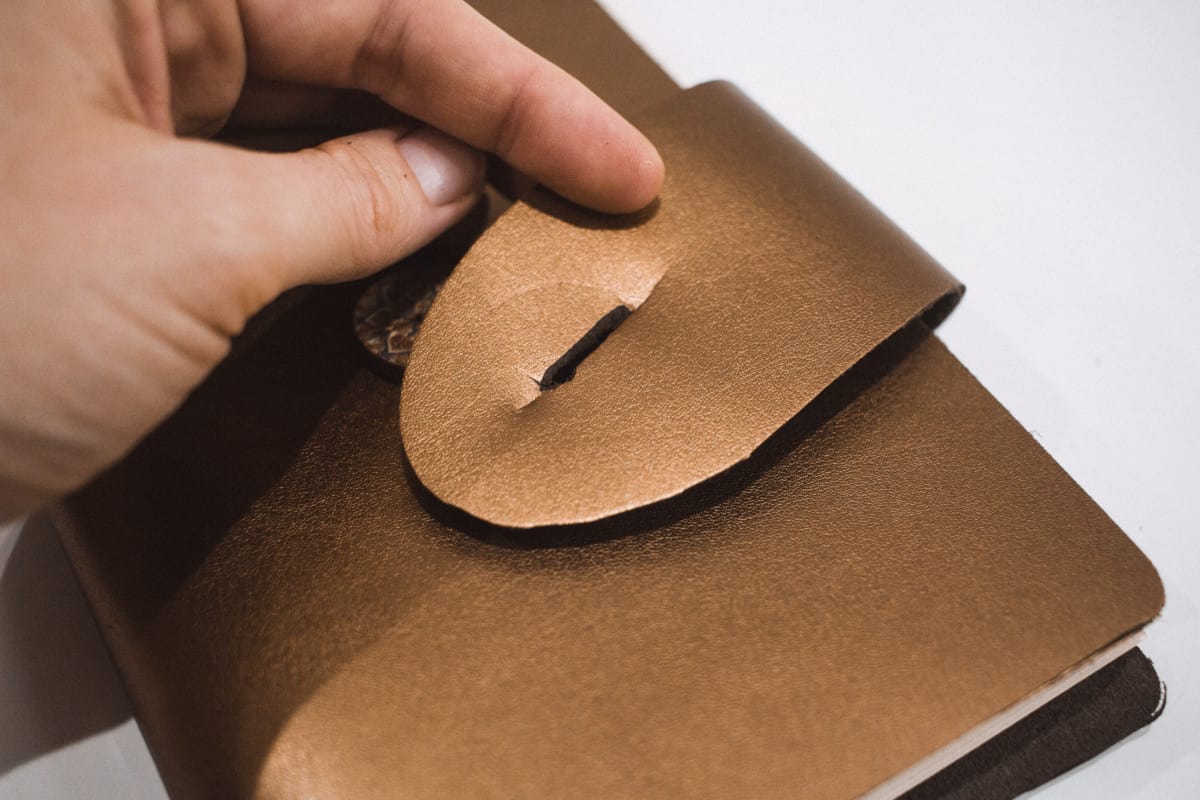
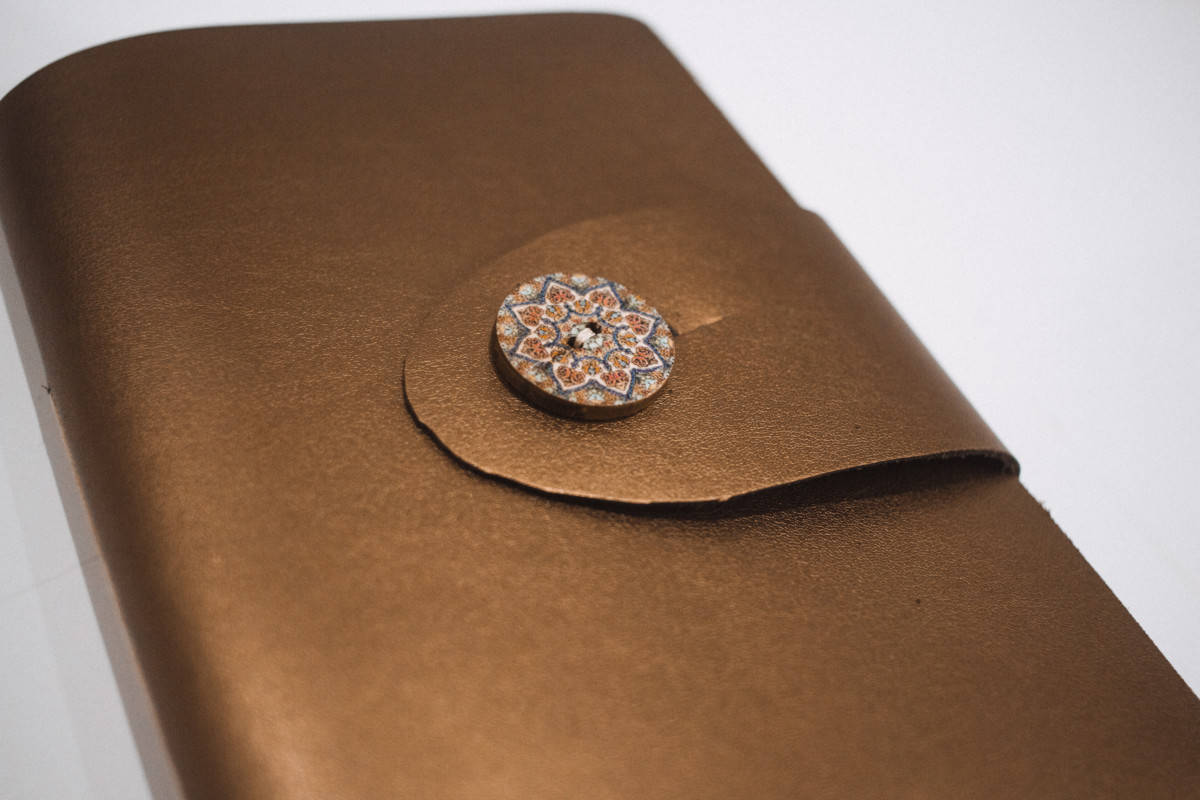
After this I poked two holes for the button and threaded it on. 

Make your own leather bound journal with this tutorial. I have everything created for you in Cricut Design Space so this tutorial will be simple.

I then cut a hole for the button. First I cut it in a little rectangle but it still needed just a bit more space to slide over the button so I extended it until it went on tightly but still slipped on ok. 

Make your own leather bound journal with this tutorial. I have everything created for you in Cricut Design Space so this tutorial will be simple.

After you finish the button you are all done!

Make your own leather bound journal with this tutorial. I have everything created for you in Cricut Design Space so this tutorial will be simple.

Make your own leather bound journal with this tutorial. I have everything created for you in Cricut Design Space so this tutorial will be simple.

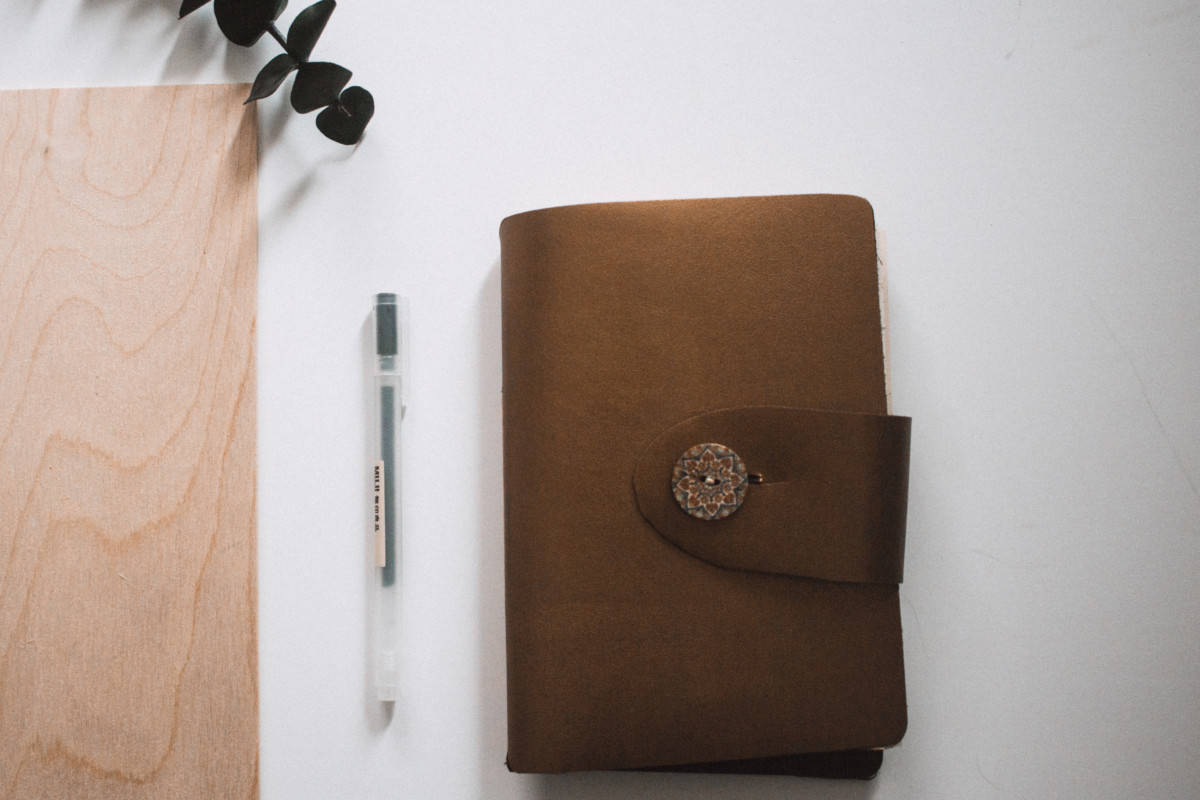
I can’t wait to give it to my brother. It really turned out so cool. If you prefer lines you could totally line them using your Cricut pen too. My brother is a doodler so I thought he might prefer blank pages!

Make your own leather bound journal with this tutorial. I have everything created for you in Cricut Design Space so this tutorial will be simple.

Filed Under: Cricut, DIY Tagged With: cricut, quick diy

Primary Sidebar

SEARCH

I’m Anna!

Welcome!

I’m Anna and love practical and pretty things. You will find DIYs here as well as party ideas and of course, natural dyeing tutorials. I’m so glad you’re here.

FEATURED ON

PARTIES

Encanto Party Supplies

You will find lots of Encanto party supplies and even some fun ideas for your next Encanto party! Who doesn't love Encanto after all?

Roblox Party Supplies Ideas

roblox balloons

Minnie Mouse Party Supplies

You can DIY an adorable Minnie Mouse party by yourself full of bows and Hot Diggity Dogs. You will also find some free printables here!

Hot Diggity Dog Bar

Hot dog! Hosting a party? Make it fun with this Hot Diggity Dog bar. I’ve got a couple of DIY aspects or just use them and adapt!

NATURAL DYEING

Dye with Weld Plant

Weld plant gives you a beautiful, vibrant yellow color. I'll guide you through how to get this cool dye stuffs to get you neat results.

Ice Dye with Rit Dyemore

dyemore synthetic dye

Rit Color Remover on Natural Dyes

Color remover works for synthetic dyes, but what about natural dyes? See the difference between my naturally dyed fabric after using color remover!

Red Dirt Tie Dye

This tutorial will walk you through how to tie dye using red dirt. It's as minimal as possible so you can do it while you are camping with minimal supplies.

CRICUT PROJECTS

Paper Chain Countdown for Any Occasion

This countdown chain is perfect for every countdown occasion. Any anticipated event is more fun with a way to mark the days away.

Easiest Halloween Banner Ever

https://practicalandpretty.com/miguel-coco-costume/

Minnie Mouse Party Supplies

You can DIY an adorable Minnie Mouse party by yourself full of bows and Hot Diggity Dogs. You will also find some free printables here!

Hot Diggity Dog Bar

Hot dog! Hosting a party? Make it fun with this Hot Diggity Dog bar. I’ve got a couple of DIY aspects or just use them and adapt!

Footer

Copyright © 2022 Practical and Pretty on the Brunch Pro Theme