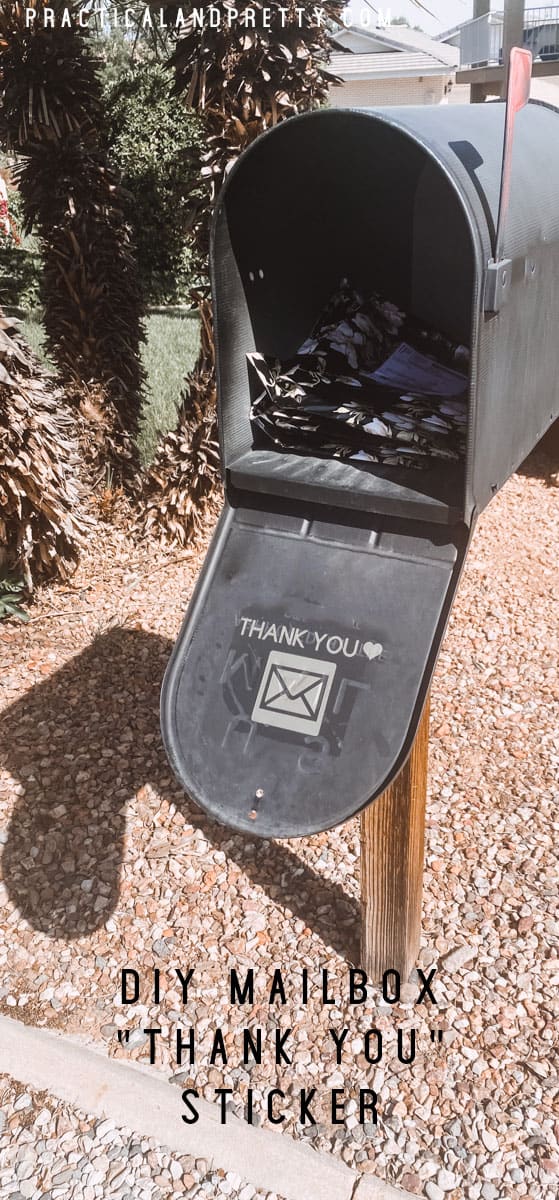
Use your cutting machine to say thank you with this cute mail carrier thank you file! I walk you through how to cut, weed and transfer the vinyl.
I have been having so much fun with my Cricut Joy. It is perfect for quick little projects like this. This took me 15 minutes start to finish and I smile every time I grab my mail. I hope my mail carrier does too!

It should be noted that I have a HUGE mailbox. So if you are confused by the dimensions that is why! I put packages in there so it is not a standard size! Just shrink your file a little smaller to fit.
Materials for Your Mail Carrier Thank You
In this video you will see how I created the file so you can make yours custom. OR you can just click the link before and do exactly what I did.
Create your file. I have a video linked about how to do that! If you want to skip this step then good news, I created one for you.
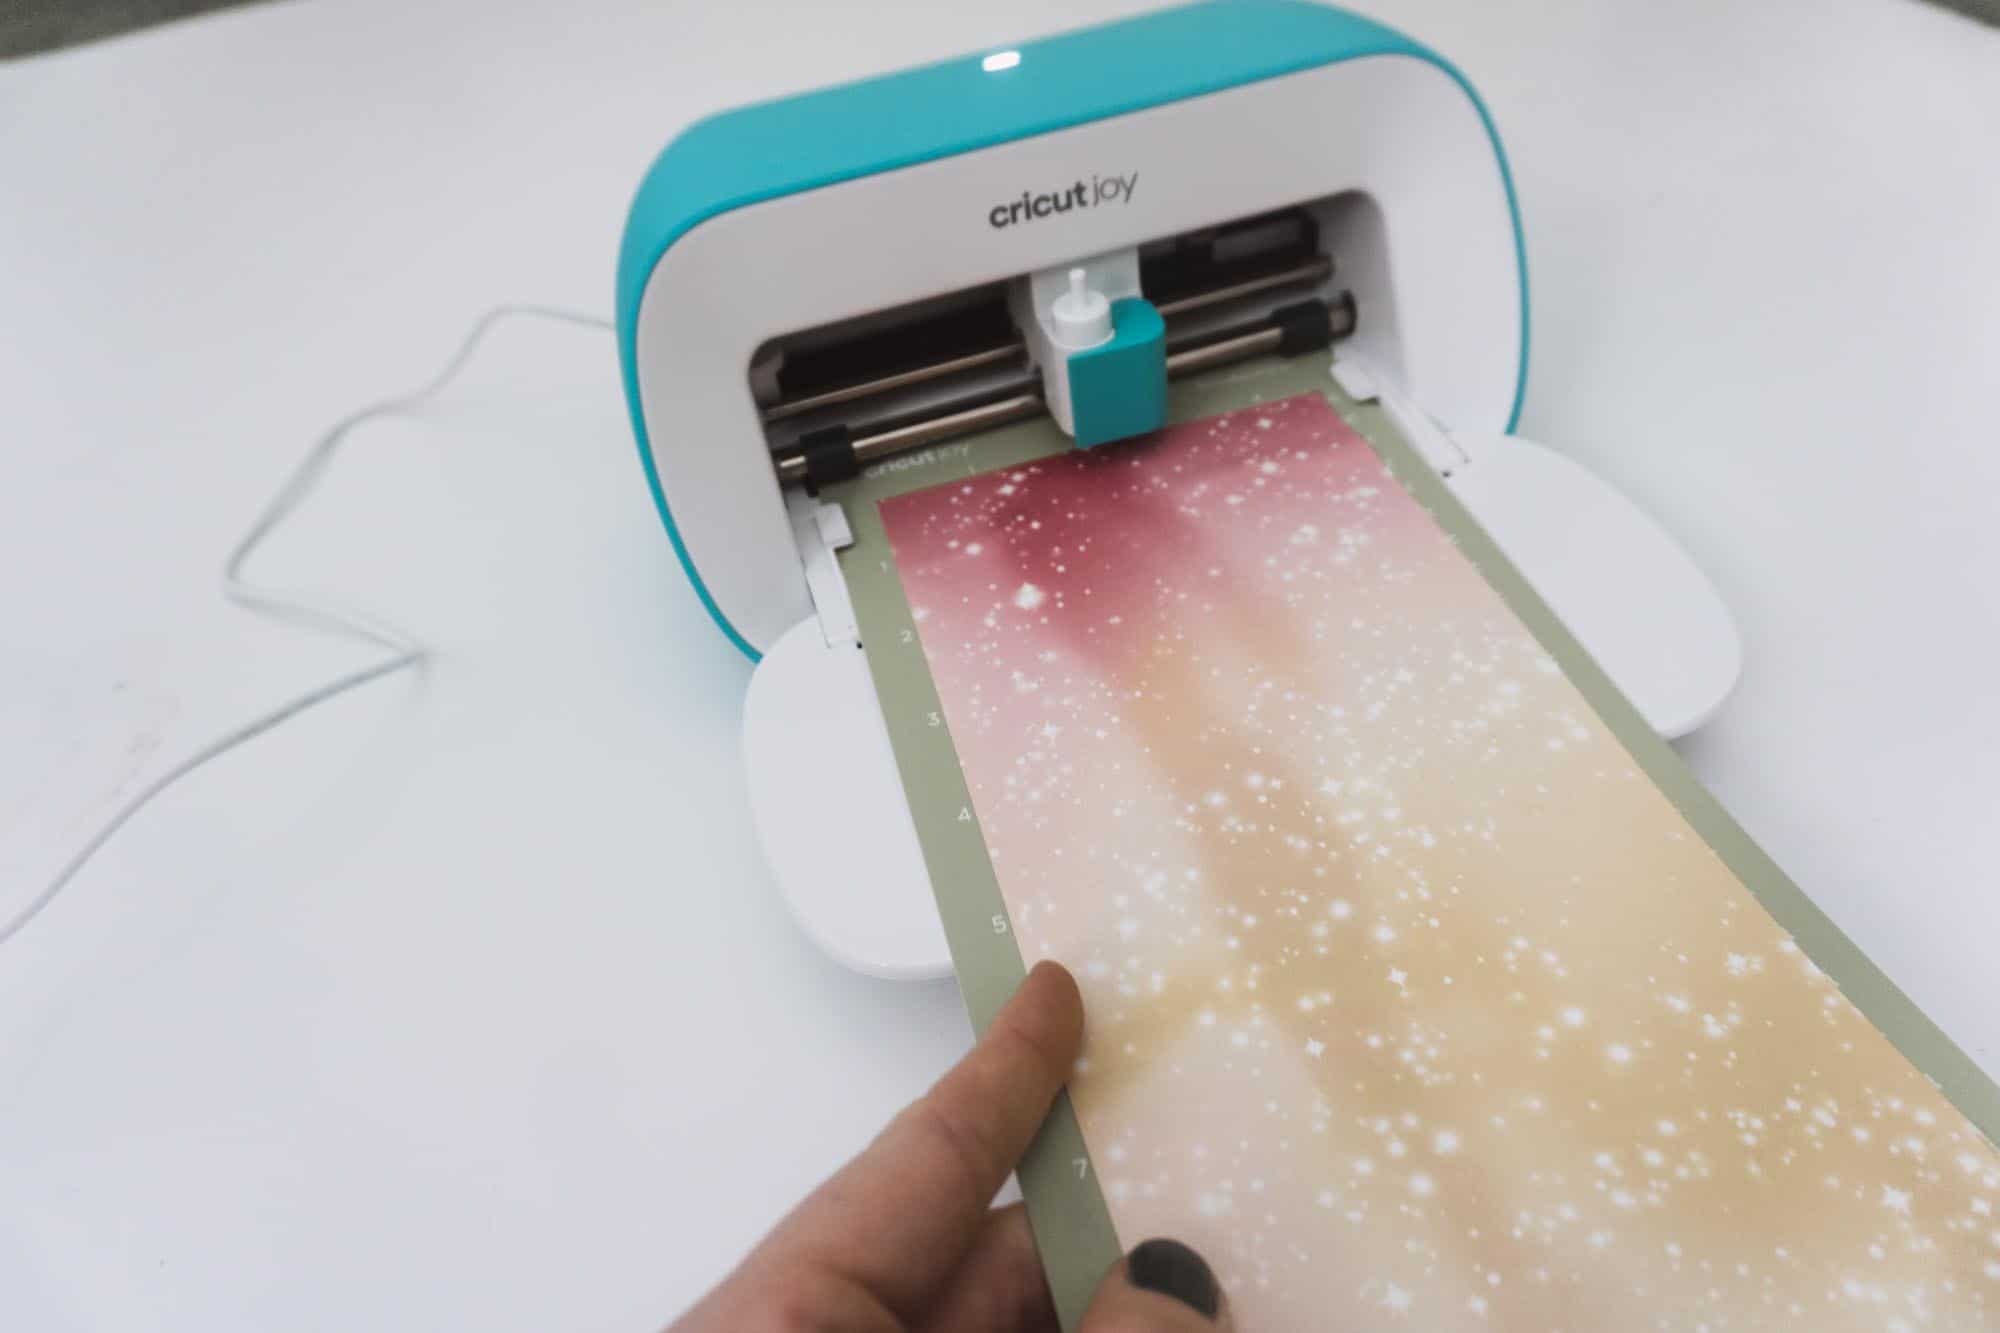
Cut your file using your Cricut Joy.
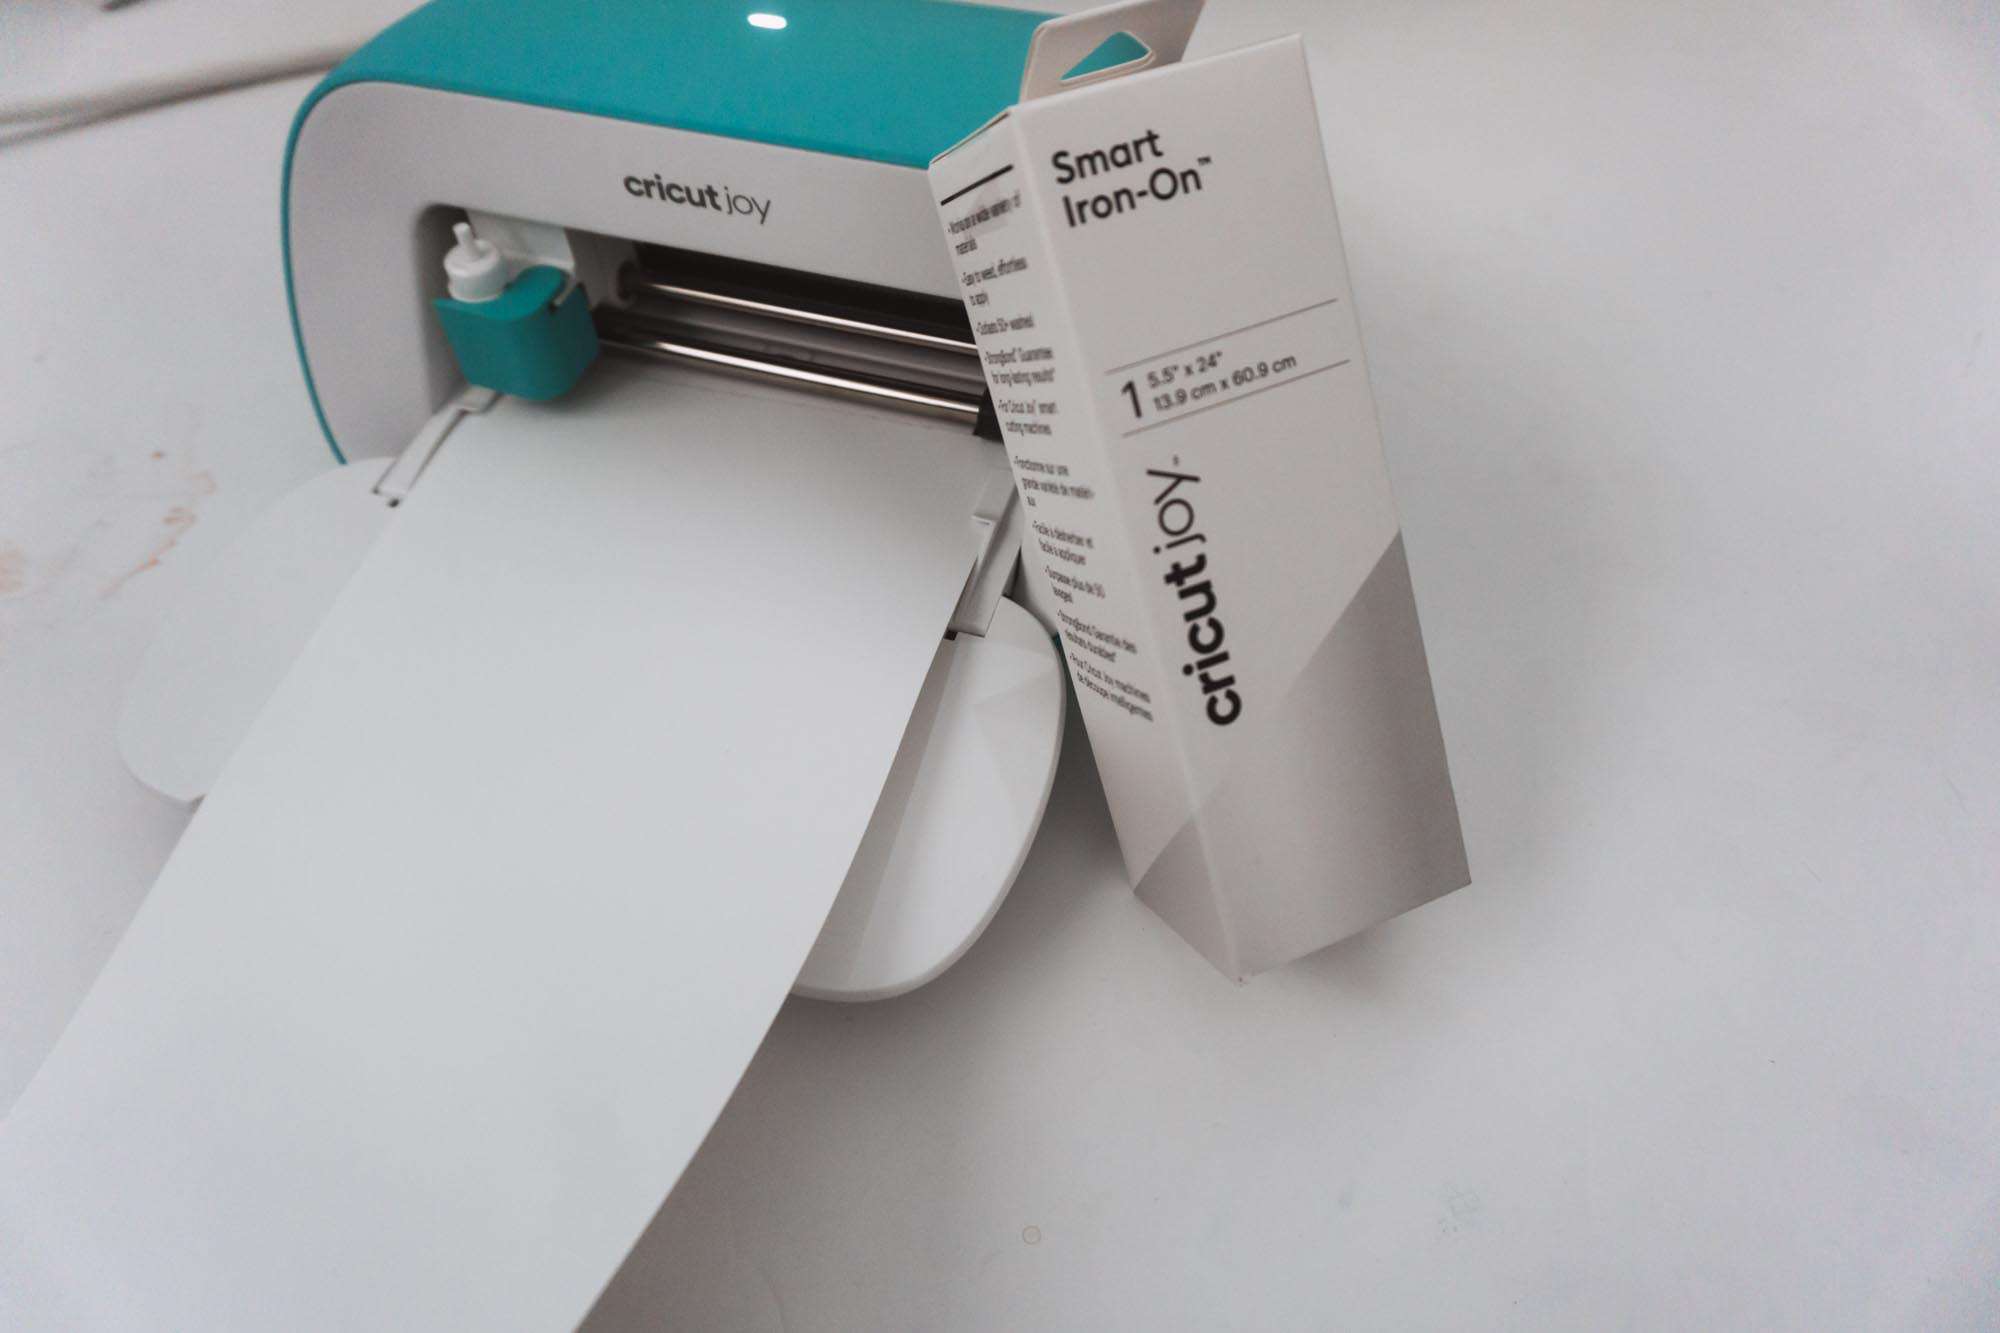
If you’re using Smart Vinyl like I linked above you won’t need to do anything but load it in! If you’re using regular vinyl you’ll need a mat. The below picture I was using a mat to cut infusible ink!
Press go on your design space after selecting the material (Permanent Smart Vinyl).
Watch your machine work!
Weed the design using your weeding tool.
Cut the transfer tape to size.
Press the transfer tape over the design and pull it off the paper backing slowly.
Place your vinyl on your mailbox.
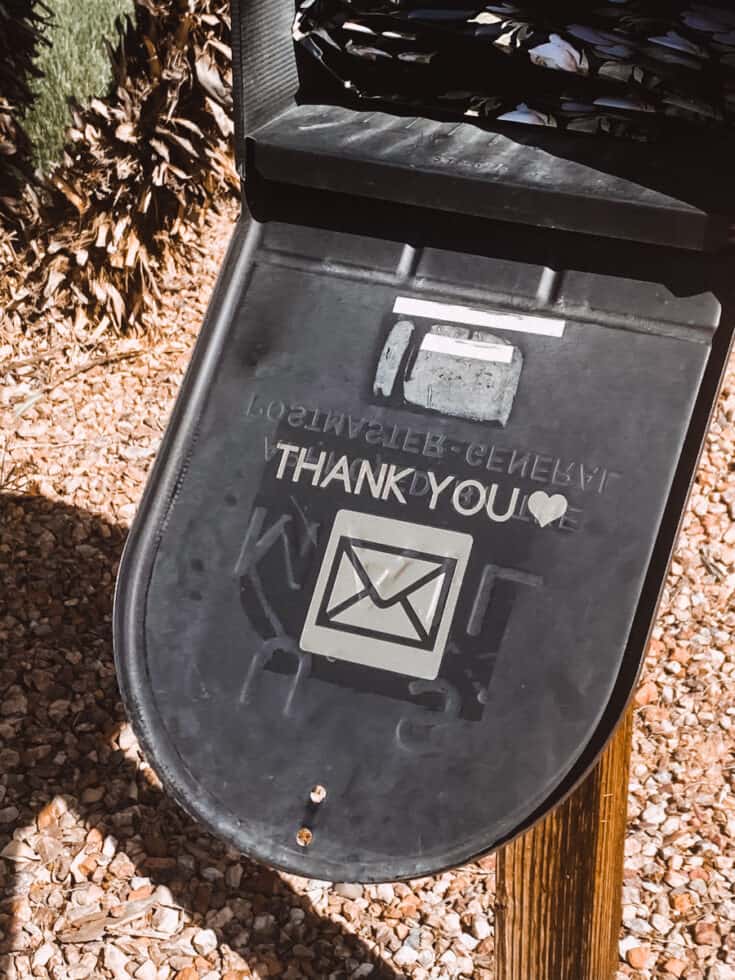
Mail Carrier Thank You
Use your cutting machine to say thank you with this cute mail carrier thank you file! I walk you through how to cut, weed and transfer the vinyl.
Materials
- Smart Vinyl in Gold
- Cricut Joy
- Transfer Tape
Tools
- Scissors
- Weeding Tool
- This cut file
Instructions
- Create your file. I have a video linked about how to do that! If you want to skip this step then good news, I created one for you.
- Cut your file using your Cricut Joy.
- If you're using Smart Vinyl like I linked above you won't need to do anything but load it in! If you're using regular vinyl you'll need a mat.
- Press go on your design space after selecting the material (Permanent Smart Vinyl).
- Watch your machine work!
- Weed the design using your weeding tool.
- Cut the transfer tape to size.
- Press the transfer tape over the design and pull it off the paper backing slowly.
- Place your vinyl on your mailbox!
Recommended Products
As an Amazon Associate and member of other affiliate programs, I earn from qualifying purchases.