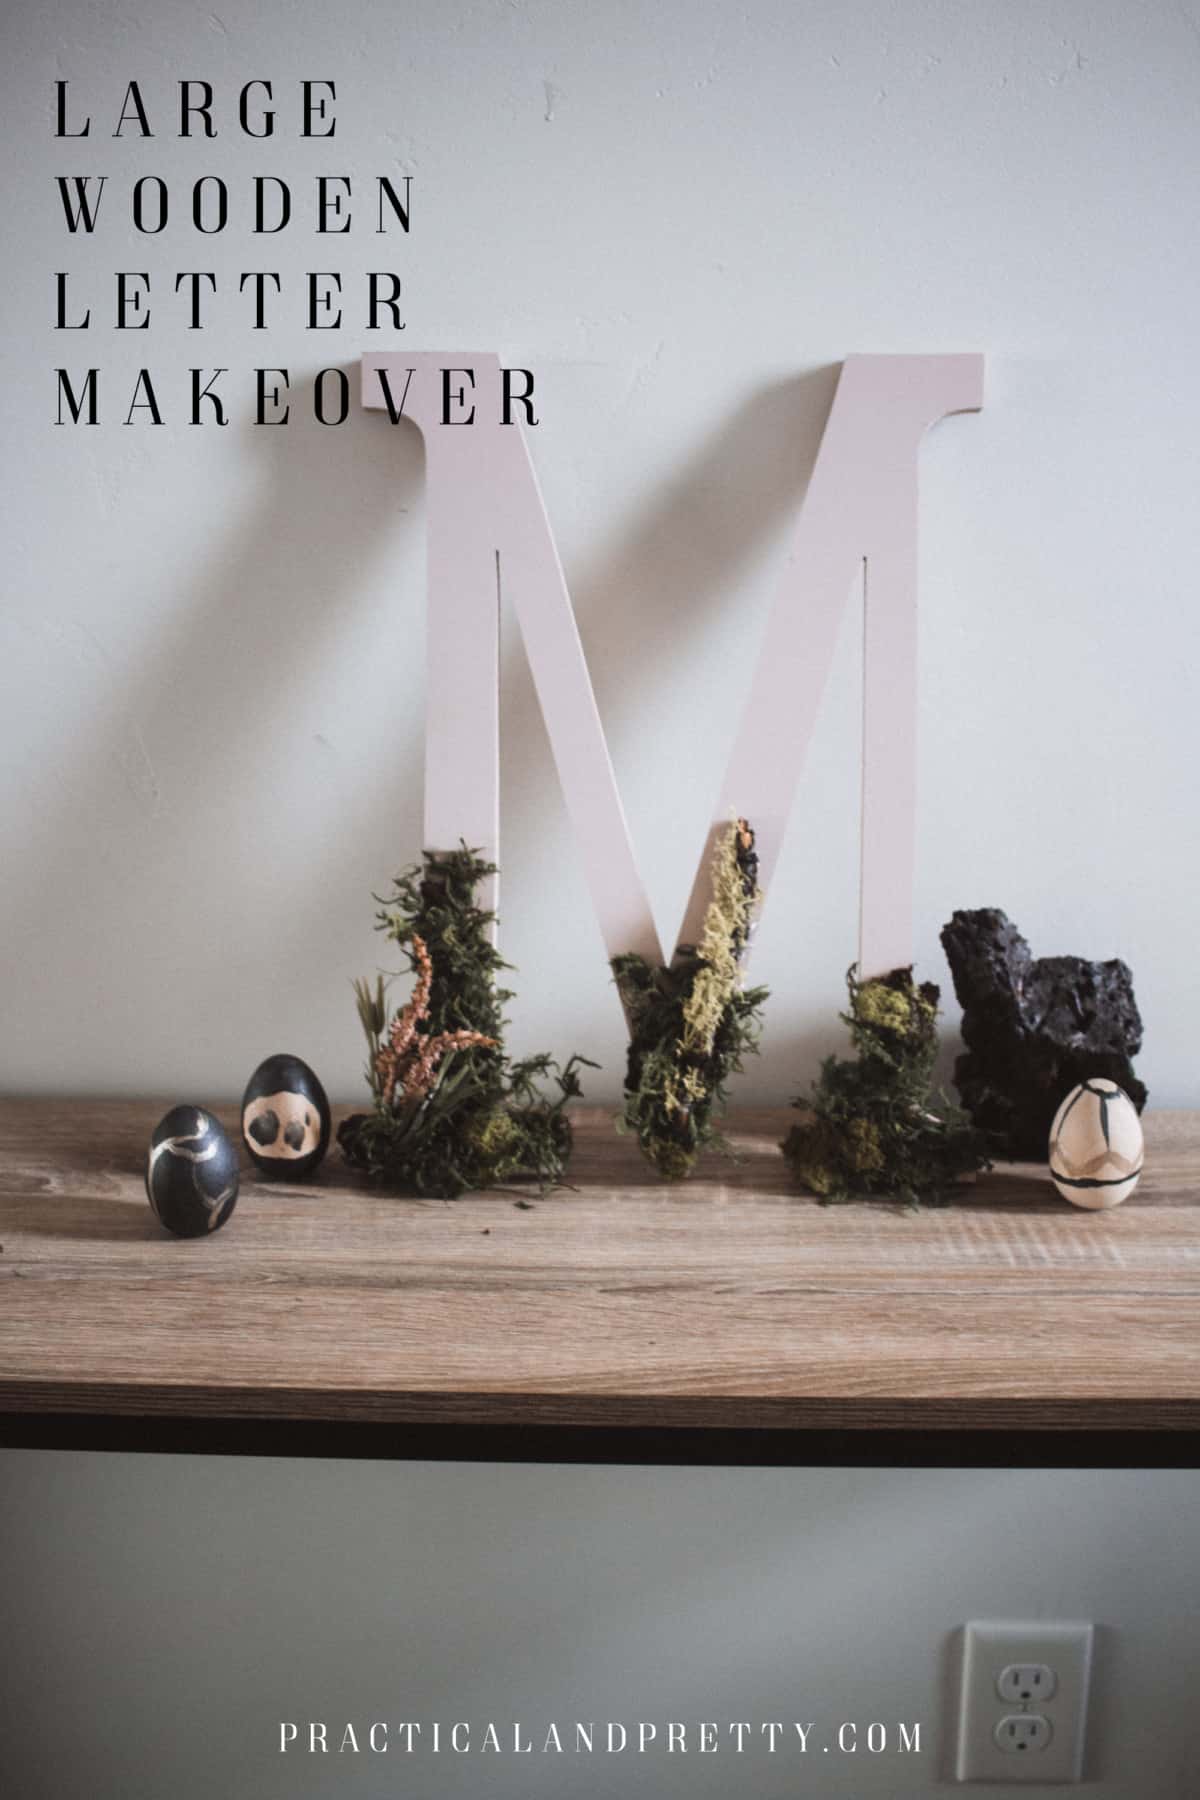
See how I made over this large wooden letter to be a little softer and more homie. Use my method or be inspired on what to do with your own!
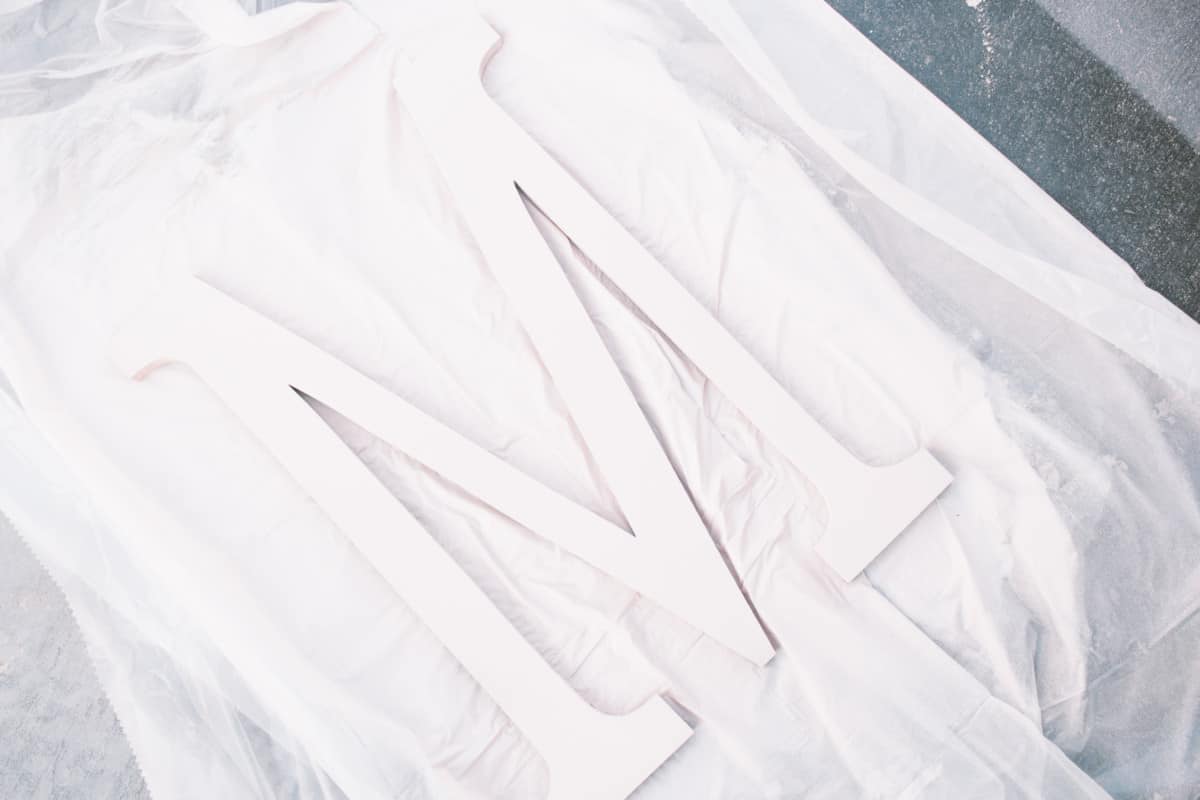
My friend gave me this large wooden letter and although it looked fine plain, it was more like chipboard than wood. For that reason I wanted to give it a little bit of a face lift. It was really simple and didn’t take me much time at all but honestly I LOVE how it turned out. It is super springy but can be up all year round with the right decor surrounding it.
What you need for your large wooden letter makeover
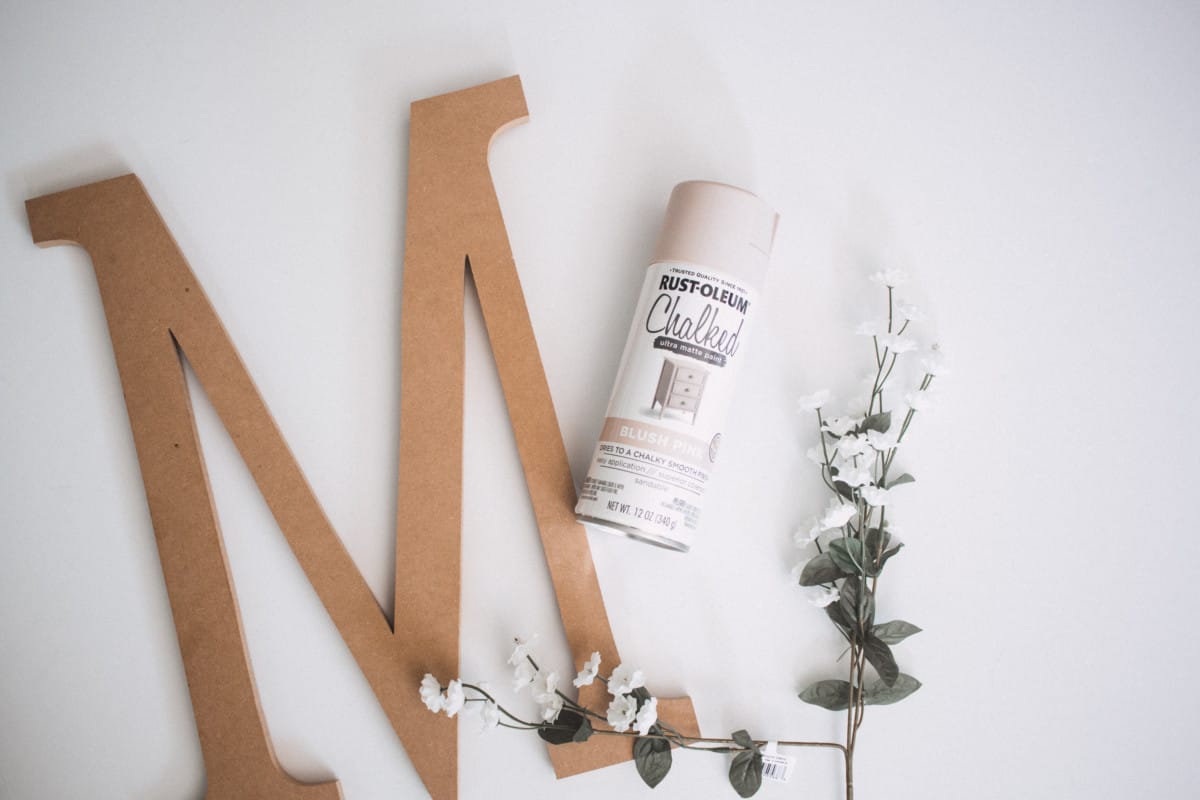
You will want to start by spray painting your letter. This Chalked Blush color is one of my all time favorites and I use it in my home decor a LOT.
Next step (after your letter is dry) is to place your moss. I hot glued a couple of areas on the bottom and pushed my moss into the glue. Be careful with your fingers. Hot glue is hot. Imagine that.

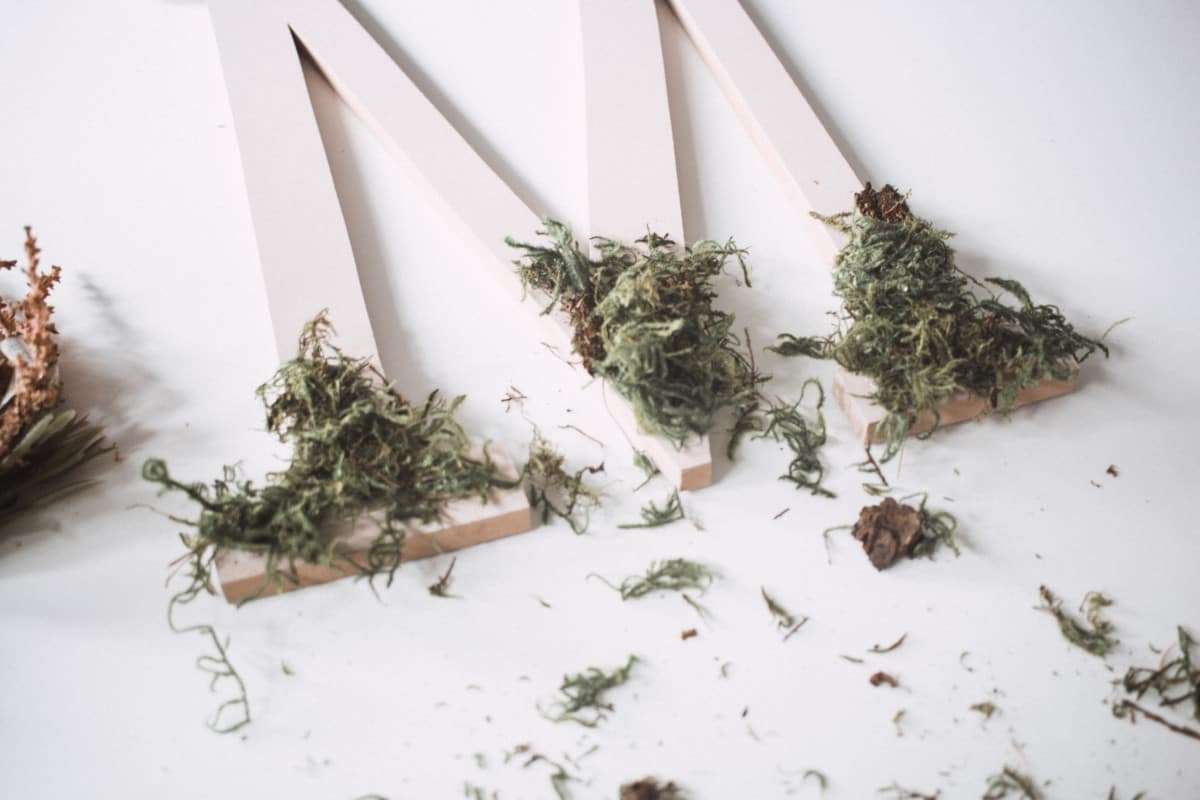
I filled it out as necessary then took little sprigs of some other little flowers I had laying around. I really liked the added compliment of the pink. I just picked this up on a huge discount at Michaels because I knew EVENTUALLY I would find the perfect project.

After letting the hot glue dry I was all done. I shook it a little bit so all the loose moss would fall off. Another thing you can do is spray it with some acrylic spray so that it really doesn’t go anywhere. Because I am just keeping this up on a shelf I didn’t worry about doing that.
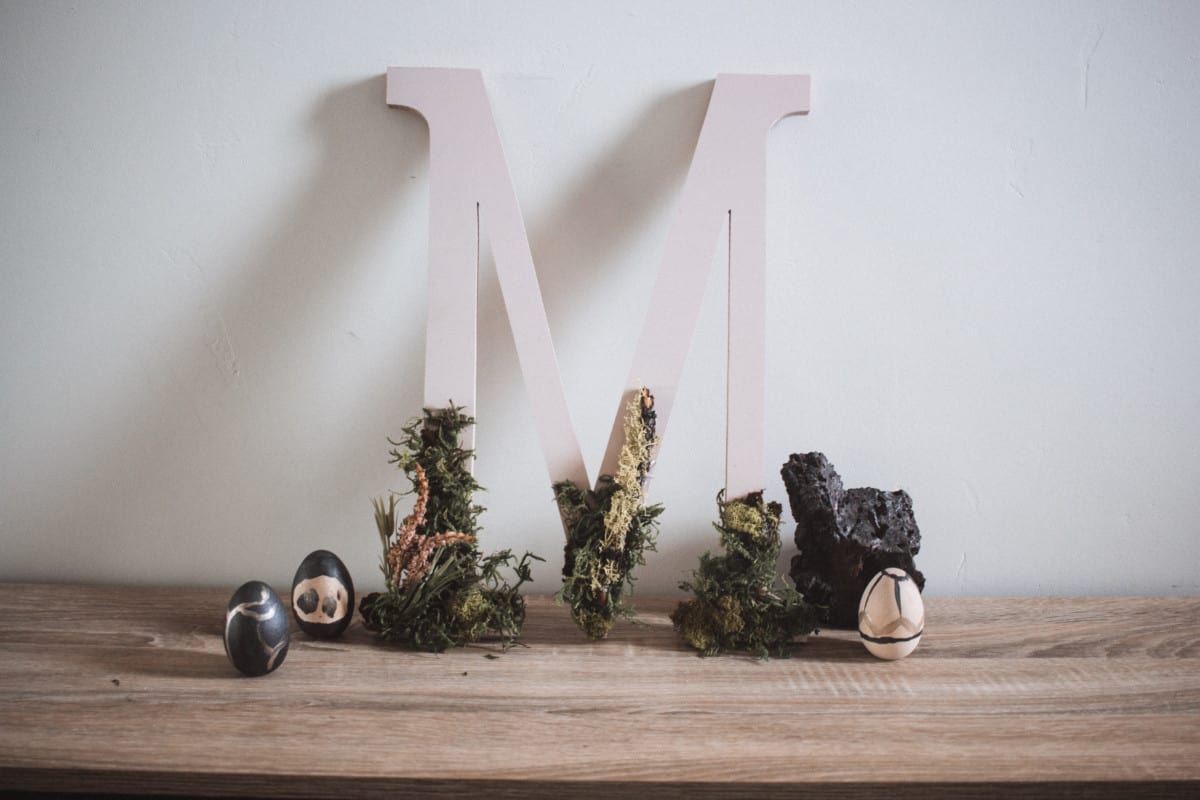
I’ve got this on my entry table and LOVE the look of it next to a couple of my other DIY projects.