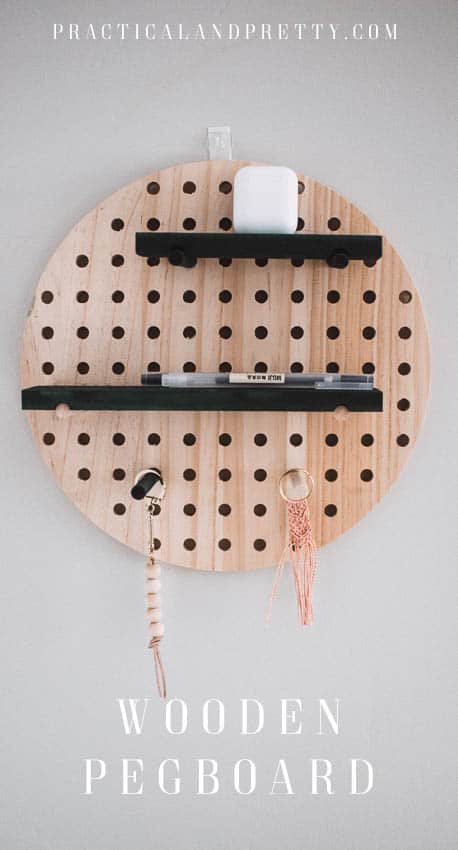
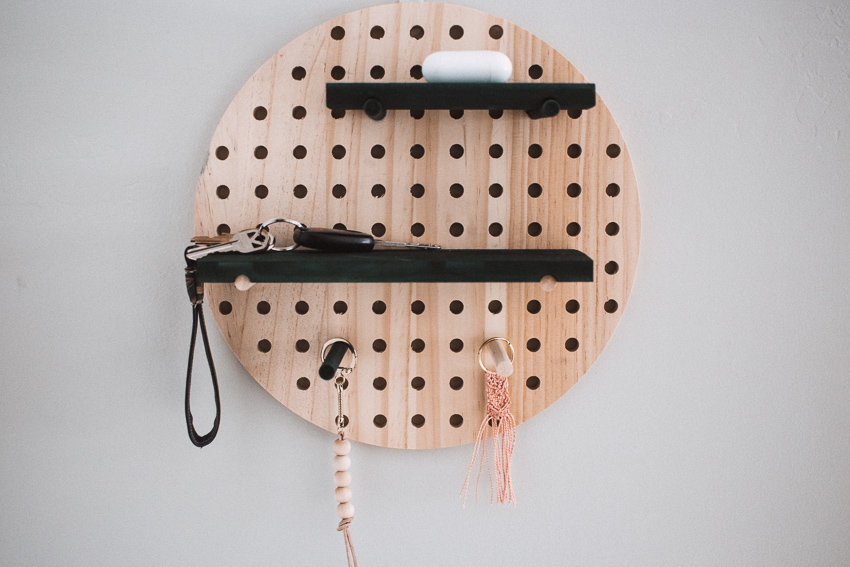
This beautiful dyed wooden pegboard is super customizable for any room in your home! You can dye it any class to match your style
I made this little command center out of a beautiful wooden pegboard but of course in typical Anna fashion, made it dark green and used some dyes! This tutorial will show you all about how I dyed the wood using a synthetic dye.
If you’re interested in natural dyes you could do the same with a couple different dyes but those that require a certain amount of time to saturate likely won’t work. For example the dark pink of avocado pits won’t happen without ruining your wood. However turmeric dye would work using the same method as below!
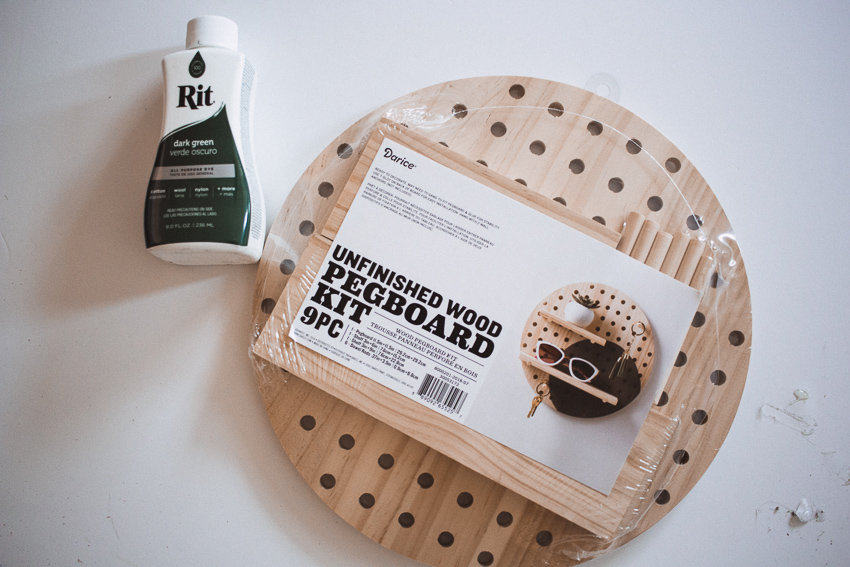
Dyed Wooden Pegboard Materials
- Rit Dye – I used Dark Green
- Darice Wood Pegboard Kit
- Large pot or container
Here are my dyeing essentials if you want to invest in some of my favorite things!
Put a small amount of water in the bottom of your pot. To make the process go faster you can heat up the water but it may warp your wood so I suggest just keeping it room temperature!
Now you will put your Rit Dye into the pot. You don’t need much as their dye is very concentrated. Liquid dye is a little easier to work with in this case because it doesn’t need to be completely. With powdered dye make sure you completely dissolve the dye or the wood will dye uneven! The liquid dissolves rather evenly I have never had too many problems with it!
Place the pieces you’d like dyed into the dye pot. I didn’t want all of it dyed but you can definitely do that! I just wanted accents of color.
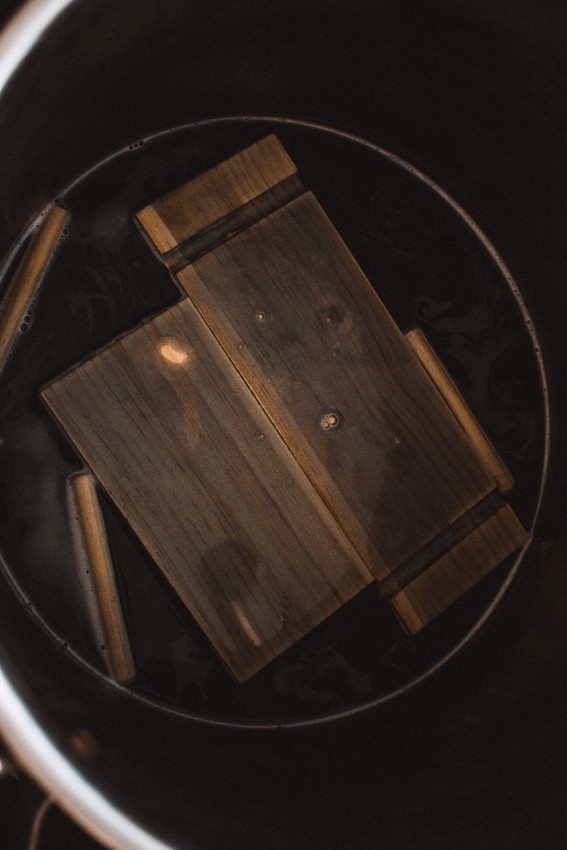
Here is the tricky part. You want your wood to be the color you’d like, but you can’t leave wood in dye for too long because it can warp easily. To achieve the color I got it took about 20 minutes in the dye pot. I pushed it just a bit with this amount of time because a couple pieces were starting to warp but not enough that anyone would really notice!
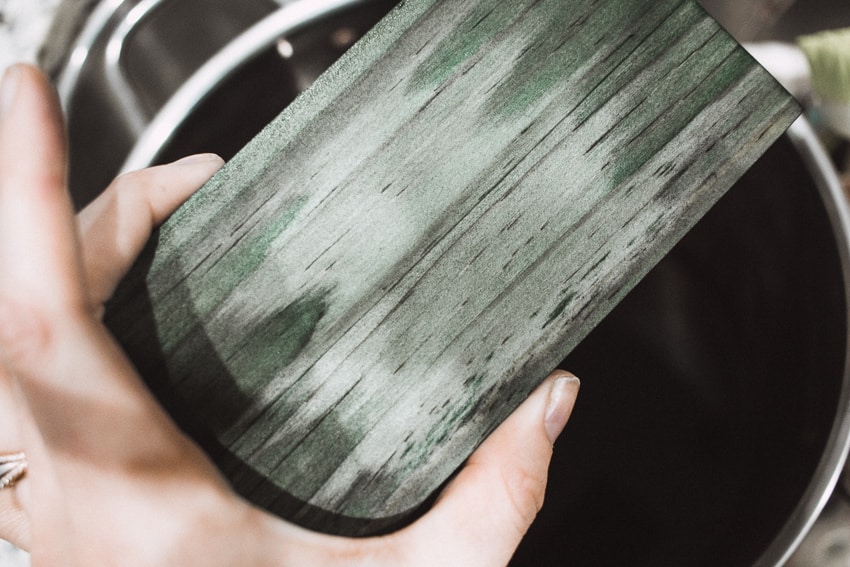
It looks uneven in the above pictures because part of the wood was dry and part was still wet. The color will not be completely even though. Because of the nature of wood there will be imperfections!
I waited for the wood to dry completely and then arrange the wooden peg board how you’d like it. If your pegs have expanded a bit like mine did, just use a hammer and lightly hammer them where you’d like them. It worked like a charm for me!
If you like these key chains pictured I’ve got some good news for you. I wrote tutorials for them!
Here is the custom keychain tutorial with leather and wood beads and the macrame keychain tutorial is coming very soon.


