I made this wall hanging with my Cricut Rotary Blade and YOU can too! I also used touches of my natural dye and a minimalist design. I think you’ll love it.
This project I wanted to hang in my living area that needed just a touch of color. My avocado pink color is a perfect subtle blush. I decided to try two shades of the pink color using my method of avocado dyeing.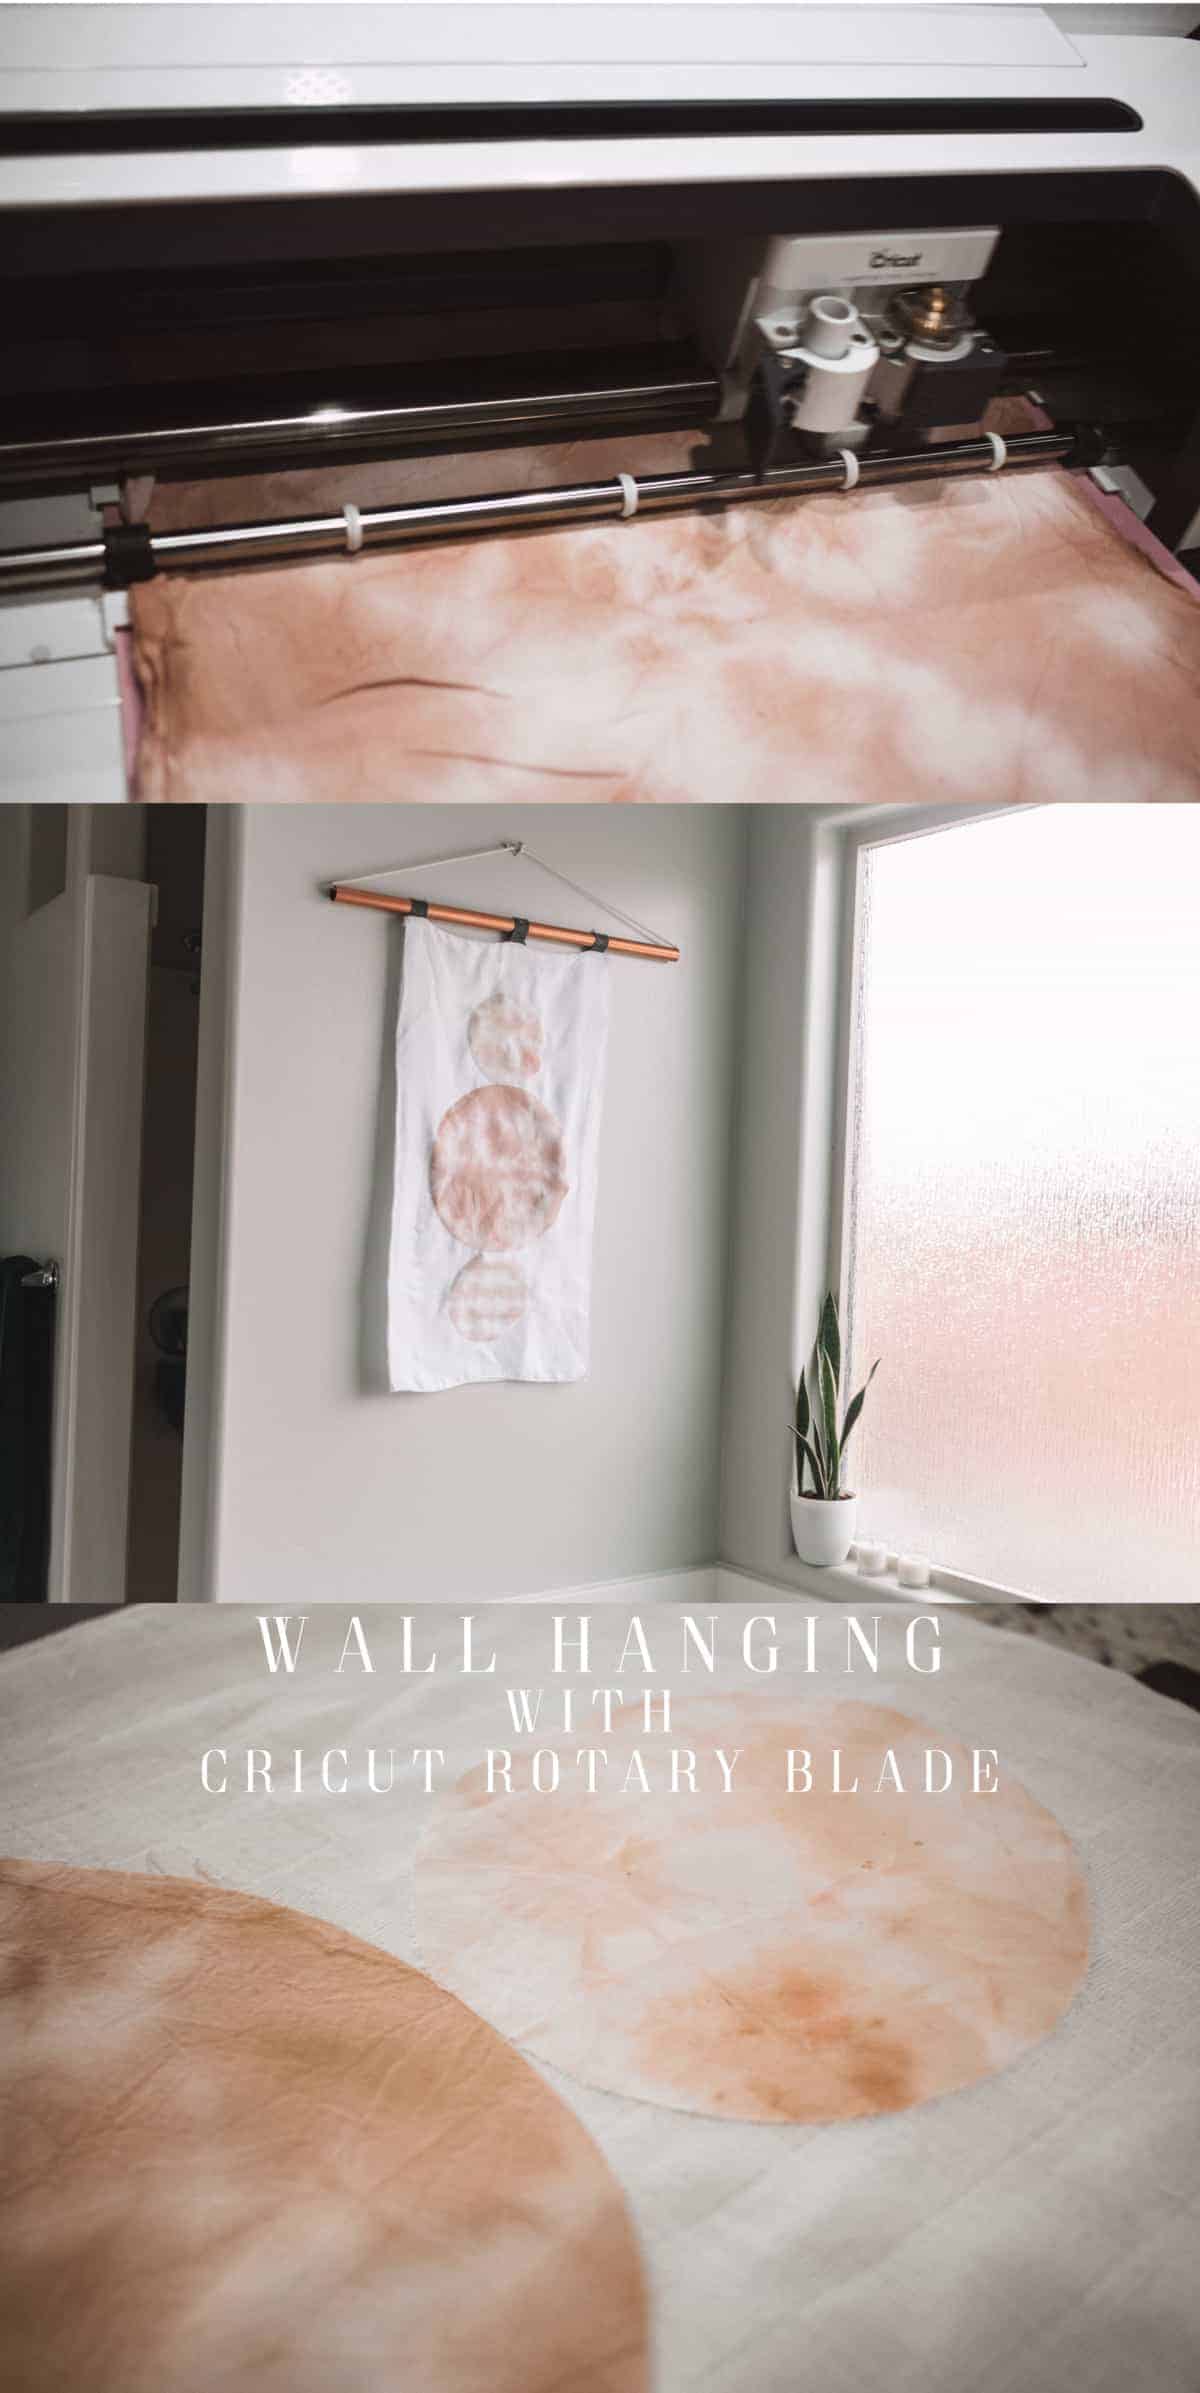 The simplicity of this design was inspired by Scandinavian minimalism!
What you need for your quilted wall hanging
- Cricut Maker and Rotary Blade
- Fabric Mat
- Felt in Charcoal
- 5 Avocados (Pits and Skins)
- 1/2 yard of fabric
- Rotary Cutter
- Self Healing Mat
- Fusible Adhesive Spray
- Copper Dowel
- Brayer
- Sewing Machine
- Cotton Rope
- This Cut File

Dye your Fabric
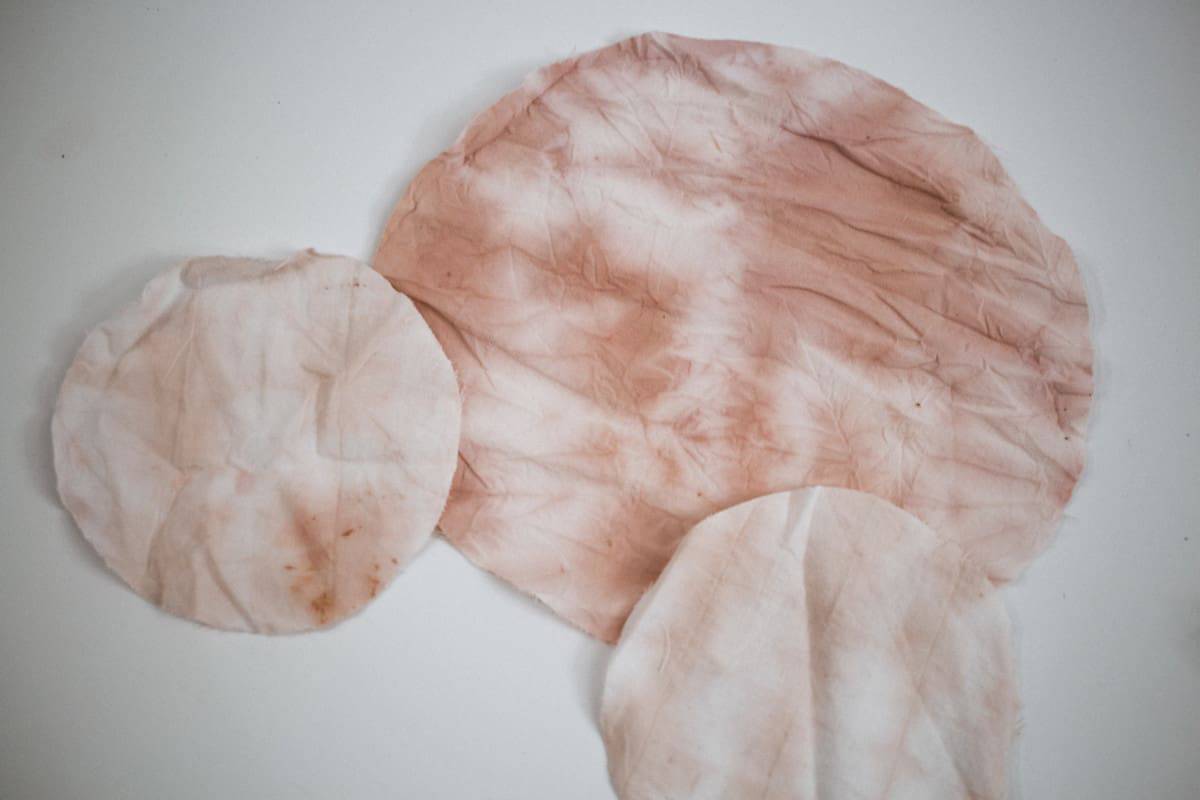
I folded them all in three different ways using some of my very favorite shibori folds. I’ll link a video to those right here!
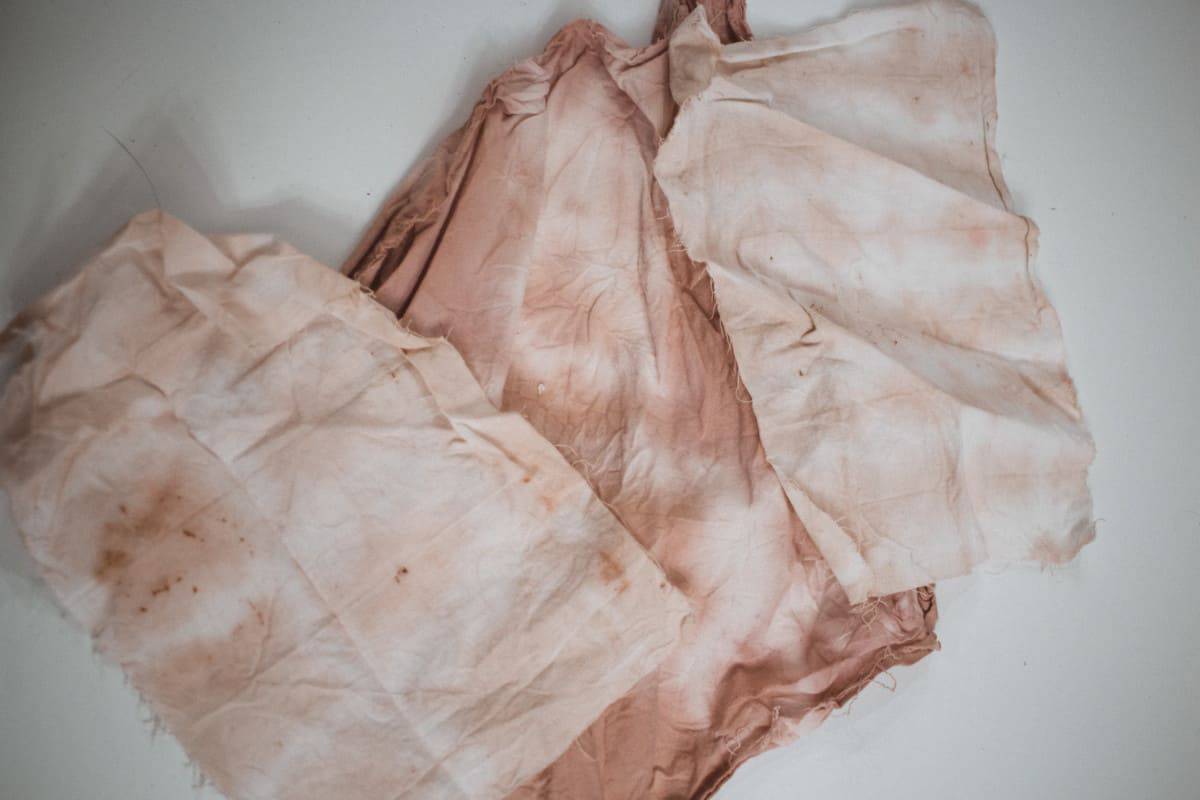
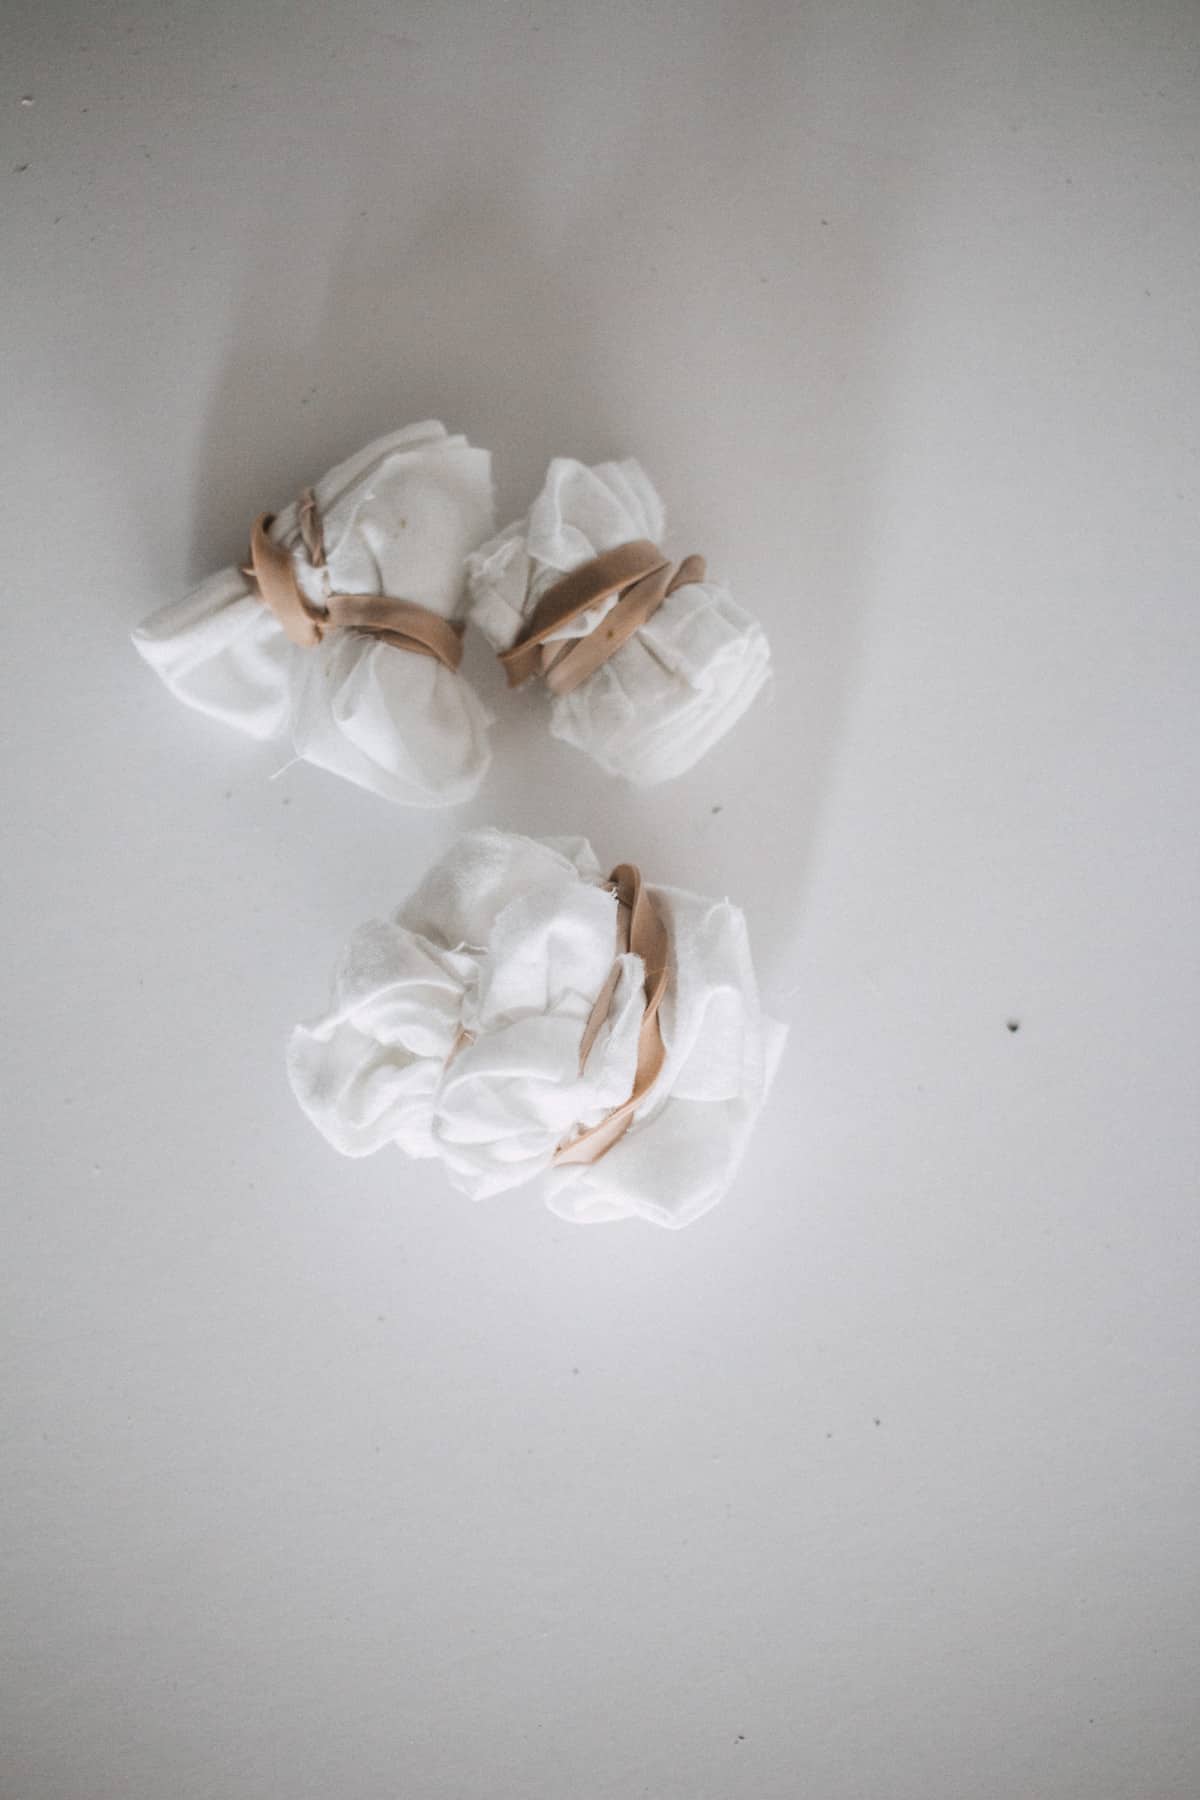 I wrote a post about how to dye with avocado pits right here so you can get these colors! The lighter pink were in the pot for about 1 hour and the dark pink was in the pot for 24 hours!
Cut your Fabric
Once everything is rinsed and dried, you will roll your fabric onto the fabric mat.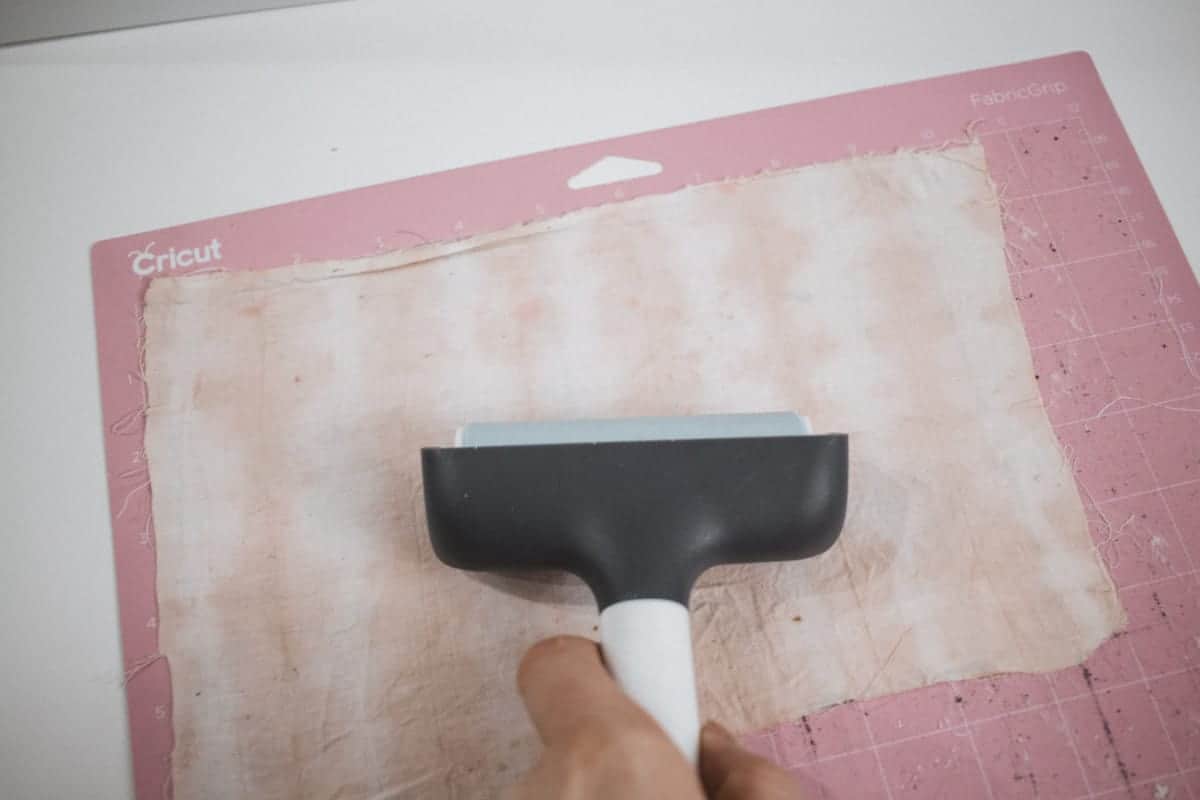 Now you’ll cut your fabric! Cutting fabric with the Cricut maker is the extremely simple. Choose a cut file you want to cut, in this case, you’re welcome to use the one I made! Click ‘cut’ and then you will connect your Cricut Maker with a cord or via Bluetooth. Select your material as ‘Cotton Fabric’ and let the Cricut work its’ magic. Circles are a perfect example to show you how well the Maker works because it would be close to impossible to cut perfect circles cutting fabric by hand like this.
Cut your Felt
Use your Cricut to cut your felt! This is a fun way to add a pop of color or contrast. I decided on the charcoal color.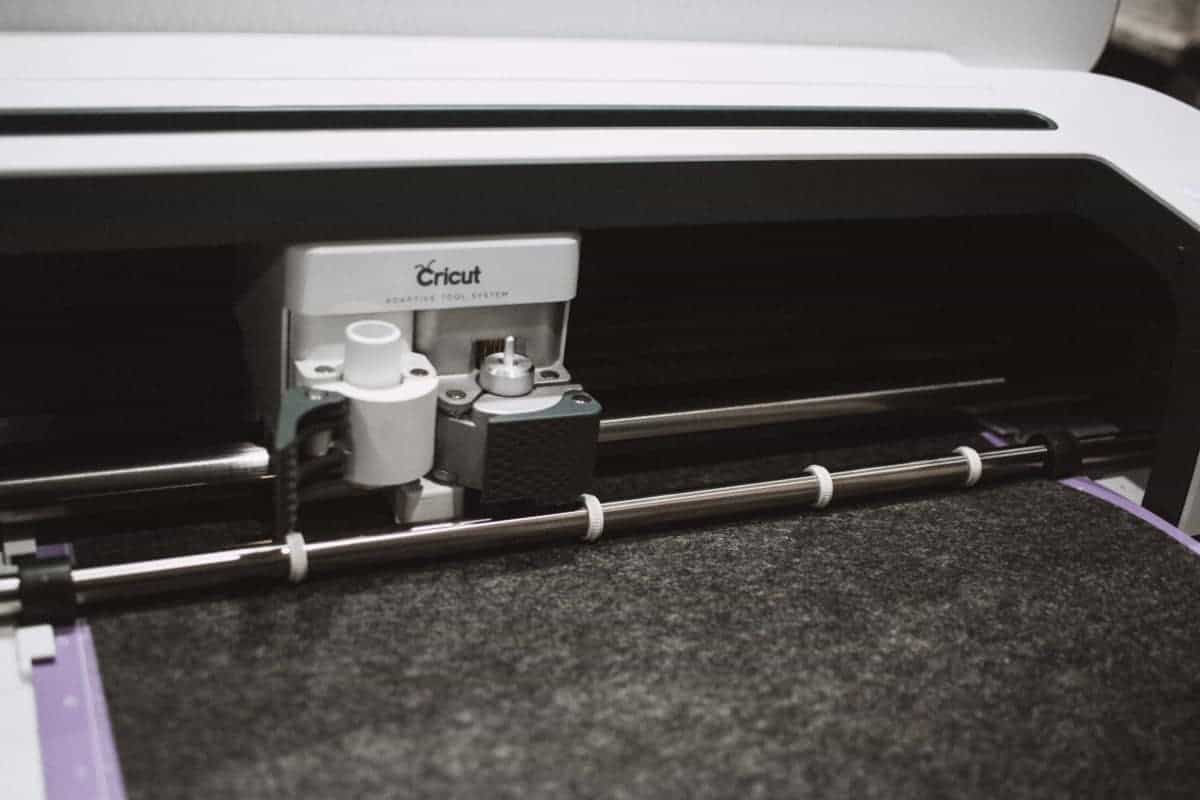
Construct your Wall Hanging
Spray your circles with spray adhesive. I used my EasyPress 2 to press these onto my fabric. If you don’t want to dye your fabric, go ahead and just buy some fusible fabric and you won’t have to use this spray. Pin the felt in half between both sides of the fabric.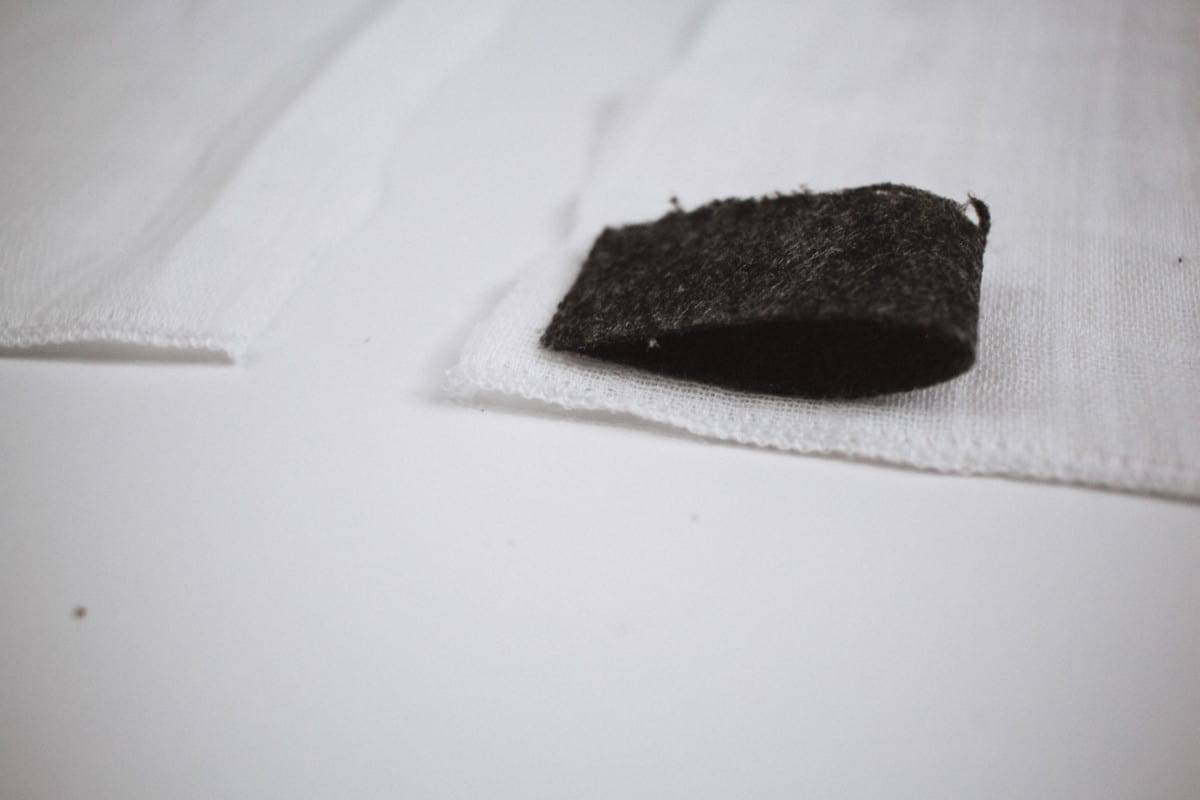
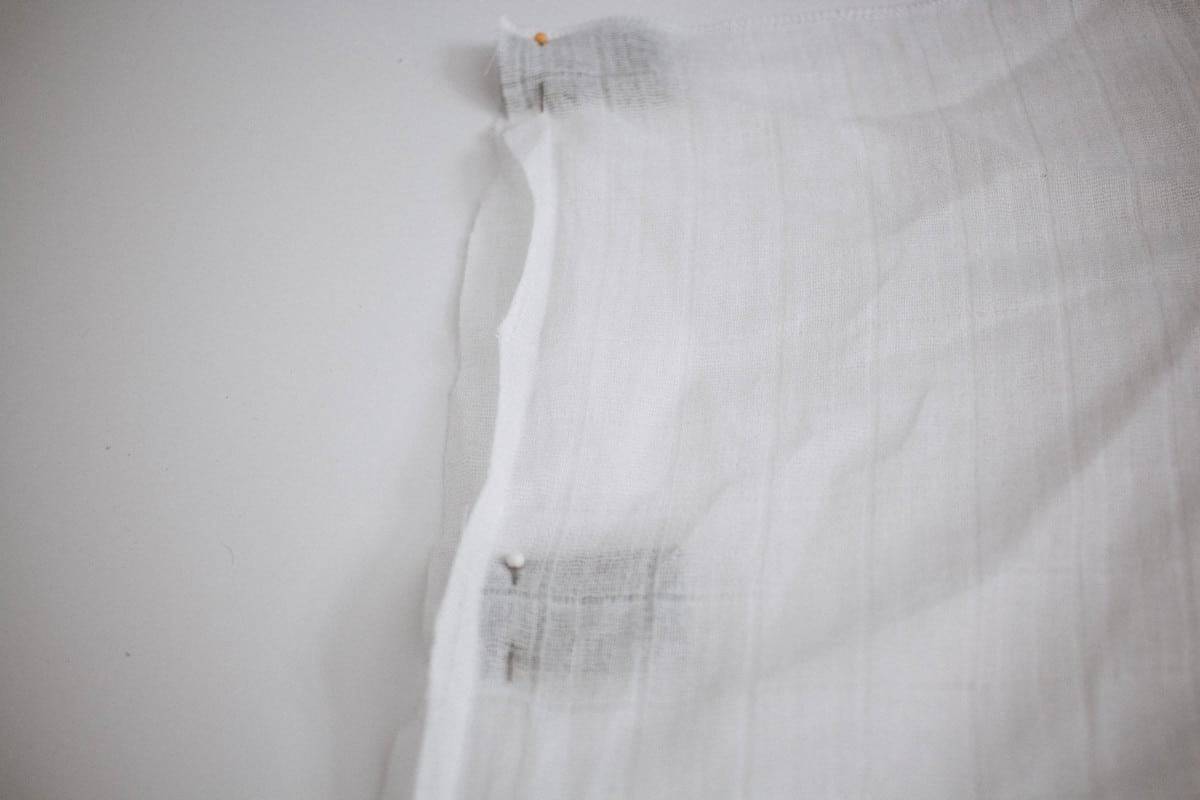 Take your copper dowel and thread it through the opening of the loops you just created.
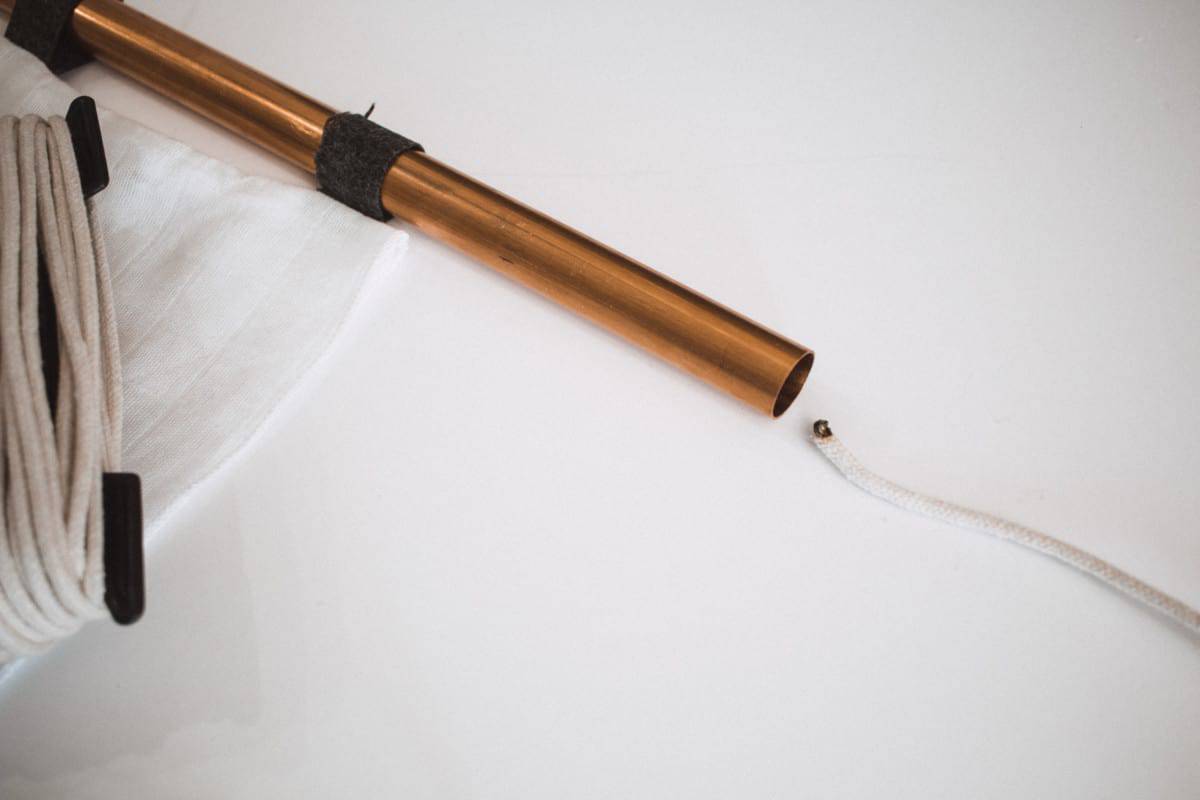 Thread your cotton rope through the dowel and tie it in a knot at the length you prefer. I wanted mine to have a bit of space between where it was hanging and the top of the fabric.
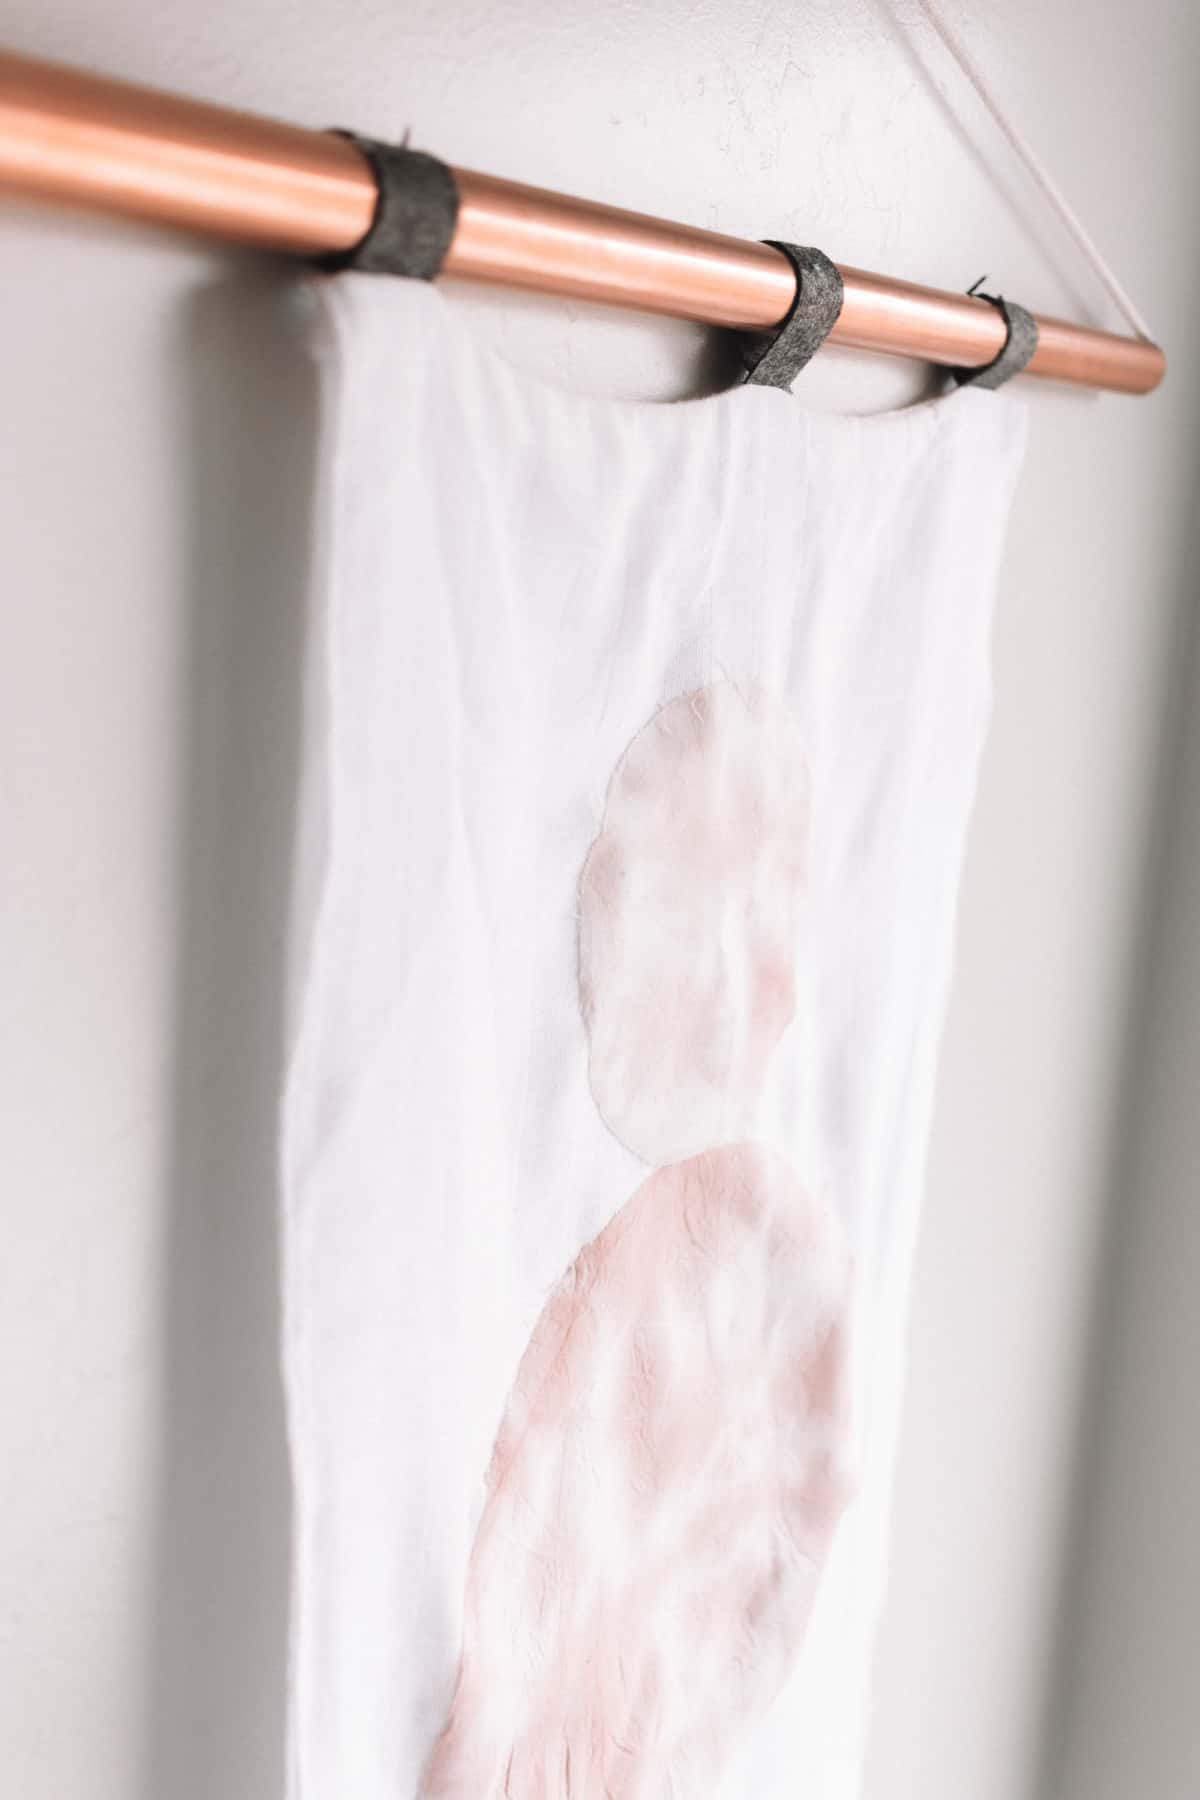 Hang your wall hanging!
 What do you think? I think it turned out really cool! I love the look of the circles. I ended up putting it in my bathroom because it almost had a spa like feel to it.


This is so amazing — and you could customize it so many different ways! Thanks for the fun idea!
You totally can make it your own!
This is so original and beautiful. I am loving the wall hanging. Thanks for the awesome inspiration.
Thank you Valentina!
This is so cute and I would love to have this on my wall.
Holy cow is this such a cool idea. My wife is going to love this!
Love the look of this! Totally wish I was talented enough to make this!
Wow, This sounds incredible. You did it so nicely. I want some of these in my bedroom. I will try it for sure. Then I need a rotary cutter. Thanks for the sharing this amazing project with all of us.