Make yourself DIY Velvet Scrunchies with a bow using this simple tutorial and cut file. I walk you through each step and show you pictures of the process.
How pretty would these bows be using mulberry dye, Ice dye, or pine cones? Check out these posts for how you could dye any fabric using those methods.
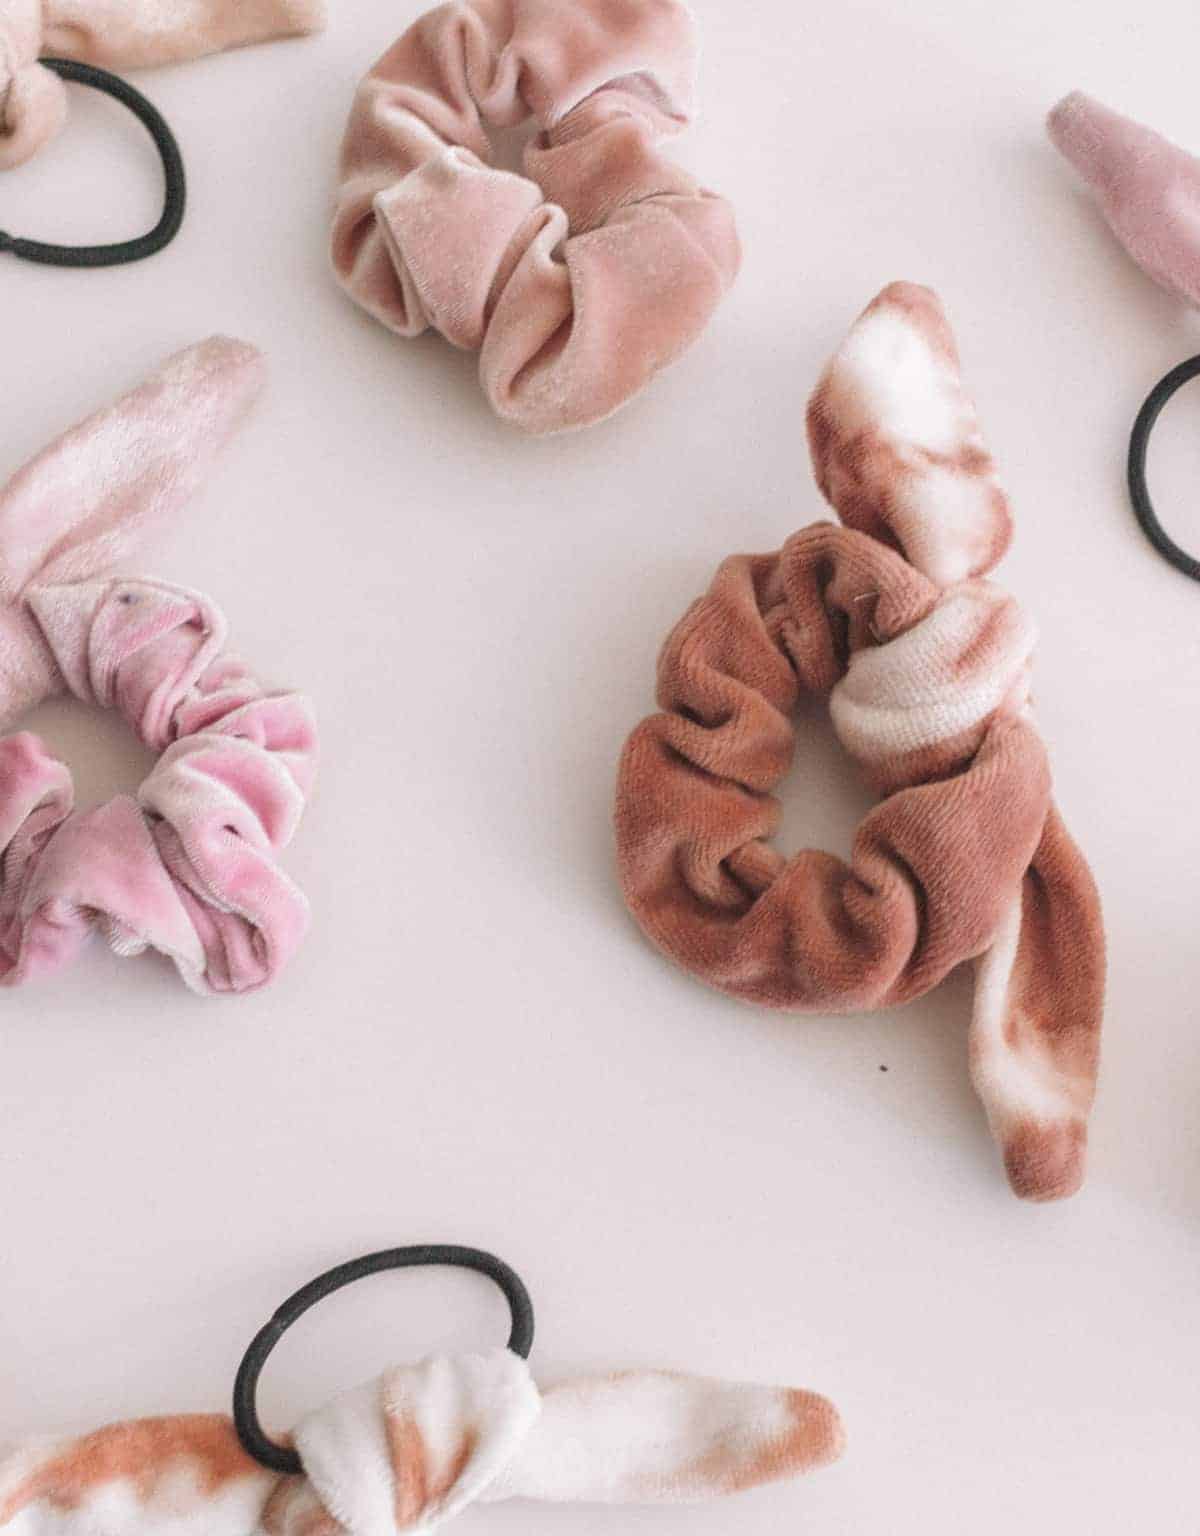
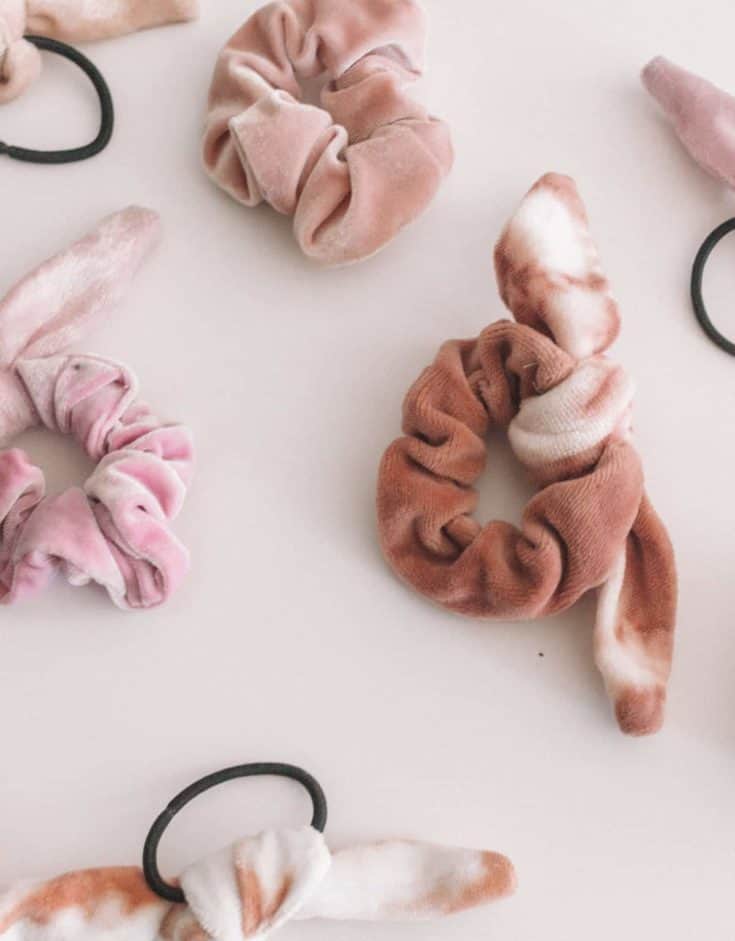
This is a tutorial I’ve been wanting to do but have been kind of scared to attempt it for some reason. I ended up making 20! I tried velvet and cotton but the velvet definitely worked the best. The cotton is a cute look but the velvet has more form.
Are scrunchies coming back?
Yup. Like it or not, and you probably like it, scrunchies are back. And because crushed velvet is ALSO back, I’ve got you all set here with this tutorial!
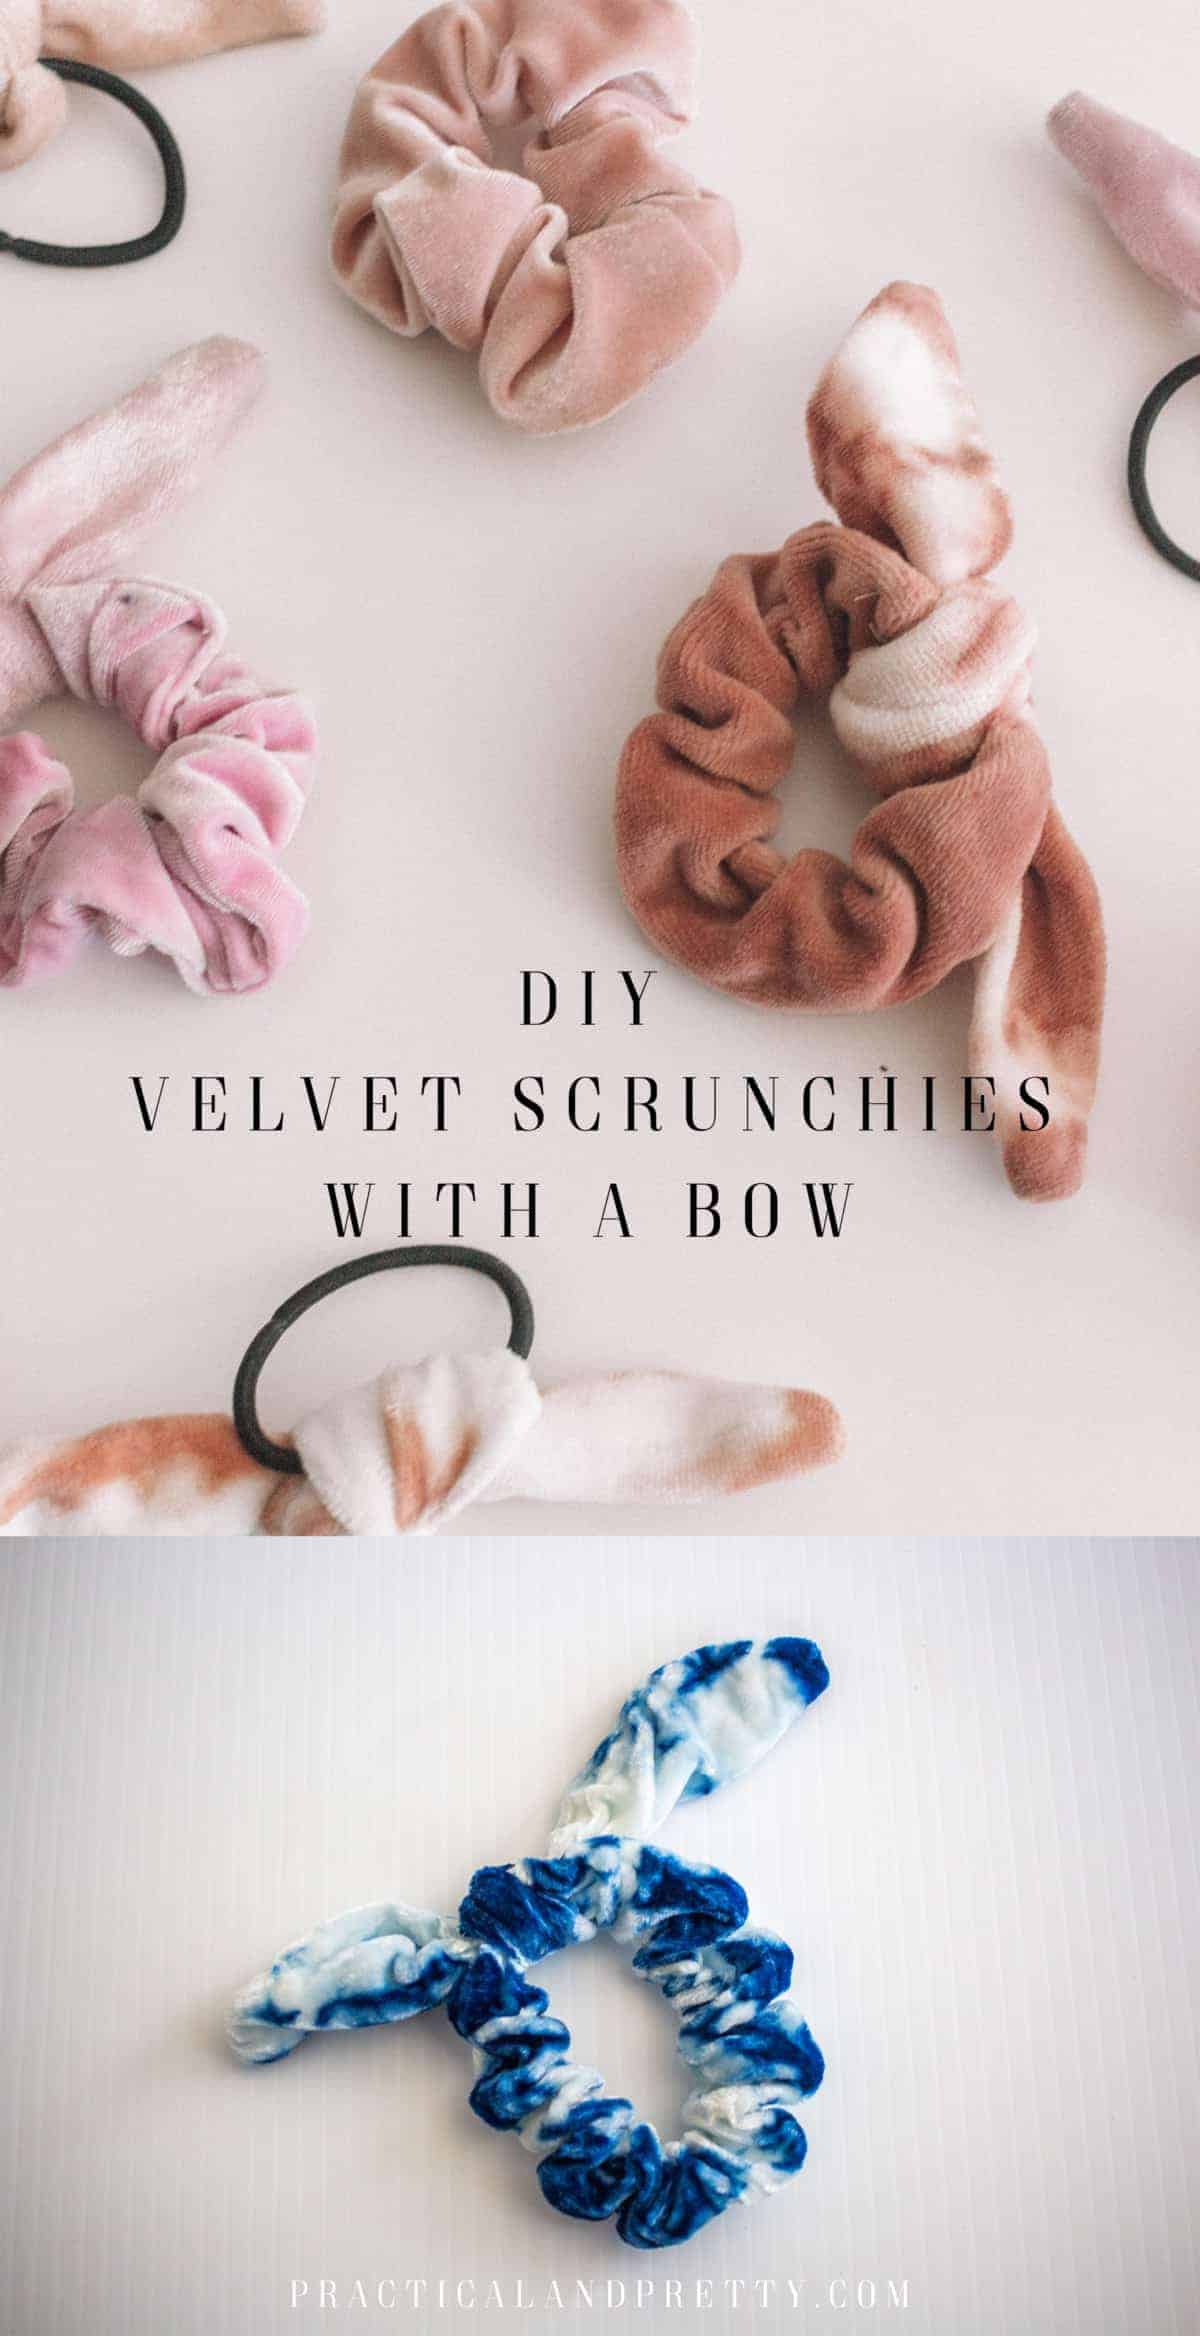
Who’s so excited scrunchies are back?! I AM! I love velvet bow scrunchies especially.
What you need for your diy velvet scrunchies with a bow
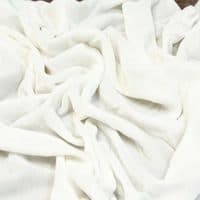
- Velvet – you only need maybe half a yard to make 5 scrunchies
- Fabric Scissors
- Sewing Machine
- 6.5” of 1/4” elastic
- Two safety pins
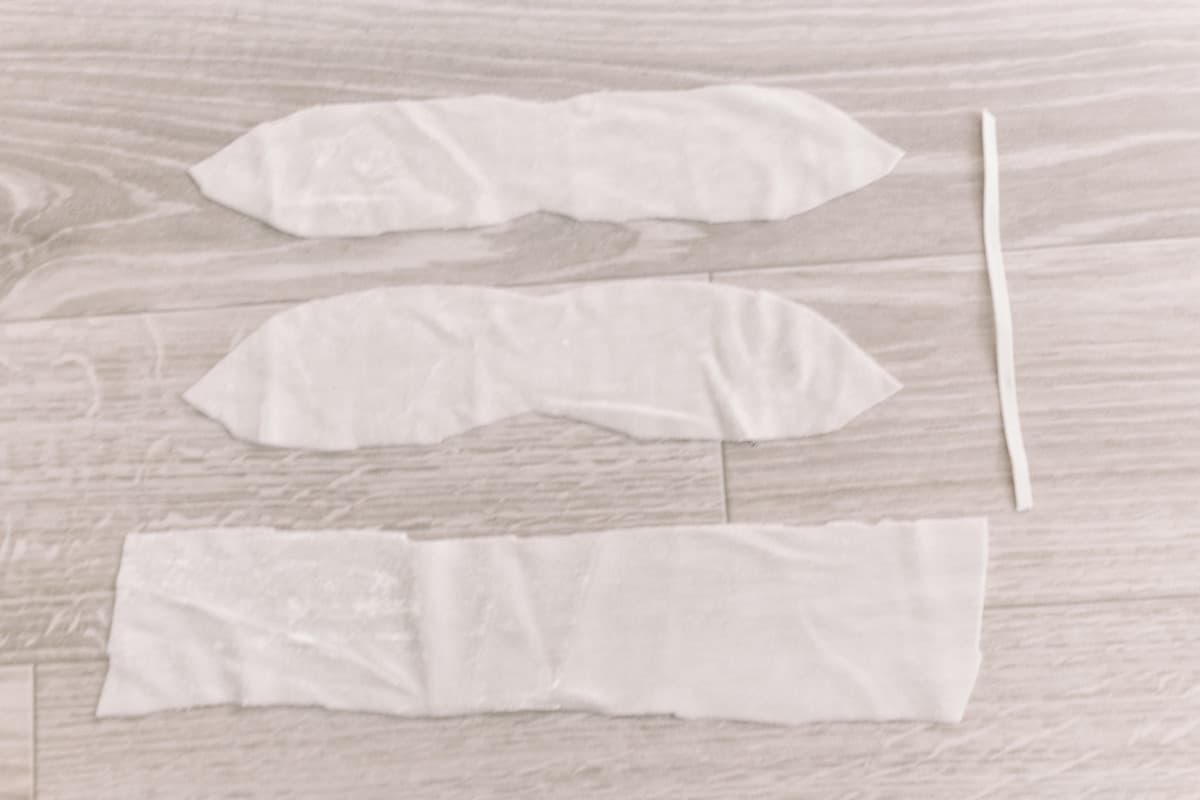
You can also use a Cricut! I have this cut file if you’d like to use a Cricut Maker and rotary blade to cut out the shapes. I wanted to make sure the pattern worked before I created a cut file for you so when it did, I made the cut file!
The Cricut Maker cuts fabric really well so I would highly suggest using the Maker for this reason.
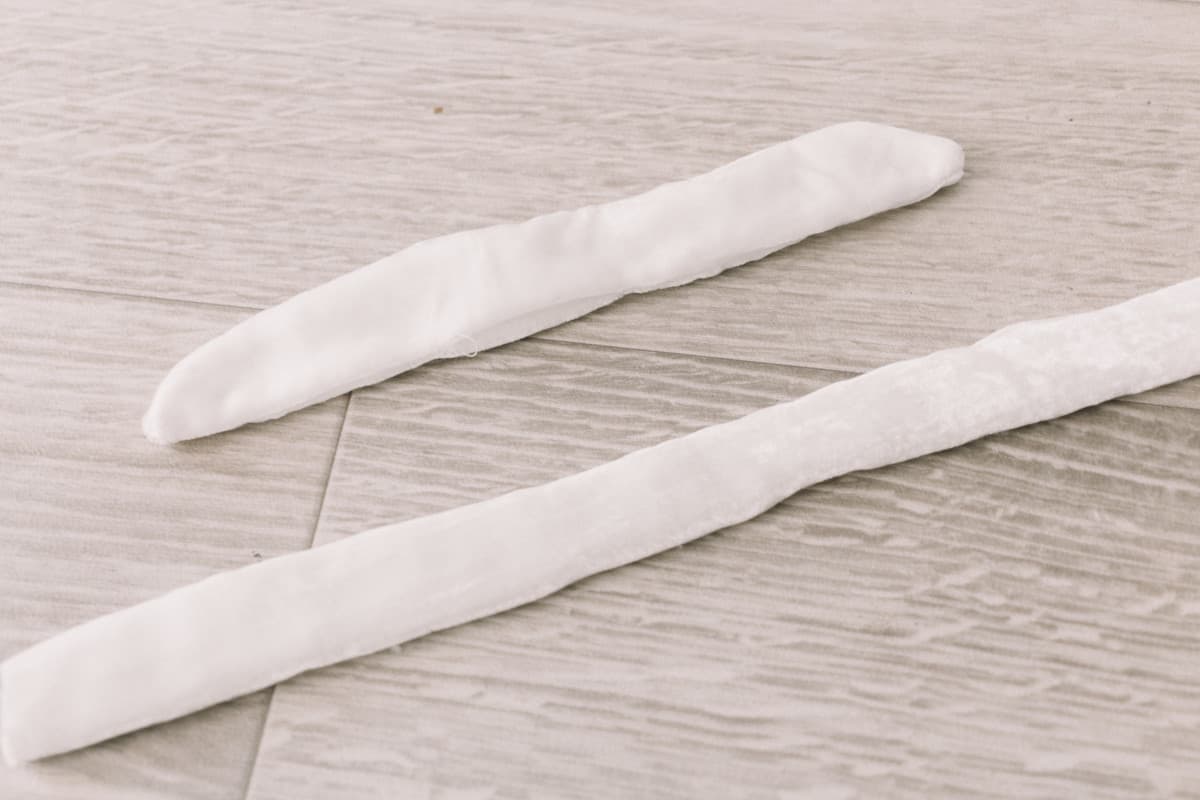
Fold your long strip in half along the longest edge with the interior part of your fabric facing out. Sew along the seem with 1/4 inch seam allowance.
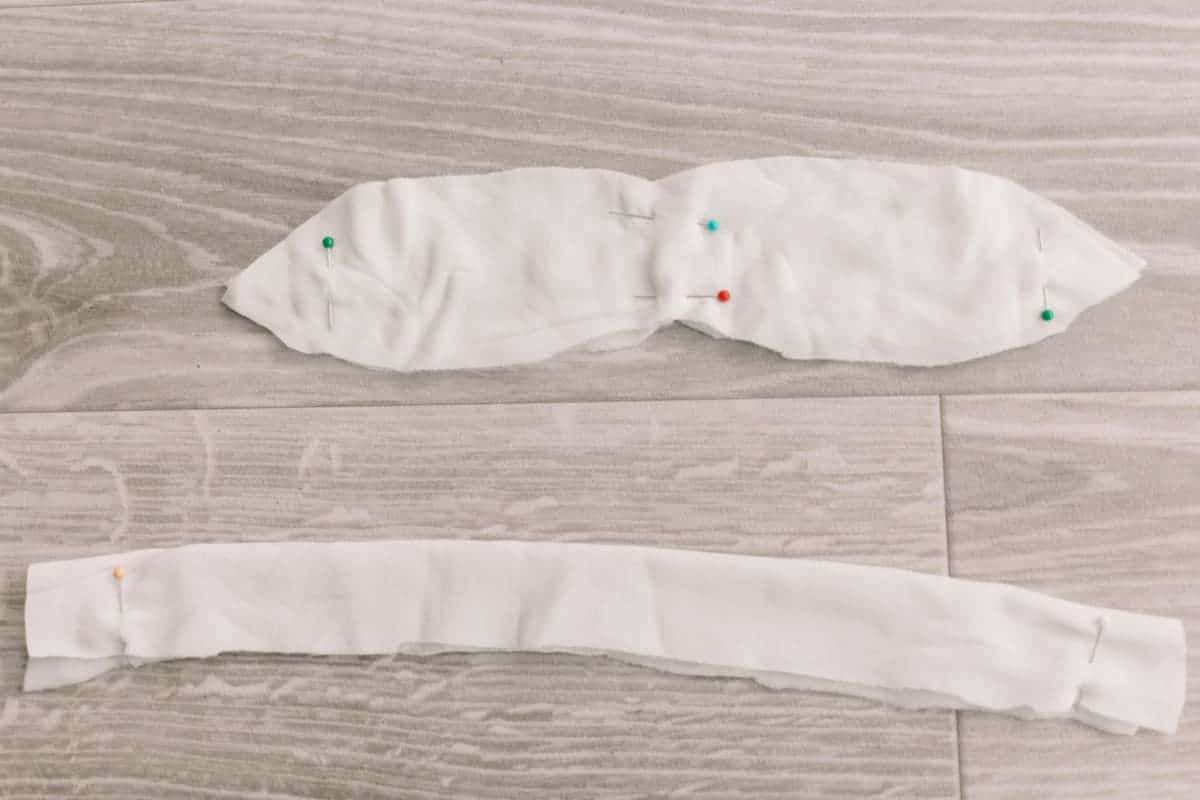
Put the two bow shapes together with the outside of the fabric facing together and sew along the edge with a 1/4” seam allowance.
Now you will flip the bow and the long strip right side out.
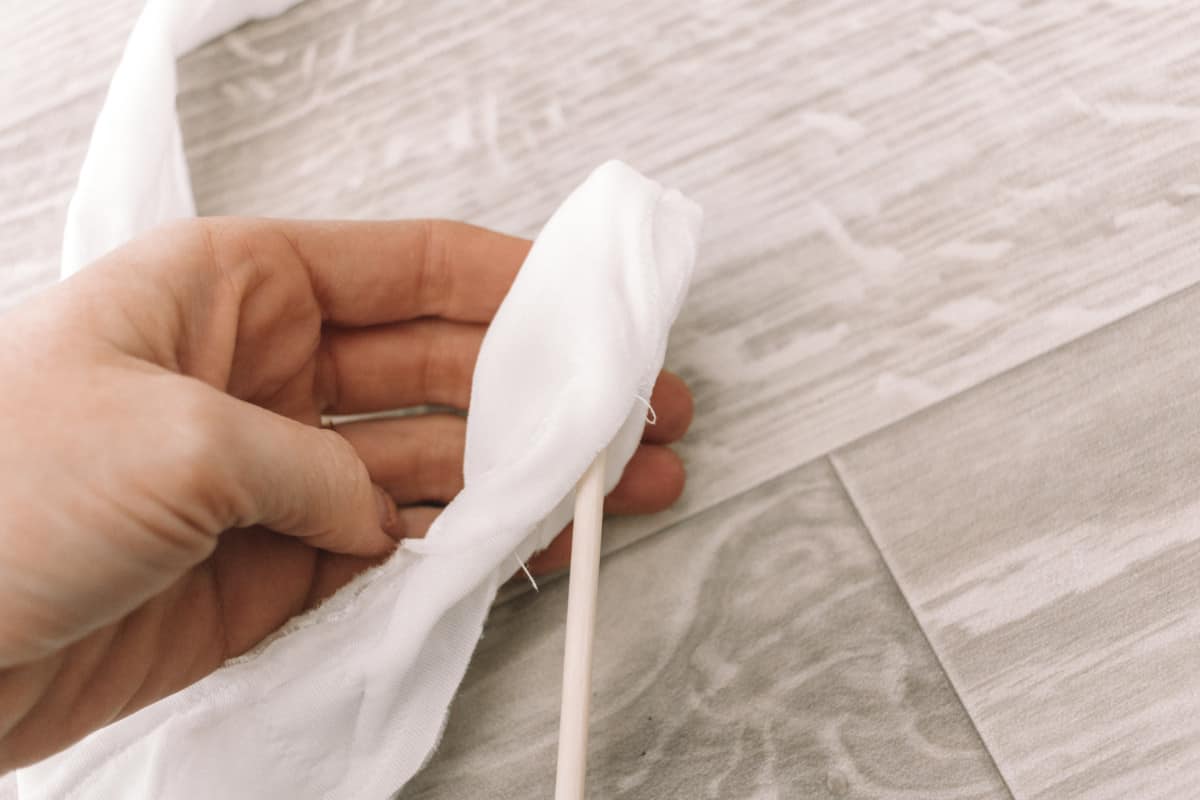
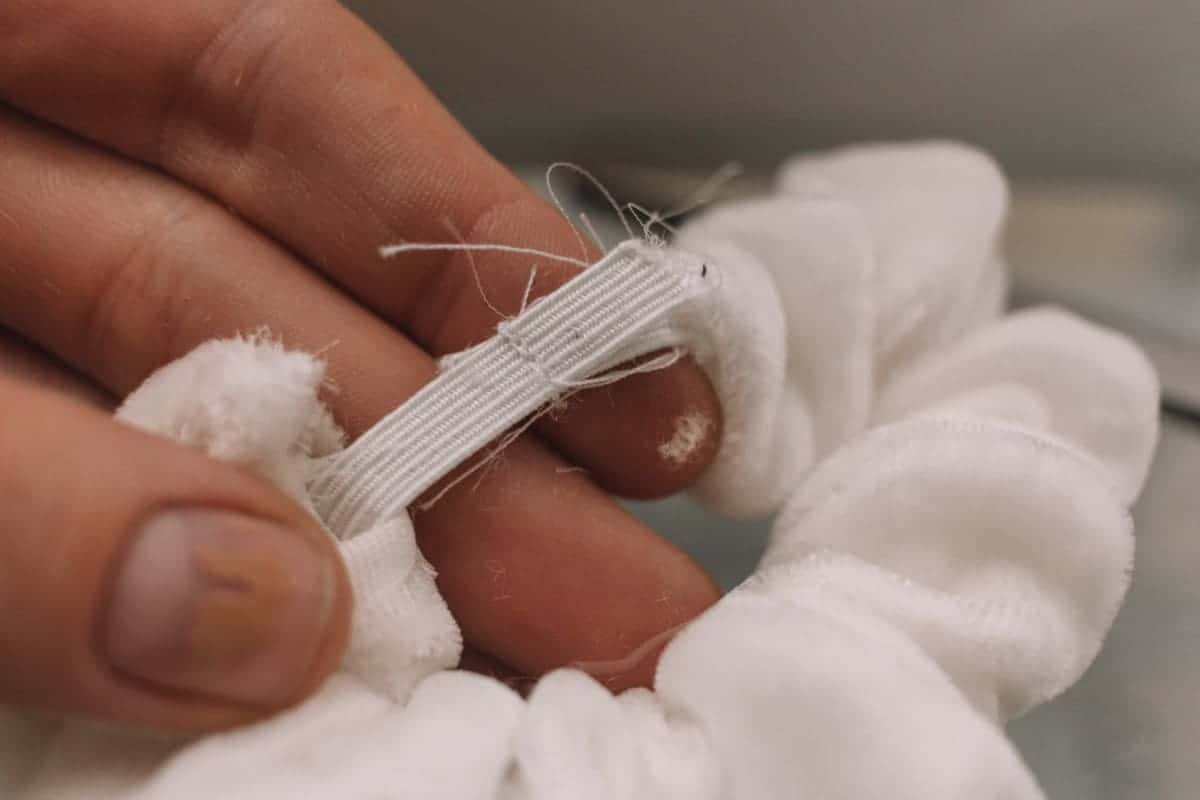
Safety pin one edge of the elastic to the end of the long strip and then put a safety pin on the other side so you can feel the edge of the elastic as you thread it through the piece of fabric. Pin the two edges together and sew the elastic together.
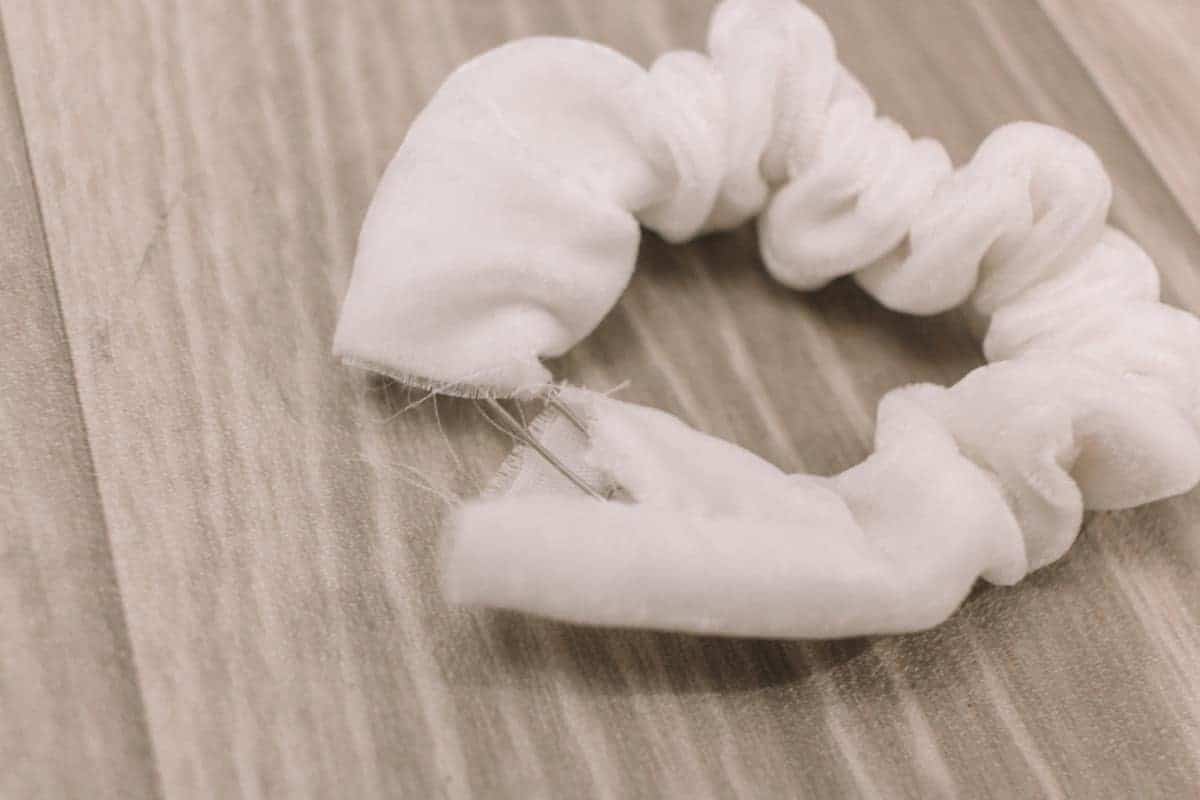
I’m sure there is a more elegant way to do this next part but I decided it to do this way because you are going to tie a bow around it anyway. I put one end into the other and sewed them together.

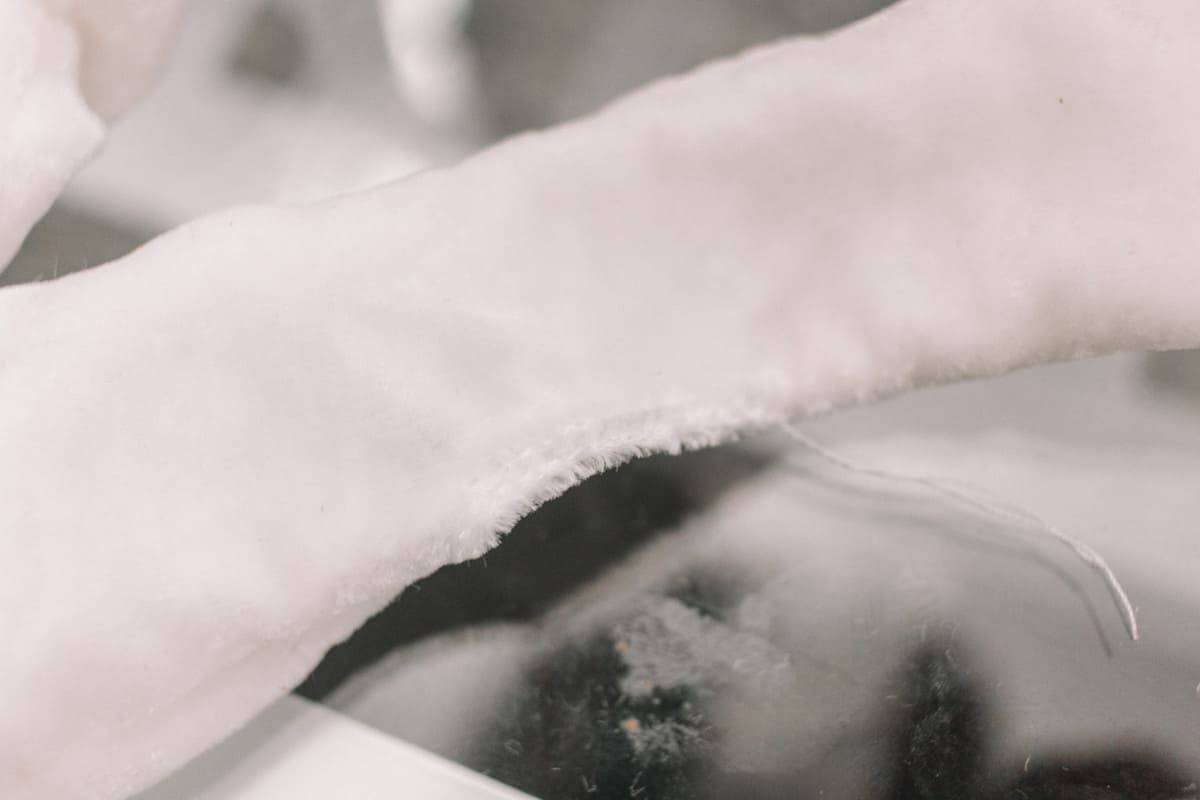
Now you will sew the seam of the bow shut. I folded this part in so the edge looked nice just in case you could see it after it was tied. You couldn’t really but I could see it bothering some people! You really wouldn’t even have to sew this part shut if you didn’t want to!
Tight the bow part to the scrunchie part and you are all done! Isn’t that o fun?! I dyed mine too.. only because I do that with everything white around my house!
Can you wash velvet scrunchies?
Yes! You can absolutely wash these scrunchies. Worst case scenario they come lose and you just tighten them again. The scrunchie portion should remain in tact completely assuming you really sewed it well.
Are velvet scrunchies good for your hair?
YES! Scrunchies in general are so much better on your hair because they don’t get as tight on your hair as a regular hair tie. I like to put my hair in a top knot with my scrunchie when I go to bed and this gives my hair a lot of volume in the morning.
If you prefer the look of hair ties I made this DIY bow hair tie as well.
If you have some scrap fabric and want to make a scrunchie I have another tutorial for a vintage scrunchie idea right here.
These turned out so cute I’m going to put them in my store! If you don’t want to make one, you can just buy one. But I’m not sure why you would buy one if you came to this tutorial cause you’re obviously crafty enough to make your own! BUT If you want it naturally dyed, here’s the link!
DIY Velvet Scrunchies with a Bow
Make yourself a DIY Velvet Scrunchies with a bow using this simple tutorial and cut file. I walk you through each step and show you pictures of the process.
Materials
- Velvet - you only need maybe half a yard to make 5 scrunchies
- 6.5” of 1/4” elastic
Tools
- Fabric Scissors
- Sewing Machine
- Two safety pins
Instructions
- Cut out fabric using the cut file provided
- Sew the bow pieces together leaving an inch area open
- Sew the long strip in half folding long ways
- Turn both pieces right side out
- Thread the elastic through the long tube with the safety pins
- Sew the elastics together
- Sew the tube in a loop
- Sew the bow area you left open shut
- Tie bow onto scrunchie
Recommended Products
As an Amazon Associate and member of other affiliate programs, I earn from qualifying purchases.
-
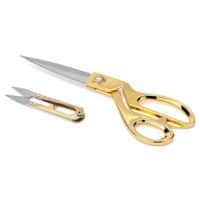 Fabric Scissors 9.5 inch Tailor Scissors + Thread Snips, AKUNSZ Dressmaking Scissors Dressmaker Shears Stainless Steel Gold Scissors for Fabric, Dressmaking, Sewing, Tailoring
 -
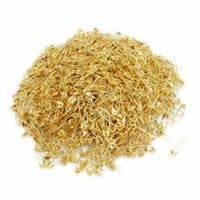 Dealglad® 1000 Pcs Exquisite Small 19mm Gold Tone Metal Clothing Accessories Trimming Fastening Safety Pins
 -
 100% SILK VELVET SOLID FABRIC 45”W CLOTHING,DRAPERY,DRESSES 30 COLOR BY THE YARD (WHITE)


