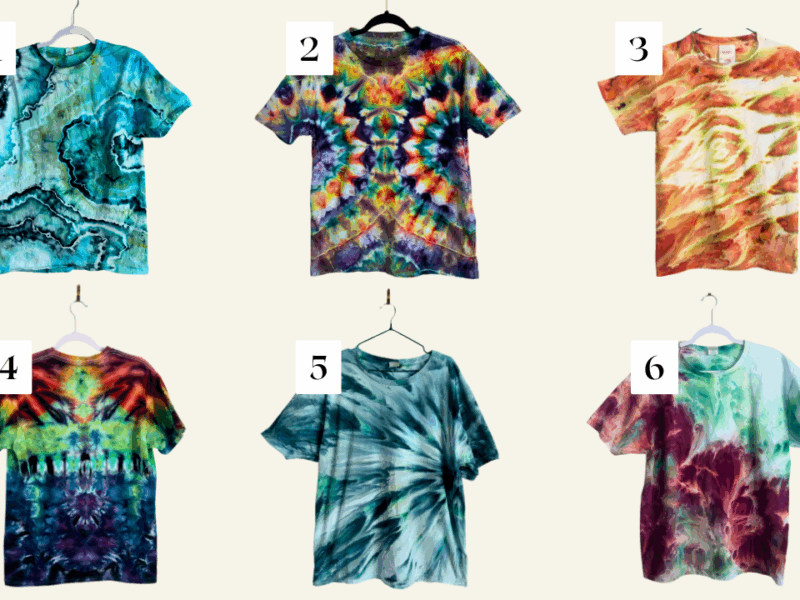
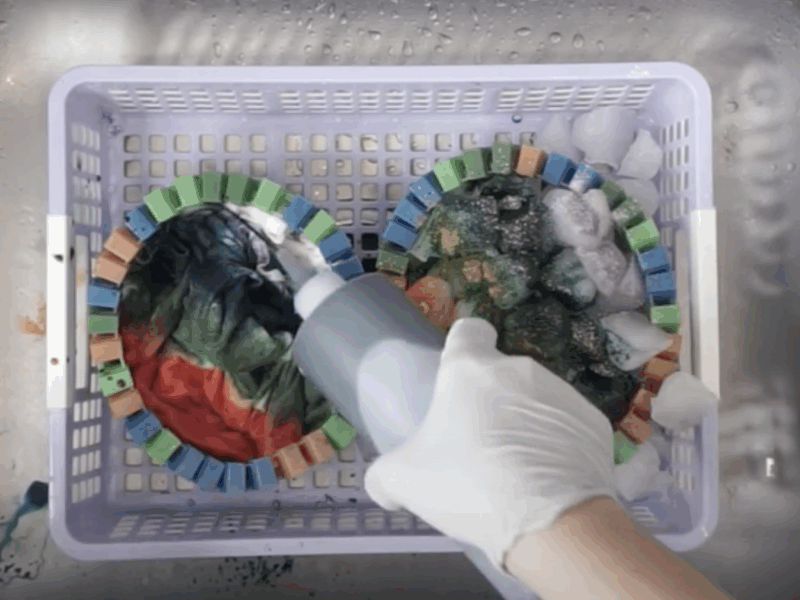
Not every fold turns into a great reverse tie dye pattern once you flip it around for bleach or White Brite. Because this is more like vat dyeing than typical tie dyeing some things like gravity dyes don’t work. I tested seven of my favorite reverse tie dye patterns, from easy beginner folds to a few that take real practice, and wrote out the step by step for each one below. Whether you’re doing this DIY with bleach or a gentler method like White Brite, the folding process works the same way.
If you’d like to see these folds in action check out the video here.
If you’re new to reverse tie dye, check out my comprehensive explination of how to reverse tie dye here before you start. It walks through the basics and gives you a few more patterns to play with once you’ve tried these seven. All seven of these work great on shirts, and most hold up just as well on hoodies if that’s your next project.
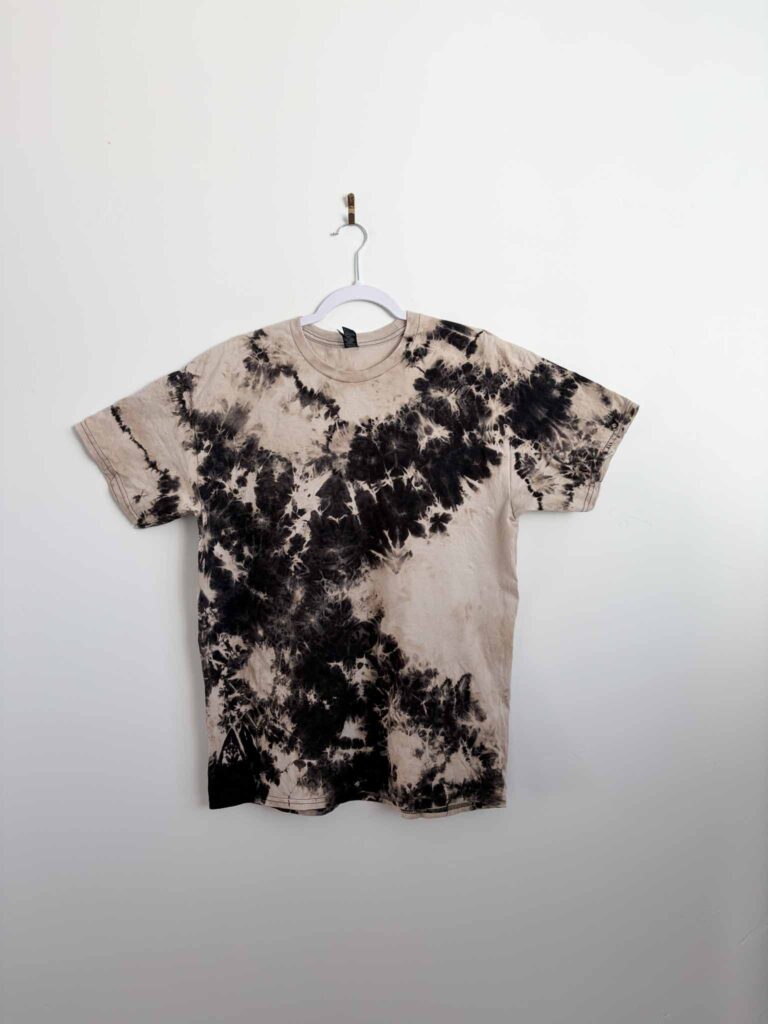
1. Crumple Fold (Easiest)
The crumple is where most people start, and honestly, it might still be my favorite result out of all seven.
How to do it:
- Scrunch the shirt into a loose, random pile with no real pattern to it.
- Wrap 2 to 4 rubber bands around it.
The tighter you band it, the more black space you’ll keep in the final result. I like a looser band, just two rubber bands or so, because it lets more color variation come through.
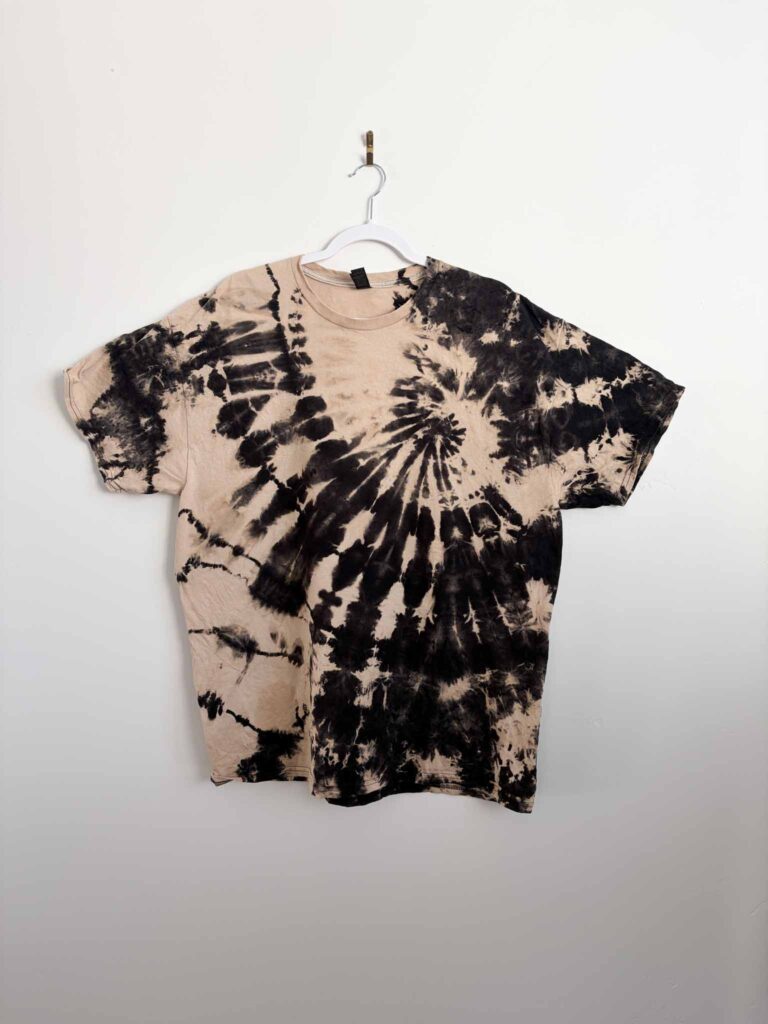
2. Spiral Fold
A spiral is one of the most popular reverse dye patterns for a reason. It looks complicated, but the technique itself is pretty forgiving.
How to do it:
- Pick your starting point. I did an asymmetrical spiral starting near the breast pocket, but a centered spiral works just as well.
- Pinch the fabric and twist. Keep your hand low to the table so you’re not lifting the fabric as you go.
- Once it’s fully twisted into a flat coil, band it with 3 to 4 rubber bands in a wedge pattern.
I only used three bands on this one and it still turned out great, so don’t stress too much about the exact number.
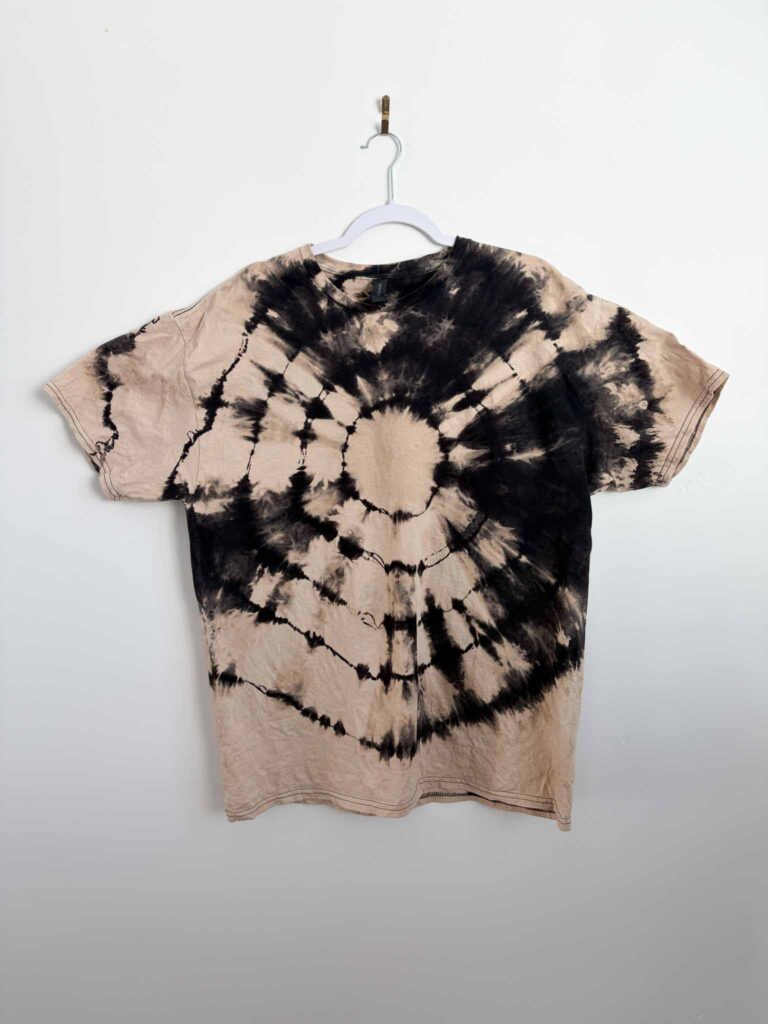
3. Bullseye Fold
The bullseye is simple, striking, and looks incredible once color goes back into it.
How to do it:
- Grab the center of the shirt and let it hang.
- Rubber band it in sections, working down from where you’re holding it. You can also start from a bottom corner instead of the center for a different look.
- Space your bands closer together or farther apart depending on how many rings you want.
Don’t band it too tight. You want enough resistance to keep a clean line, but bands that are too tight are hard to remove and you’ll be tempted to cut them off with scissors, which risks the fabric underneath.
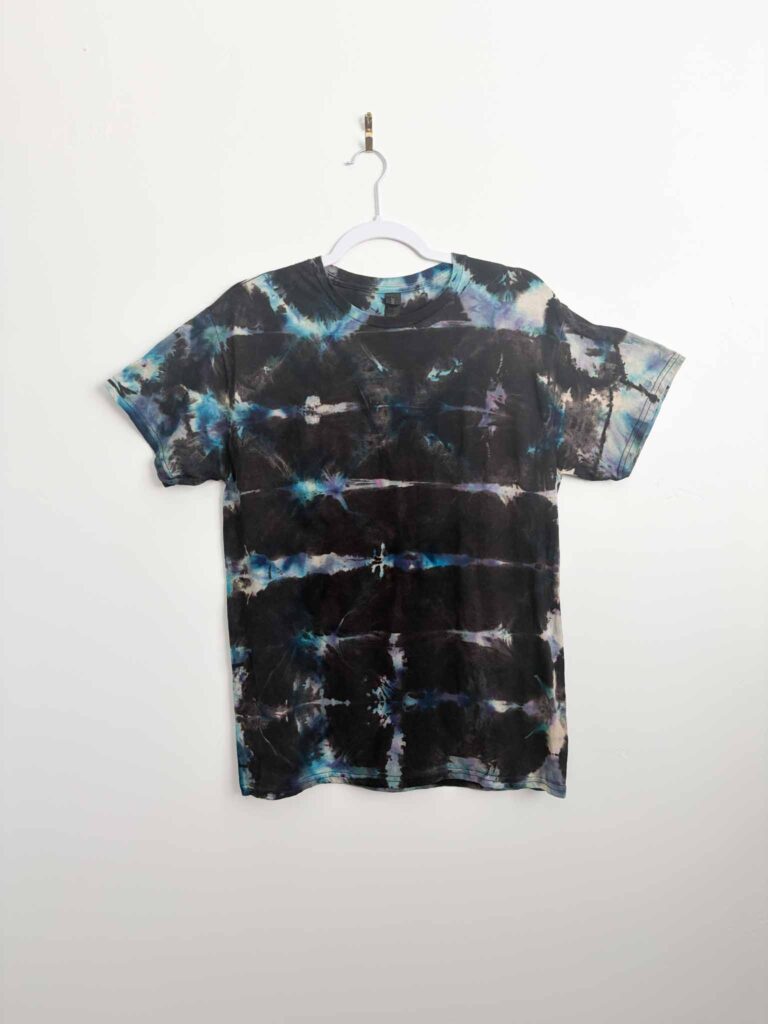
4. Shibori Fold
This one is right in the middle of the difficulty scale, and it’s probably my personal favorite pattern on this list.
How to do it:
- Accordion fold from the bottom of the shirt in about 3 inch pleats.
- Turn the folded strip on its side and fold it into a triangle, sometimes called a flag fold: fold under along the short edge, then over along the long edge, then under again along the short edge. Keep repeating until you’ve folded the whole strip into a triangle shape.
- Secure it with 2 rubber bands.
5. Heart Fold
The heart takes more finesse than the first four, but it’s still doable as a beginner project if you go slowly.
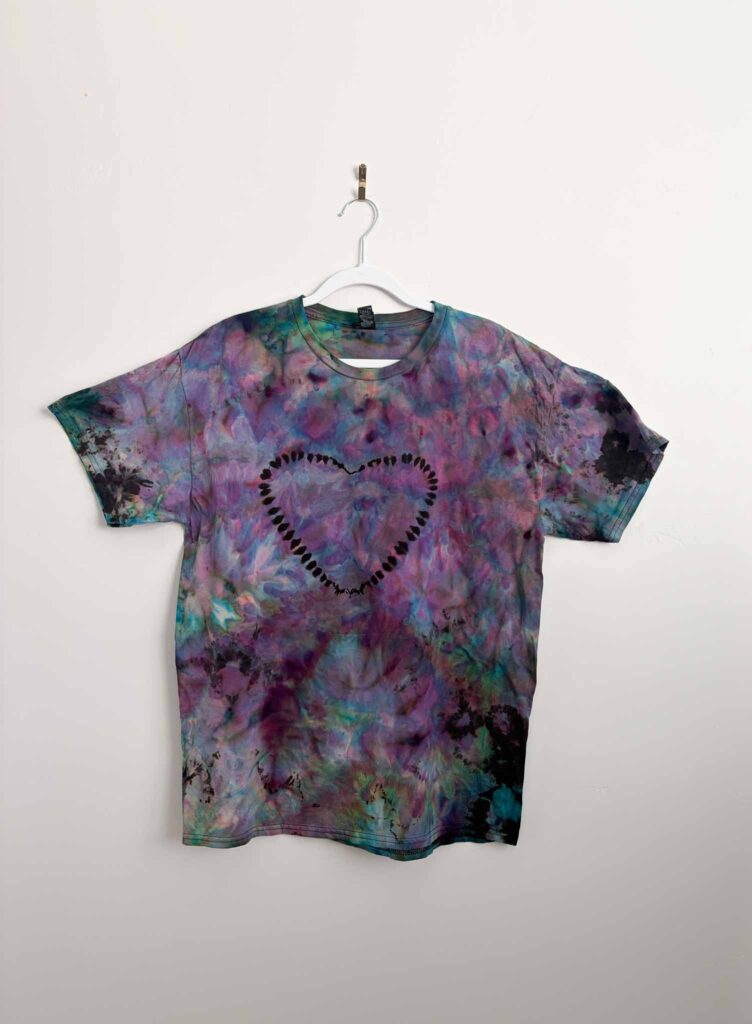
How to do it:
- Find the center front of the shirt and fold it in half.
- Using tailor’s chalk (white shows up well on black fabric), draw a line to mark the shape you’re about to fold.
- Accordion fold along that chalk line, following the curve carefully as you turn the corner to form the top of the heart.
- Wrap a rubber band around the folded shape 3 to 4 times. You want it tight enough to create a resist, but not so tight it’s a fight to remove.
- For the rest of the shirt, scrunch it into a simple crumple and secure with 2 more rubber bands.
Take your time on the chalk line and the fold around the curve. That’s the part that makes this fold trickier than the first four, but once you get the hang of following the line, it’s hard to mess up. This one left a lot of white space on my test shirt, which I ended up loving.
6. Spine Fold
The spine fold mirrors the heart, but on the back of the shirt instead of the front, and it calls for a different material to hold the folds tight.
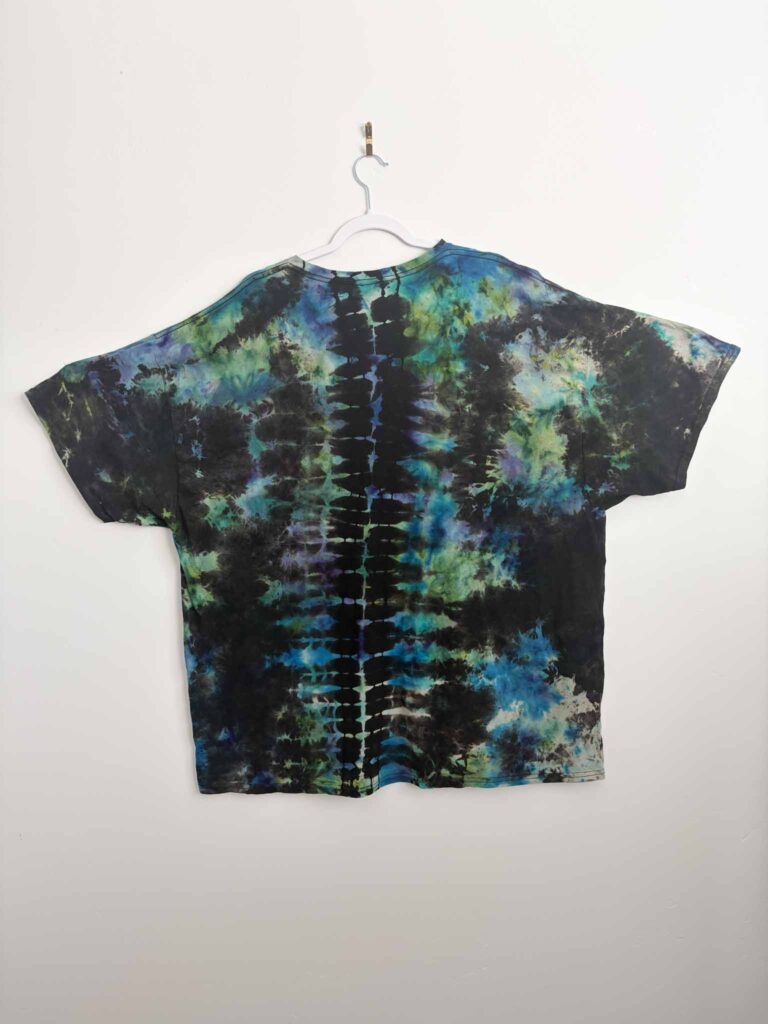
How to do it:
- Find the back center of the shirt and pull it up the same way you would for the heart fold.
- Accordion fold in a straight line down the center back. I keep my pleats around half an inch tall, though you can go taller or shorter depending on the look you want.
- Continue accordion folding out toward the edges as far as you’d like, or scrunch the remaining fabric once you’ve got the spine established.
- Wrap sinew around the folded section 3 to 4 times, then use a sinew puller to pull it tight.
Sinew is a waxed string, and it’s what makes this fold possible. Regular rubber bands don’t hold this shape well. I finished the rest of my test shirt with a plain crumple, secured with 2 rubber bands, and that combination gave me a nice spine down the back with texture everywhere else.
7. Geode Fold (Hardest)
The geode is the most technical fold on this list. A mandala fold gets similarly complex, but the geode was the one that gave me the most trouble.
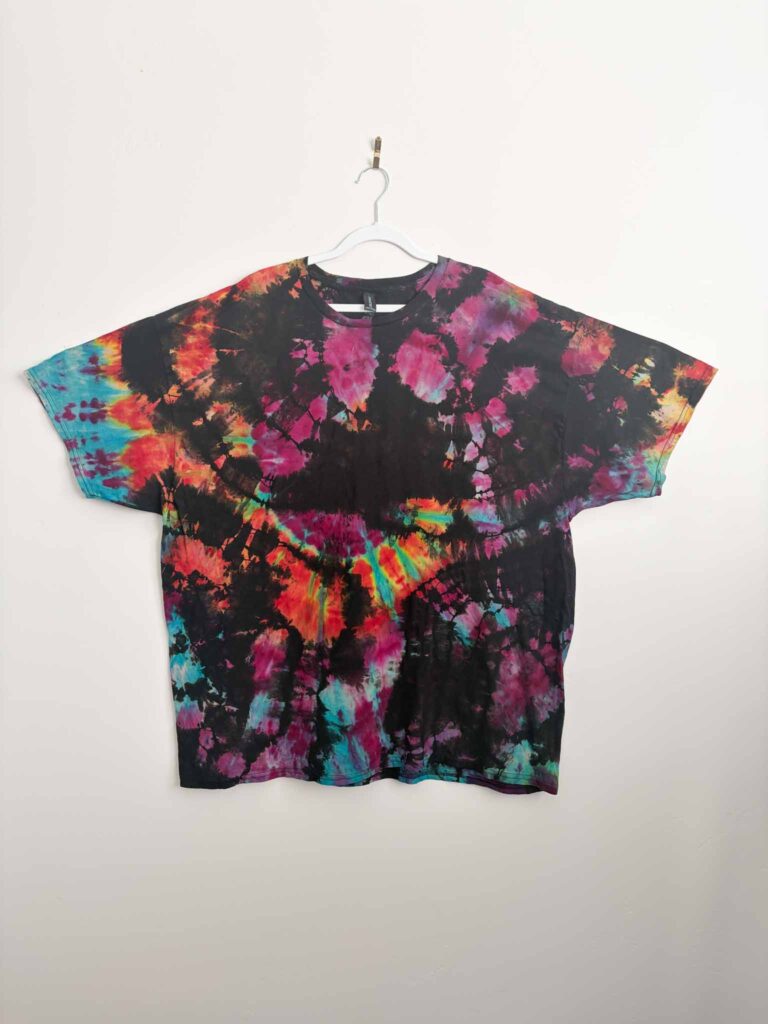
How to do it:
- Scrunch your fabric into a rough pile.
- Wrap sinew around it 3 to 5 times.
- Wrap the sinew around your sinew puller 3 to 5 more times and keep working the fabric this way, adding more wraps as needed.
This fold traps a lot of fabric tightly against itself, so it holds onto a lot of black space in the final result. My biggest tip here: let your shirt saturate longer than you think it needs. If you’re using bleach or White Brite and only give it 5 or 10 minutes, the solution won’t penetrate deep enough into all those tight wraps. I didn’t let mine sit long enough on my test shirt, and it came out with more black space than I wanted. It still turned out cool, but next time I’m giving it a longer soak.
Which Reverse Tie Dye Pattern Should You Try First?
If you’re brand new to reverse tie dye, start with the crumple or the bullseye pattern. Both are forgiving, quick to fold, and give you a real feel for how bleach or White Brite interacts with fabric before you move on to anything more technical. Once you’re comfortable, the spiral and shibori patterns are great next steps, and the heart, spine, and geode are worth saving for once you’ve got a few shirts under your belt.
For the full walkthrough on how I actually apply the bleach or White Brite to any of these patterns, check out my complete guide to reverse tie dye.
FAQ
What fabric works best for reverse tie dye patterns? 100% cotton gives you the cleanest results. The fibers release dye evenly, so your pattern stays crisp instead of turning blotchy. Poly blends resist both bleach and White Brite, so you’ll end up with a much fainter version of whatever pattern you fold.
Is reverse tie dye easy to do? The crumple and spiral patterns above are genuinely beginner-friendly and take just a few minutes to fold. The heart, spine, and geode take more practice, but none of them require special skill, just patience and a few tries to get the technique down.
Can I do these reverse tie dye patterns with bleach? Yes, every pattern here works with either bleach or White Brite. Bleach gives you a more orange color and a faster reaction time, while White Brite is gentler on the fabric and gives you a more gray/cream color. I cover the difference in detail in my White Brite vs bleach comparison.
Where can I buy reverse tie dye supplies? I keep everything I use, including rubber bands, sinew, a sinew puller, bleach, and White Brite, linked in my Amazon storefront and Walmart storefront.
This post may contain affiliate links, including to Amazon. If you purchase through them, I may earn a small commission at no extra cost to you.