We’ve all seen reverse tie dye whether we realize that’s what it is or not. Here I’ll show you how to get the same look using ice!
This method of reverse tie dyeing is extremely clean and simple but I’ll also walk you through a couple of other ways to reverse dye with bleach as well as some safety precautions to take!
You know by now I love ice dye. And since I’ve done this tutorial I have learned you can also ice dye with liquid! I also love natural dyeing so make sure you check out that page.
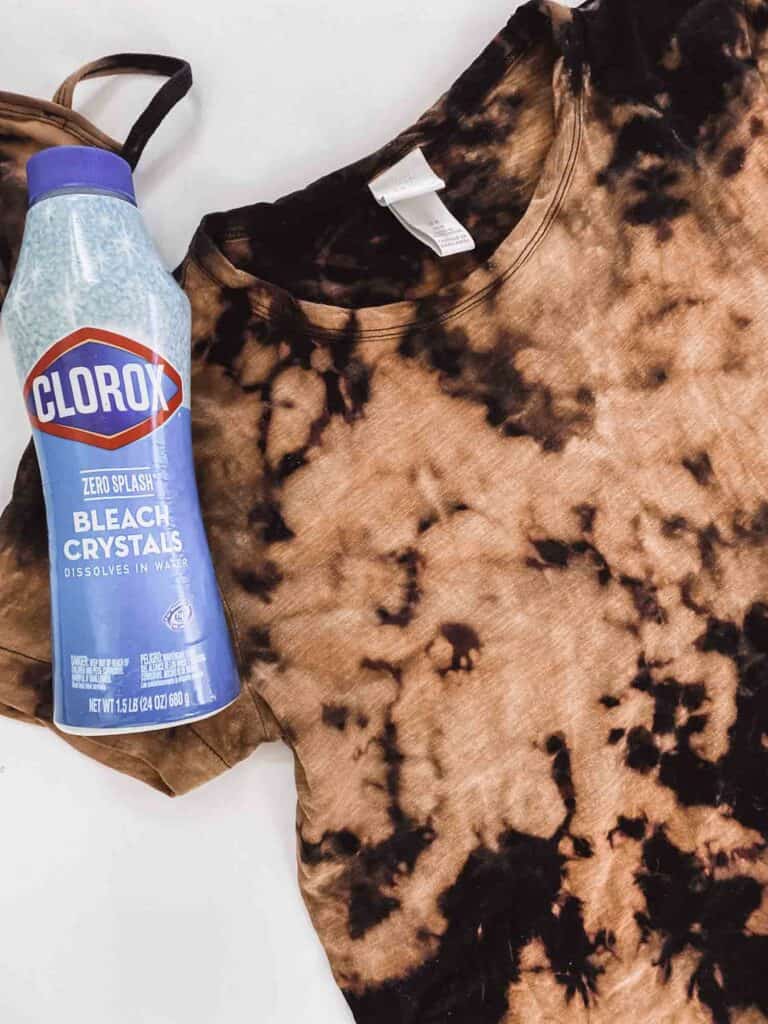
I do have the exact bleach crystals linked here that I used but you can also use liquid bleach. I’ll be sharing a tutorial on the differences in how that will work. But if you want to use liquid dye for ice tie dye I have the tutorial here.
Video of How to Reverse Tie Dye with Bleach
Below you will find the video I did explaining the process but if you’re more into written instructions I’ve got those below the video as well.
Reverse Tie Dye Supplies
- Liquid Dye
- Natural fiber material
- Cooling rack
- Ice
Reverse Tie Dye Instructions
- Get your fabric wet and ring it out.
- Crumple up your fabric and set it on the cookie rack. The cookie rack is nice because it holds it all scrunched up.
- Place ice all over the scrunched-up material. The less ice you do the less white space you’ll have. I completely covered my clothes in ice.
- Sprinkle the powdered ice crystals on the ice.
- Let it sit until the ice completely melts.
- Rinse out your fabric and put it in a wash on cold. After this initial wash, you should be okay to wash it with other colored clothing.
I’m honestly not sure it could be any less complicated than this!
Reverse Tie Dye with Ice
In this tutorial I show you and walk you through the steps to get an amazing ice dye effect. I used onesies but this will work on any natural fiber!
Materials
- Liquid Dye
- Natural fiber material
Tools
- Cooling rack
- Ice
Instructions
- Get your fabric wet and ring it out.
- Crumple up your fabric and set it on the cookie rack. The cookie rack is nice because it holds it all scrunched up.
- Place ice all over the scrunched up material. The less ice you do the less white space you’ll have. I completely covered my cloth in ice.
- Sprinkle the powdered ice crystals on the ice.
- Let it sit until the ice completely melts.
- Rinse out your fabric put it in a wash on cold. After this initial wash, you should be ok to wash it with other colored clothing.
Recommended Products
As an Amazon Associate and member of other affiliate programs, I earn from qualifying purchases.

Damp is best for tie-dye. If you don’t get your fabric wet your colors are more likely to bleed together and not have as sharp of lines if you were to fold your fabric.
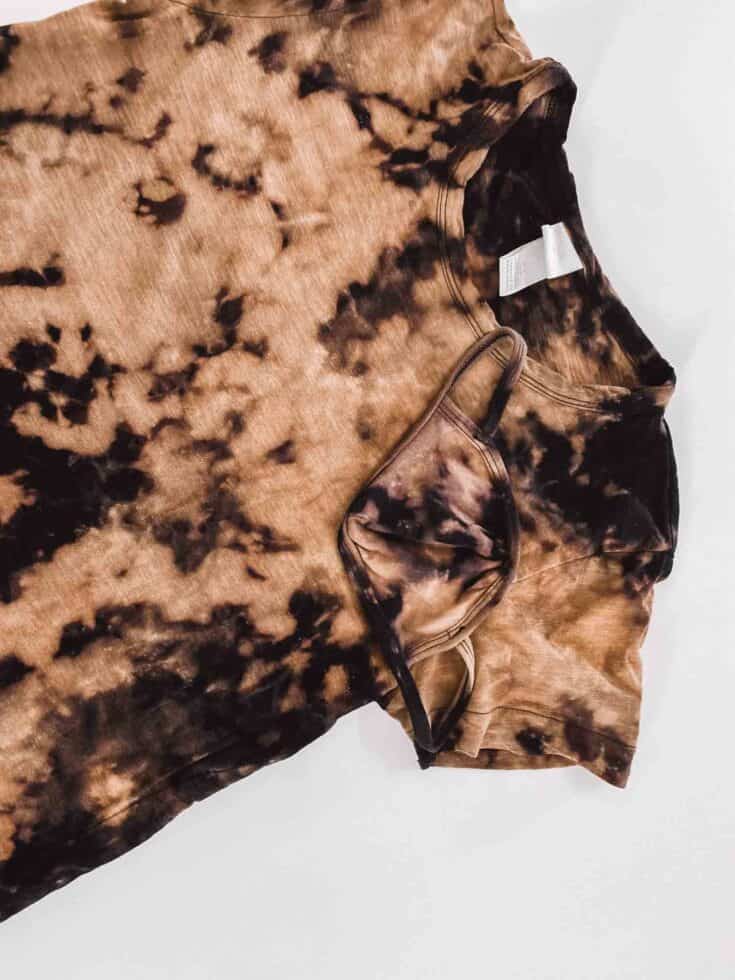
Depending on your fabric, bleach will start changing your garment color immediately. You’ll see it slowly develop as time goes on. Depending on how potent your solution is (how diluted it is) this will happen quicker.
In this method, you won’t be getting white it will be more orange. But once the ice is melted, the dye is ready to be rinsed. It takes about 4 hours. If you use smaller pebbles the quicker it will melt.
The fun part about reverse tie dye is that you can use my methods for shibori folding to get the same results with black. 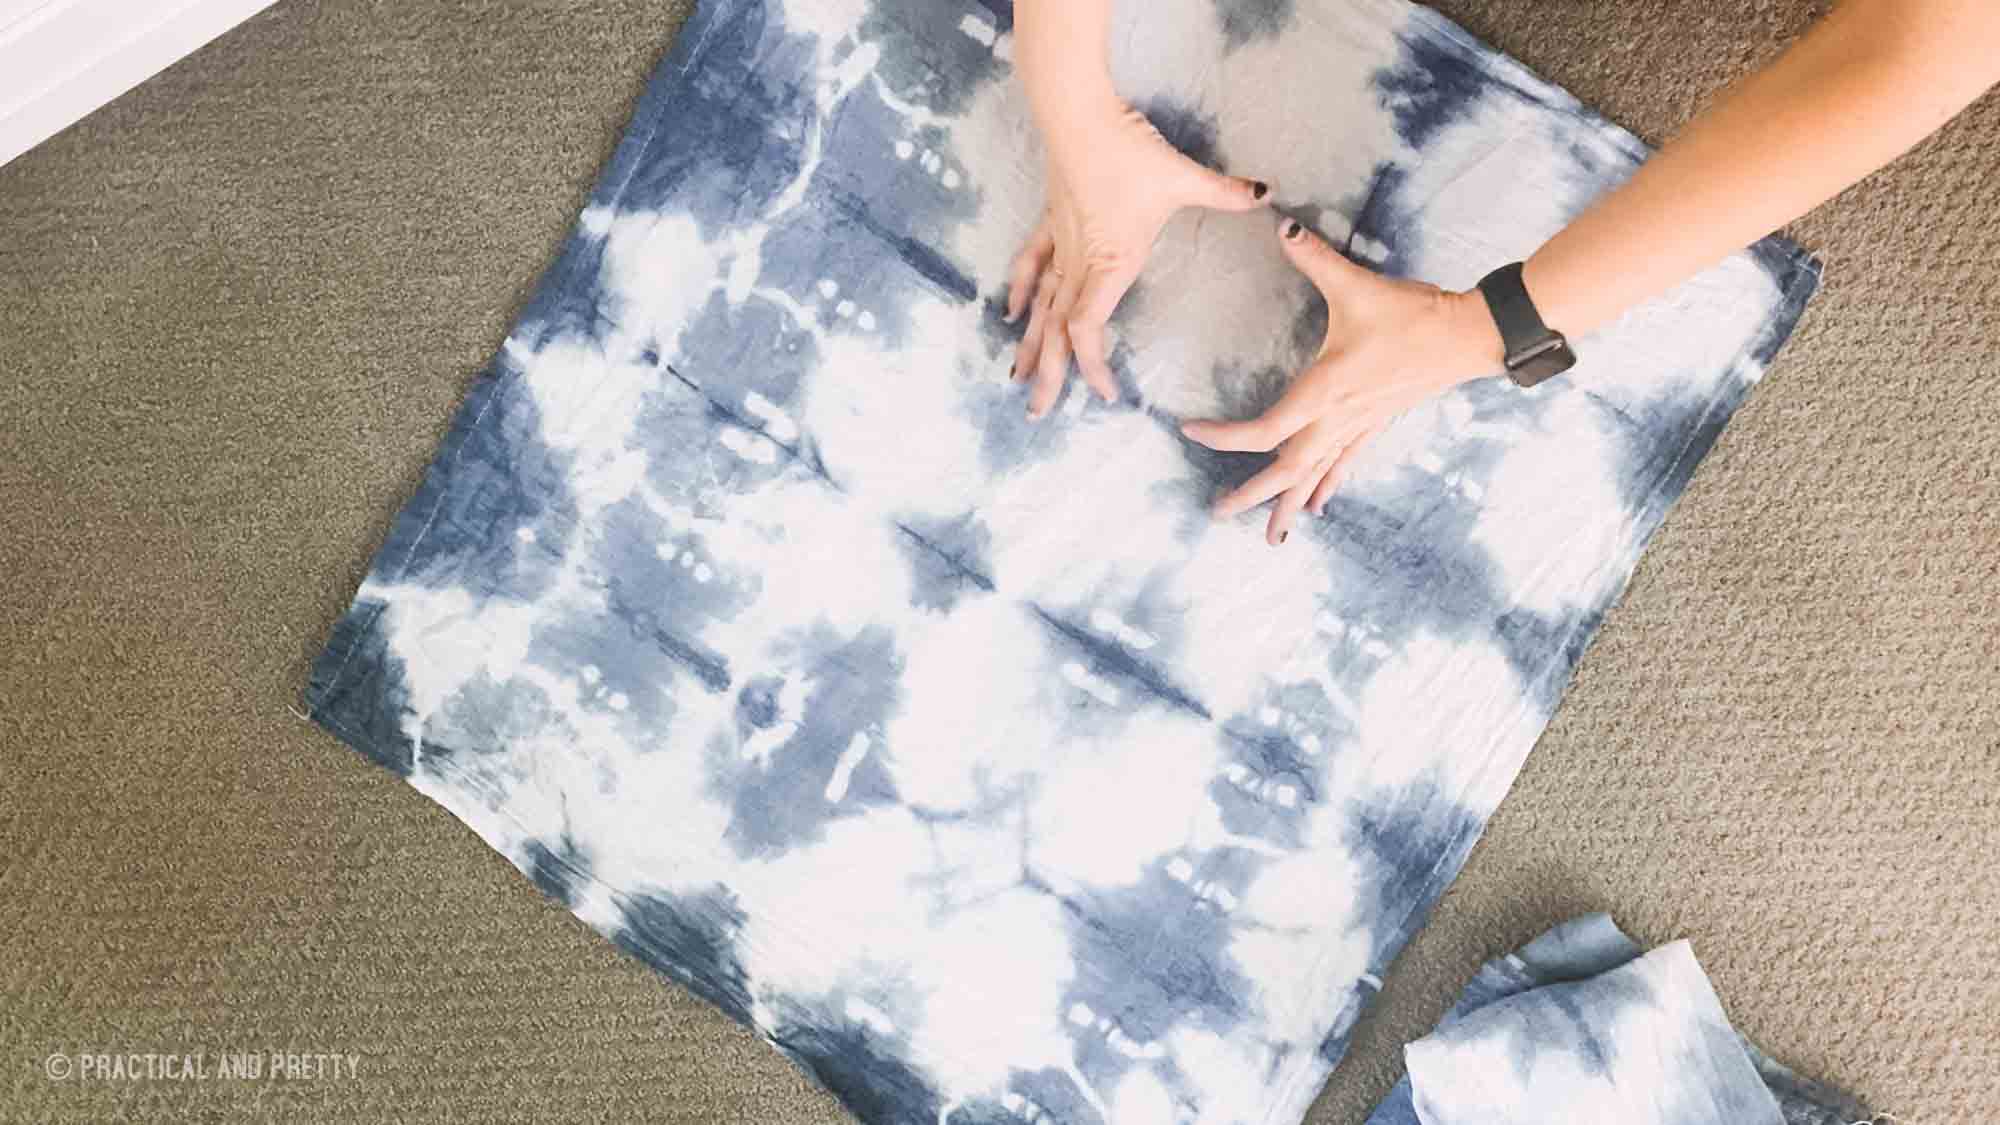


This is a great idea! I’m not sure if we have bleach crystals in Australia but I’m definitely going to try to track some down.
Sprinkle the powdered ice crystals on the ice?
Another great option! Those bleach crystals are a bit more expensive however.