Tie dye sheets look so fun on a bed, but making them yourself can feel really intimidating. There’s just so much fabric! I ice dyed a whole king size sheet set to show you exactly what it takes, and I timed every step so you know what you’re getting into.
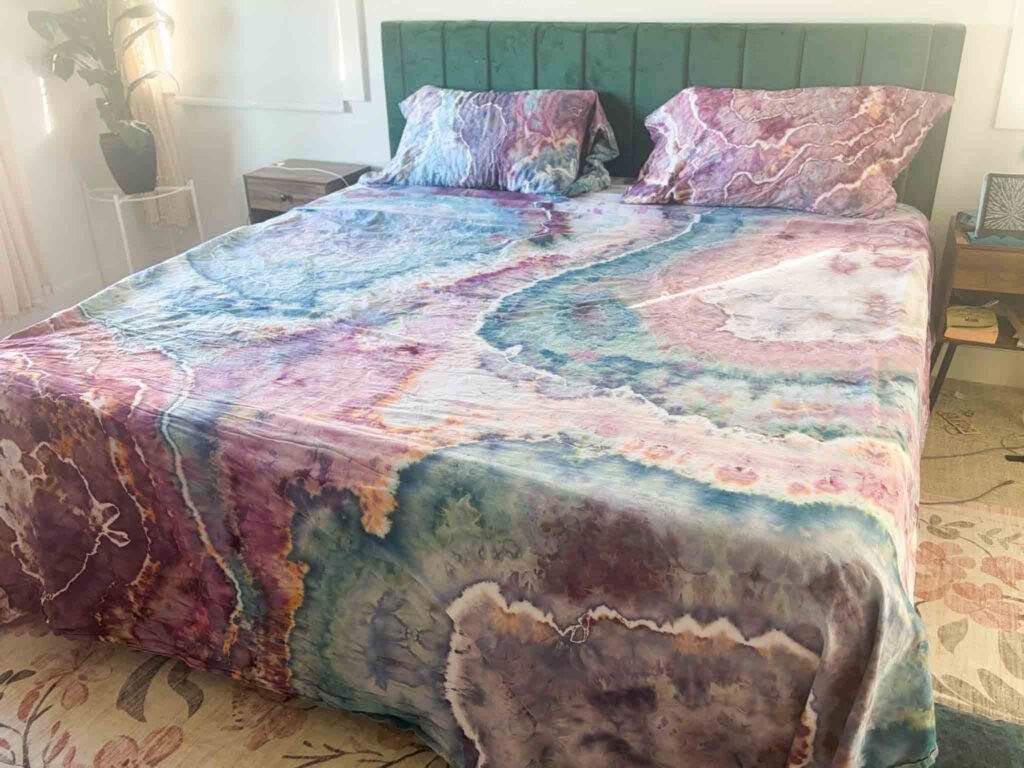
Below you’ll find how long the tying took, how much dye I used, the soda ash shortcut I took, and the trick that saved my sheets from a bunch of leftover white space. I also walk through the rinse out, because that’s where big projects usually go wrong.
What You Need to Tie Dye Sheets
- A 100% cotton sheet set (I used a king size top sheet, fitted sheet and pillowcases). Old sheets work great too, as long as they’re cotton!
- Fiber reactive dye powder (I used Dalula dyes in Undertow, Riptide and Chocolate Cherries)
- Soda ash
- Waxed sinew and a sinew puller
- A large tote or bucket, clear if you can find one
- Lots of ice (I used a 17 lb bag plus everything my two freezers made)
- Measuring spoons
- Gloves and a dust mask for handling dye powder
The Best Tie Dye Patterns for Sheets
I went with a geode fold, mostly because it’s my most popular one. If you’re a beginner, a spiral is a great place to start on something this big. An accordion fold or a shibori fold would also look really pretty.
I personally skip the scrunch on huge pieces. On a sheet it tends to end up looking like a print, and I’ve never loved my results with it. I also end up getting a lot of white space and end up having to redye it to get good color saturation. I just haven’t loved my results.
How to Tie Dye Sheets, Step by Step
Step 1: Tie your pre washed sheets dry (about 22 minutes)
I started with the pillowcases. Pinch a random small spot, wrap your sinew around it with the sinew puller, and pull until you feel a little tug. I don’t cut my string between ties, which makes untying go faster later. On each pillowcase I did 3 to 5 ties, about 1 to 2 inches apart.
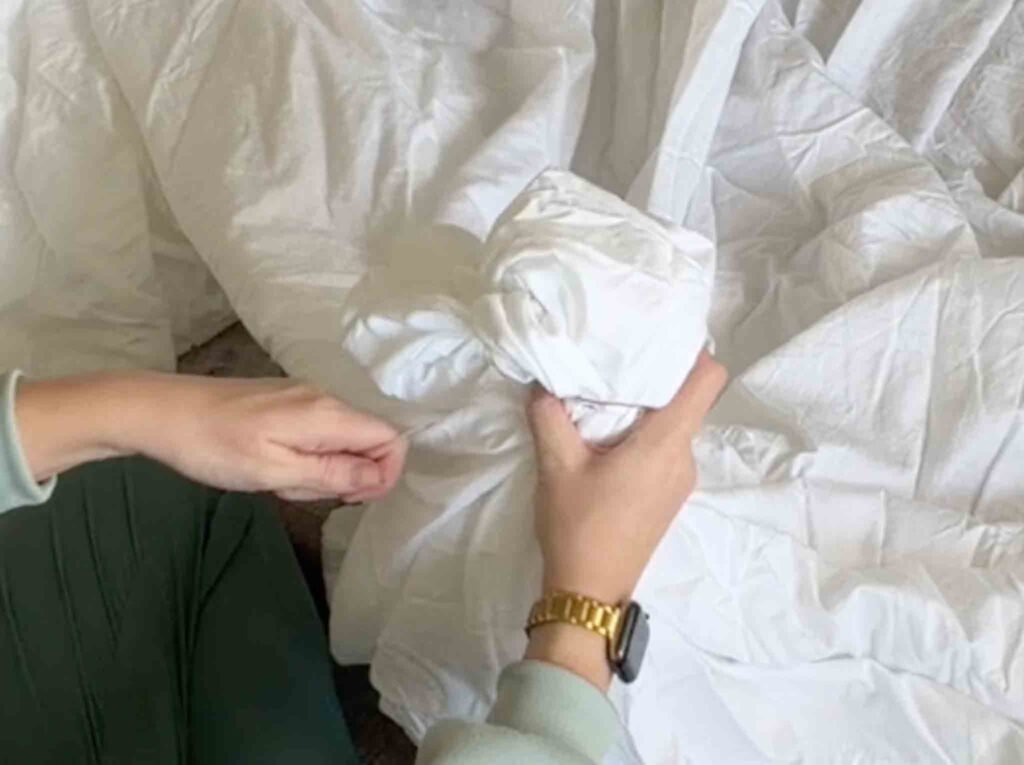
For the sheets, lay them out as flat as you can and grab a random spot. Space your ties a lot farther apart here, more like 3 to 5 inches. When you tie lots of fabric too tightly together, you end up with tons of white space. It also keeps you from tying forever!
The whole set took me 22 minutes, which honestly wasn’t bad at all.
Step 2: Soda ash soak after tying
Here’s my little tip. I tied everything dry and soaked it in soda ash afterward. That way I didn’t have to tie sopping wet fabric.
I used about 5 gallons of water. Some people say you need exactly 1 cup of soda ash per gallon, but you really don’t have to be that precise. Stir it in, break up any chunks, then pour it over your sheets until they’re covered. I ended up needing a second tote of water to get everything soaked.
If you’re doing this at home, keep the tote on the ground. A full tote of soaking sheets is extremely heavy, and you don’t want to be lifting it.
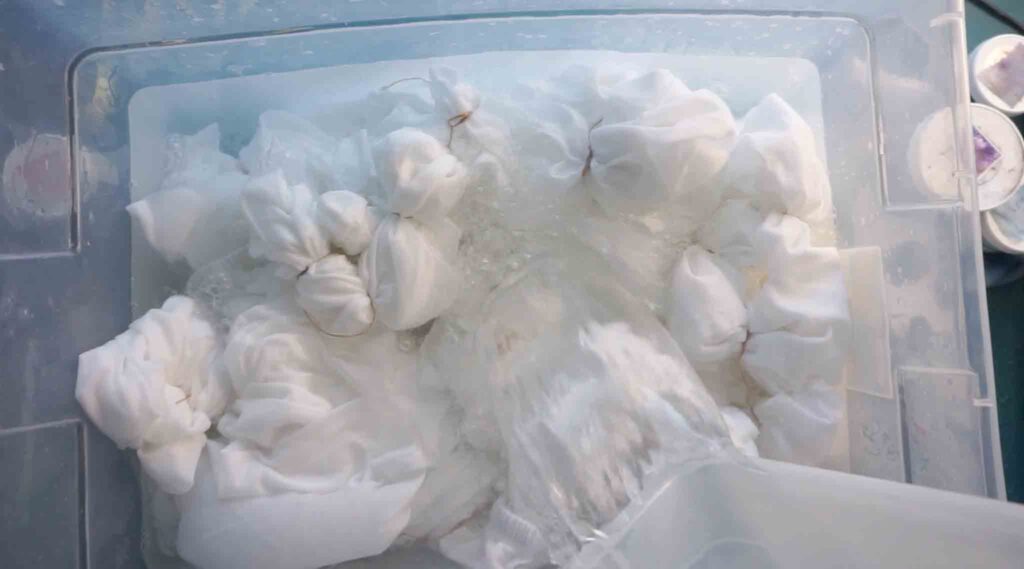
Let it soak at least 20 minutes. Mine sat for about 12 to 18 hours because life got busy, and that’s totally fine. I have a whole post on soda ash soak times if you want to dig in.
Step 3: Wring everything out (about 6 minutes)
Your sheets need to be damp, not dripping. The more water left in the fabric, the less the dye can soak in. Wringing out a king size set took me about 6 minutes, and my hands really hurt afterward.
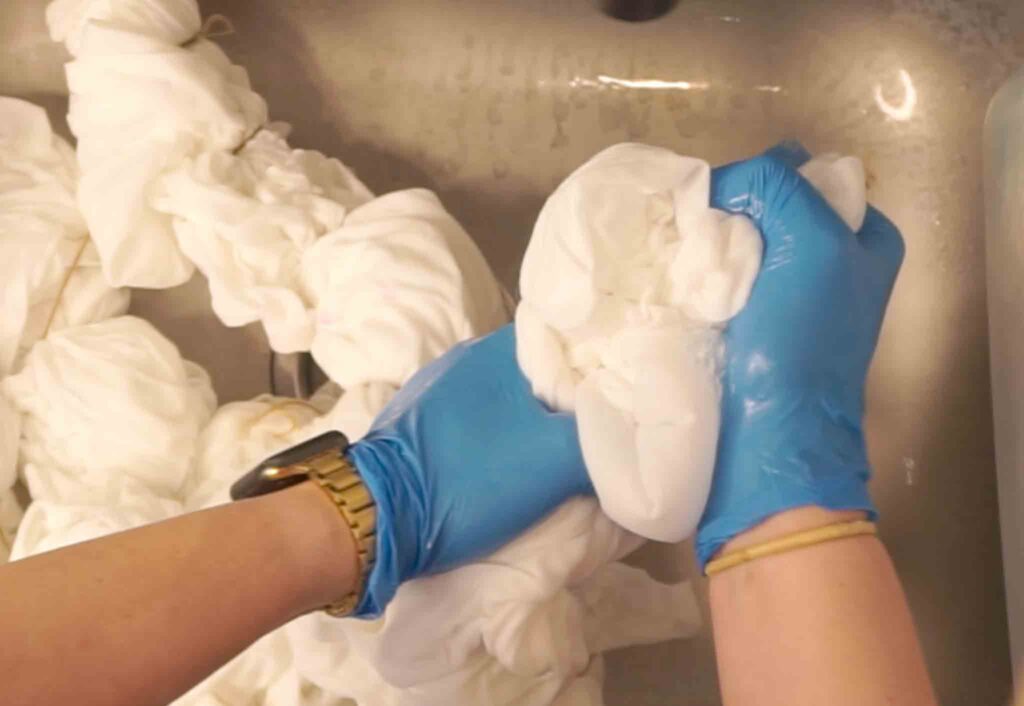
A spin dryer makes this step a lot easier if you have one. Some people use their washing machine’s spin cycle. Only do that if you know for sure your machine won’t add water during the spin, because extra water will wash out your soda ash. Both of my machines wash before they spin, so I wring by hand.
Step 4: Cover with ice and add dye
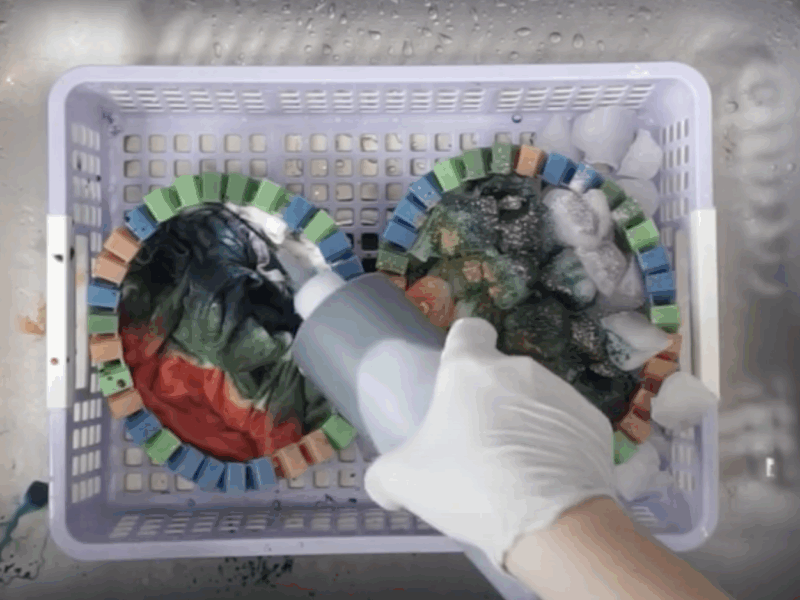
Arrange everything in your tote so it has as much room as possible, then cover it with ice. Looser ice works best. Big store-bought chunks tend to give a washed out look, so I only used one big chunk on a really dense spot that needed extra dye.
I sprinkled 1 tablespoon each of Undertow, Riptide and Chocolate Cherry over the ice. These Dalula colors are made to split, and that’s what I love for ice dye. Three splitting colors is my max, and it still gives you a ton of variation.
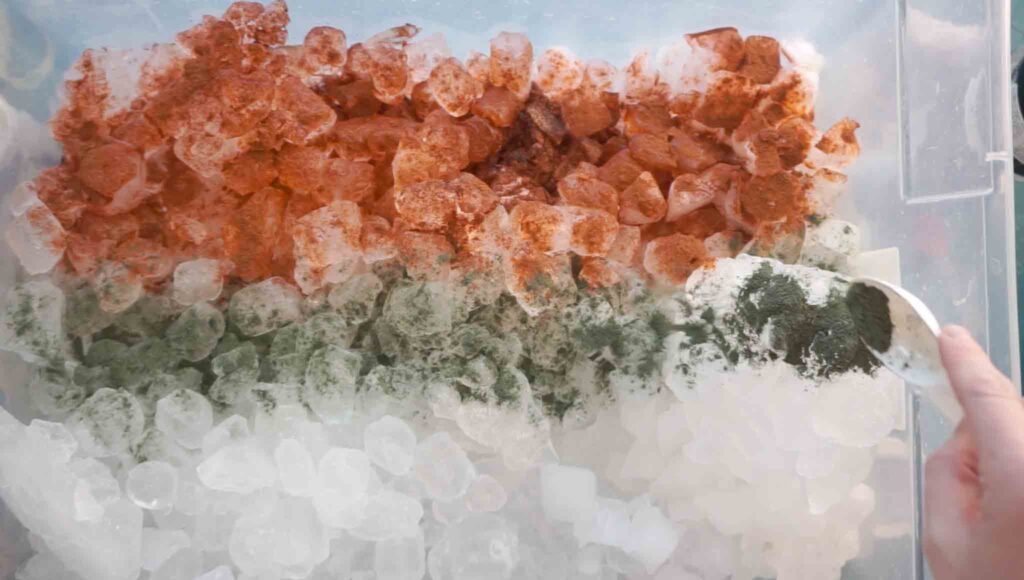
The sheets sit in the muck as the ice melts. The muck is the pool of melted ice and dye at the bottom of your container. Don’t worry about it turning everything muddy, because it won’t. The fabric is already so wet that the muck barely soaks in.
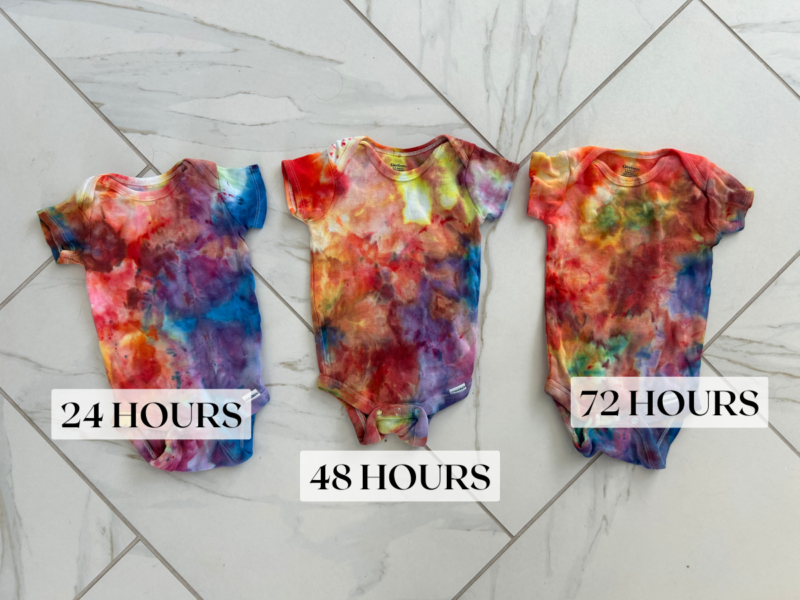
With this much ice, mine took about 12 hours to melt. Then I let it sit another 24 hours.
Step 5: Flip it and dye again
This is the trick that made the biggest difference. Once the ice melted, the bottom of my sheets still had a lot of white space. Adding more dye on top wouldn’t have reached it.
So I dumped out the muck, flipped everything over and turned the white spots face up. Then I added ice only where I wanted more color. I didn’t cover everything this time because I wanted the teal, purple and maroon to stay distinct.
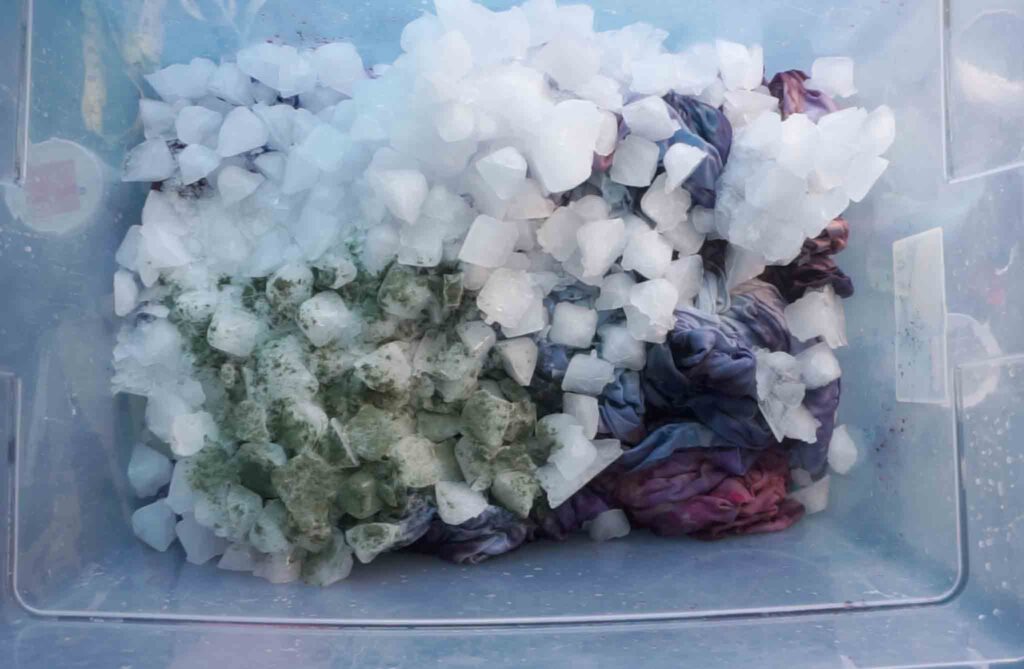
There was already plenty of purple, so for this round I only used Undertow and Chocolate Cherry, 3 teaspoons total. I let the ice melt and sit for another 24 hours.
It’s not the usual way to do things, but it worked!
Step 6: Rinse out before you untie
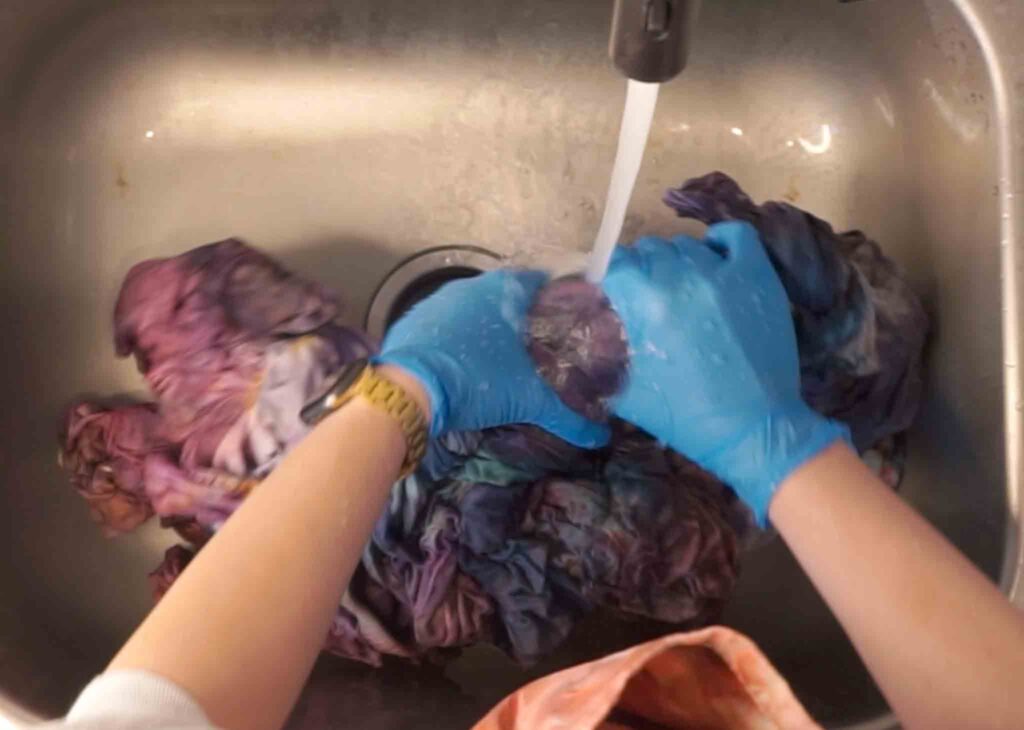
With this much fabric, dye can hide in the folds and bleed onto your white space when you untie. I’ve learned that one the hard way. So I rinsed in this order:
- Rinse in cool water while still tied, squeezing out as much dye as you can.
- Run a cold wash cycle, still tied.
- Untie, then rinse in hot water until barely any dye comes out.
- Finish with a hot wash cycle.
My finished tie dye bed sheets
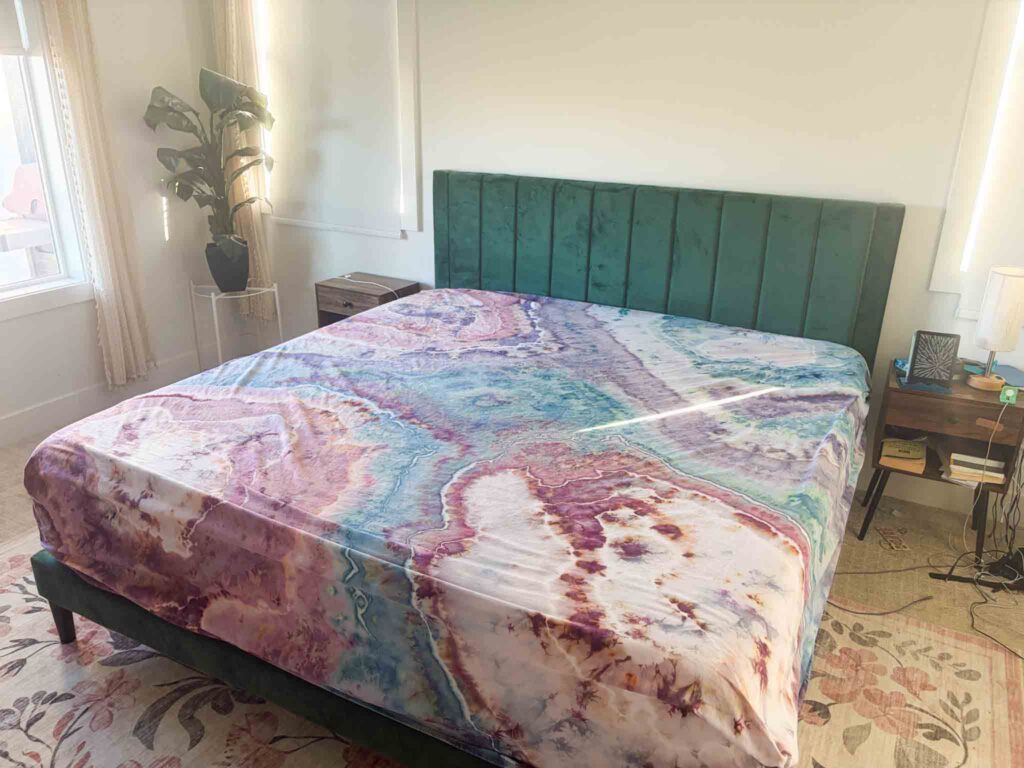
The teal is Undertow, the maroon areas are Chocolate Cherry, and the purple all through it is Riptide. I also got some salmon color I didn’t expect, and it turned out really pretty. Since I added more Undertow and Chocolate Cherry in the second round, you’ll see more of those two than Riptide.
There’s still a little white space, and I think it looks great. There would have been a lot more if I hadn’t flipped the sheets over.
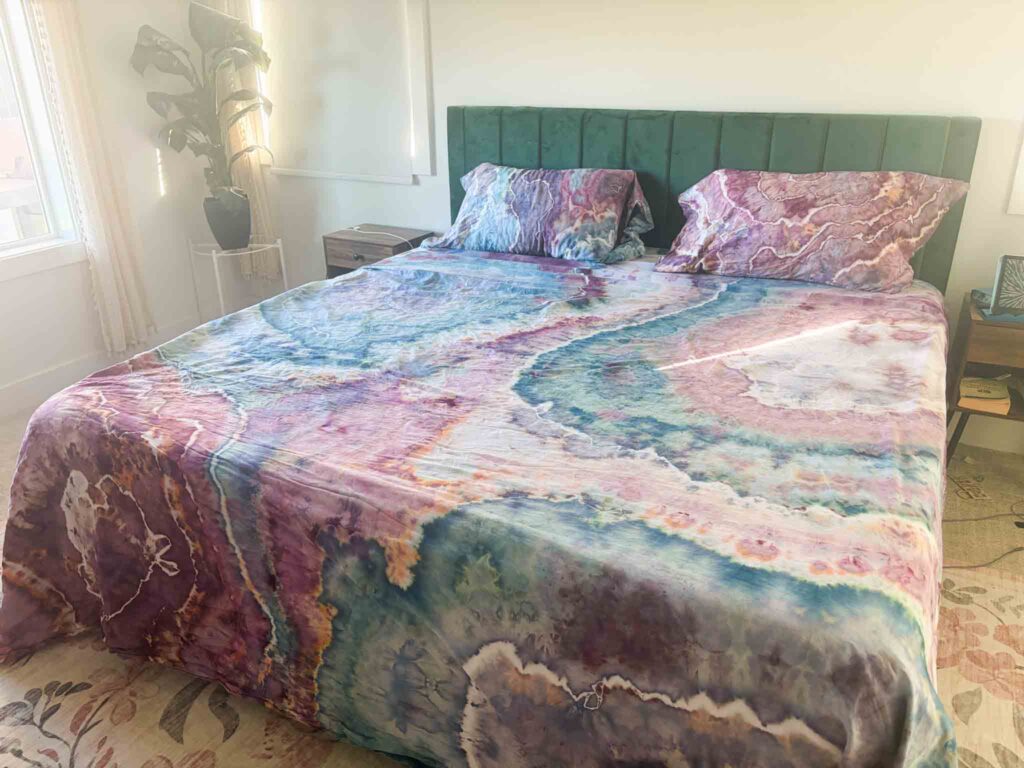
How much dye it took: 3 tablespoons in the first round plus 3 teaspoons in the second. That’s 4 tablespoons total for a king size sheet set.
| Step | Time |
|---|---|
| Tying | 22 minutes |
| Soda ash soak | 20 minutes minimum (mine sat 12 to 18 hours) |
| Wringing out | 6 minutes |
| First ice melt + sit | about 12 hours + 24 hours |
| Second ice melt + sit | about 24 hours |
FAQ
Tying a king size sheet set took me 22 minutes, and wringing it out took about 6. Most of the time is waiting. Expect 2 to 3 days total if you let the ice melt and batch overnight.
I used 4 tablespoons of dye powder total for the top sheet, fitted sheet and pillowcases.
Yes! I tied mine dry and soaked them afterward, so I didn’t have to tie wet fabric.
A spiral is easiest for beginners. I used a geode fold. I’d skip the scrunch on big pieces because it can end up looking like a print.
The bottom layers often don’t get enough dye. Flip your project over after the ice melts and dye the white spots again.
Only if your machine doesn’t add water during the spin. Extra water rinses out the soda ash.
No. Rinse them in cool water and run a cold wash while they’re still tied. Then untie, rinse in hot water and finish with a hot wash.
Yes! Old sheets are a great way to practice on a big project. Just make sure they’re 100% cotton, and wash them first so the dye can soak in.
Yes. Fiber reactive dye bonds with cotton, so once your sheets are fully rinsed out you can wash them like normal. Wash them alone or with dark colors the first couple of times just in case.
My king size set took 4 tablespoons. A queen or twin set has less fabric, so start with a little less and add more in the second round if you see white space.