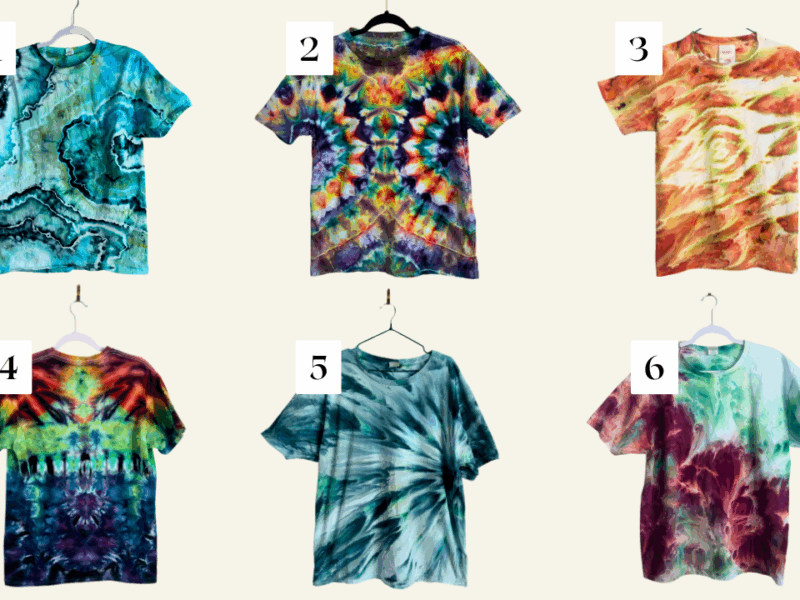
Are you getting overwhelmed by big lists of tie dye supplies? Tie dye can feel like it requires a whole studio’s worth of gear, but honestly, you need way less than you think. I’ve been doing this for years and I still use the same core supplies in almost every single project. Some of these things are more focused on liquid dye and then some are more about ice dyeing.
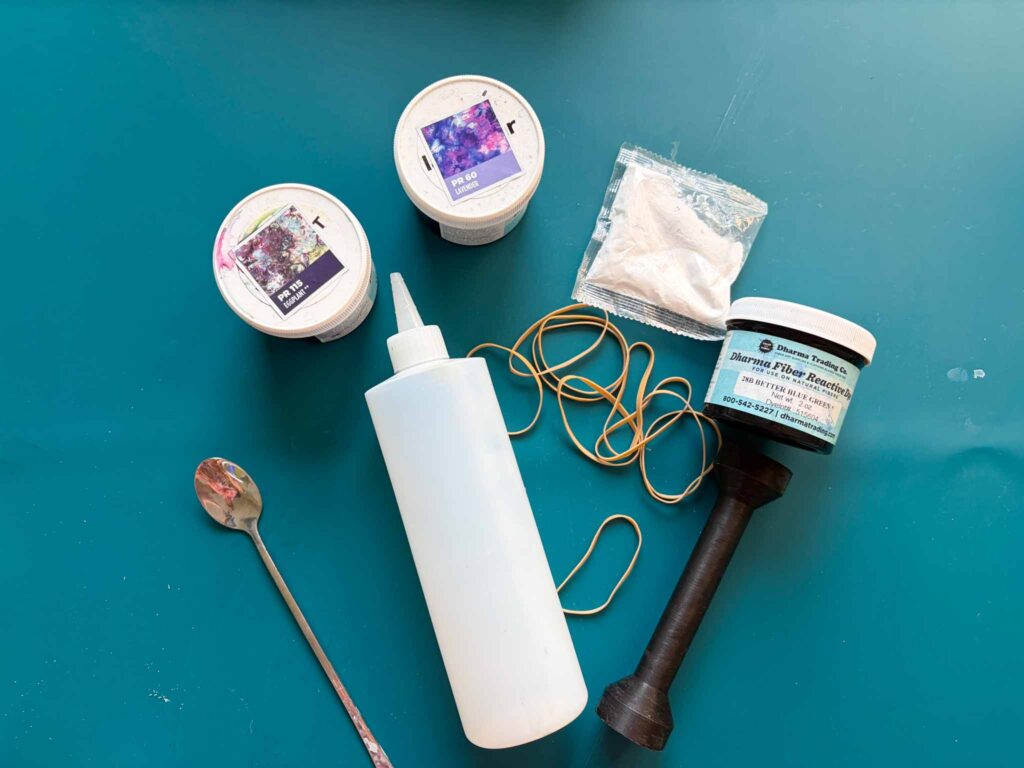
Here’s my real answer to “what supplies do I need for tie dye,” plus the bonus stuff I use behind the scenes that nobody ever asks about until they see it in a video.
The 6 Must Have Tie Dye Supplies
1. Dye
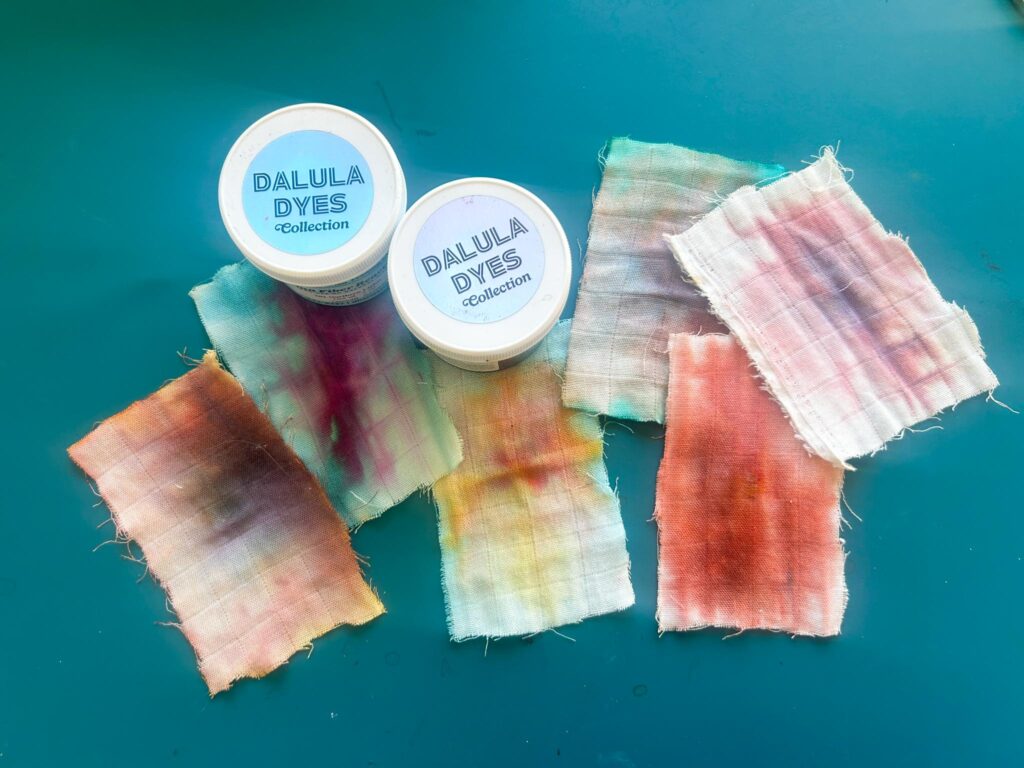
This is the obvious one, but the kind of dye matters. I use Procion fiber reactive dyes, mainly from Dharma, ProChemical, Grateful Dyes, and Jacquard. If you’re brand new and want something premixed and foolproof, grab a Jacquard kit to start.
2. Soda Ash
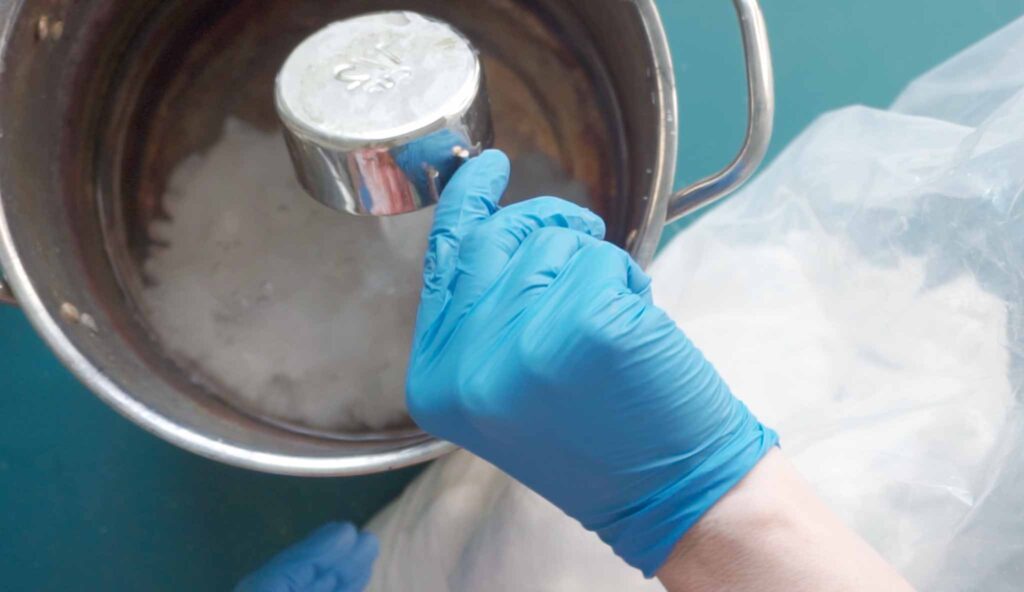
If you’re using Procion dye, soda ash is not optional. It’s what makes the dye actually bond to the fabric instead of washing out. Some kits include a little packet, but for anything beyond a one and done project, you’ll want your own supply. Grab it here: Soda Ash
3. Dye Bottles
You’ll want squeeze bottles for liquid dye application. I use a mix of 16 oz and 6 oz sizes. Condiment bottles from the grocery store work in a pinch, but if you want the narrow tip made for this, here’s what I use: Squirt Bottles
4. Something to Tie With
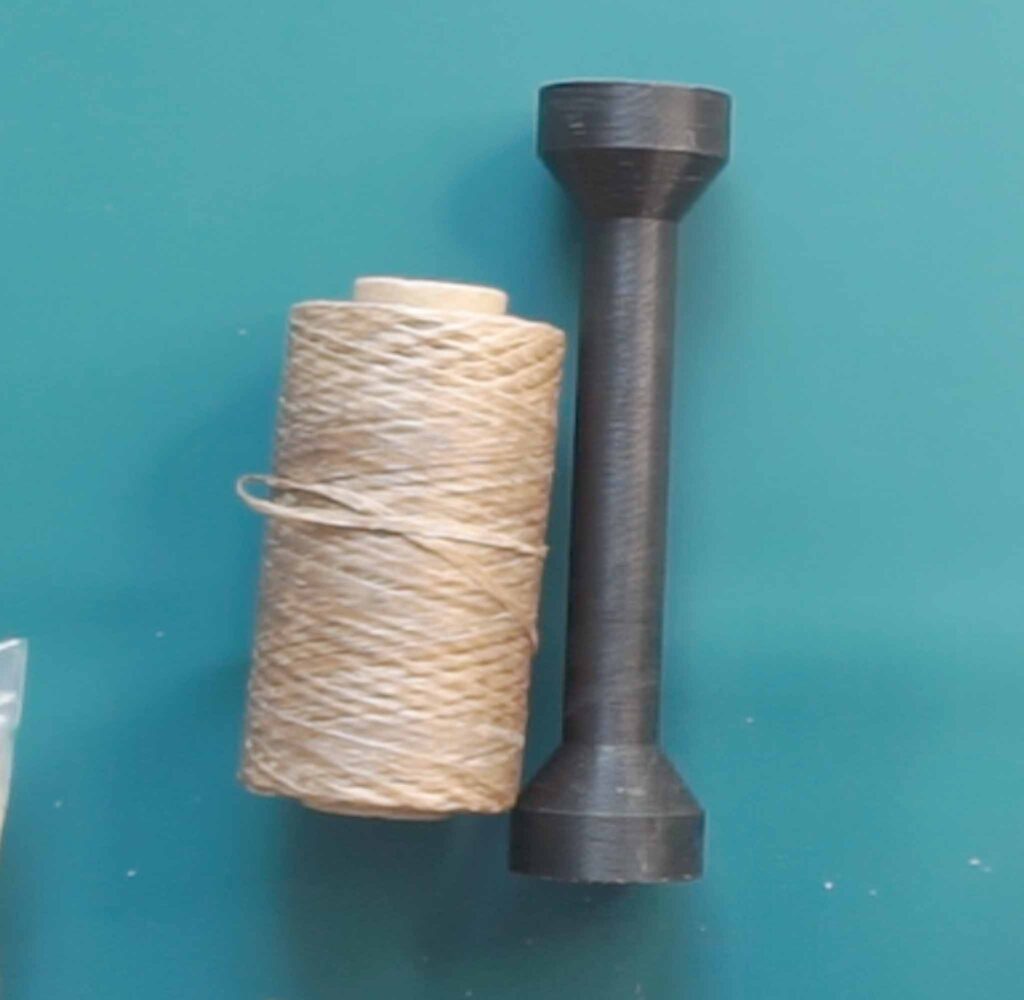
Rubber bands are the classic starting point: Rubberbands. Once you’re ready to level up to sharper lines, like geodes or hearts, waxed sinew is the move. It grips itself when pulled tight, no knot tying required. You’ll want a puller too, since something like a wooden spoon or PVC pipe helps you cinch it down.
- Sinew: https://amzn.to/4dsWXwr
- Sinew Puller: https://amzn.to/3RXQi4J
5. A Surface Cover
Soda ash and dye are not kind to your table, especially if it’s wood. A silicone baking mat is worth it if you’re dyeing regularly: Silicone Mat. If it’s a one time project, a plastic bag works just fine or even a drop cloth. You can get them from the dollar store.
6. Something to Dye On
A cookie rack is a good way to elevate your project. It lets excess dye drip down onto your covered surface instead of pooling under your project, which means better color and an easier cleanup.
The Bonus Round: What I Actually Use Behind the Scenes
These aren’t beginner requirements, but if you’ve ever watched one of my videos and wondered what that thing is, here’s your answer.
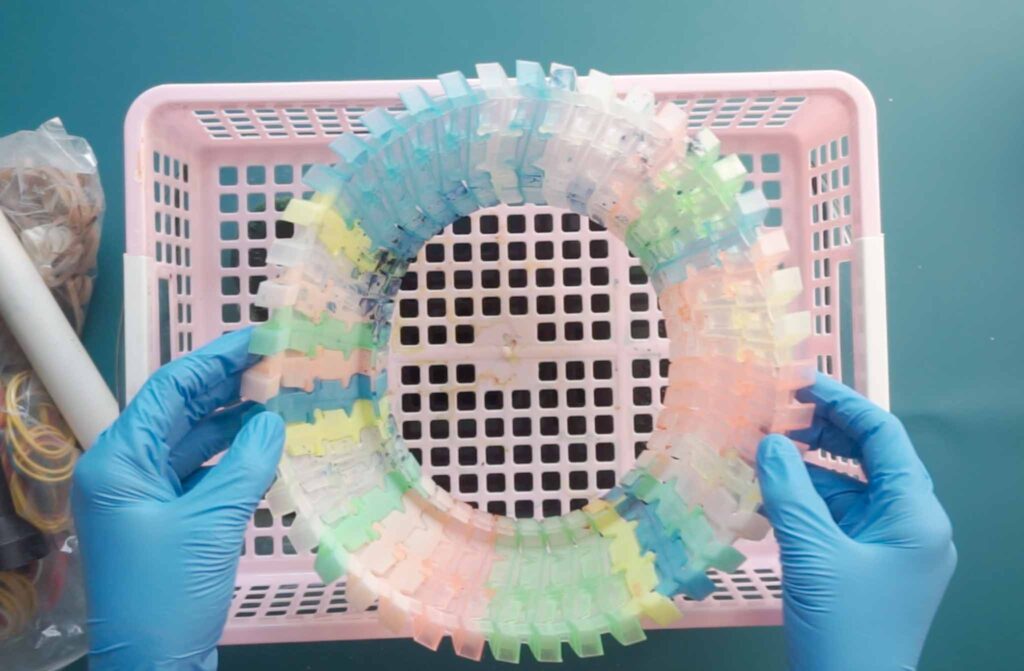
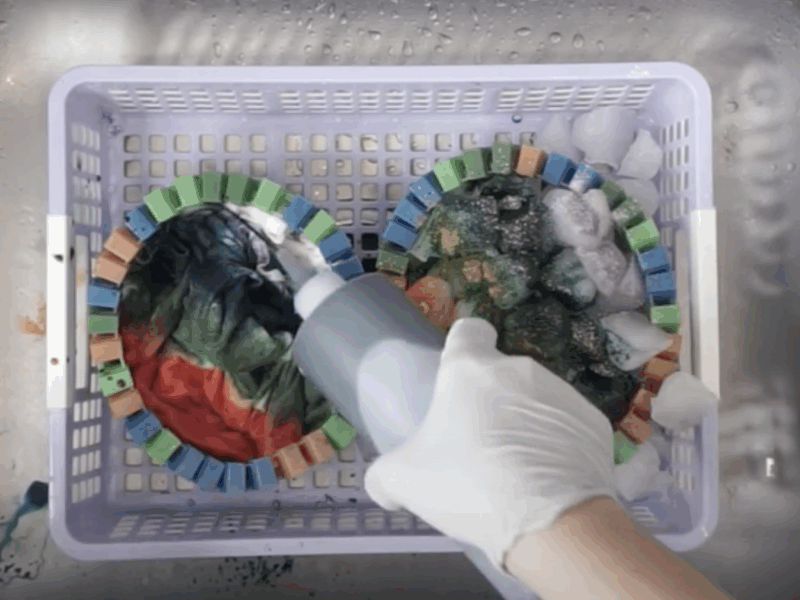
- Glass cake pans to catch drips. Glass, not metal. Metal corrodes with soda ash.
- Paper turning trays (Paper Organizers) balanced over the cake pan to elevate my project while it drains.
- Magic Tracks as an ice barrier for ice dyeing: https://amzn.to/49gFwwt
- A long milkshake spoon for scooping and sprinkling dye with better reach: https://amzn.to/4fDkhZC
- Nitrile gloves to keep your hands dye free: https://amzn.to/4ucegqG
- Blue Dawn for pretreating stains and cleanup: https://amzn.to/4x1HWtc
- Blue tape for holding spirals without scrunching the spiral: https://amzn.to/4v535kc
- A pump sprayer for finishing projects faster with boiling water or doing the hot water irrigation method: https://amzn.to/4wMS1dk
Do You Need to Wash Your Shirt Before Tie Dyeing?
Yes, always prewash. New shirts come with a coating (usually a starch or sizing finish) that can block dye from soaking in evenly. If you skip this step, you’ll often end up with faded, patchy spots where the dye just couldn’t grab on. A quick wash with regular detergent, no fabric softener, is enough. Fabric softener leaves a residue that actually works against you here.
What Do You Soak Shirts in Before Tie Dying?
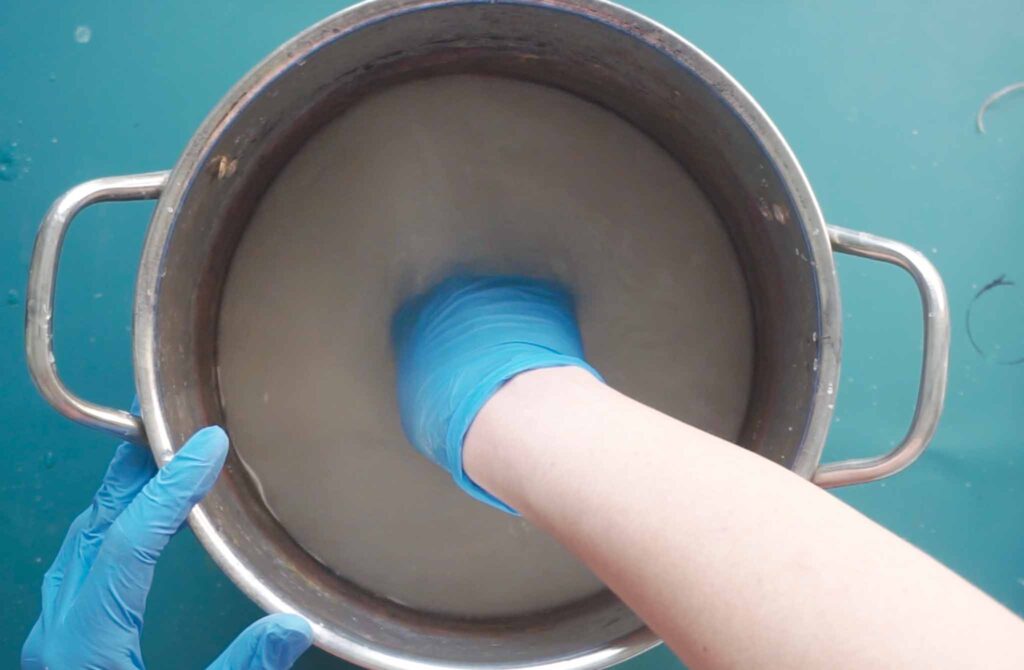
For Procion dye, you don’t need a vinegar soak. That’s a common mix up with acid dyes, which are a different process entirely. What you actually want is a soda ash soak, which is what activates the dye once it’s applied. I’ve got a full breakdown of soda ash soak times in another post if you want to get into the details.
Do You Have to Let Tie Dye Sit for 24 Hours?
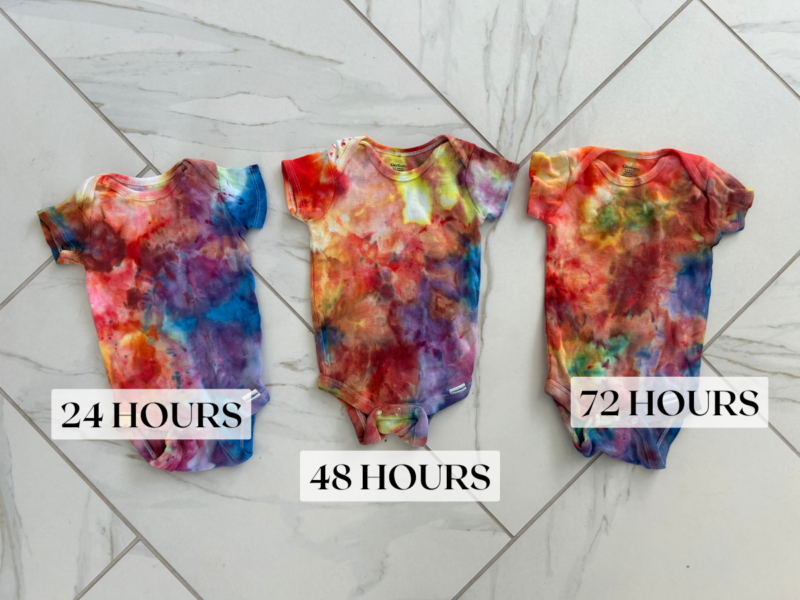
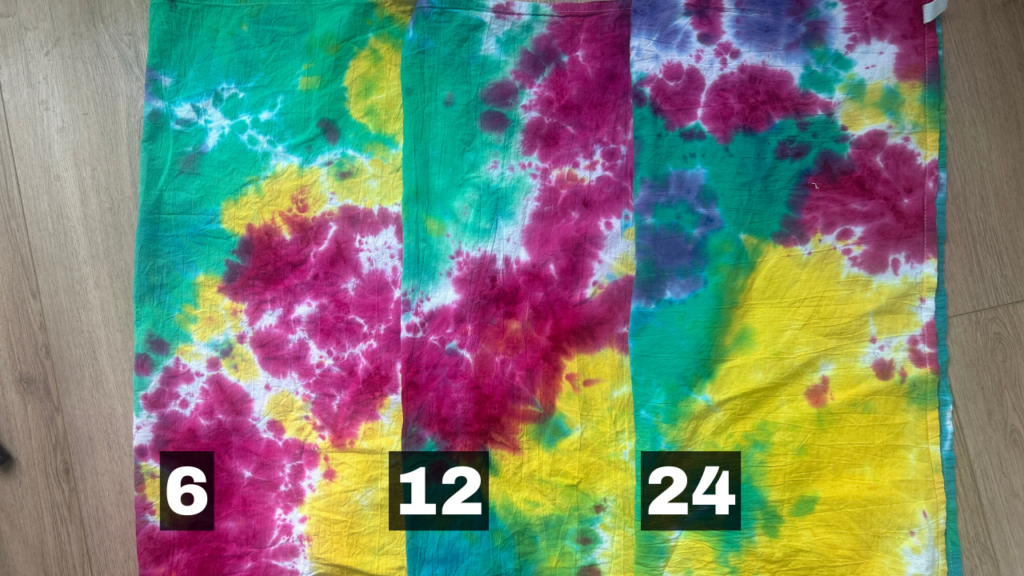
For the best, most vibrant results, yes. Batch time (the period your dyed fabric sits, usually wrapped in plastic) is when the chemical reaction between dye and fiber actually happens. Rushing this step is one of the most common reasons people end up with dull or washed out color. A minimum of 6 to 8 hours will work, but a full 24 hours gives you the richest saturation. Here’s a link to the full test I did.
What’s the Best Tie Dye Kit and Dye Brand?
If you want the most professional level results, skip the big box store dye and go with a real Procion fiber reactive dye. My go to brands are Dharma, ProChemical, Jacquard, and Grateful Dyes. Something like Rit or Dylon can work fine for a casual, low stakes project, but they’re not fiber reactive, and the color won’t be nearly as bold or long lasting.
The Create Basics Tie Dye kit is pretty good for a beginner or a little group project.
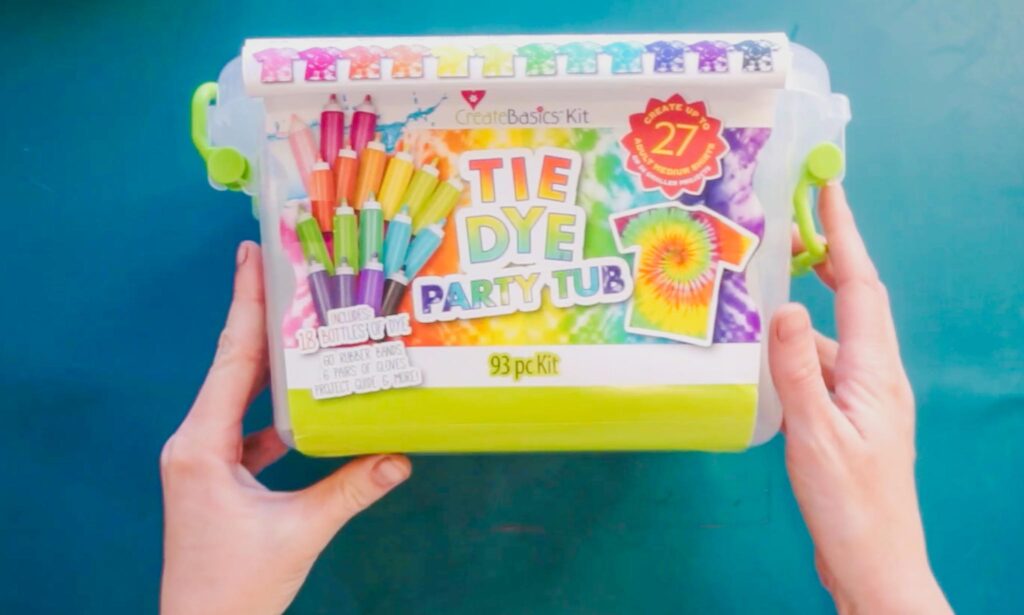
If you want a kit that gives you real results without sourcing everything separately, this is the one I recommend: Jacquard Kit
Where Can You Buy Tie Dye Supplies?
Craft stores like Michaels and Hobby Lobby carry basic kits, which are fine for a first try. But for the dye, soda ash, and blanks I actually use, I buy through Dharma Trading Co. and the Amazon links throughout this post. Walmart occasionally carries tie dye kits too, but the quality and color payoff won’t compare to a real Procion kit.
If you want ready to dye blanks to start with, here’s what I use: Tie Dye Blanks and Utopia Towels
As an Amazon Associate I earn from qualifying purchases.
Want more tie dye inspiration? Grab my free ebook, 12 Tie Dye Folds, here: https://practicalandpretty.myflodesk.com/o83j7vh2tg