I’ve never had a baby before, but I have read in several places staying hydrated and having snacks handy while nursing is 100% necessary. I knew I would need a little side table next to my glider in the nursery. Naturally, I wanted something simple. With such a large dresser going in this room, I didn’t think I needed extra storage.
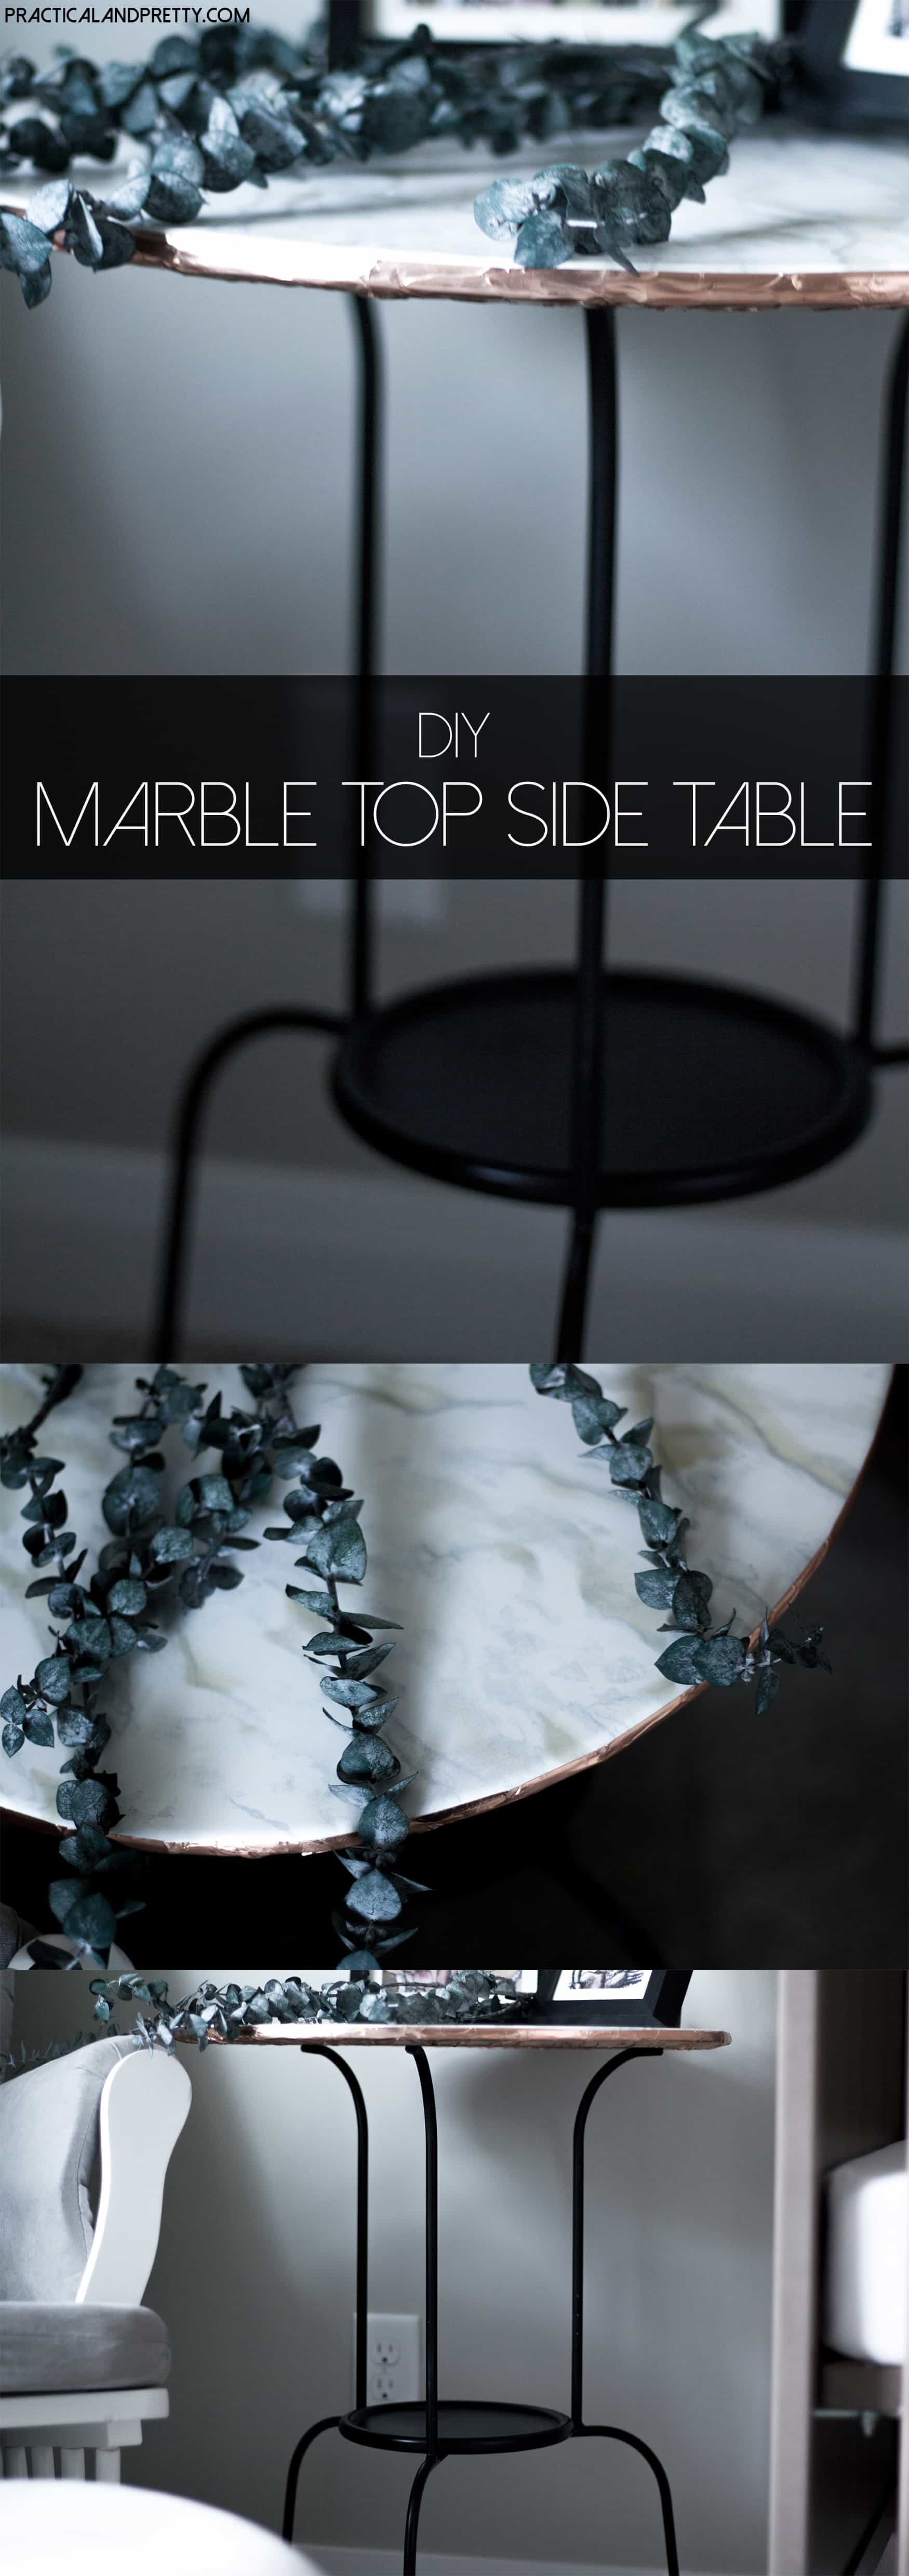
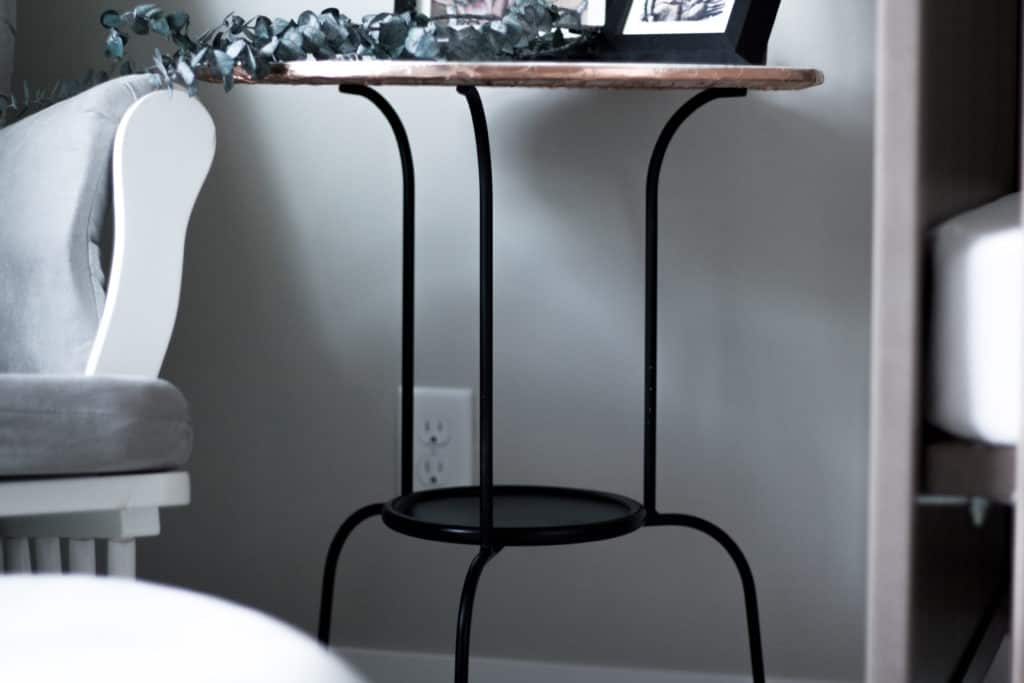
When I saw this little table for only $20 I thought it could work just fine. (Plus we already have two as night stands in our bedroom!) To see where we put this cute table you can see my nursery reveal here.
We’ve already been through my love of spray paint. Why not just add some personalization with some spray paint? This is all I did for our nightstand tables but I decided a marble top might look nice too!

What you’ll need
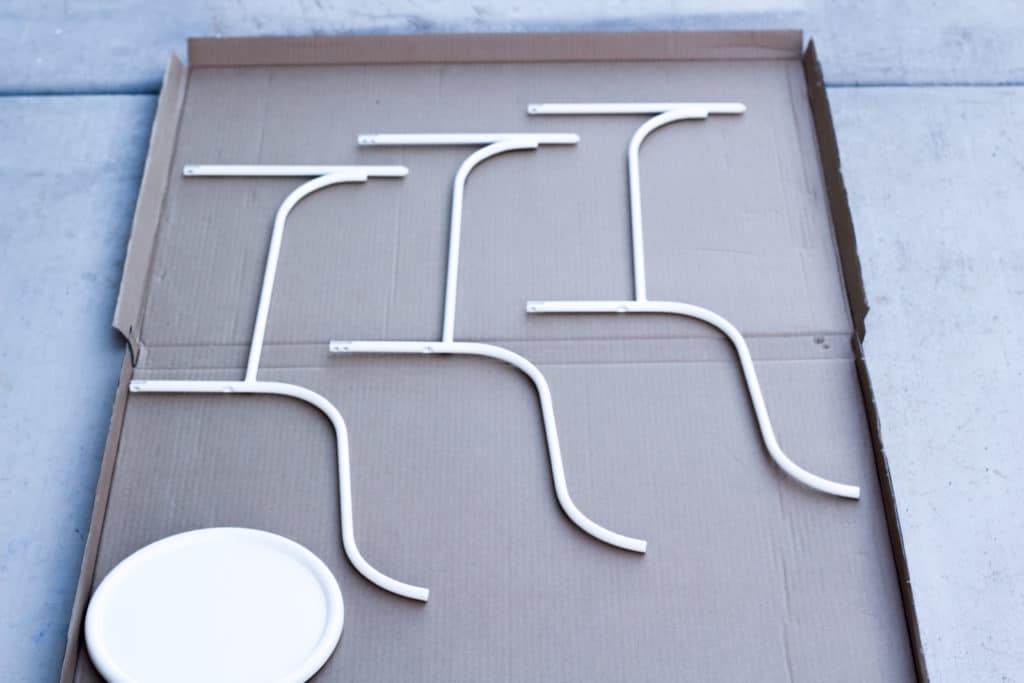
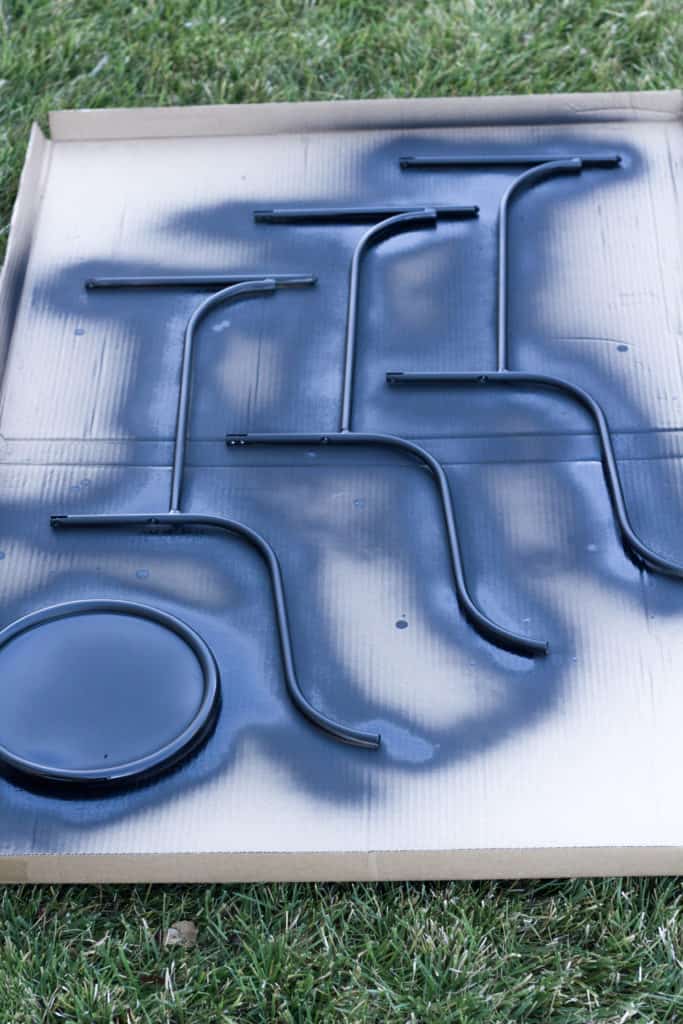
Locate the legs and circular piece to spray them your desired color. See this other easy Ikea update I did for some spray paint tips.
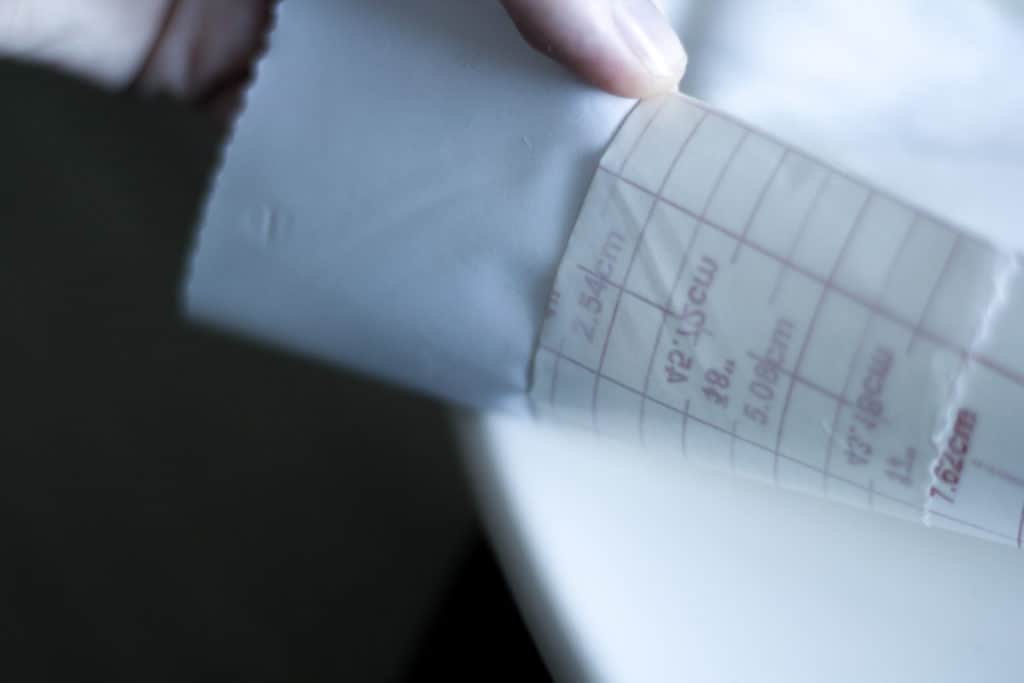
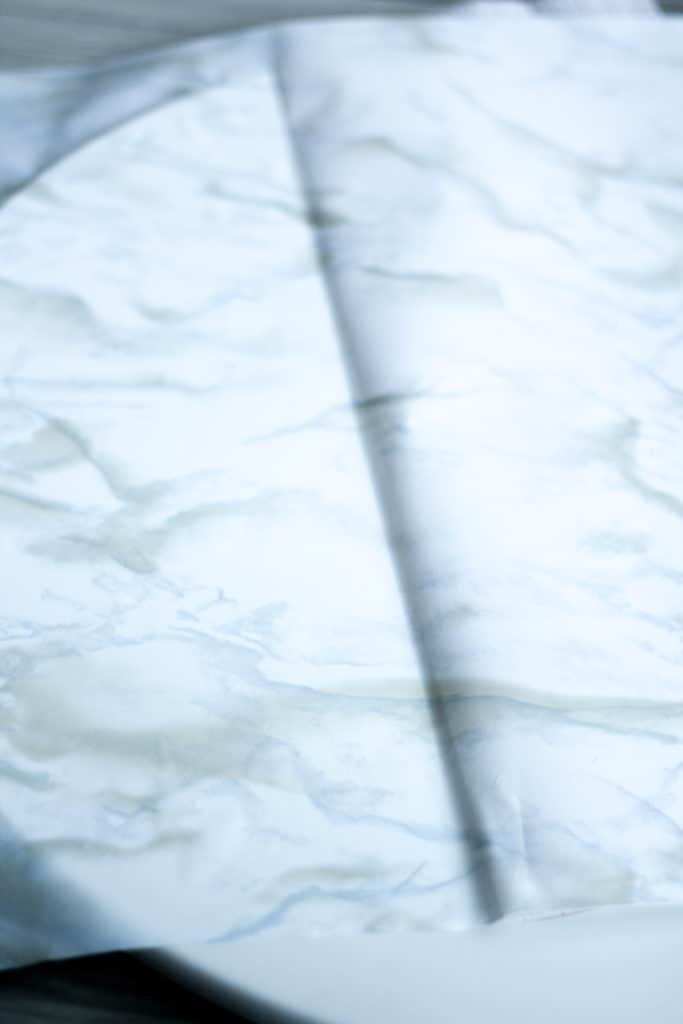
While you wait for the paint to dry, add your contact paper to the top part of the table. I opted for a marble look. Because this table is round, laying contact paper isn’t exactly the easiest task.
I peeled back the first part of the backing and laid it down while I pushed out the bubbles with a credit card. I continued this way until the full length was flat across the top.
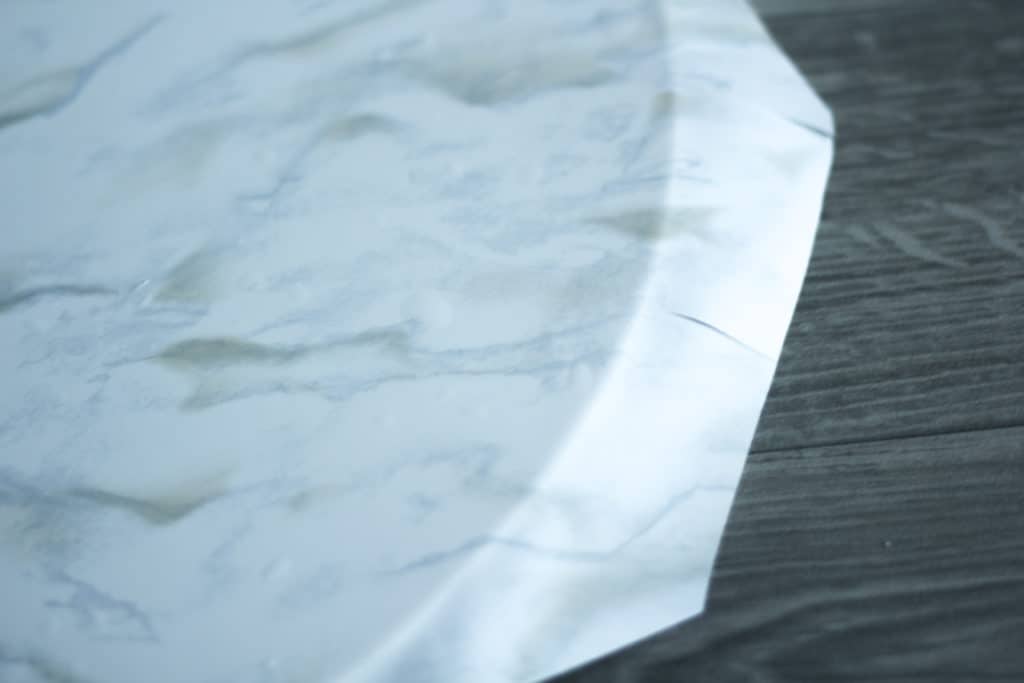
You’ll notice the width of the contact paper won’t cover the full diameter of the side table. I just added the extra strip to the end of the table and you honestly can’t tell unless you’re looking for it!
Then I cut slits about every inch and stretched it down after I had applied it across the top of the table. It doesn’t need to look perfect because you’ll add the tape around the rim. (Honestly I wasn’t going to add tape around the rim until this step! I realized the contact paper wasn’t quite as sticky as I would have liked.)
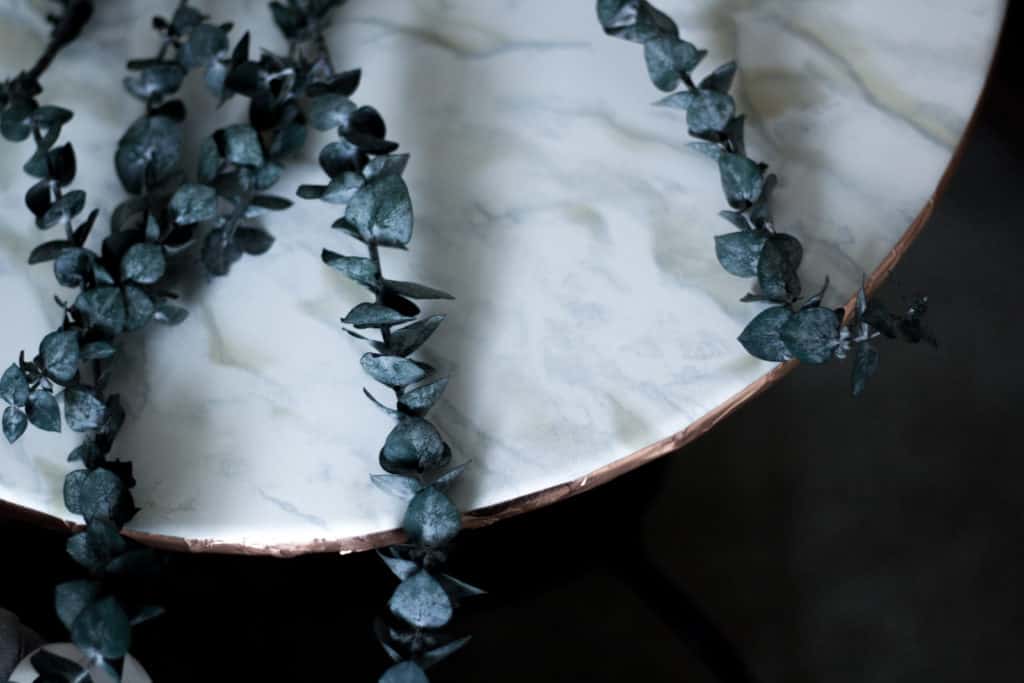
At this point I put the night stand together. Then I cut half the length of foil tape I needed to put a rim around the full circle, and cut my 4 inch wide piece into two parts. (Two 2 inch pieces) I then went around the rim and taped it down. Once I had completed the full tape length, I folded it under the rim. This allowed the contact paper to adhere to the metal better but also really finished off the look of the table.
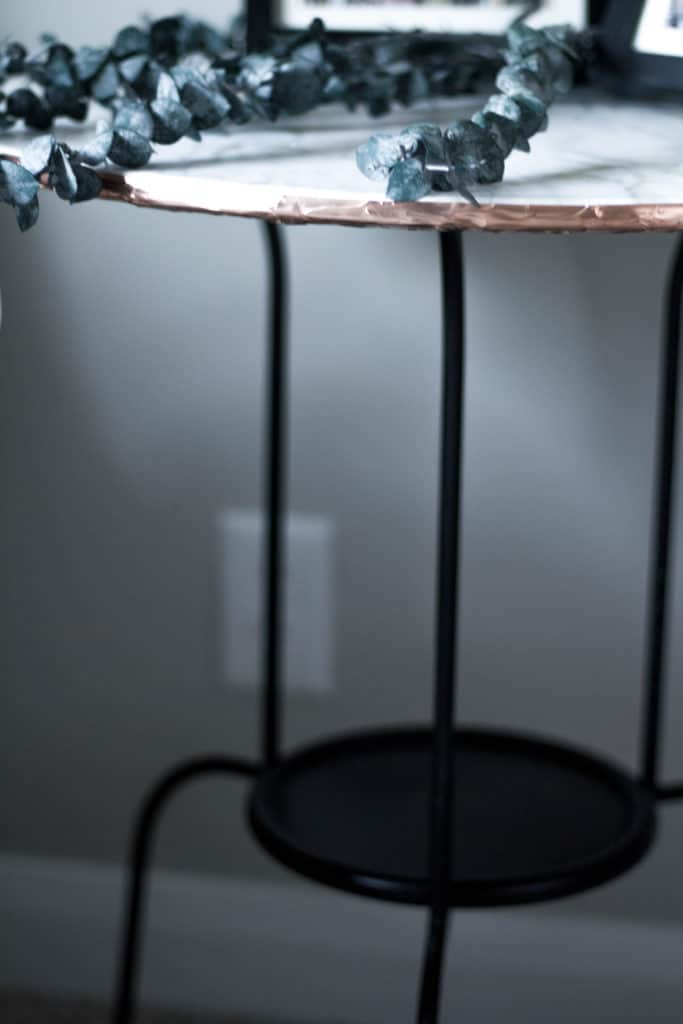
I wish I could afford those beautiful marble topped night stands but it just didn’t make sense to spend a lot on a table that I could almost recreate for $20!
If you do this DIY don’t forget to check out these bookmarks and this kitchen canister because you have the materials for them now!
You might also like
[mks_col]
[mks_one_third] [/mks_one_third]
[mks_one_third] [/mks_one_third]
[mks_one_third]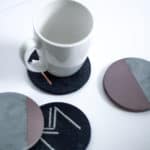 [/mks_one_third]
[/mks_col]


LOVE it!!! I actually have the same table sitting in my living room!!