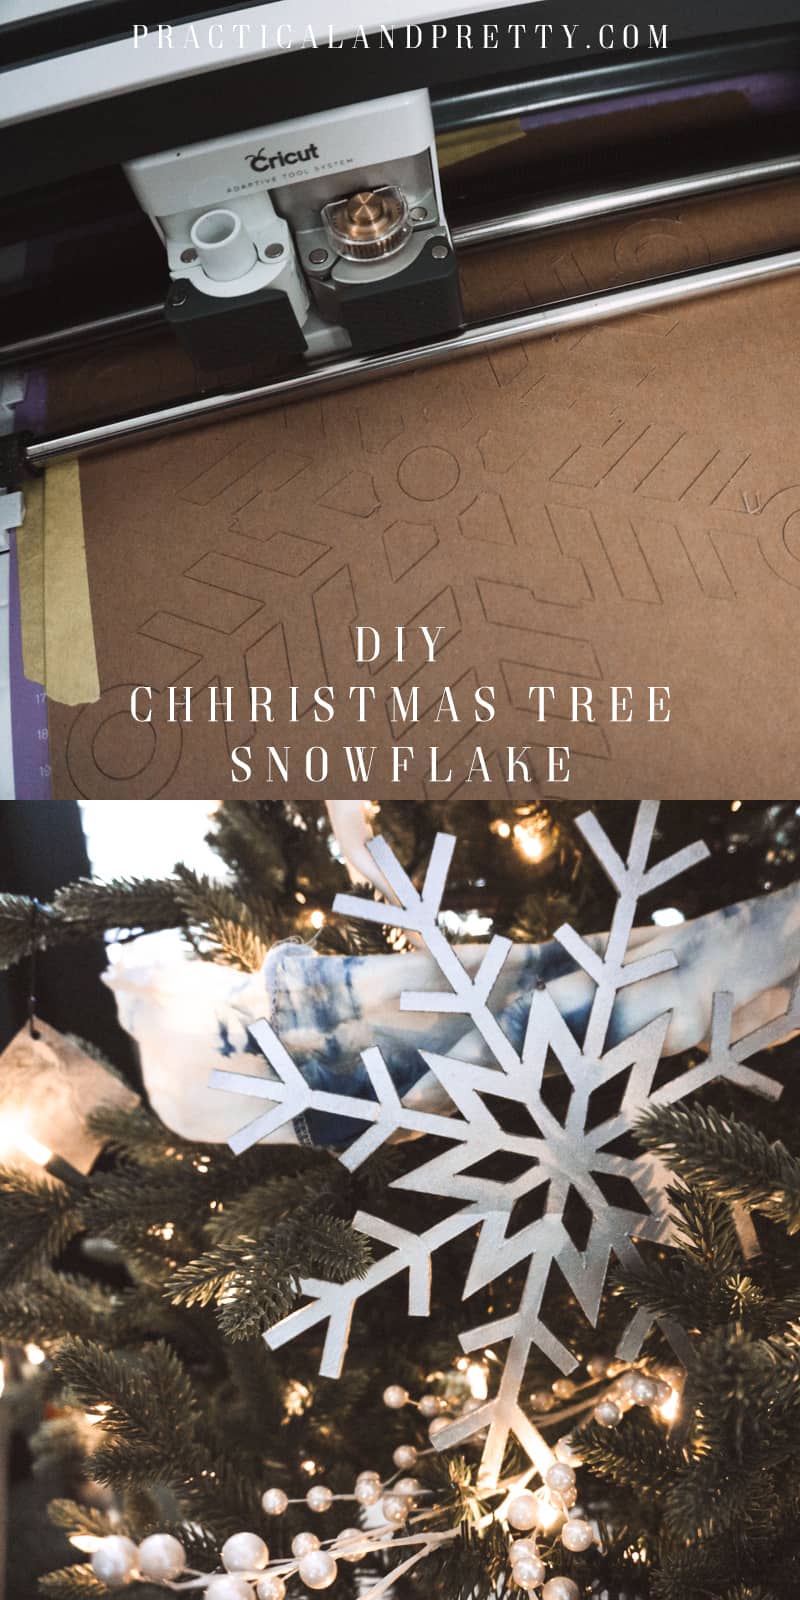
Add these Christmas tree snowflakes to your tree for an easy way to fill out your tree. You can customize them to your favorite colors too.
If you like DIY Christmas you need to check out this ornaments post too. There are SO many good ornament DIY ideas here!
I wanted my tree to have some light bright colors because I also wanted black. After looking at the dark green tree I thought ‘how can I get a large light-colored thing in my tree without spending a lot of money?’ This was my solution! I love working with chipboard and if you haven’t done it before I think you will to. You’ll need a Cricut Maker to use chipboard but it’s worth it if you don’t have one already! (Plus.. it’s Christmas so maybe… add it to your list!!?)
What I used to make Christmas Tree Snowflakes
With chipboard, you are going to want to pull it out of your packaging and let it sit for about 24 hours so that it can air out. and won’t warp. Take your strong grip mat and tape it to the mat using your painter’s tape. This ensures it will not go anywhere. Load in your Cricut Knife Blade and set your material to Chipboard 2mm.
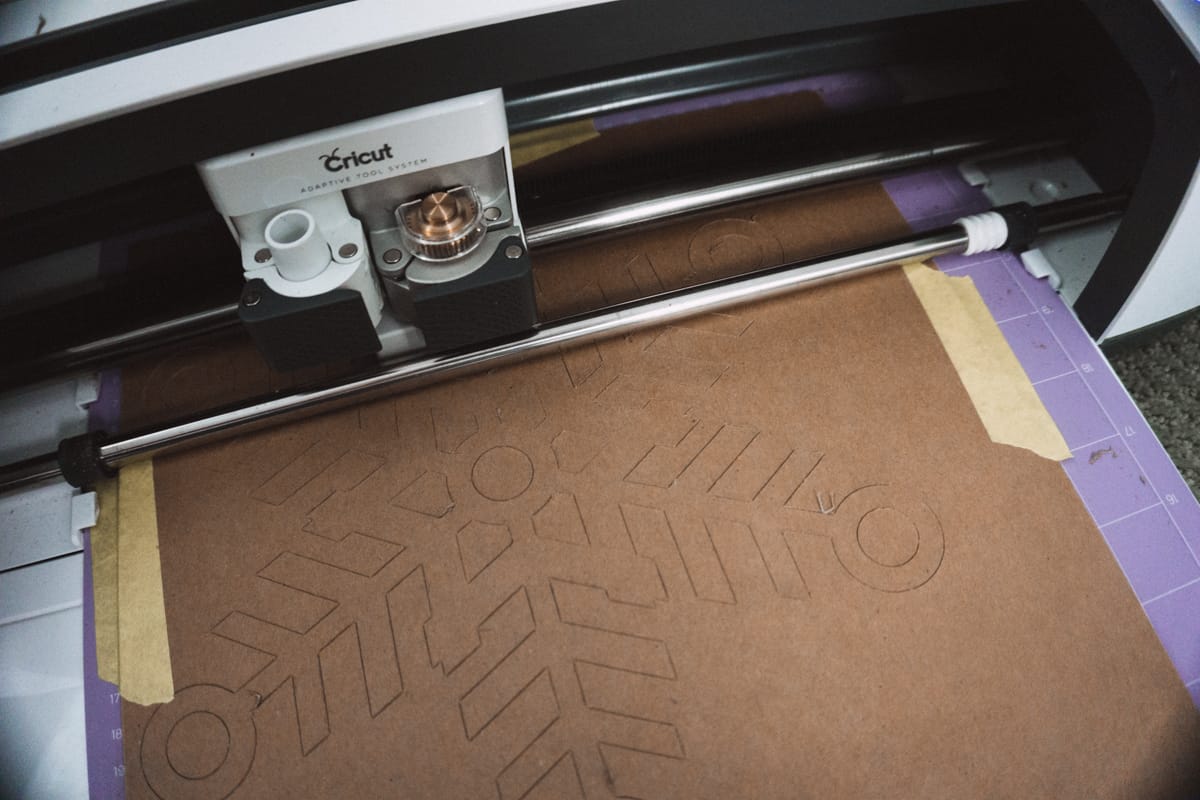
These take quite a while. The chipboard is so thick it will do multiple passes. I did 24 passes! It took about 45 -75 minutes per snowflake depending on the design. I would just load one in and then let it cut while I went on with my day then come back later and load the next one.
Once the snowflakes were all cut I laid out some paper so that I could spray paint the snowflakes. I went for a metallic silver which is linked above. If you have a theme you are sticking to like red and green or maybe even some other funky color, then spray them that color! I have a lot of indigo blue in my tree so I thought about doing that but wanted to try to keep the main colors white and black.
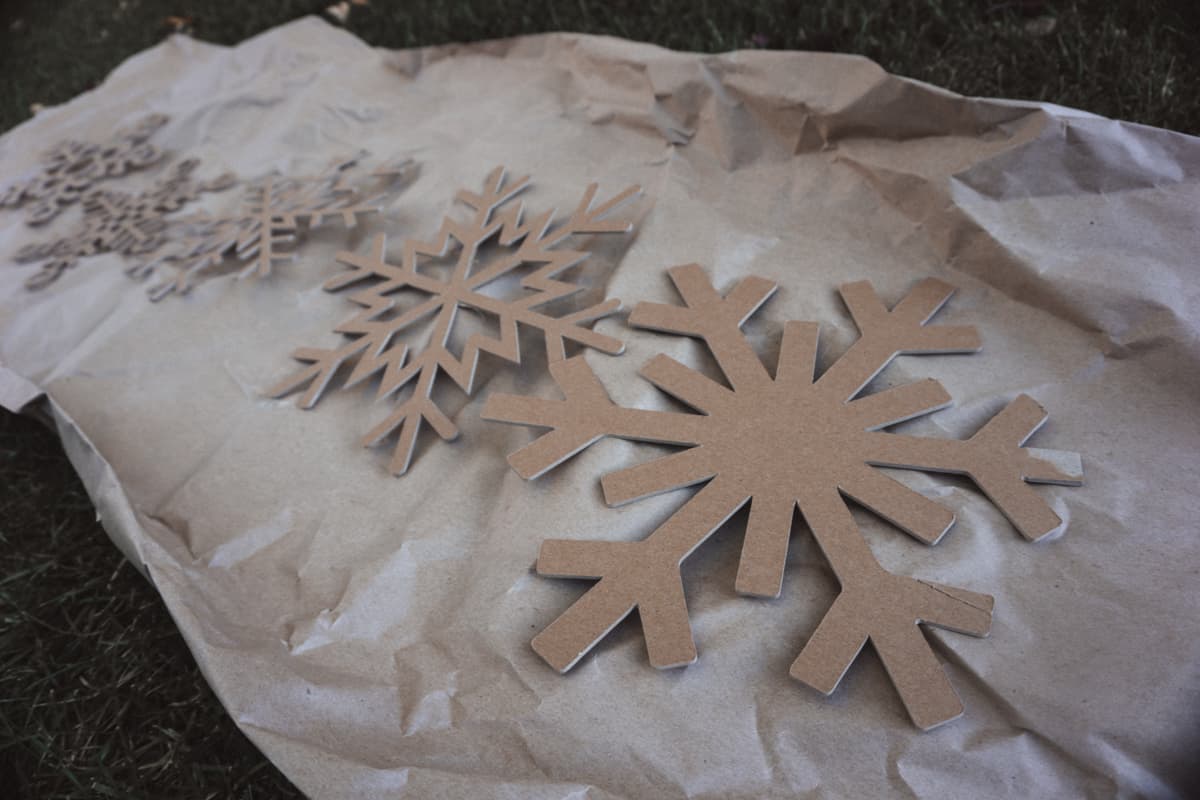
After they are dry you are done. OR you can tape off areas and color block them. I did this at first then realized the colors I chose just kind of got lost in the tree. But if you’re doing bright bold colors it would look really super cool and is an easy way to make them look totally customized to you and your specific decor.
I stuck them in my tree and was all done!


DIY Christmas Tree Snowflakes
Add these Christmas tree snowflakes to your tree for an easy way to fill out your tree. You can customize them to your favorite colors too.
Materials
- Chipboard 2mm
- Spray paint
Tools
- Strong Grip Mat
- Cut File
- Knife Blade
- Cricut Maker
- Painters tape
Instructions
- With chipboard, you are going to want to pull it out of your packaging and let it sit for about 24 hours so that it can air out and won’t warp.
- Take your strong grip mat and tape it to the mat using your painter’s tape. This ensures it will not go anywhere.
- Load in your Cricut Knife Blade and set your material to Chipboard 2mm. These take quite a while. The chipboard is so thick it will do multiple passes. I did 24 passes! It took about 45 -75 minutes per snowflake depending on the design. I would just load one in and then let it cut while I went on with my day then come back later and load the next one.
- Once the snowflakes were all cut, I laid out some paper so that I could spray paint the snowflakes. Do a solid color OR you can tape off areas and color block them.
- I stuck them in my tree and was all done!
Recommended Products
As an Amazon Associate and member of other affiliate programs, I earn from qualifying purchases.


More DIY Christmas
I loved the way these looked with my indigo-dyed garland and all my handmade ornaments. Some ornaments I used were these clay marbled ornaments, these geo paper ornaments, and the eucalyptus ornaments.


