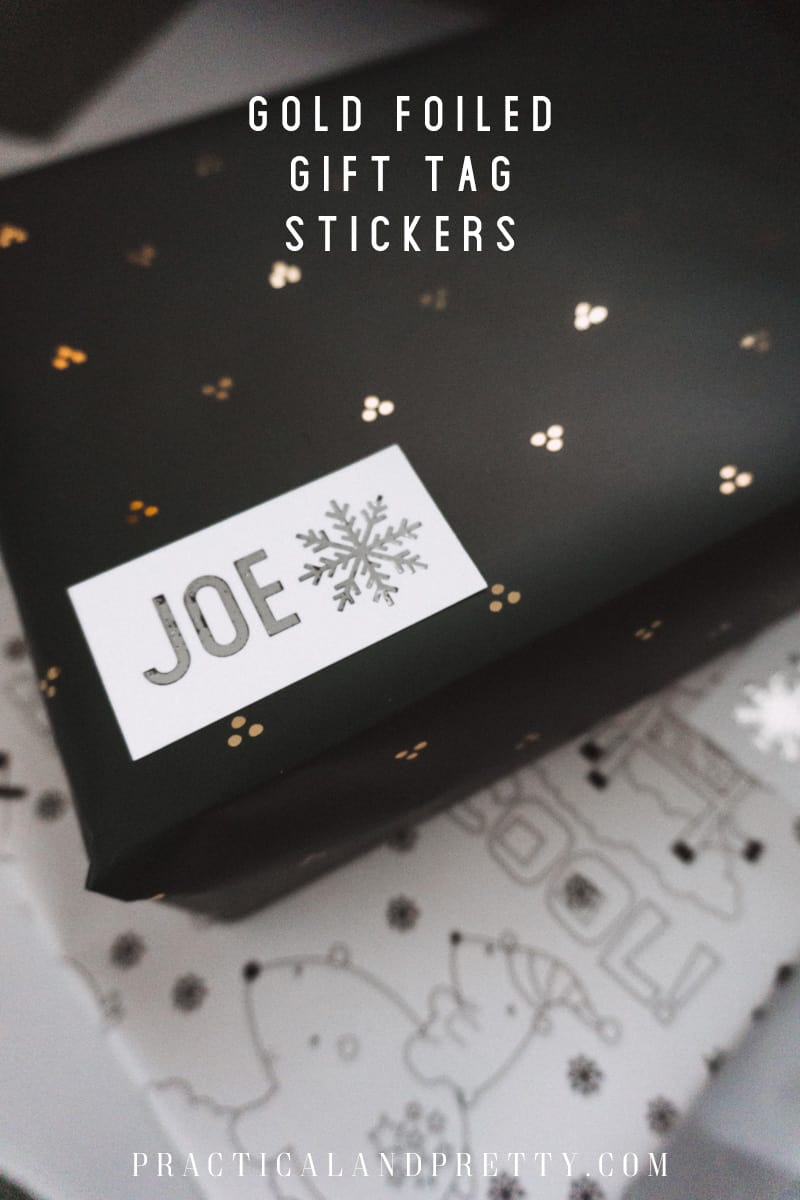
Gold foil your way to a dazzling gift package using these personalized gift tag stickers for any gift giving season! I’ll walk you through the whole process
Obviously, your names are going to be different than mine! But I’m going to walk you through how I created these so you can make your very own personalized gift tags that add some sparkle to any gift.
What you need for your gold foiled gift tag stickers
- Xyron Glaminator
- Metallic Glaminator Paper
- Cricut Explore Air 2
- Mini Xyron Sticker Maker
- A laser printer or a printshop to print off laser prints
Using the Cricut Explore Air 2 is totally optional, but I highly suggest it for the best-looking cut! If you don’t have one you can use a paper cutting tool too.
The following steps are all shown in the video below!
Open up the Design Space file and type out the names of your family and friends. If you were curious what font I used, I used DIN 1451 in all caps!
After you have ensured it isn’t too tall (less than 1.5″), you are going to select the name and make sure it is set to PRINT not CUT. To do this you click on the text select ‘Print’ at the top of the design space screen.
Once all names are set to ‘Print’, you will select each name and its accompanying square and snowflake then click the ‘flatten’ button. This will attach the print to the coordinating square.
When all the names you want are created, you will click ‘Make It’ and print your images. If you don’t have a laser printer, then save the images as a PDF and send them to a print shop. This is what I need to do so I’ll attach a video of how I save a PDF on my Mac.
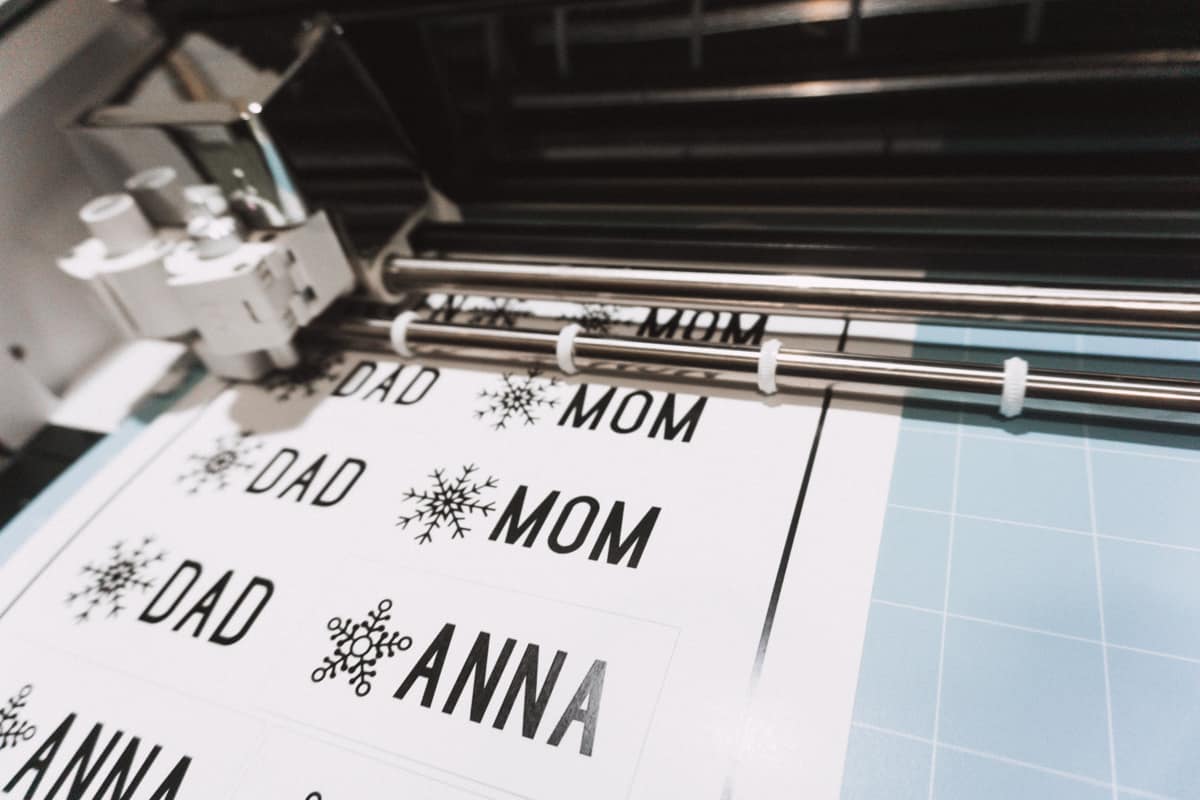
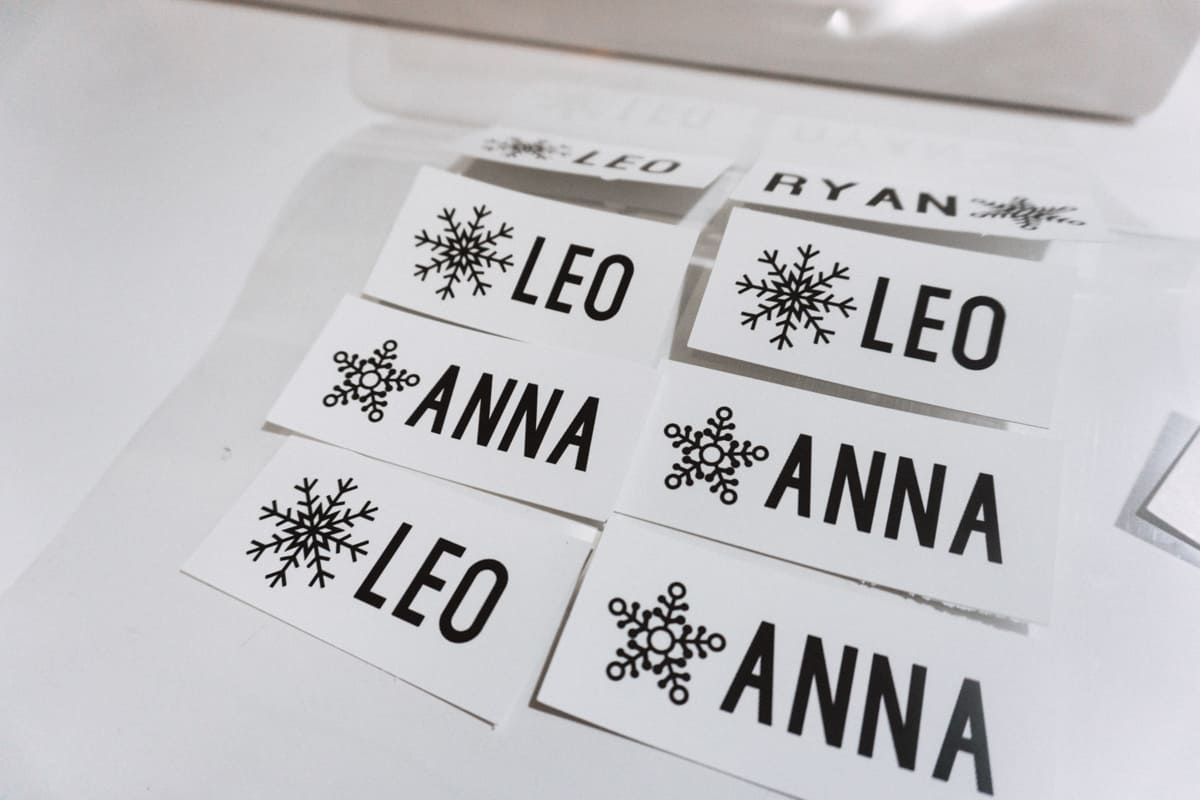
Once your files are all printed, cut them out to the shape you’d like them! If you didn’t want to use a Cricut then use your cutting tool. If you are using a Cricut, load your cardstock onto a light grip mat and it will find the outlined rectangle to cut them out perfect for you!
Take your strips and load them in your Glaminator protector sheet. Lay your foil on top with the shine side facing up. See the photos below for what it should look like in your Glaminator.
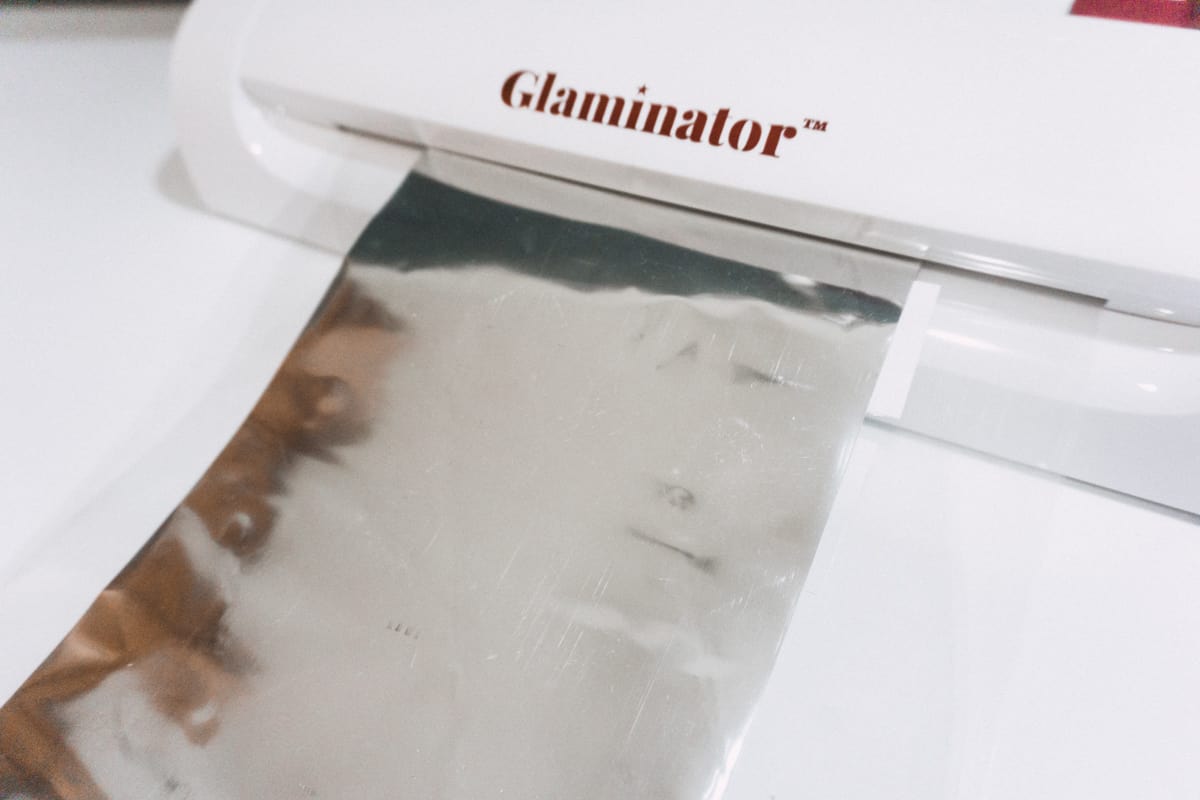
Once your Glaminator is hot, you’ll load it in and let it work its magic.
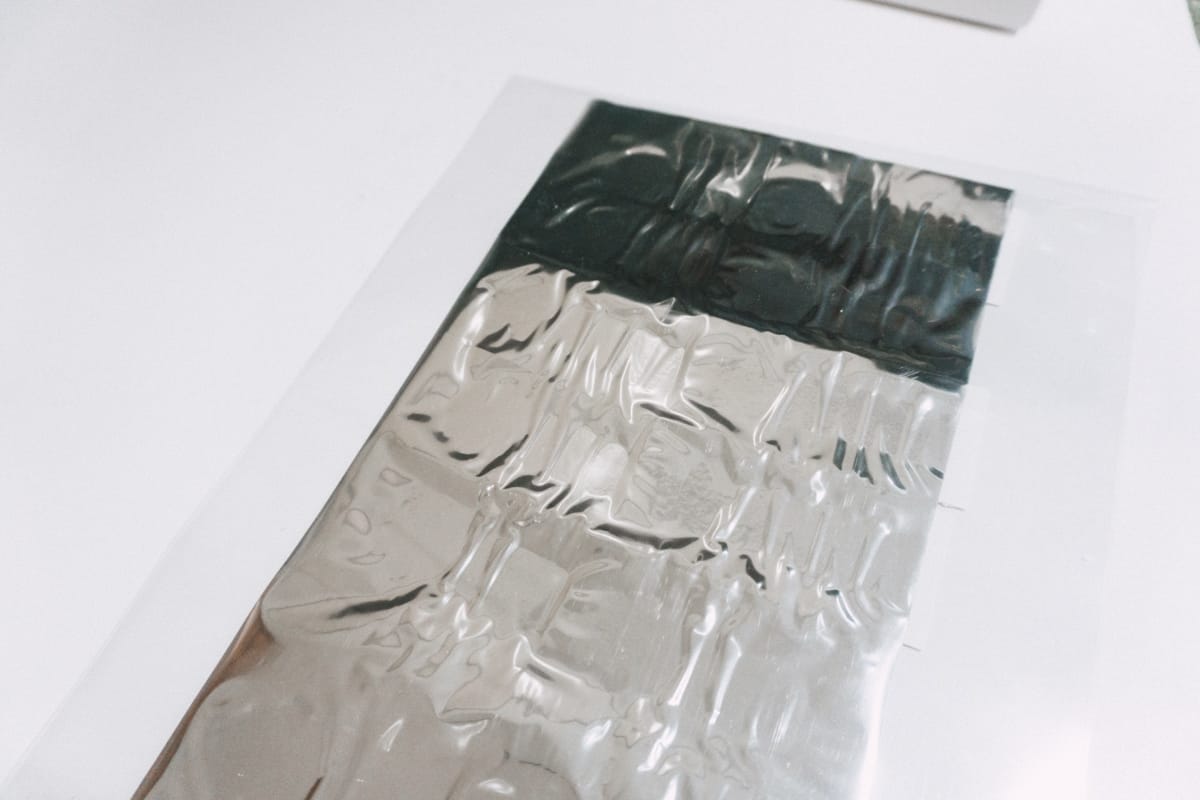
Remove the foil once cooled and your names should be beautifully foiled. It really is like magic.
Next you will load them into your sticker maker one at a time so they will lay perfect on your gift.

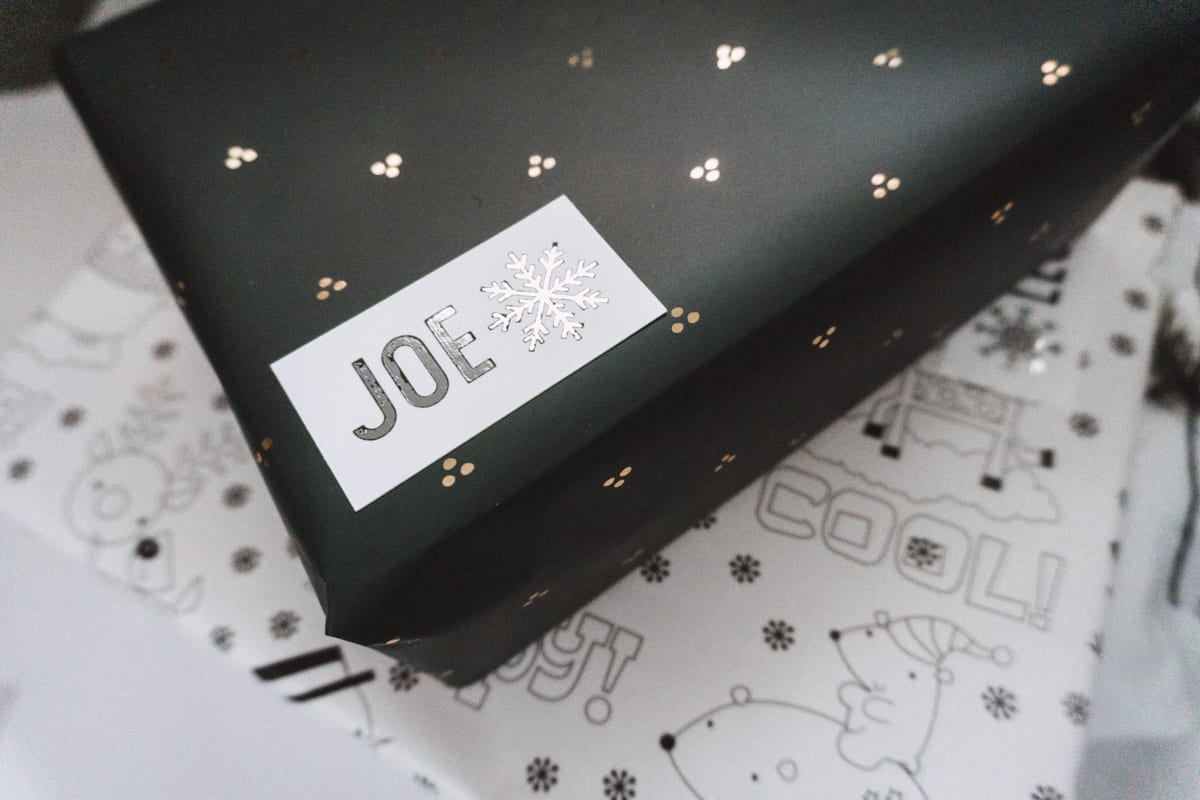
Remove the clear part of the sticker paper then remove the name tag from the white background and you will have a sticker. Place the sticker where you’d like it to go on the gift and you are all done.

These gift tags turned out so beautiful and I really like the touch of foil on my gifts!
I made this post for a little gift tag series this season so be sure to also check out these posts too


love them!