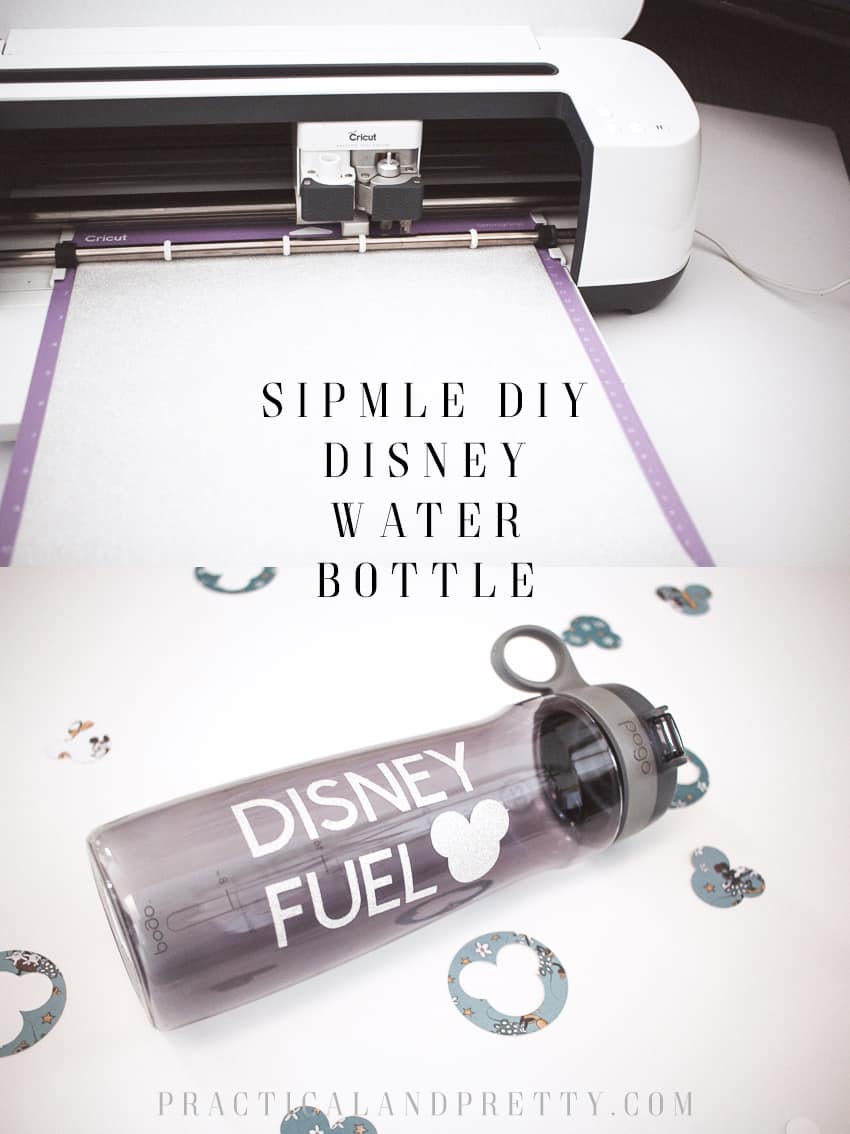
Fuel your Disney vacation with this cute Disney water bottle DIY. The best part is you get to use the water bottle of your choice to customize.
I put together a fun gift basket for my husband and decided to break out each thing into it’s own tutorial so if you see something you like you have all the details! This was honestly one of his favorite parts. The other parts were more just me having fun. This one is the most useful aspect!
If you already have a water bottle you love then use what you’ve got! He needed a new one so I found this on Amazon and we liked it. It’s linked in the materials below.
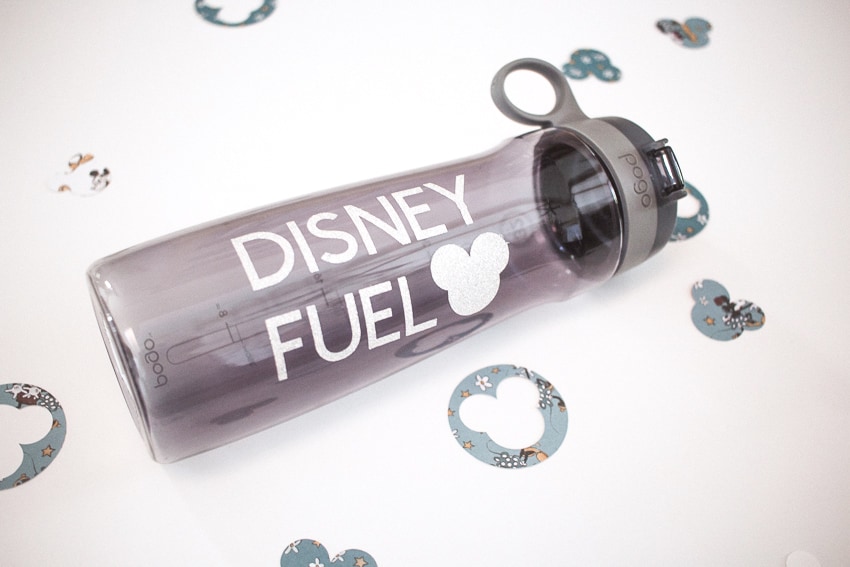
DIY Disney Water Bottle Materials
- Water Bottle
- Glitter Vinyl
- Cricut Explore Air 2
- This Cut File
- Painters Tape
- Standard Grip Mat
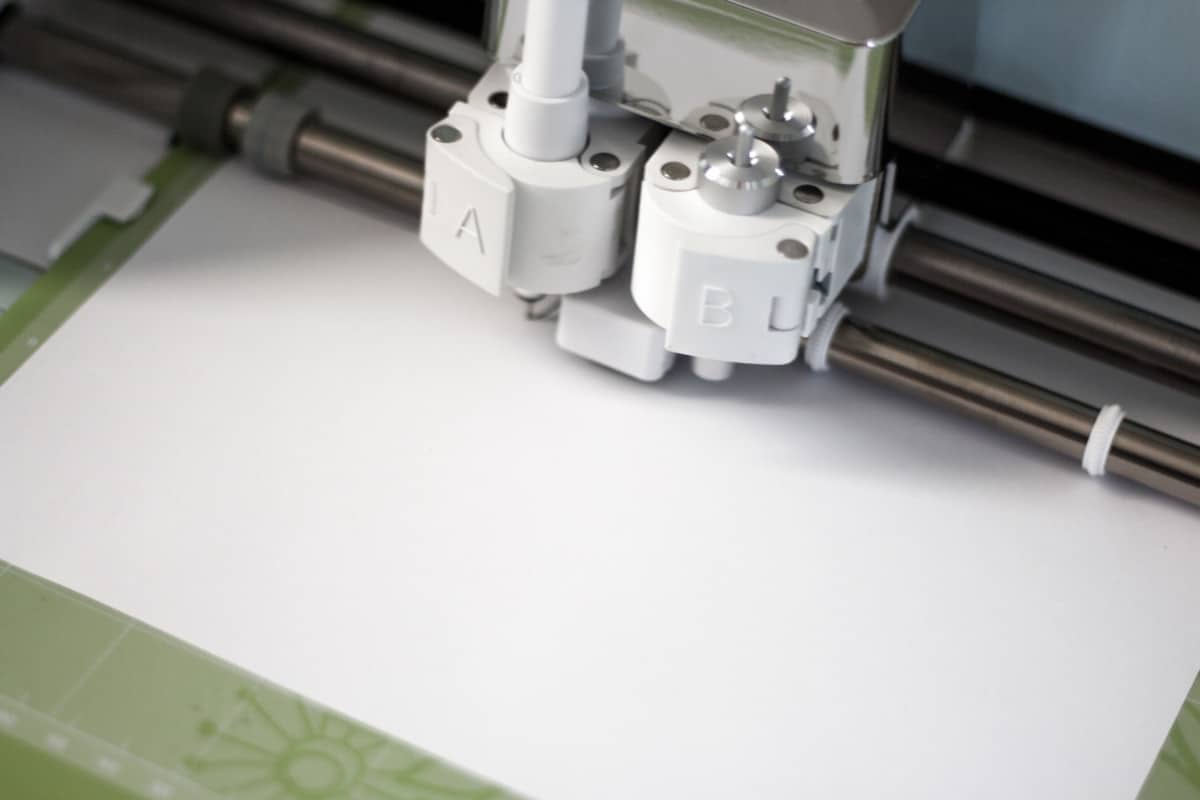
Load your vinyl onto a standard grip mat and open up your cut file. Set your Explore Air to ‘Custom’ on the dial and then select “Glitter Vinyl”.
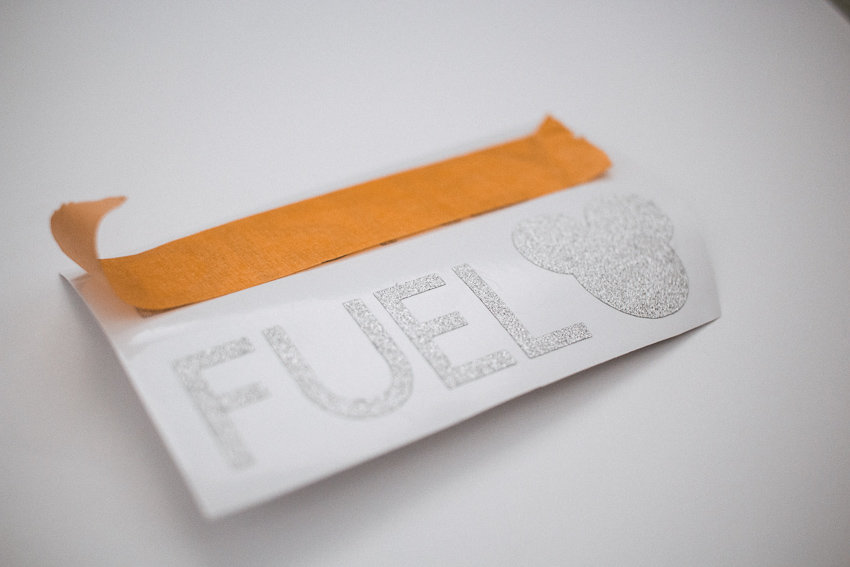
Weed your design. Now grab your painters Tape! I like using painters tape for simple designs like this because I can easier control the vinyl placement.
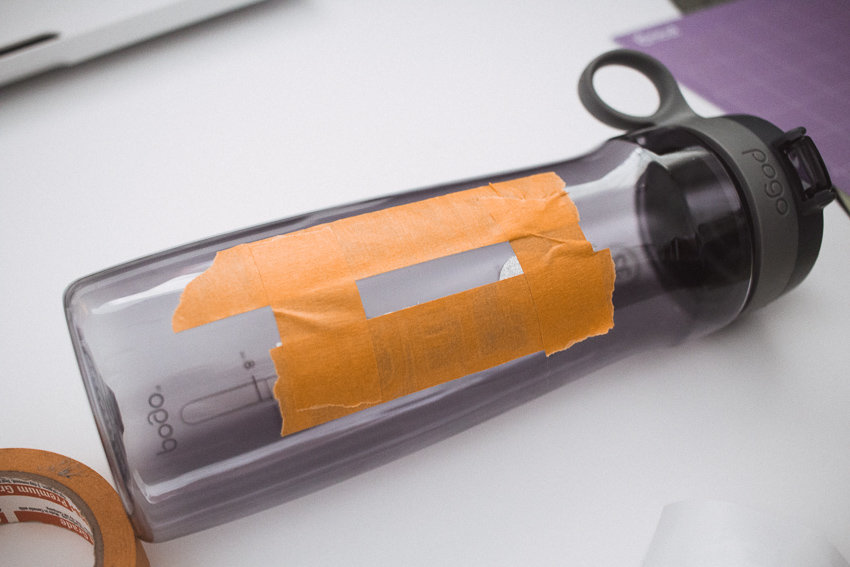
Place your design where you’d like it to go and use your finger to make sure it’s smoothed down.
Carefully remove your tape and you are all dane. This is not dishwasher safe HOWEVER my husband did put it in the dishwasher and it did hold up. So if you forget and it gets in the wash, no worries, it seems to be just fine! I just probably wouldn’t do it often.
Want some more Disney DIYs? Of course you do.
Another fun project I have coming up is all about Disneyland food so make sure you’re following along so you don’t miss that post!


