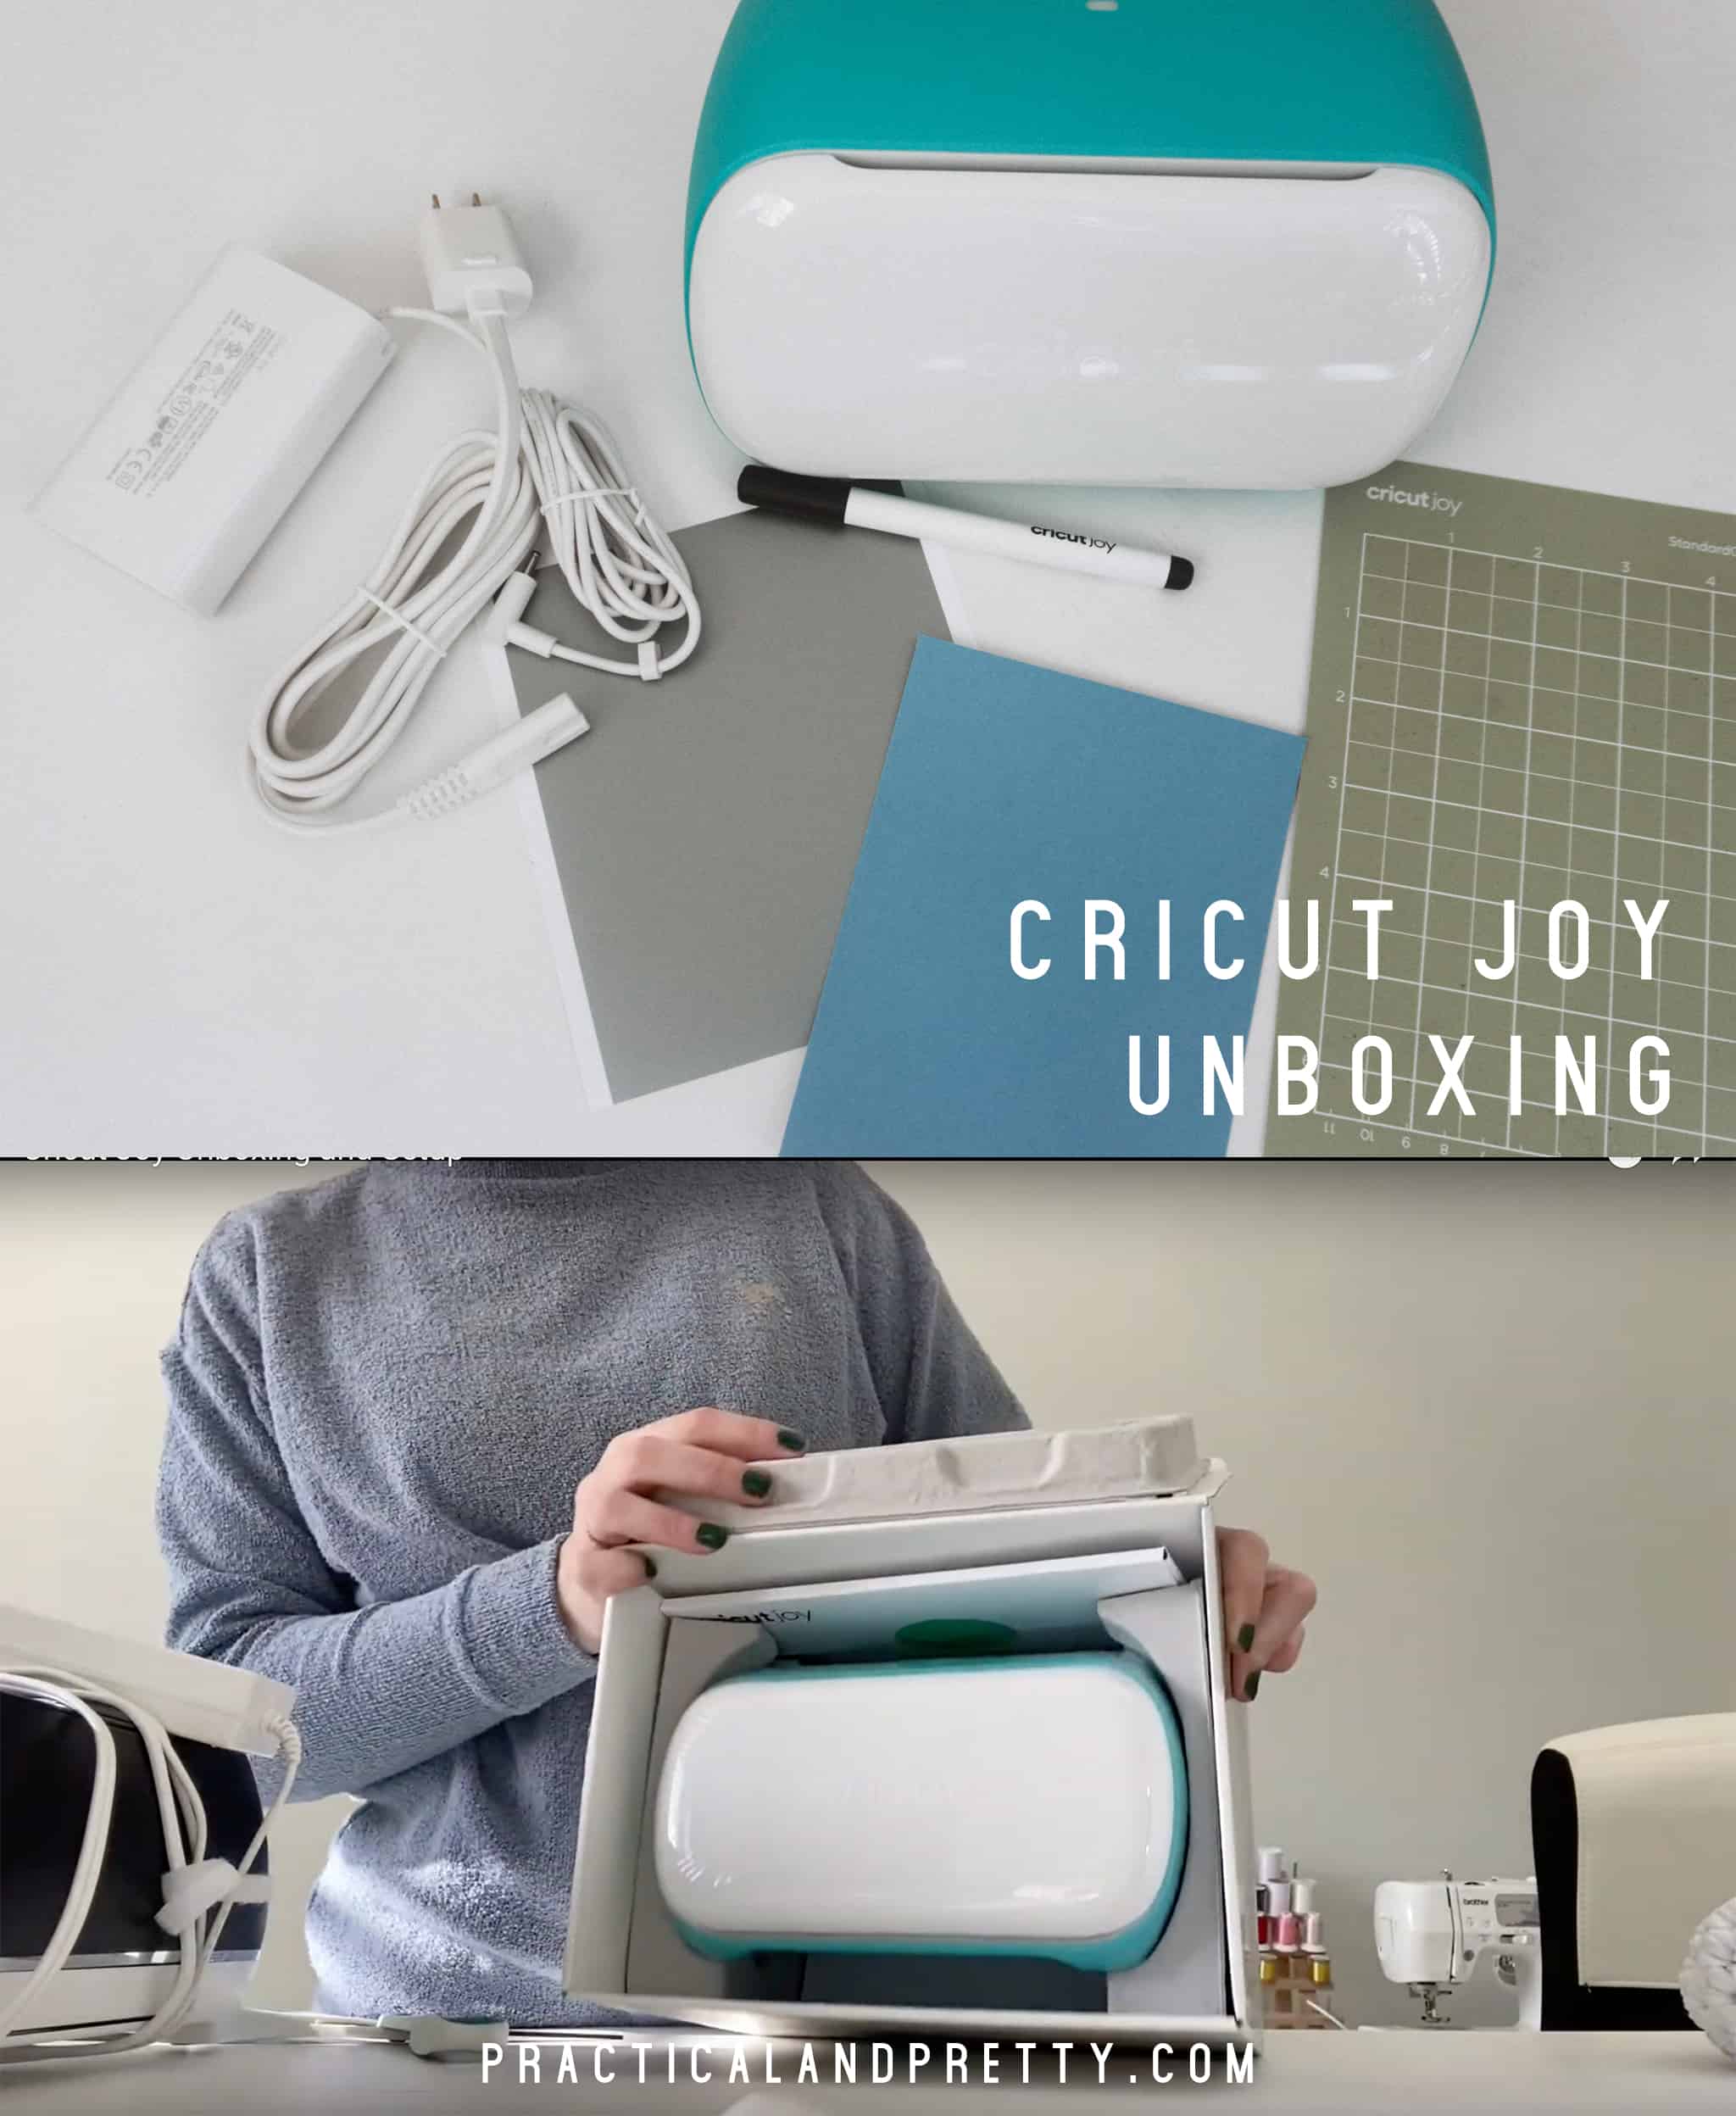
I break down what is in the Cricut Joy box, how I setup my machine, and the first cut with my Cricut Joy. It was so easy!
This new little crafting gadget is my new best friend. If you’ve been here a while you know I use my Cricut cutting machines for SO many different things. The Cricut Joy is the new machine that is restricted in width but the length of what it can cut is basically only limited to how much vinyl you have. It also incorporates new Smart Vinyl that eliminates the need for a mat.
Below is a video of me unboxing the Cricut Joy for the first time! Below the video I’ve got more details of what was in the box.
What is in the Cricut Joy box?
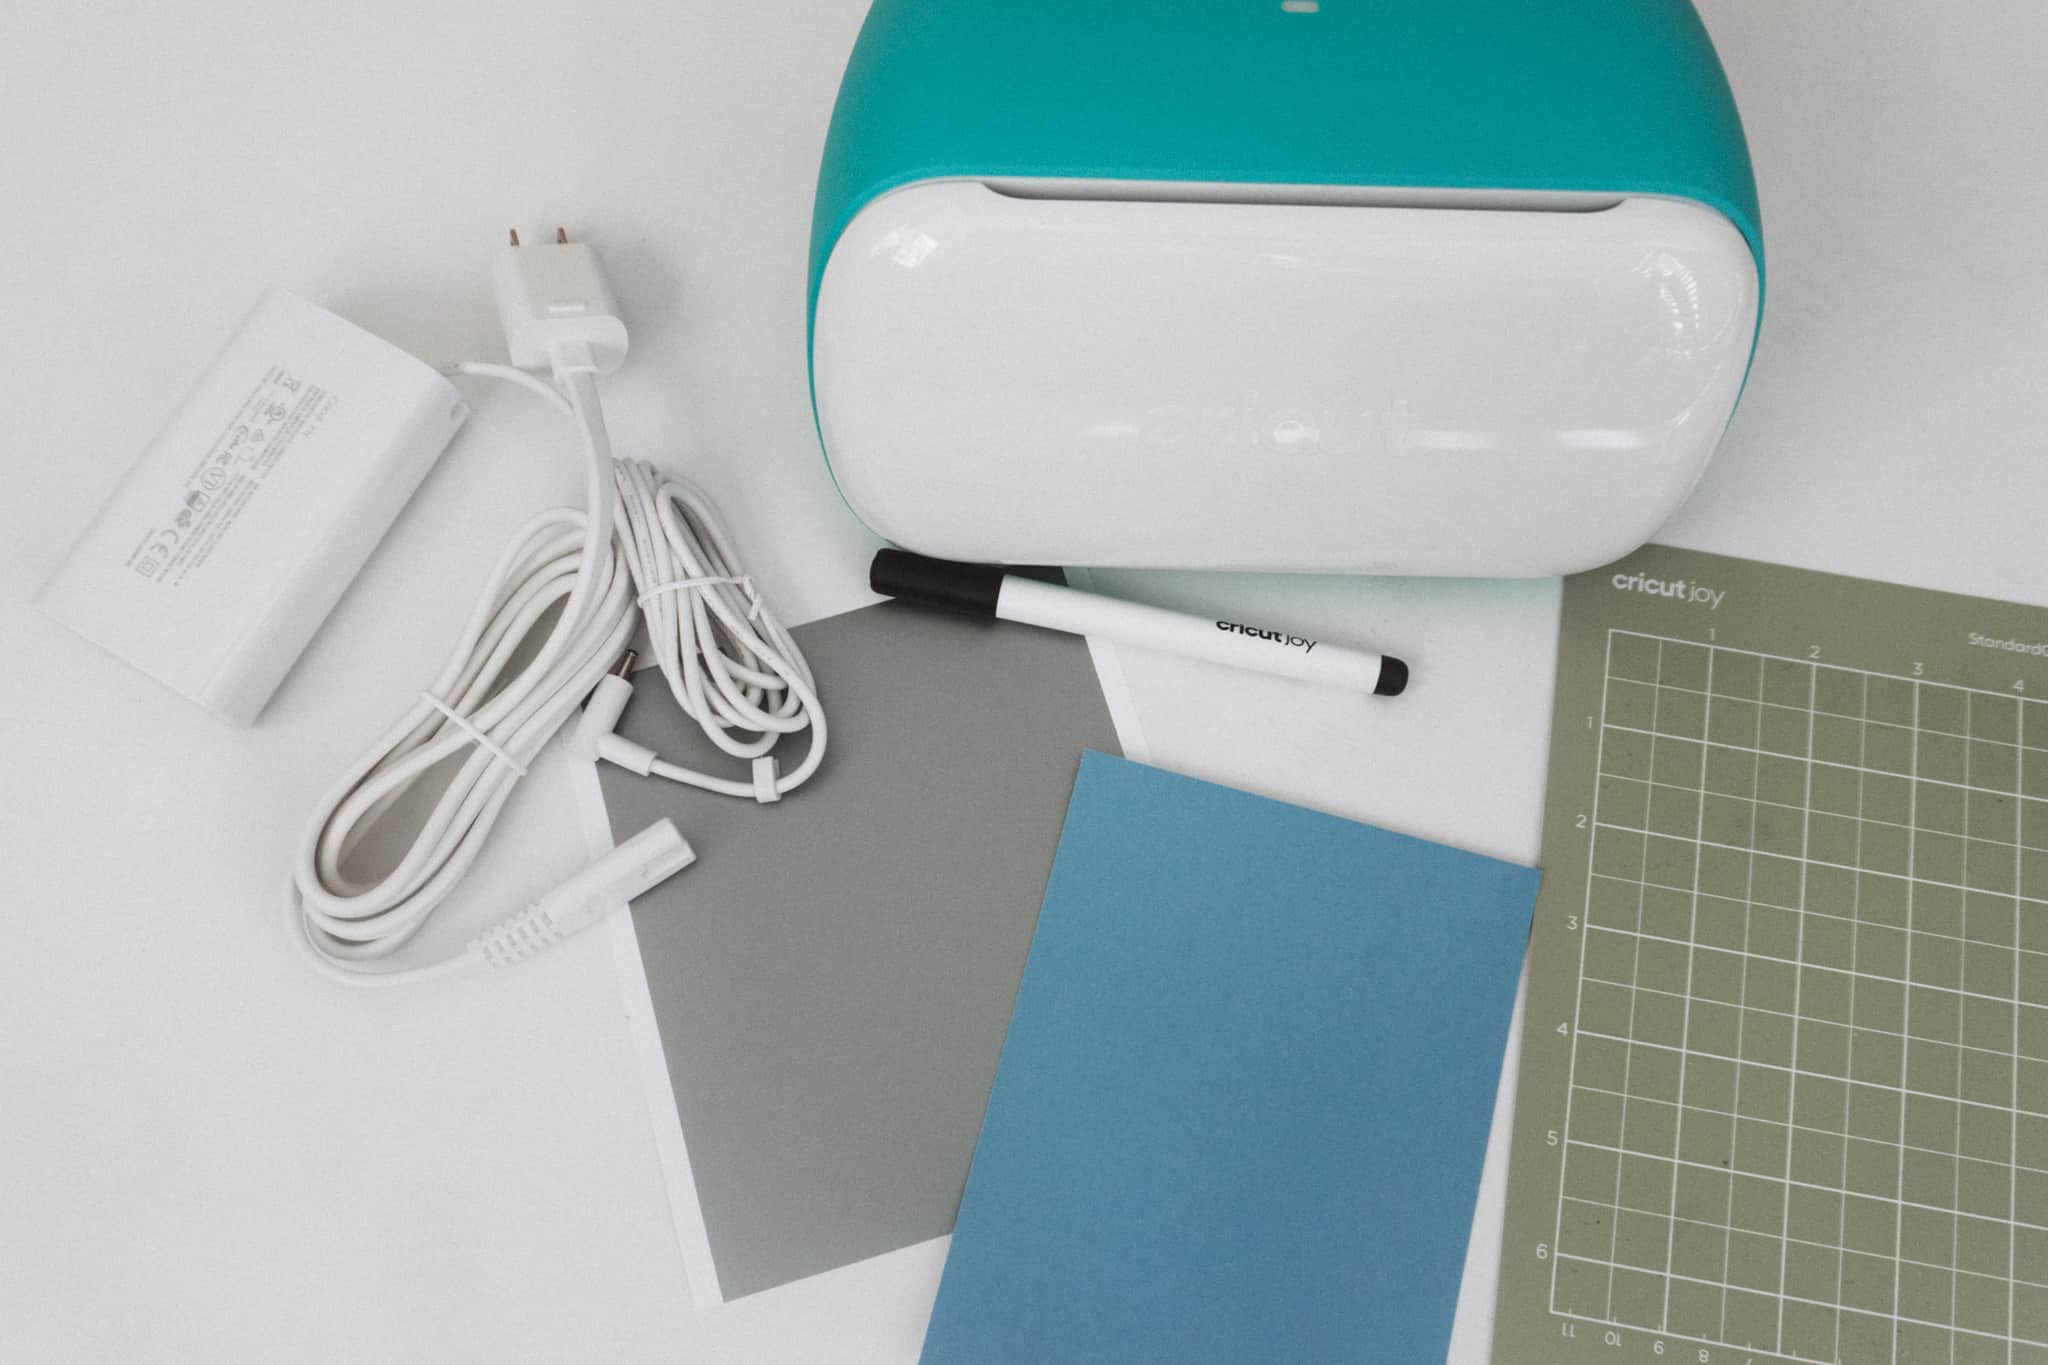
Cricut has a ton of different bundles they often sell with the Cricut Joy but if you are getting the machine on it’s own, let me break down what’s in the box. There is a sample of Smart Vinyl and Deluxe Paper, a 4.5″x6″ Standard Grip mat and a 0.4 Cricut Pen.
How do I set up my Cricut Joy?
If you have ever set up a Cricut machine it is just as simple! If you haven’t ever set up a Cricut machine, you’ll be very surprised how easy it can be.
You can watch all these steps in the video linked above! If you’re like me and would rather read it here it is.
- Open up your Design Space either on your phone or on your computer.
- On your phone you will click your icon on the top left corner. If you are on your computer click the hamburger menu on the top left.
- Click “New Machine Setup”
- Follow all of the prompts that come up. I would tell you what they will be but if there is an update or you’re not a Cricut Access member, you may have some different screens to click through! However once you click ‘Register Your Device’ after accepting the terms and conditions, then you will be on the same page.
- A menu will pop up to let you pick what cut you’d like to start with. There were some super cute different options. You will use your smart vinyl sample that was included in your box. I chose the crown because I am a queen. (Just kidding a little bit.)
- Load in your Smart Vinyl. There is a sensor on the machine that will start the little rollers automatically and load in your vinyl. Remember you don’t need to put it on the mat! Just load it right in!
- Click ‘Go’ on your app or on your computer and watch it do it’s magic!
What materials can I use without a mat?
You will need the specific products Cricut offers for the machine to cut them without a mat but right now they make iron on, writable paper, writable vinyl and vinyl.
Have any other questions? Please drop them below! I’d be happy to answer them or find the answers for you. I’m learning too! Stay tuned for a ton of Cricut Joy projects on the way!