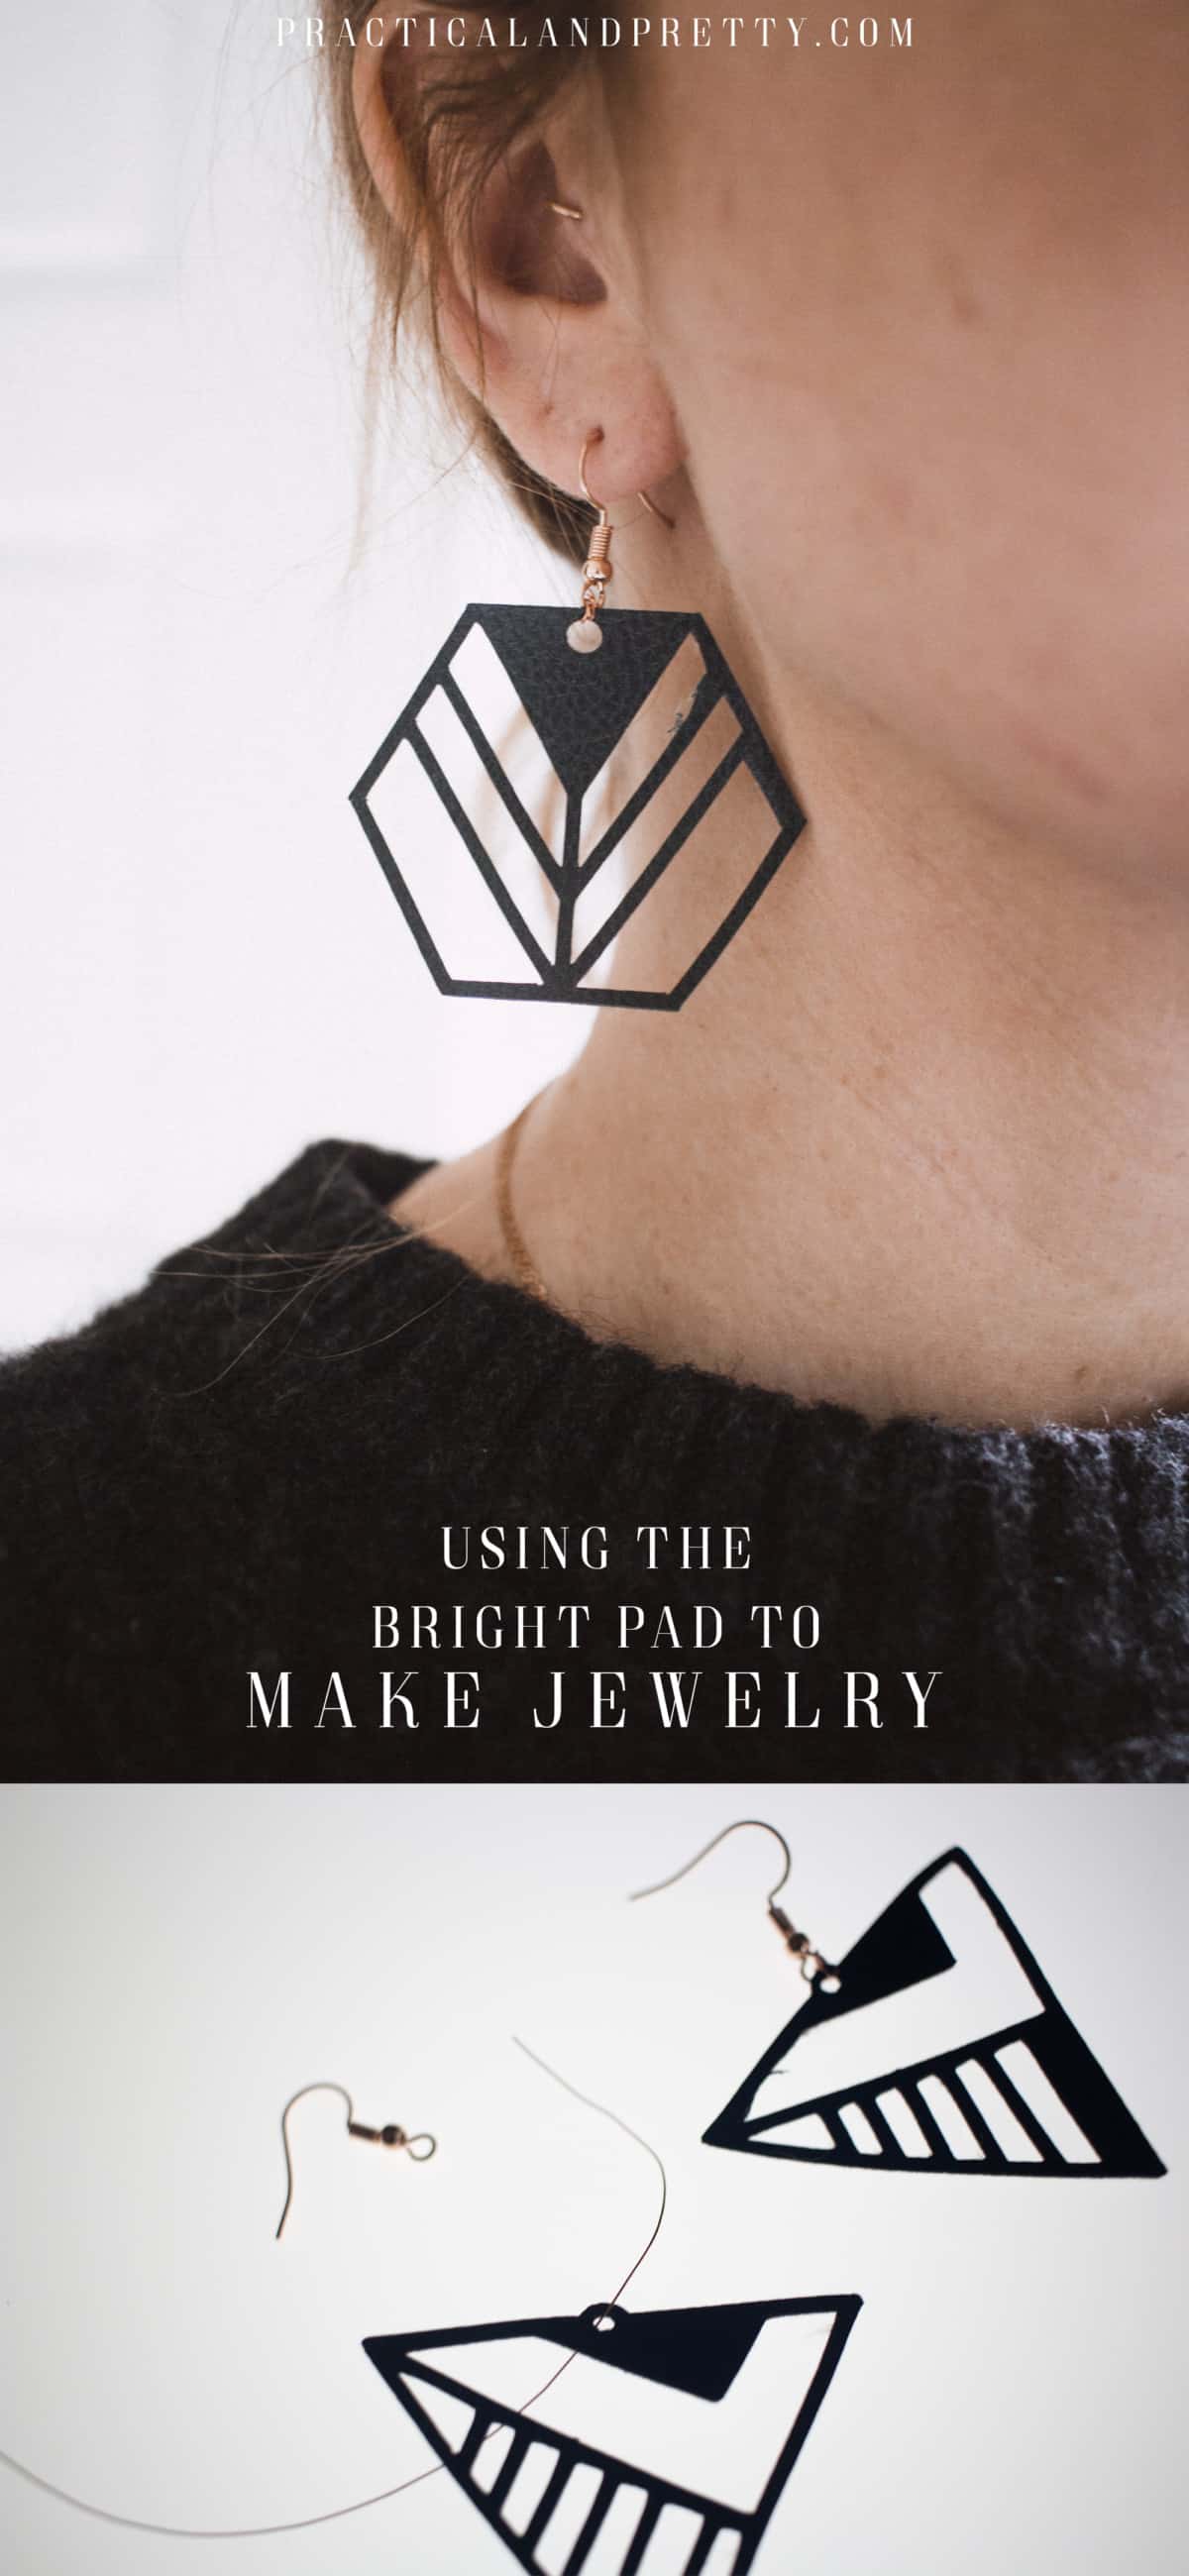
These fun geometric earrings are a simple tutorial. I show you step by step how I make them and must have tools for making your own jewelry!
This is a sponsored conversation written by me on behalf of Cricut. The opinions and text are all mine.
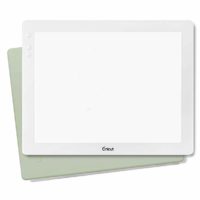
I recently shared about my new crafting secret weapon, the BrightPad. Well today I’m sharing a little more unconventional way to utilize it.
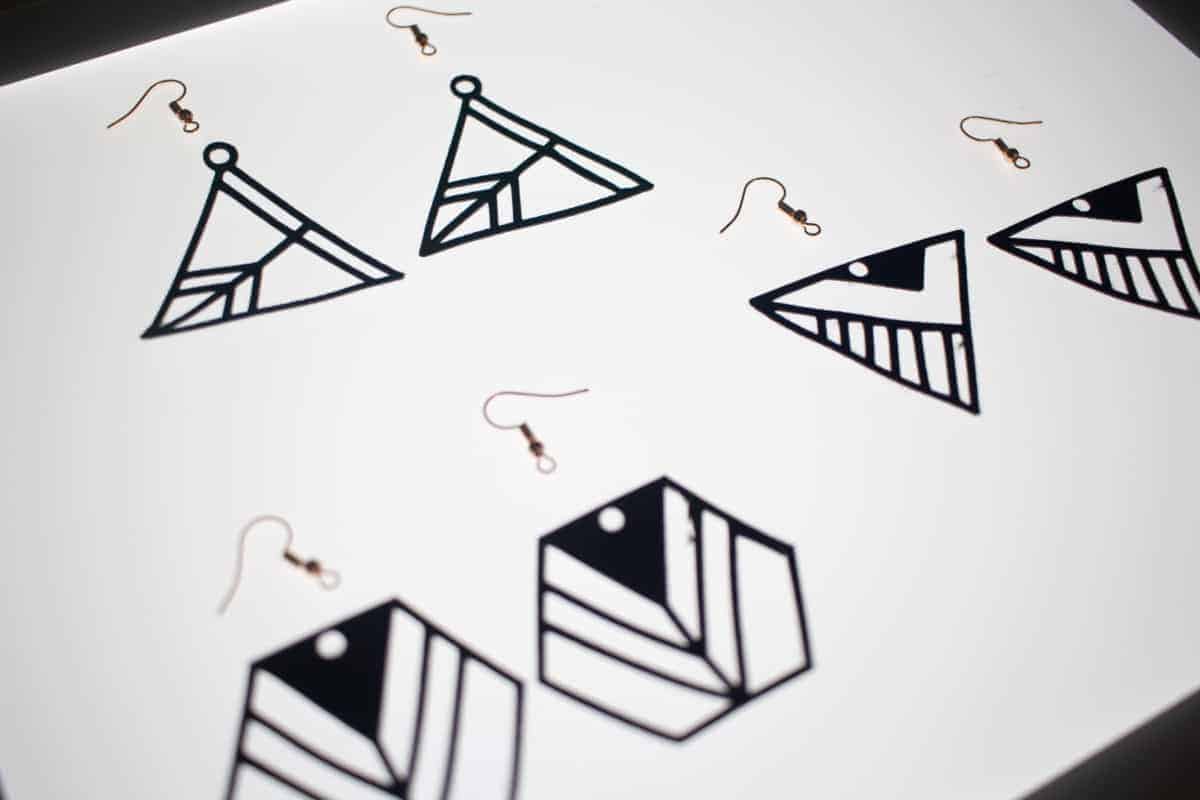
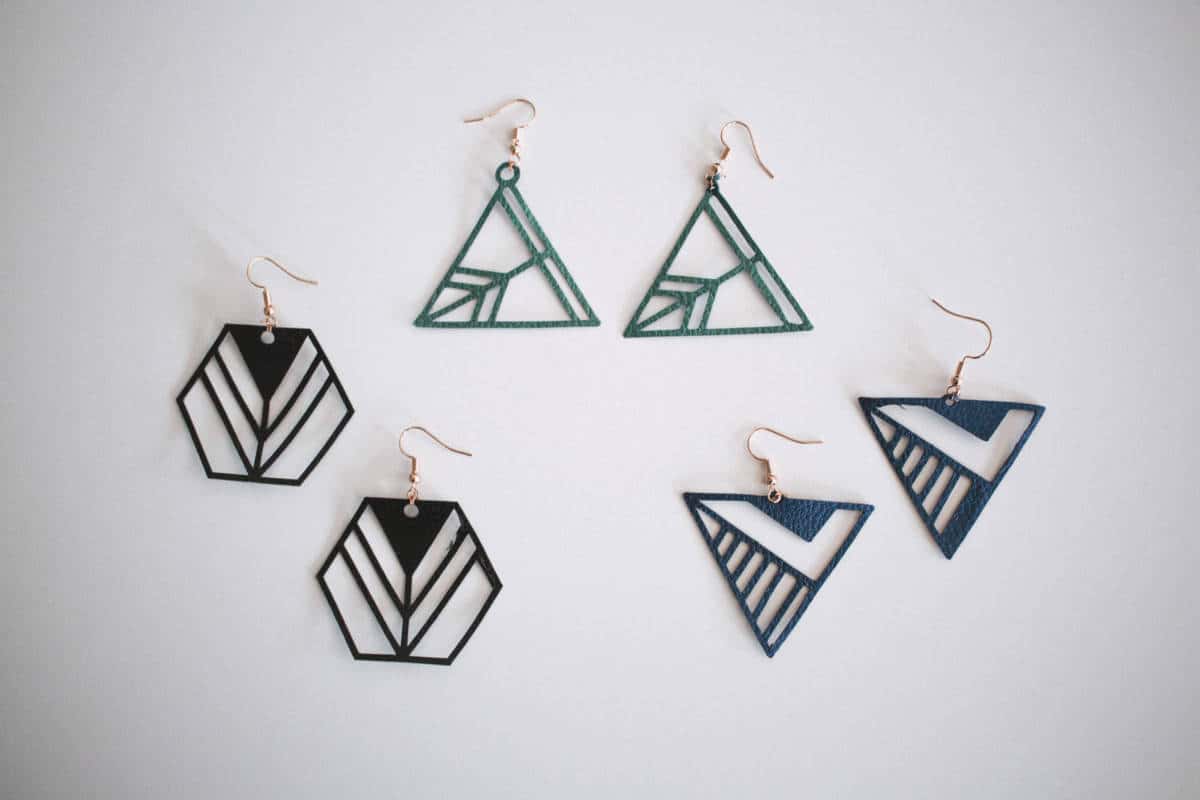
These earrings were pretty simple to put together but turned out SO much better than I even imagined! I made three different designs and did them three different colors. The awesome thing about Cricut is you can customize them to exactly your style. Next time, I’d probably do them all black. But I’m mood and angsty like that.
What you need for your geometric earrings
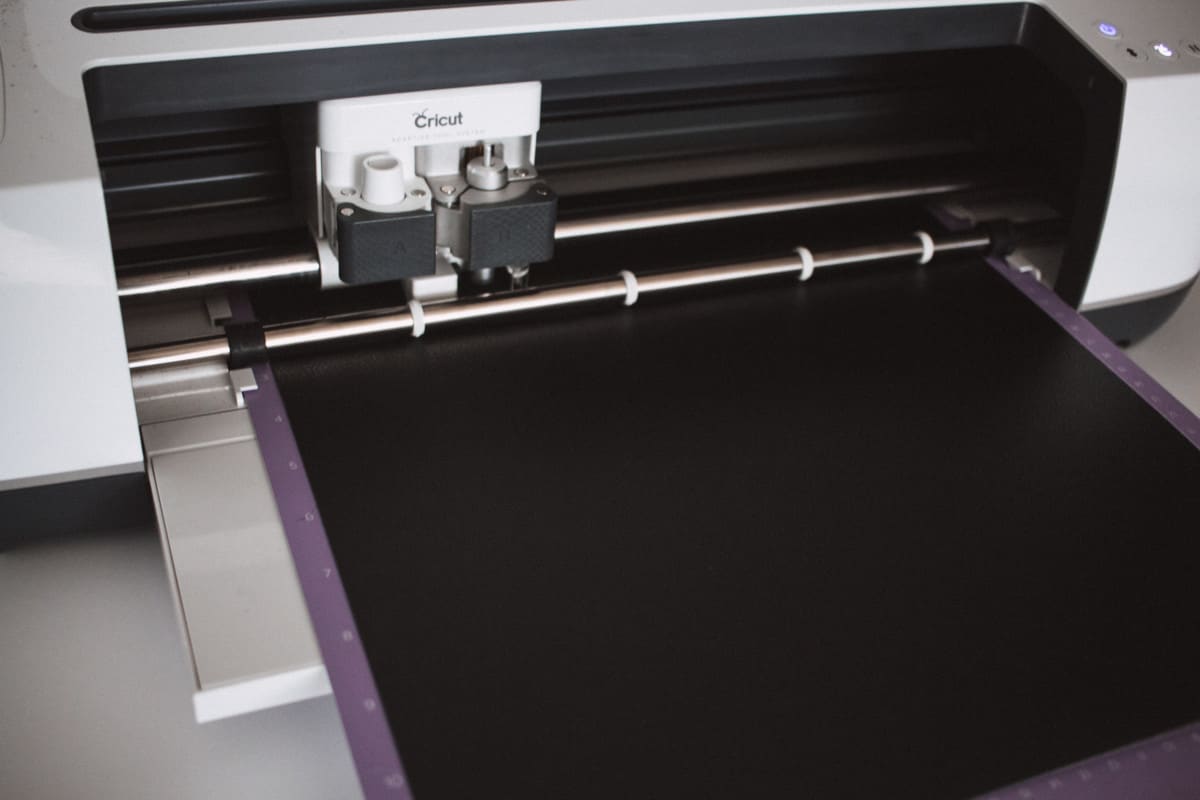
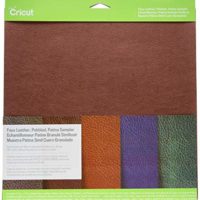
Start by opening your cut file and loading your faux leather onto your strong grip mat. I like to put it fuzzy side own and you’ll see why later. Long story short, if it doesn’t cut all the way through, you have a good line to go off of!
After your faux leather is cut, use your BrightPad to gently weed the negative space. I was not planning on using the BrightPad in this way but it turns out that just little edges were not cut all the way through and the BrightPad’s solid LED light really helped me see what needed to be cut into. I used my True Control knife to fix those little lines.

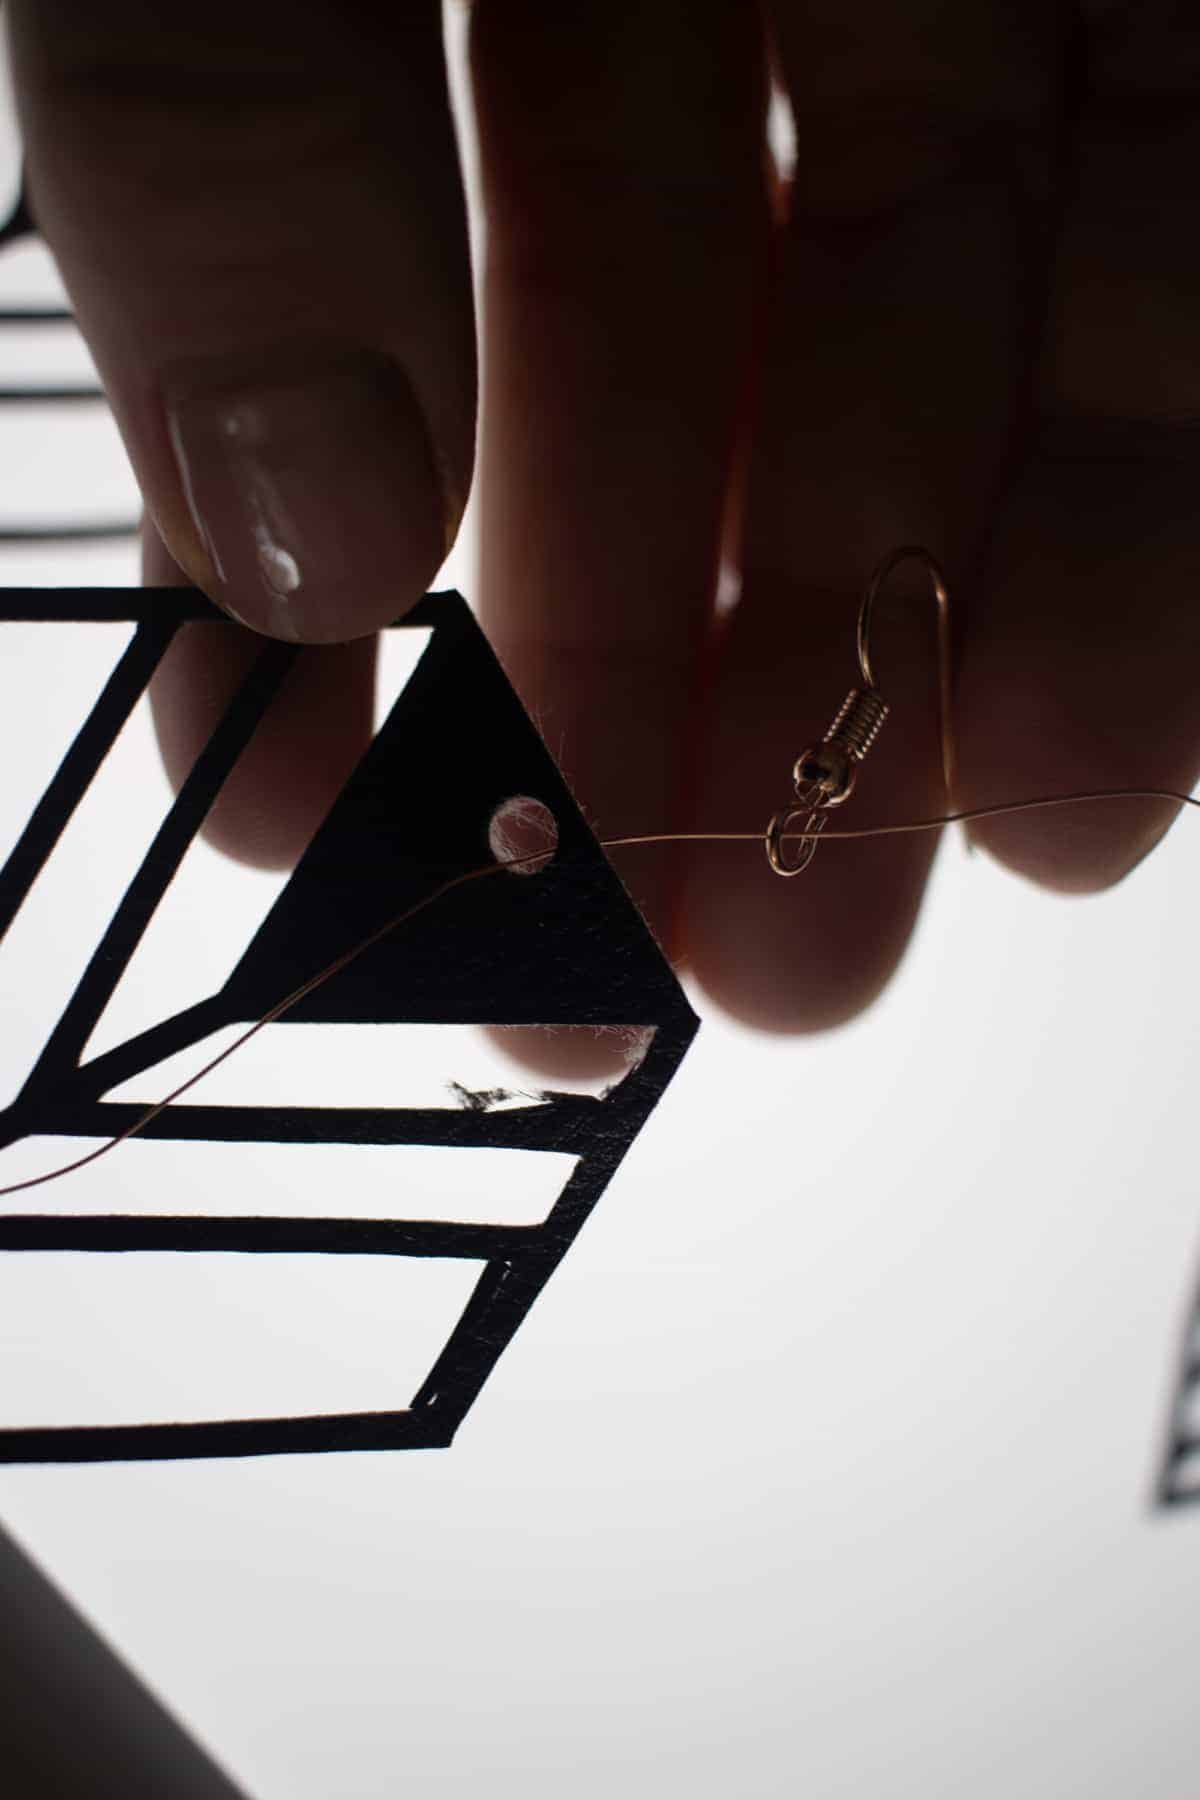
Now you’ll keep your BrightPad right where it is! The BrightPad is an amazing tool for all sorts of activities; not just weeding. I used it for navigating these tiny little holes and spaces. Because I was using extremely delicate and small wire and fish hooks it helped me so much to have light shining from my work space. I have pretty terrible eyesight, even with contacts in. The BrightPad really reduces eye strain and helped me make sure I was making these earrings correctly and not missing any holes!
Assemble your geometric earrings
If you are curious to learn more about the BrightPad I did another full post all about it last week!
What I did was take a piece of wire, about 3 inches long and threaded it through the fishhook jump ring and the hole in my faux leather. I looped it through these three times. After looping the two pieces together, I twisted the two ends together and folded them down so that the connection wouldn’t budge.
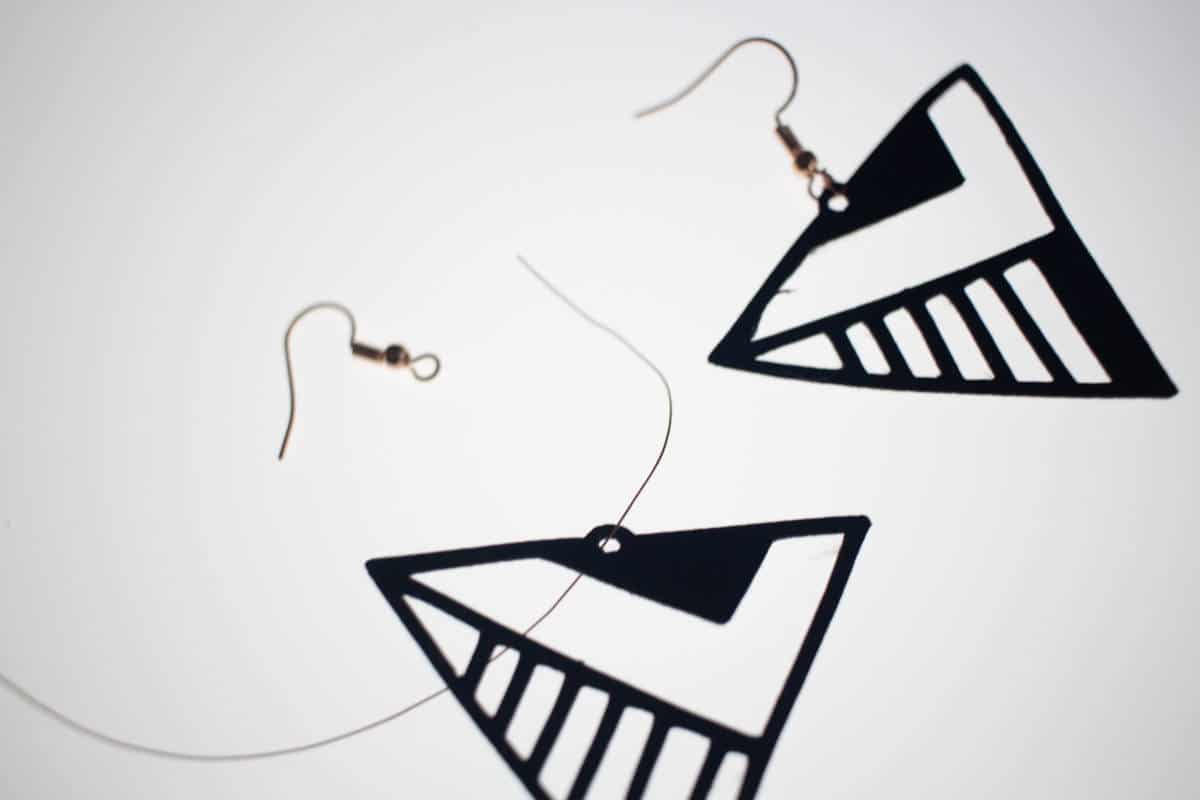
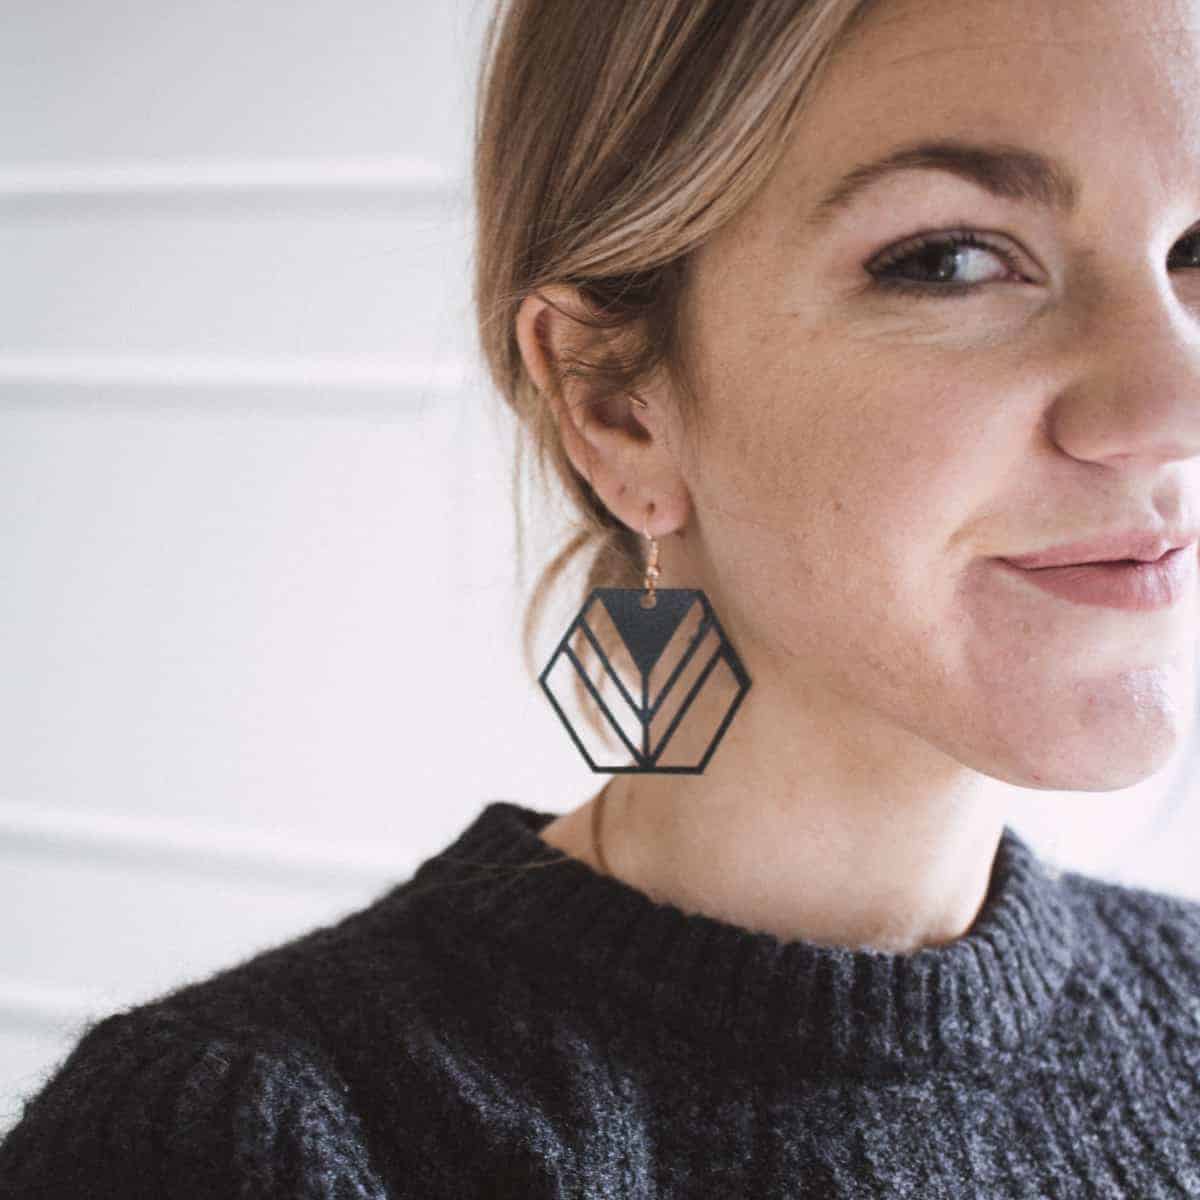
Then you are all done! I LOVE the way these turned out. They weren’t as quick as most of my DIYs only because I was working with such little, delicate, tiny pieces. I am just so in love with the look of them though!
Here are all three designs next to each other!
I love making jewelry so much. I also made some tassel earrings as well as these super fun felt ball earrings.

DIY Geometric Earrings
These fun geometric earrings are a simple tutorial. I show you step by step how I make them and must have tools for making your own jewelry!
Materials
- Faux Leather
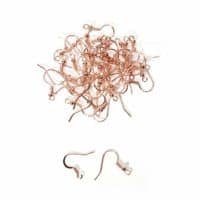
- Fish Hooks in Rose Gold
- Rose Gold Jewelry Wire
Tools
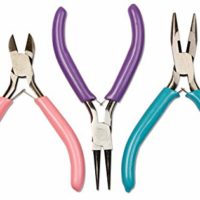
- Wire Cutters
- BrightPad
- Cricut Maker
- True Control Knife (Optional)
- This Cut File
Instructions
- Cut leather with your Cricut
- Cut wire with wire cutters to about 3 inches
- Loop the wire through the earrings and the hole in the leather 3 times
- Twist it so it does not come loose
- Cut the ends off with your wire cutters
Recommended Products
As an Amazon Associate and member of other affiliate programs, I earn from qualifying purchases.


These are seriously too cute! I am going to have to try and make these!! Thanks girl!
These are so cute! Can’t wait to make a couple pairs.
Oh my goodness these are BEAUTIFUL!!!!! I would buy some right now!
These are SO cute!!! They look like you got them from a high end boutique!
These are so incredible! I love them!