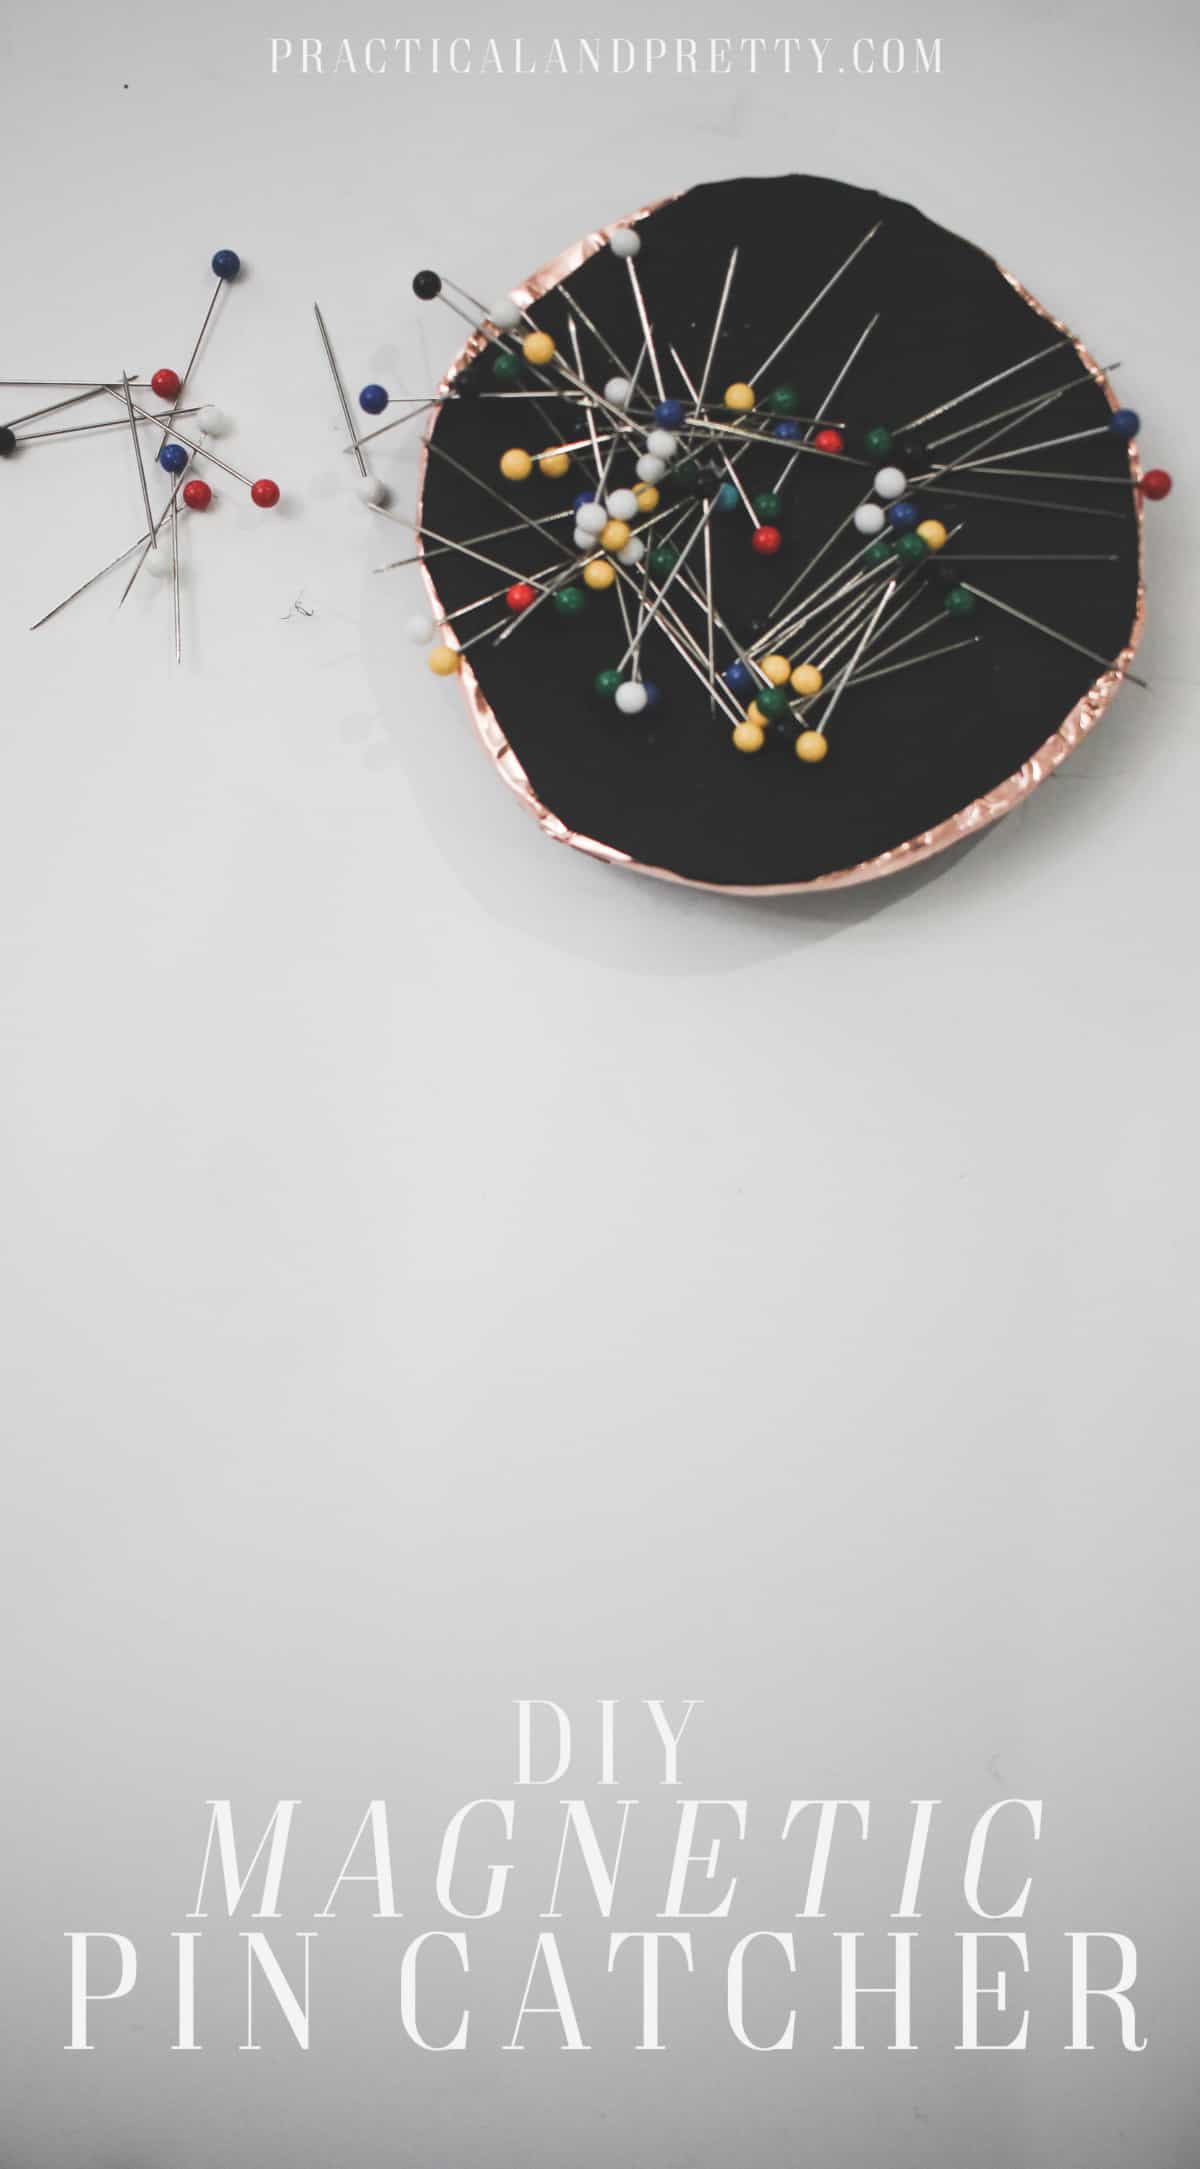
This magnetic pin holder will help you with any sewing projects and looks super cute on your sewing table! All you need is some clay and craft magnets.
This year, you will be seeing many more sewing posts if everything goes the way I want it to! It was time to finally solve my loose sewing pin problem. Here is my solution! A magnetic pin holder made of just clay.
This post is part of a fun link party I do on the second Wednesday of each month. This month we have a bunch of new bloggers joining us so please take a look around at the bottom of this post! This weeks post idea was a free for all so link up any post you want below and we will share the love by pinning or commenting whatever you link up!
What You need for your magnetic pin holder
- Clay
- Craft Magnets
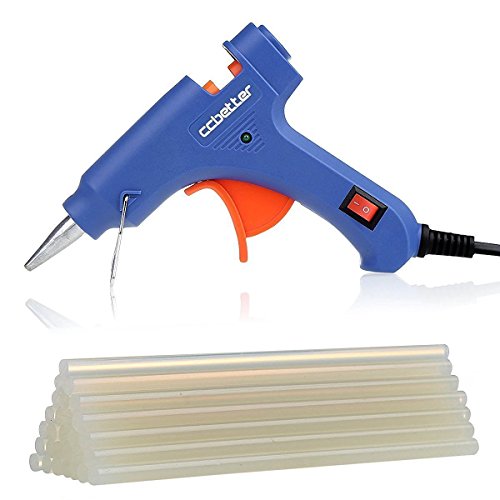
- Hot Glue Gun
- Anything you want to use to decorate your pin holder (I used my favorite copper tape)
Shop this Post
These are affiliate links. I earn a small commission if you purchase through them!
Check PriceCheck PriceCheck PriceCheck Price
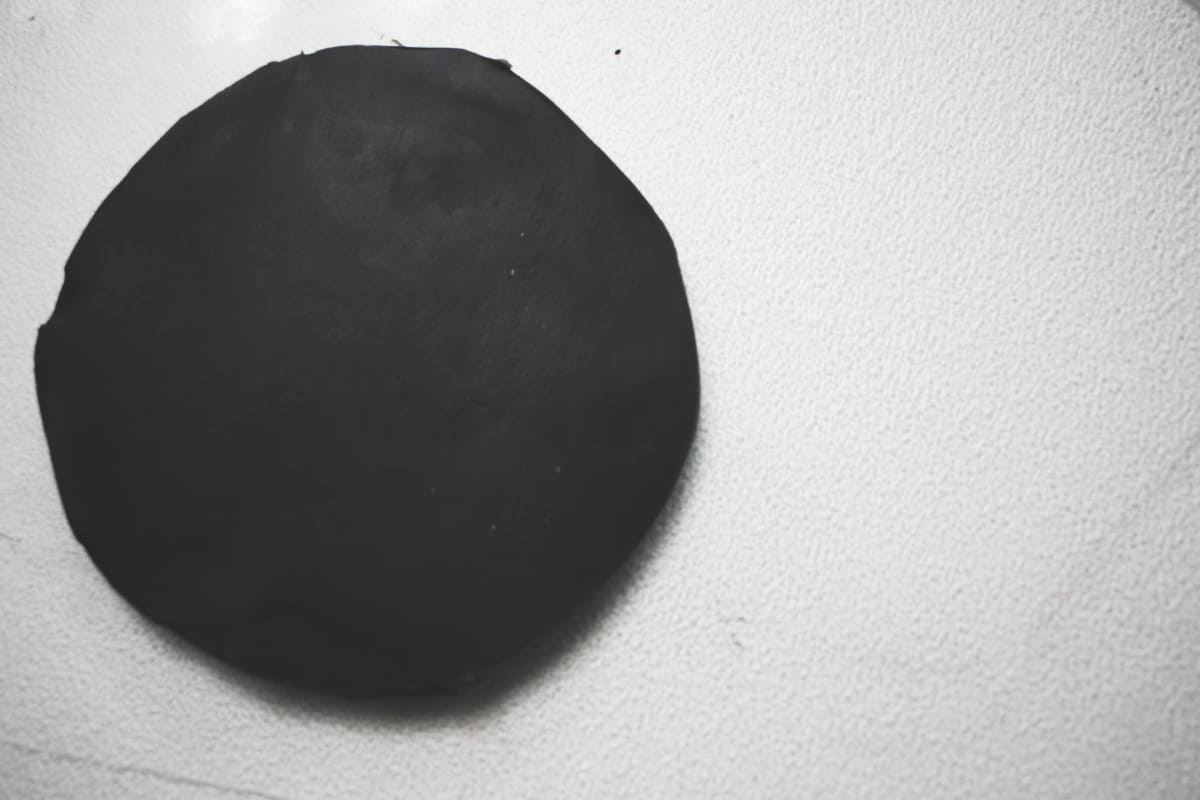
Start by rolling out a piece of clay flat. I kept mine to 1/4 of an inch. You will want it at least this thick.
I used a coaster as a stencil to trace out the circle here. I just used a regular butter knife to cut the clay.
Next you will drape it over an oven proof bowl or you could lay it flat. I wanted mine to be slightly concave so I decided to do it this way!
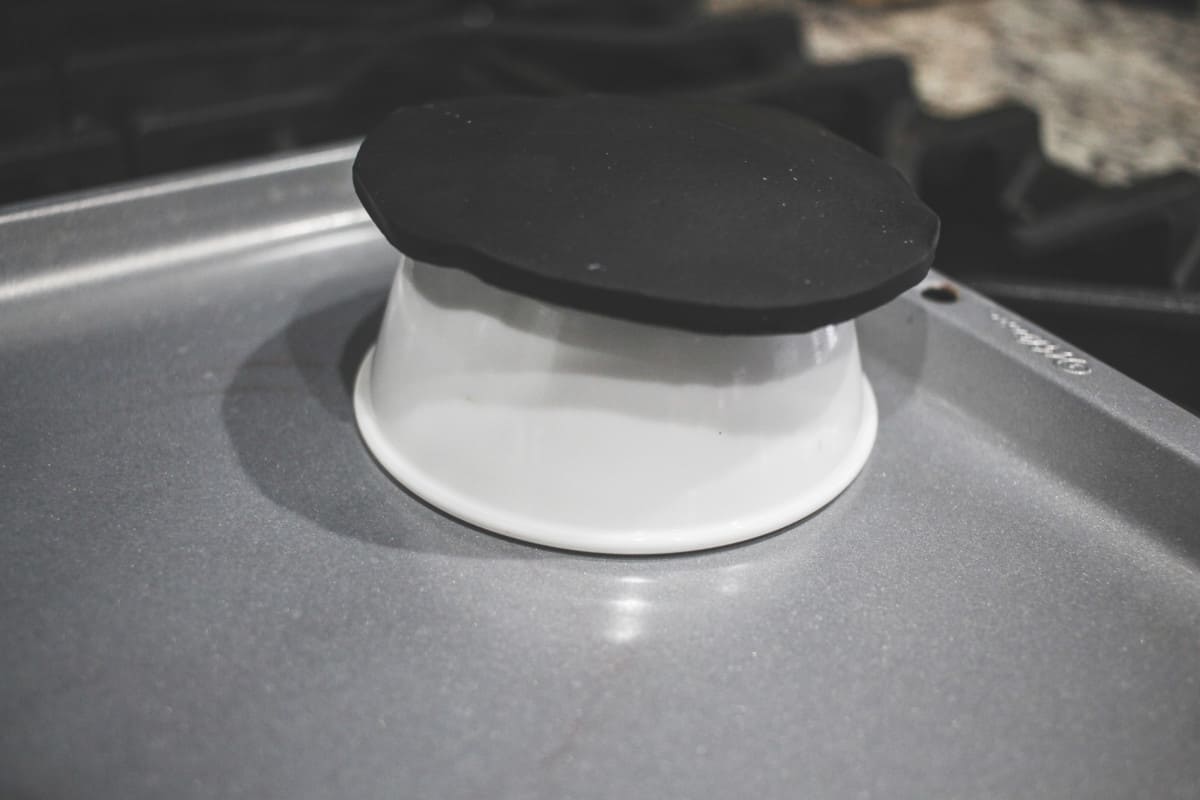
Now you will put it in the oven at 275 for 15 minutes.
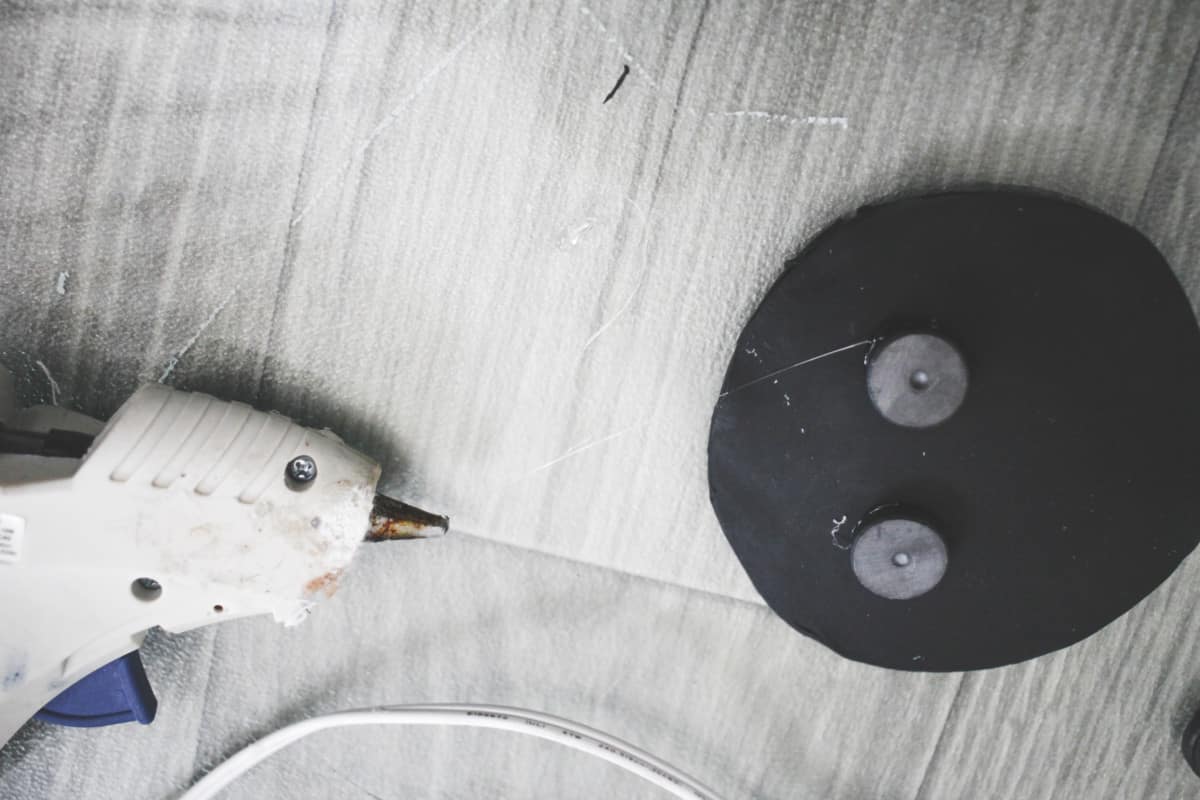
Once it was cool, I took the hot glue and put one dab at a time on the bottom where I wanted my magnets. In hindsight, I should have really marked these before I started. Mine ended up not being equal distance apart because I just started gluing!
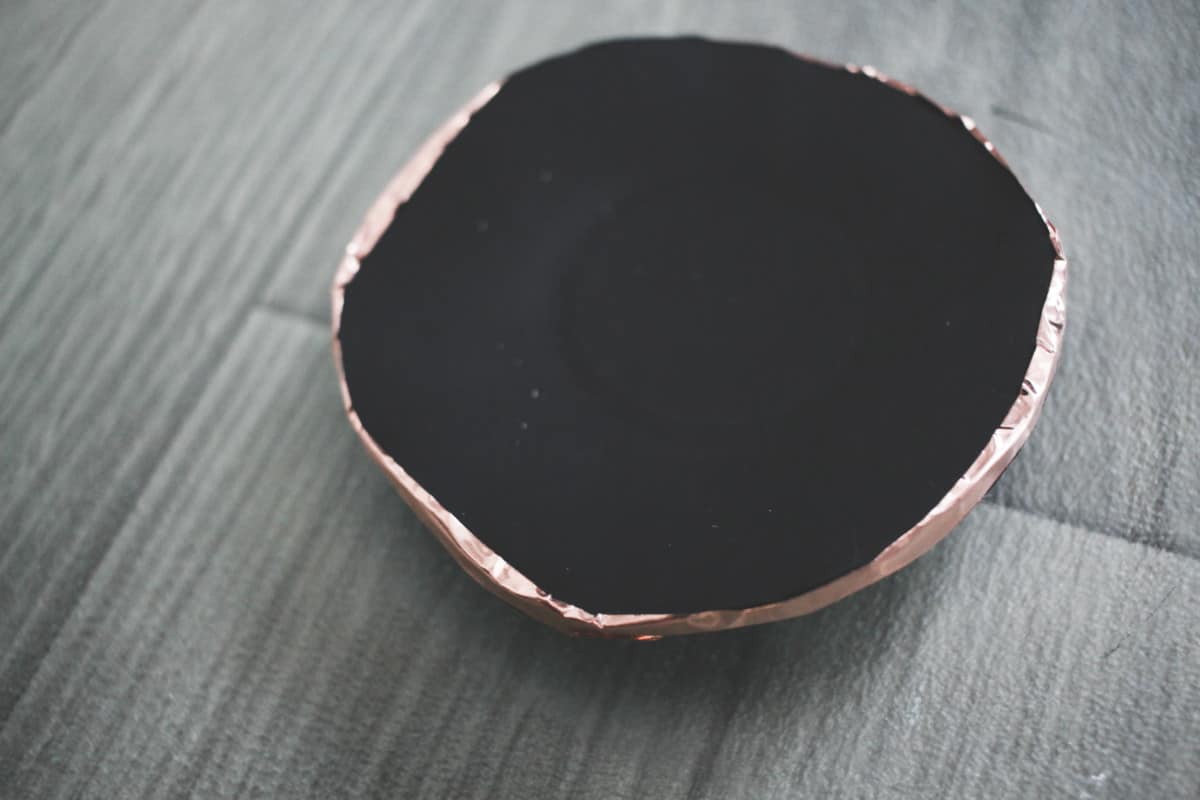
Once the glue is dry, you can decorate it however you’d like! I used some copper tape and just put it around the rim to make it look finished. I like how it almost looks gold leafed because it’s not perfectly straight.
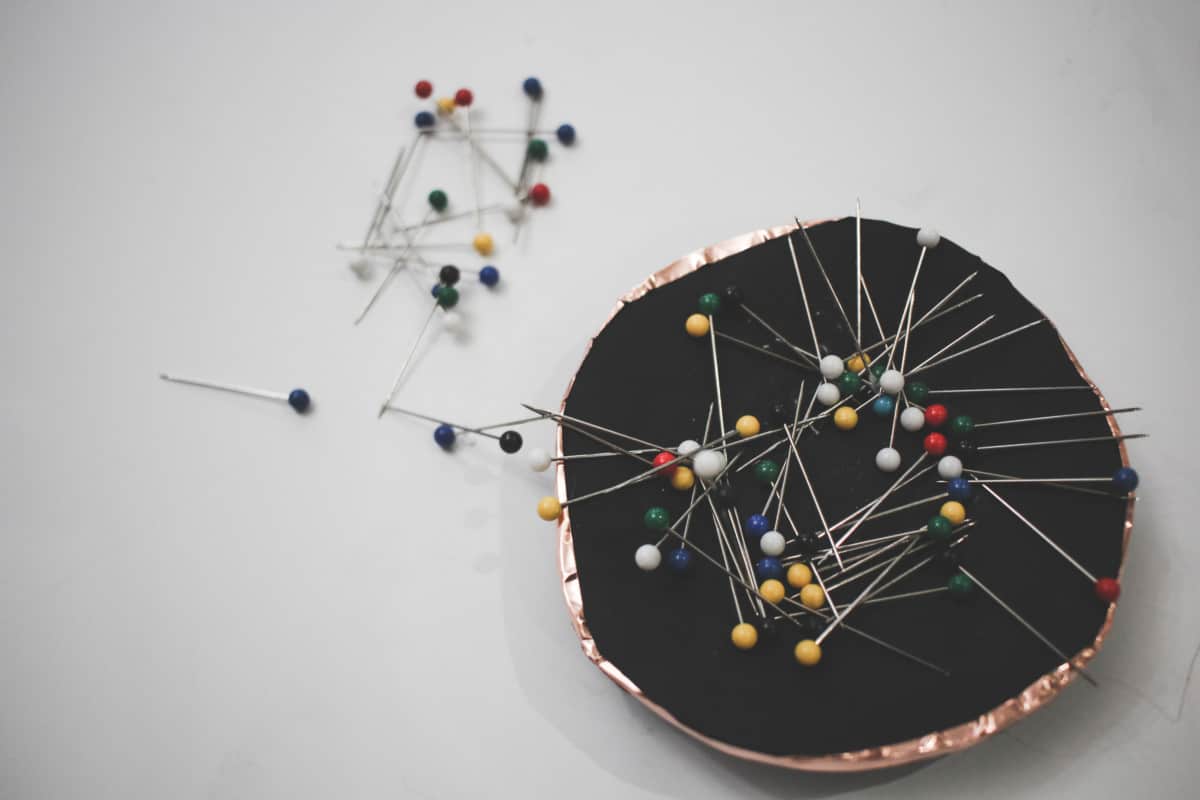
Now you will put your pins in your magnetic pin holder! I love the accessibility of this and how simple it is to just sit it on the tray when as I am sewing.
Next month’s theme is a dollar store craft and I am so excited to see what everyone comes up with! I love the dollar store. Peek around each of these bloggers and be sure to see all the posts linked at the bottom for some fun inspiration.


Great idea! Much easier than trying to pin them back into the iconic tomato! Visiting from Inspire My Creativity.
RIGHT?! I thought the exact thing! I thought about making a pin cushion but decided this was more my style.
I totally need one of these for my pins (which I am always getting everywhere when working on a sewing project.
Wow, what a cool idea! It would be great just to put your pin down instead of pushing it in a pin cushion. Mine usually end up on my desk anyway! Thanks for sharing!
I know! I was just setting mine by the sewing machine which isn’t the smartest idea with a baby around. This made it so they had a place and didn’t roll around!
Those pesky things can travel far! lol
I love magnet pin cushions, they are so much easier to use. Making one of your own is very creative, so cool!
Thanks Meg! It was really so simple <3
This is such a cute way to keep pins under control! I love that you can use both sides – so clever!
I need to make one of these! I never would have thought to make one out of clay!
What a great idea. I don’t need it for pins, but one for paperclips would be really helpful.
I definitely need one of these! My pins seem to end up everywhere. Visiting from the Inspire My Creativity party
Can I buy one for my wife? I want to get her something for all her bobby pins haha.
Hahahaha!